Dr_evil
Banned
- Posts
- 29,535
- Location
- Perched on the naughty step
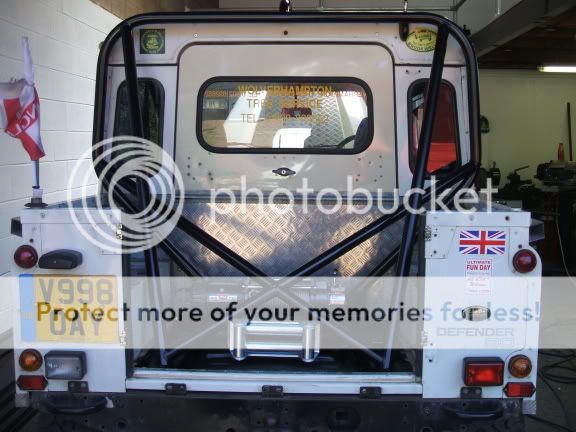
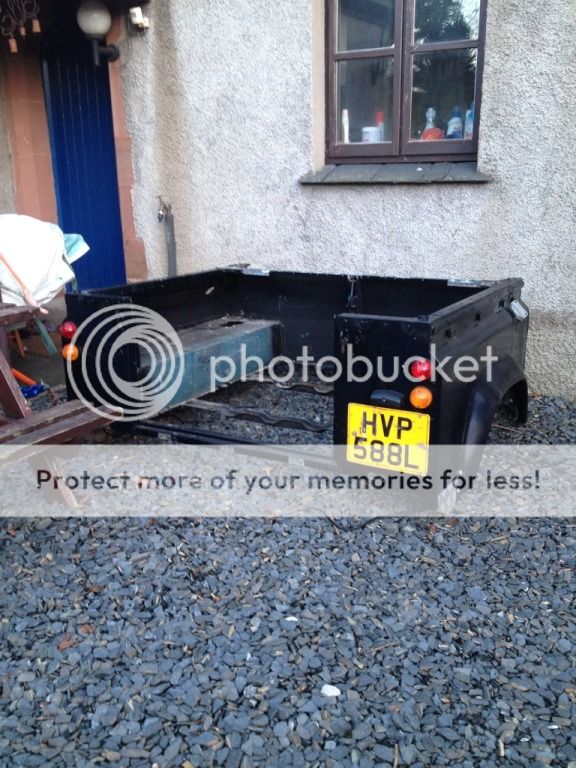
Decided as I'm fixing all the bodges the previous owner made I may as well make the thing a bit more usable……..
So king cab it ismore space, looks nice IMO and practical! Plus it makes it more practical
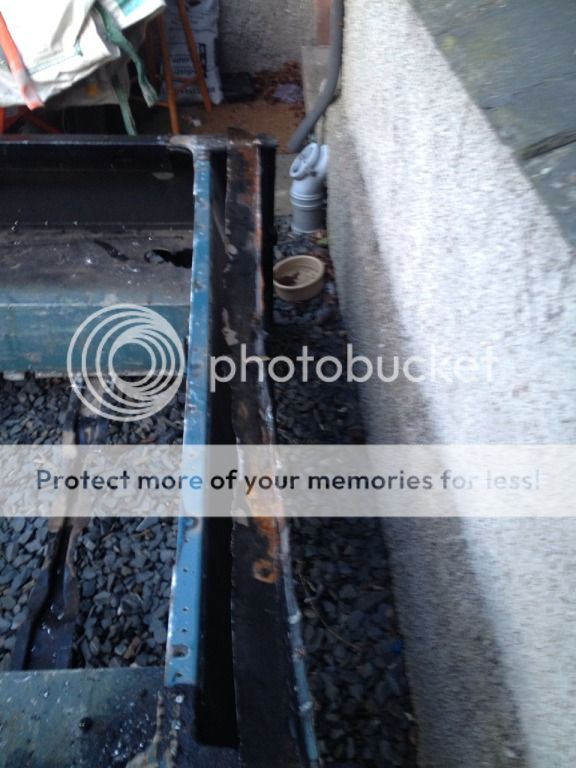
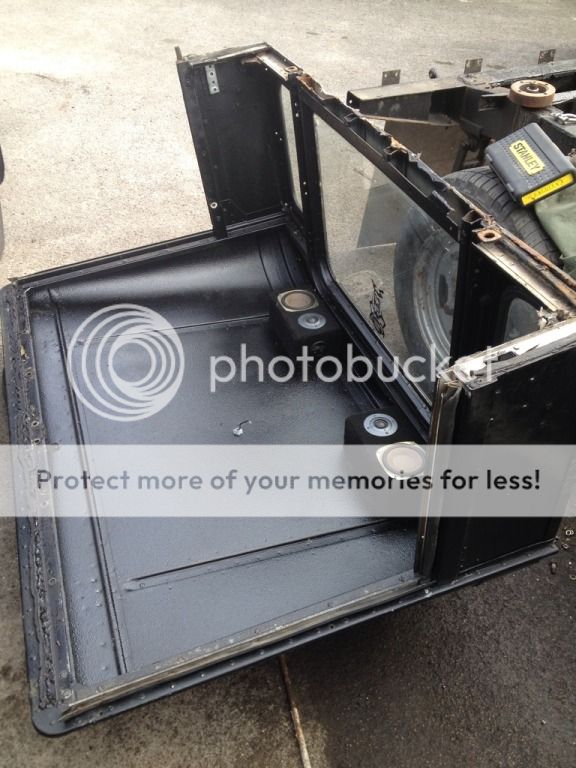
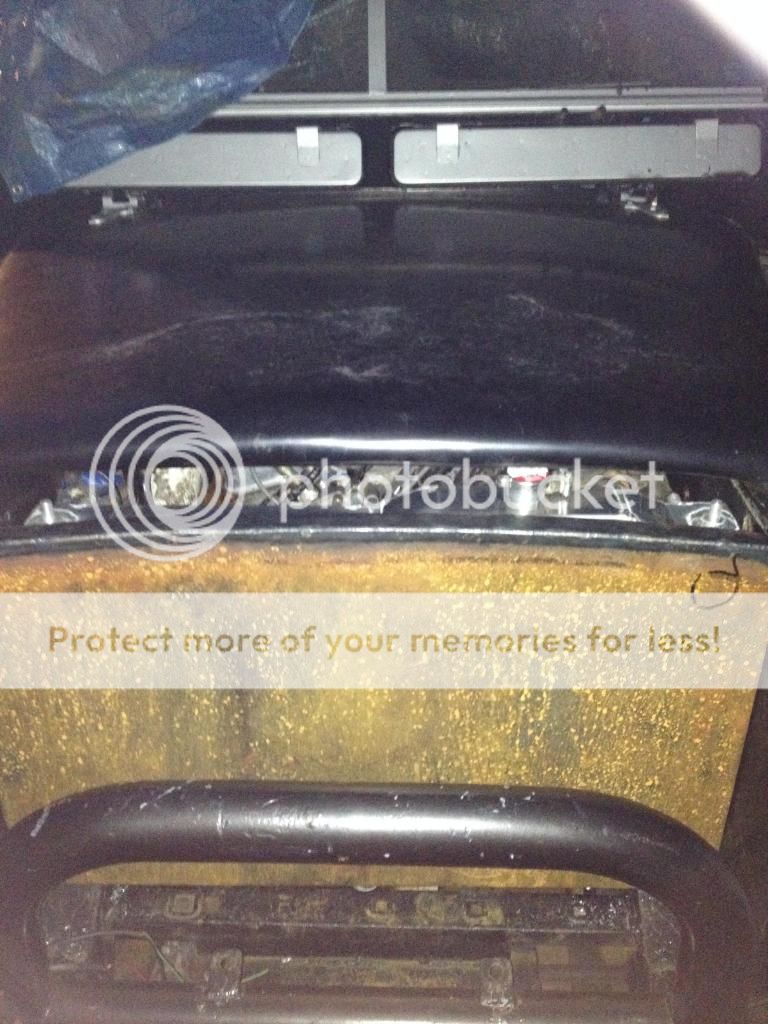
My roof is riveted together………the idiot seemed to be able to glue the bulkhead together but must have run out when it came to making the roof…….its been riveted together and leaks because its the only place he hasn't used fecking glue on
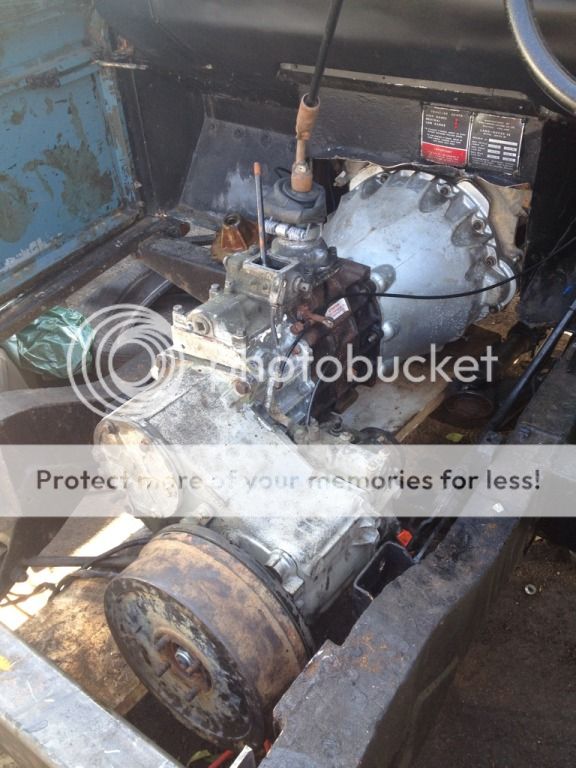
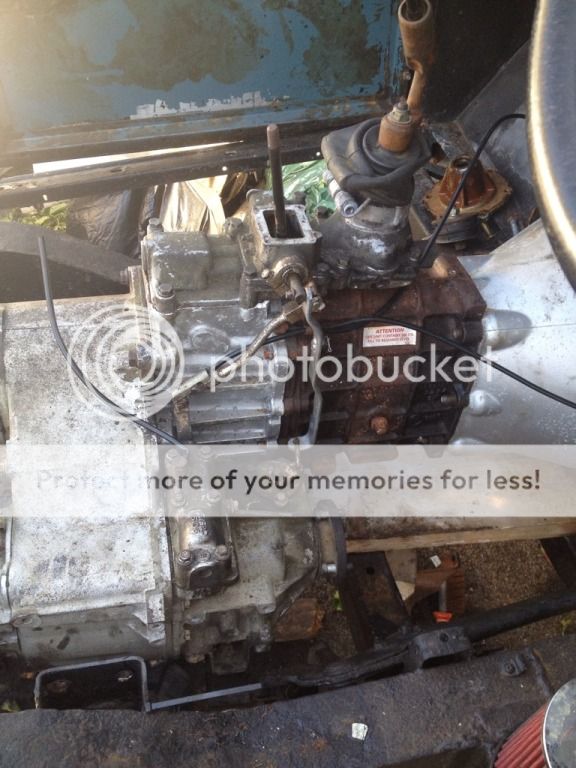
Anyway, I've got a disco gearbox in it atm and although I have been talking to James about making the disco selector into a fender one it depends how easily I can get hold of the top piece. Still going to make up the adaptors though and put them up for sale (keep a few for myself too as I will get round to it eventually!)
So as to the king cab I've done my research last night and with the disco box (long housing) the interior should look something like this position wise
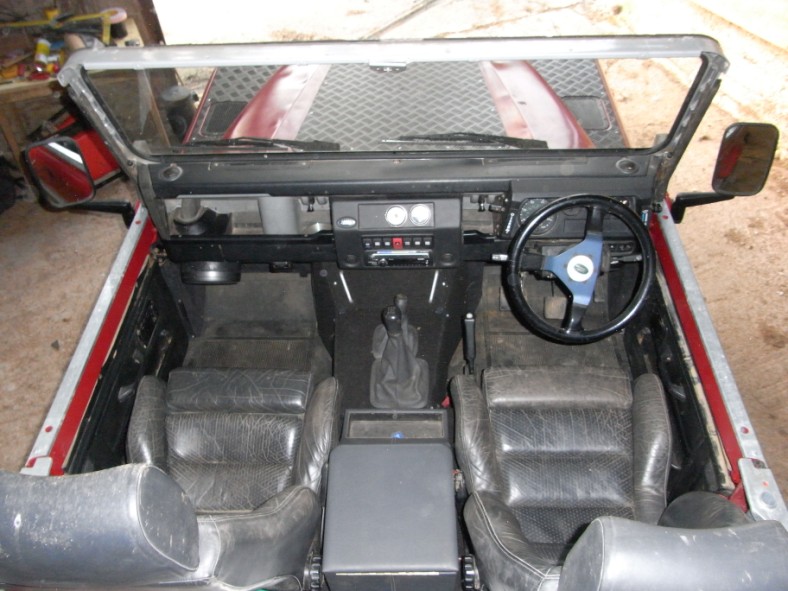
Yes I lose the middle seat but I don't want anyone there anyway! There will be one seat or possibly two in the pickup bed but thats it
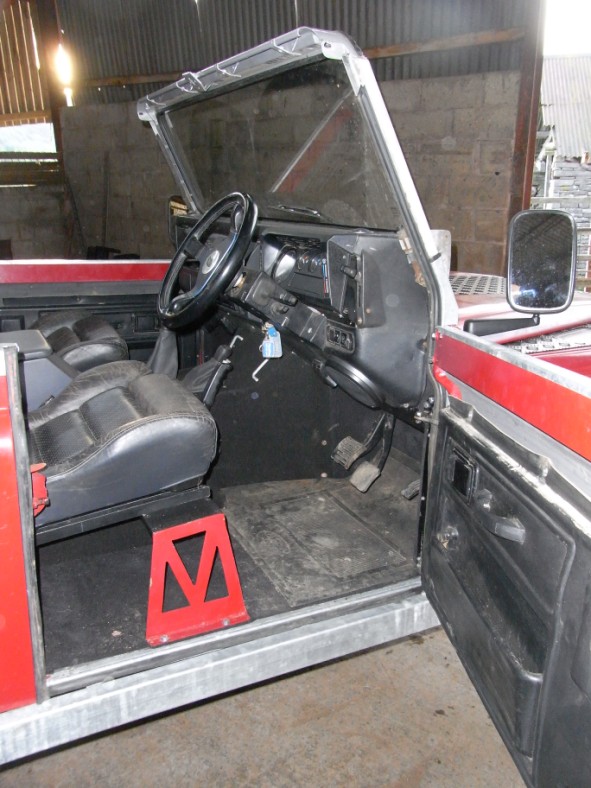
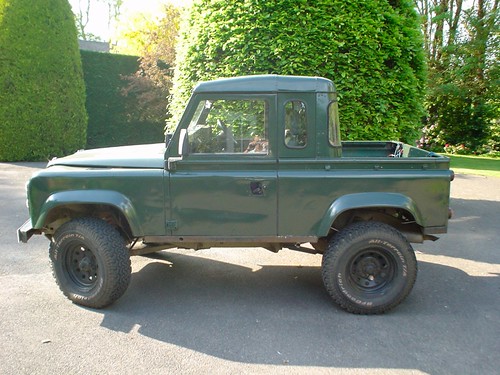
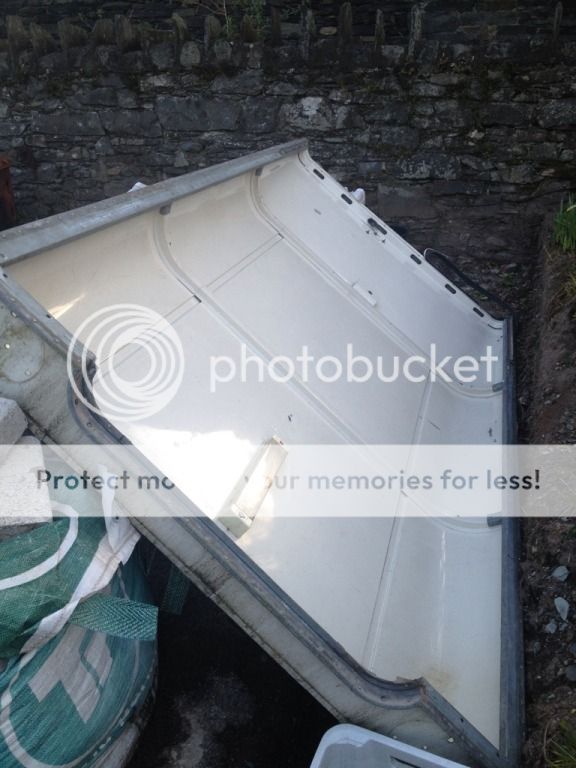
Now as to the cab itself I have full access to a full hardtop roof off a 90 as well as a truckcab rear from an 88 so I can make it look like this


Which I kind of like but to a greater extent I prefer the look of this with a flat rear and cat flap door (again I have the bits in the scrap pile)
So thinking take a spare rear bulkhead just in case then begin trimming!
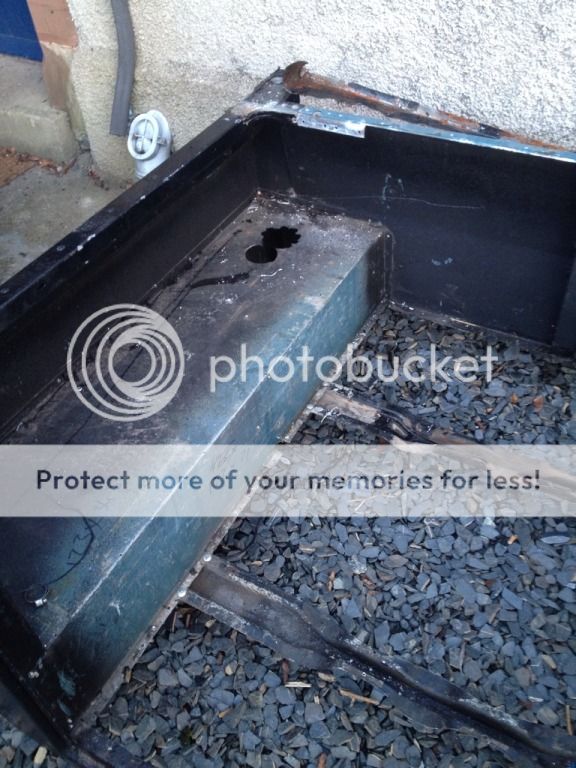
Remove current bulkhead as its been butchered a bit………
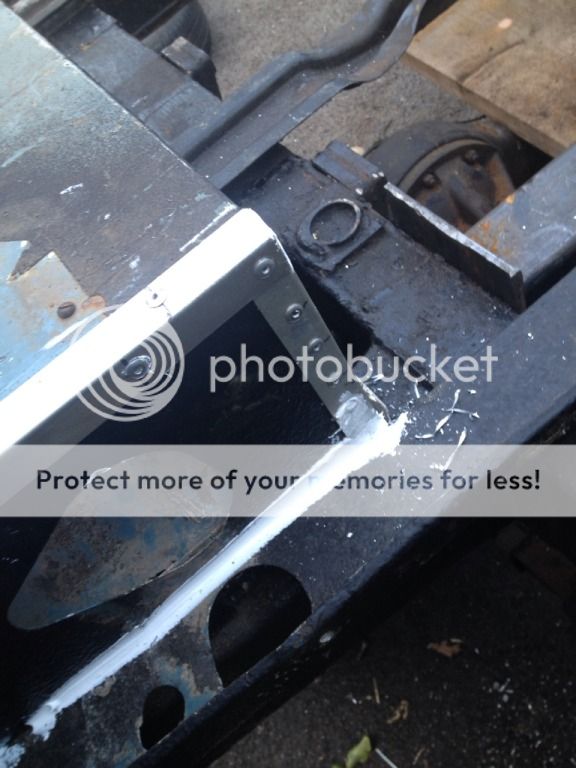
Trim lip where seat box bolts to tub and replace with a flat plate all over the top and bottom bolted together to give rigidity back (minus centre) as the seatbox needs to have the gearstick coming out of it then put a plate in.
Battery box with full lock down cover behind passenger seat or within rear tub arch.
Bulkhead back in at measured distance in order to have a little storage space in the pickup bed (wont be big enough to use as a workbench again though) but might be close as not going to be making it huge!
Probably something about this size so theres still a bit of a pick up bed left!
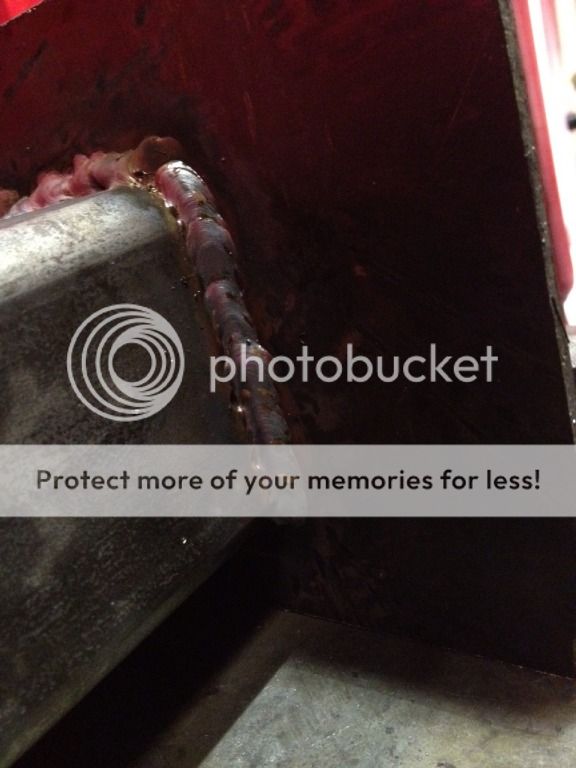
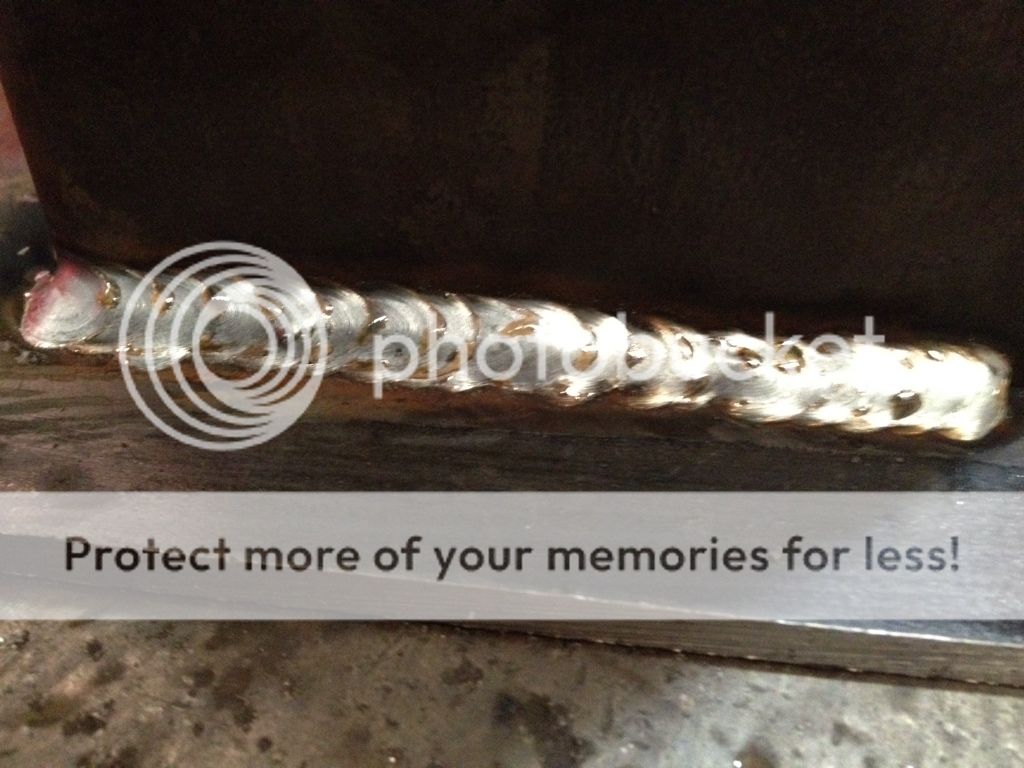
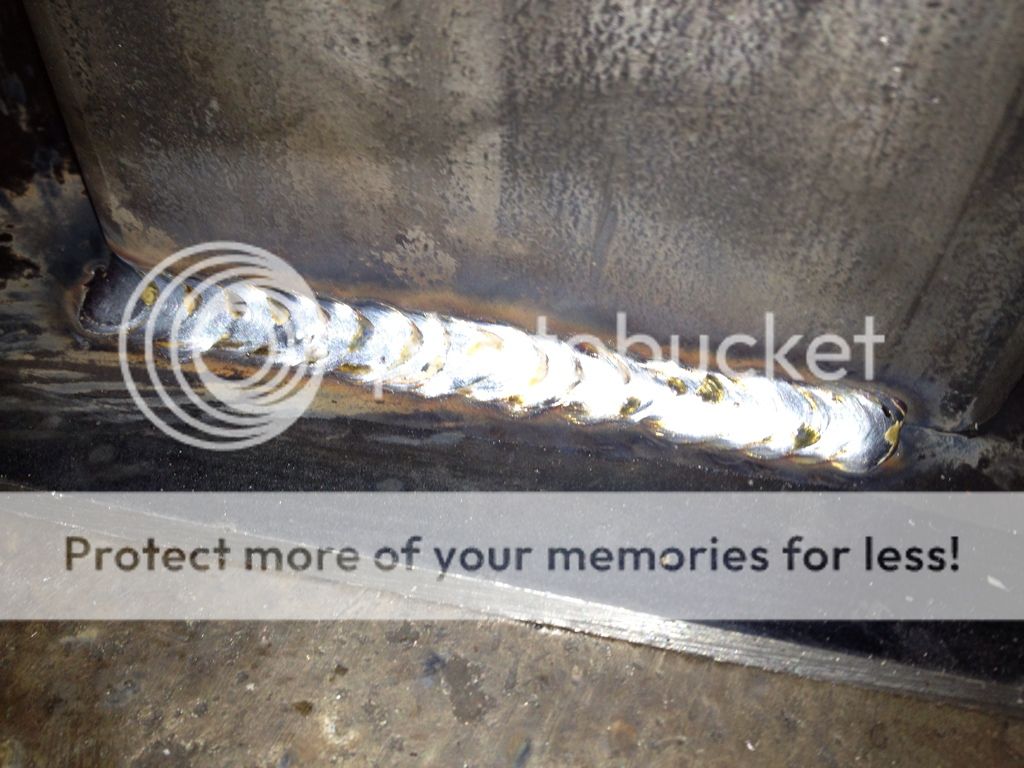
Then cut the side panels to size, trim roof from the centre and then spot weld or tig back together at uni so it doesn't look like that horrid riveting in the pic
With that done, modified seat mounts to give a little more space inside, storage locker behind the seats for tools, food, speakers, recovery crap etc and job done
Yes its butchery but its already been half done by the previous owner so I may as well finish off properly given that I have the tools and workshop to use
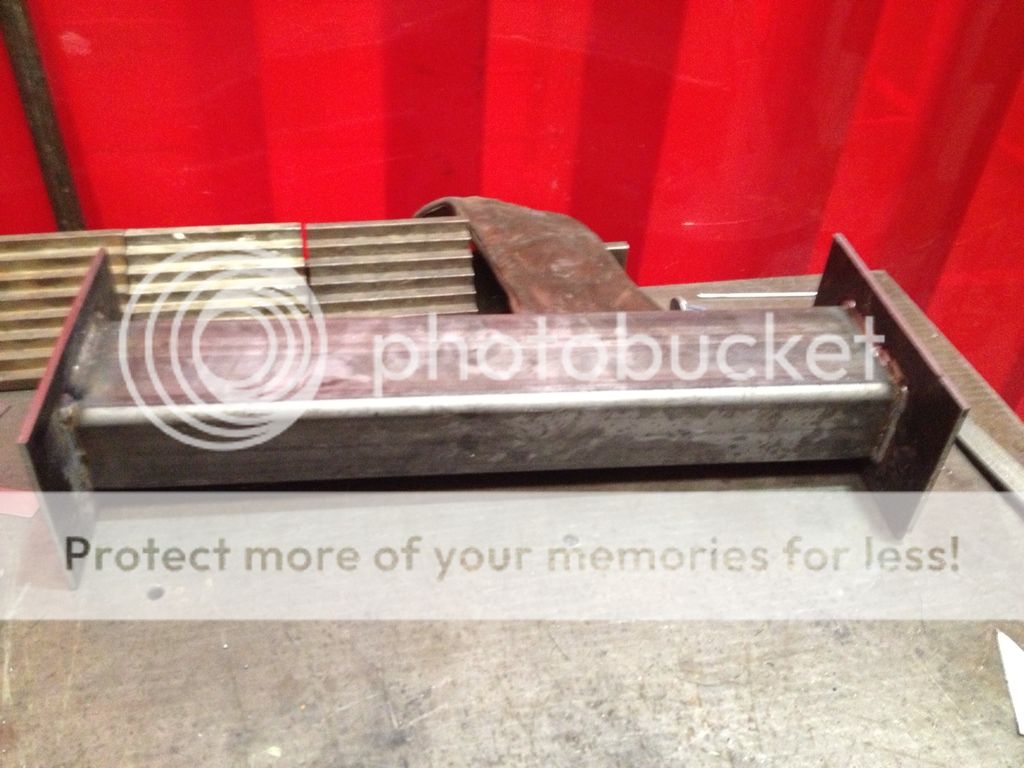
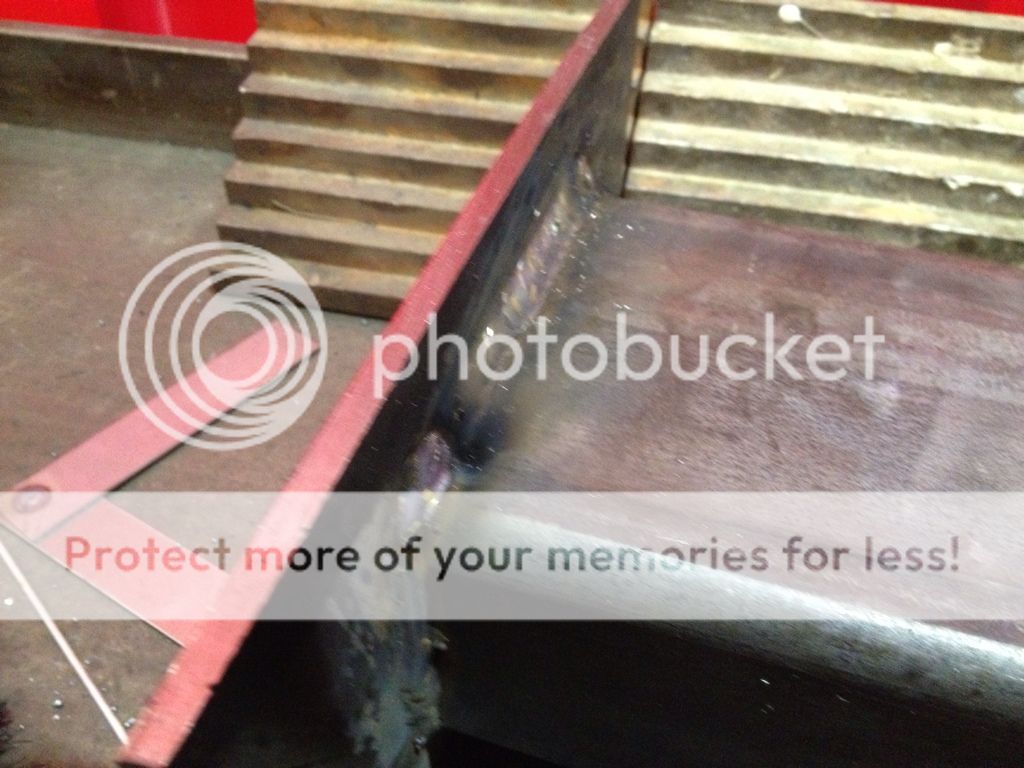
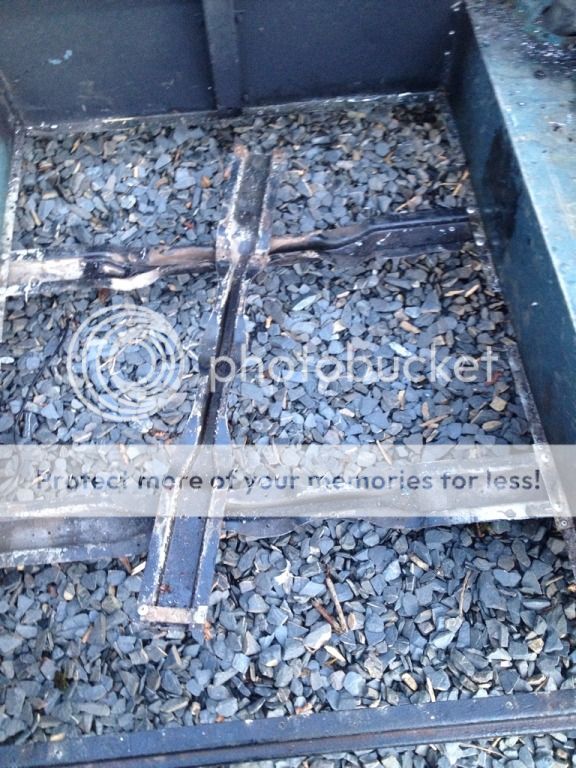
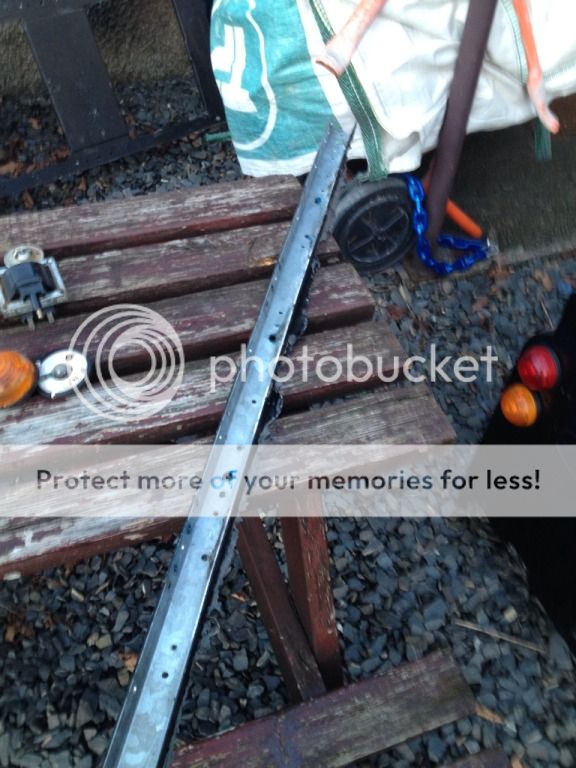
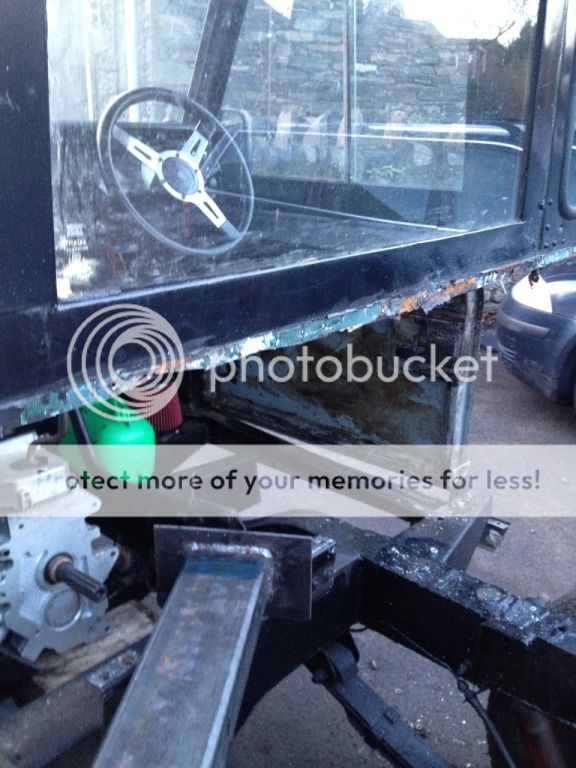
New crossmember made up for the middle where I have to chop out the old box in order for the LT230 to fit in.
IIRC is 120x100x5mm box and then I used 6mm plate for the ends, simple enough, chop the box 12mm too small then the 6mm plate makes up the difference
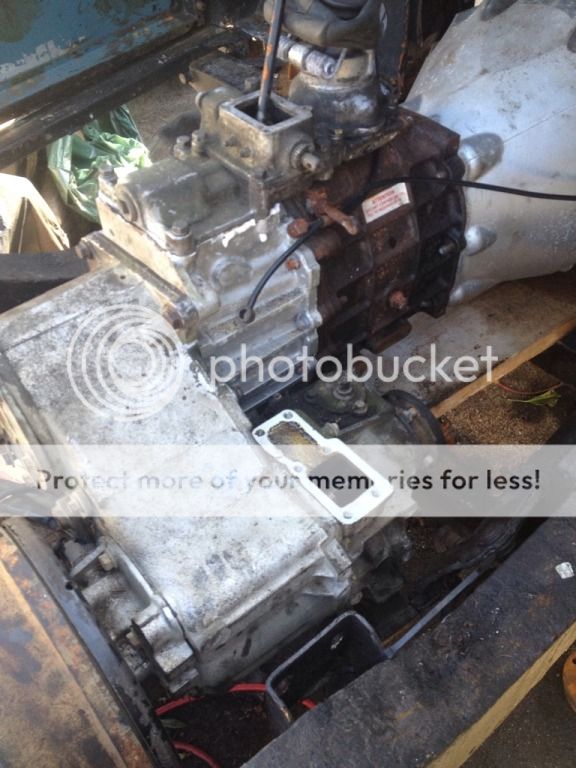
Also started making up the gearbox adaptor as I've been a bit busy til now, looking good so far and I'll get a pic up later tonight as I've left it in the boot of my car
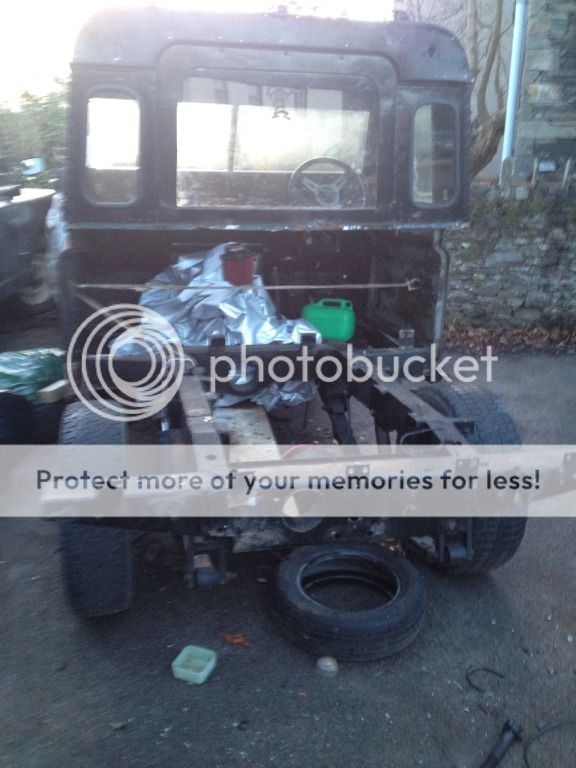
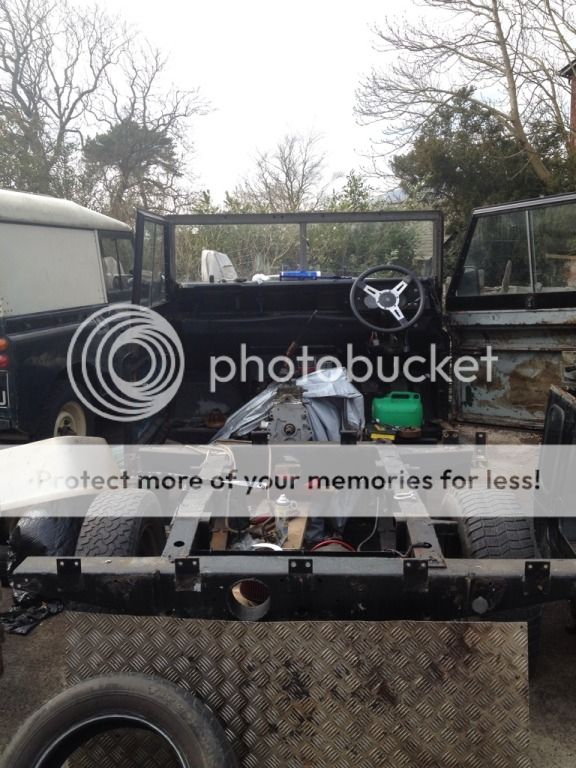
Got a shift on again today, body off and started to look at the best place to move the cab back to!
Thinking 1/3rd into the pickup bed leaving a decent amount of space and giving a good amount of extra room inside
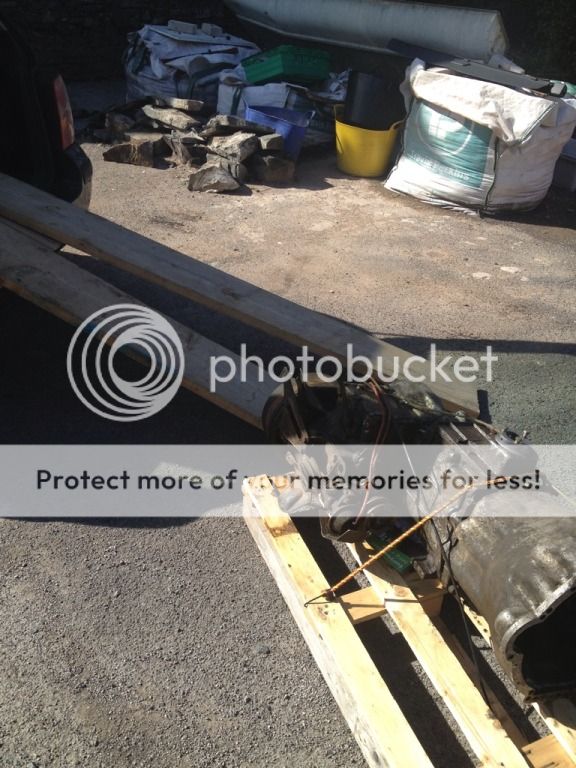
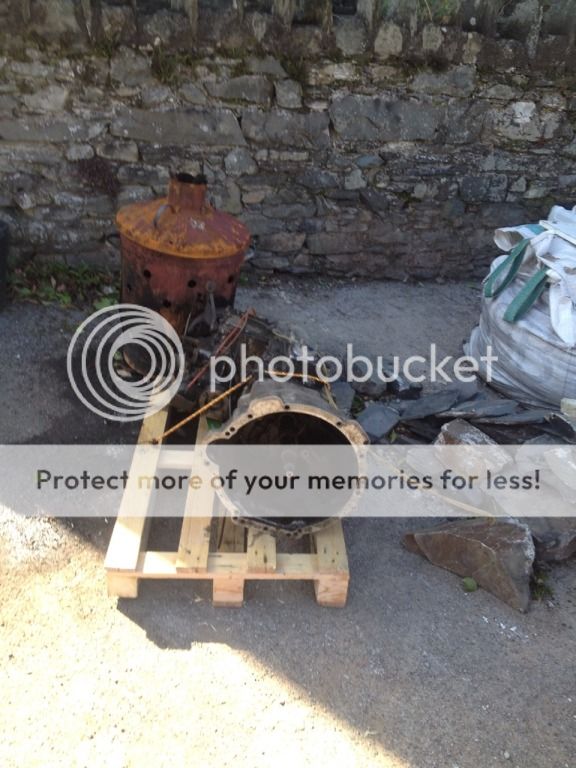
So heres the pics (didn't get any in situ ones)
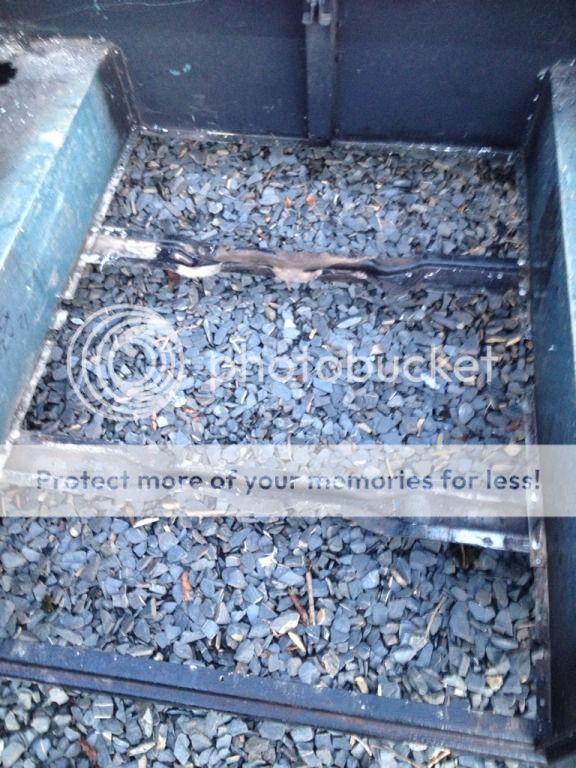
Floor out as well as checker plate bench pieces and crossmember cover (britpart sticker was still on that crossmember)
Tub off
Central slat missing as the fixing was corroded so going to put some angle onto the sides, rivet it in and rivet the slat to that for support
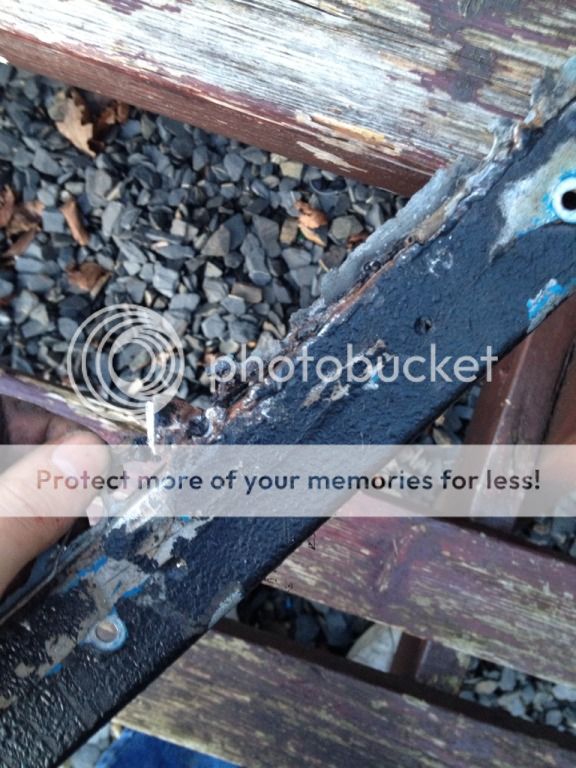
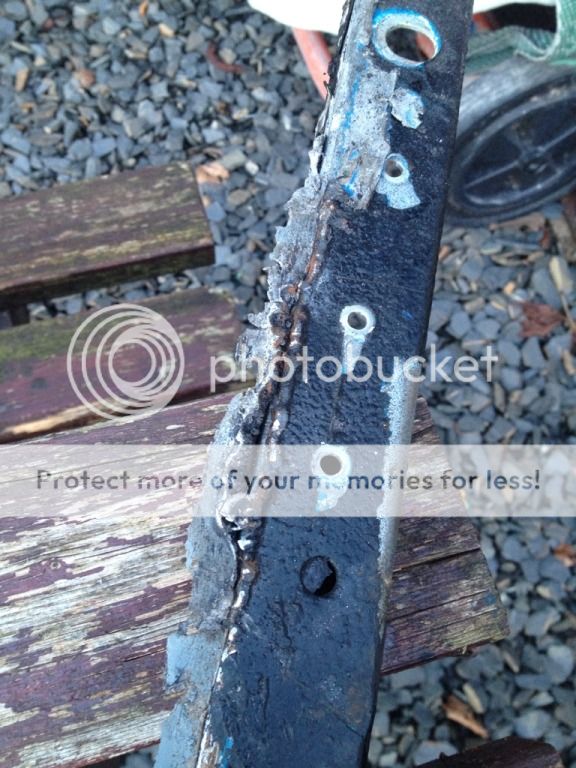
Bottom of the cab off too as the ****ing bastard had welded it to the galv capping :doh: total ####wit given that theres bolt holes there………
Held together with pigeon **** too :doh: and sealant!
Guy welded about 1/4 of it in random spots and used sealant for the rest!


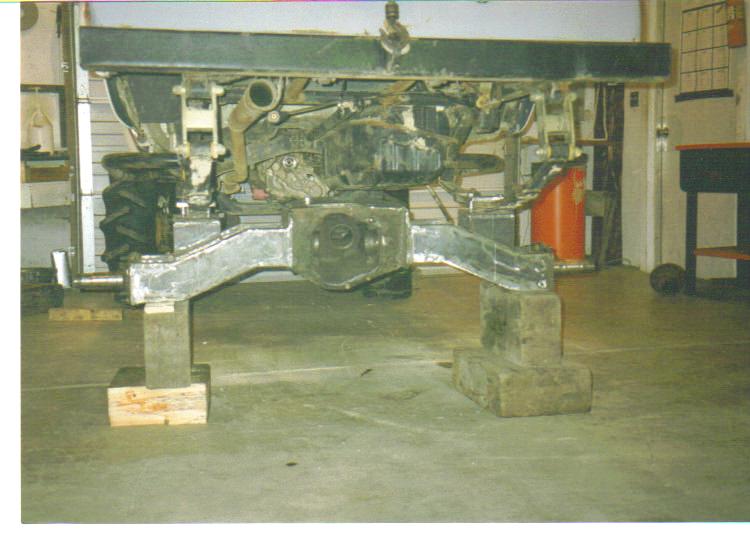
New crossmember fits
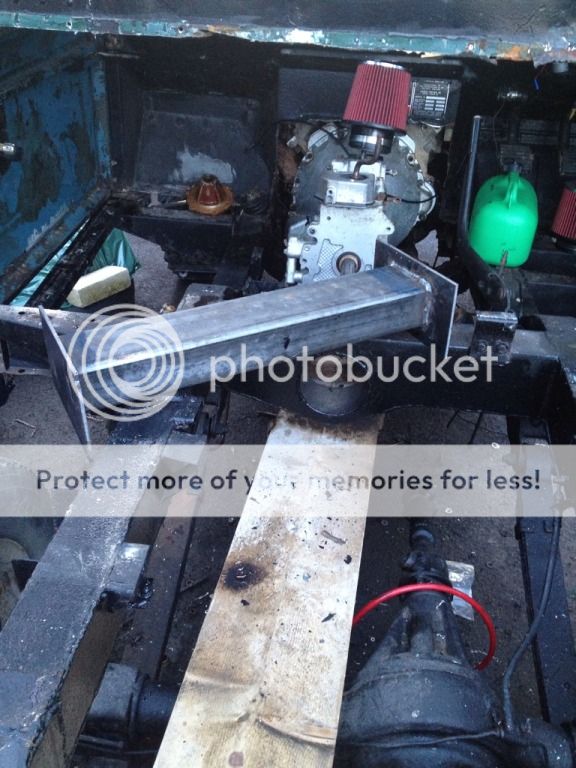
Gearbox wrapped up
Looking a bit bare
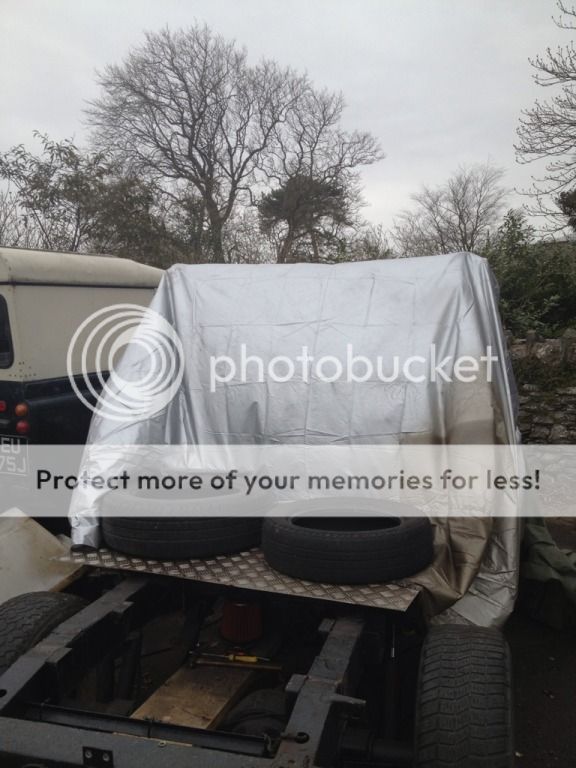
Wrapped up now as its gonna rain………

Todays work, started about 11 and finished packing away at 4 cos of rain
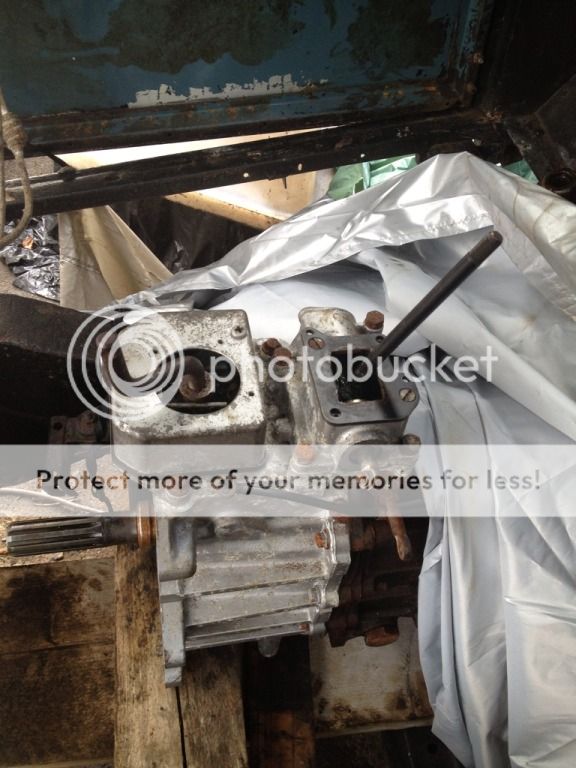
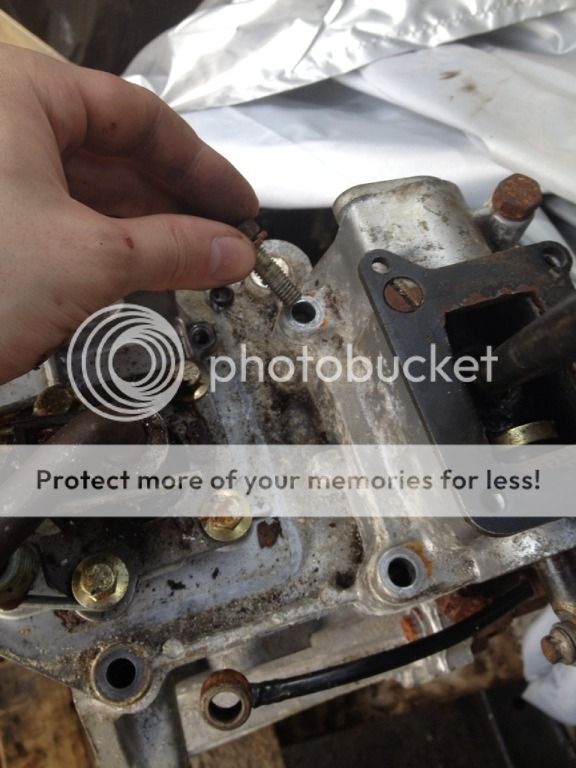
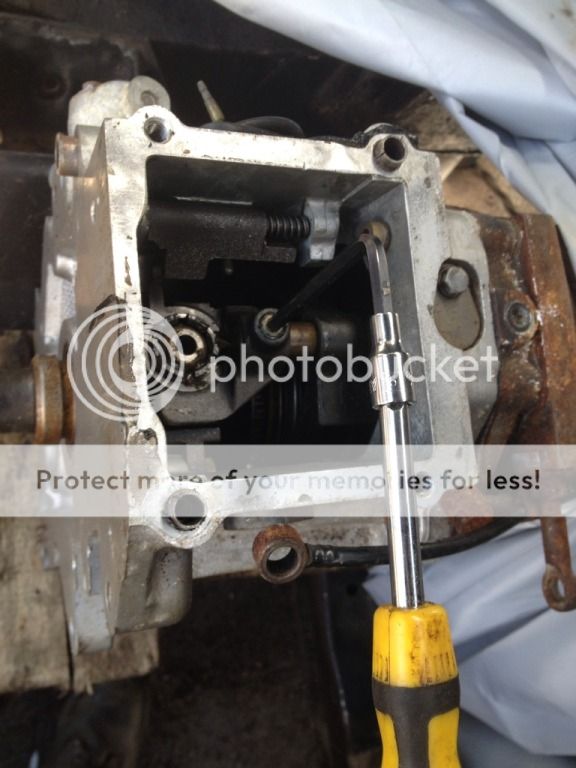
Heres the pics of how to do it anyway
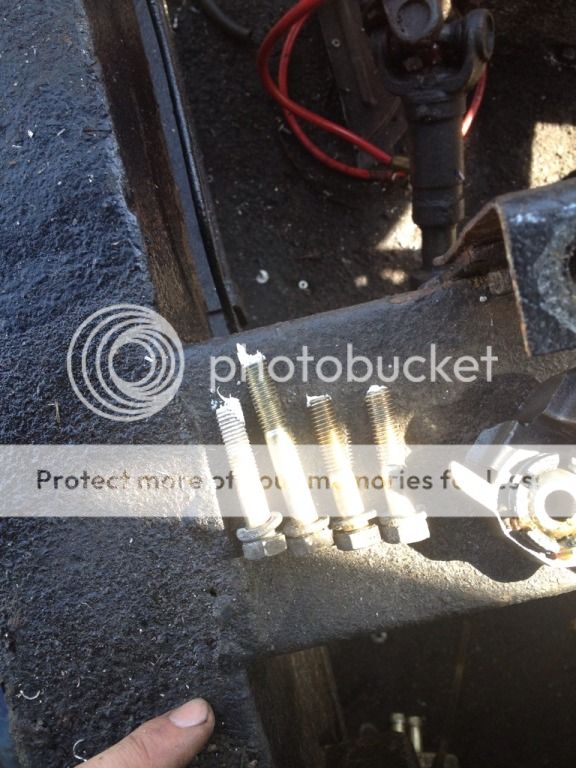
Long bolt is from this hole
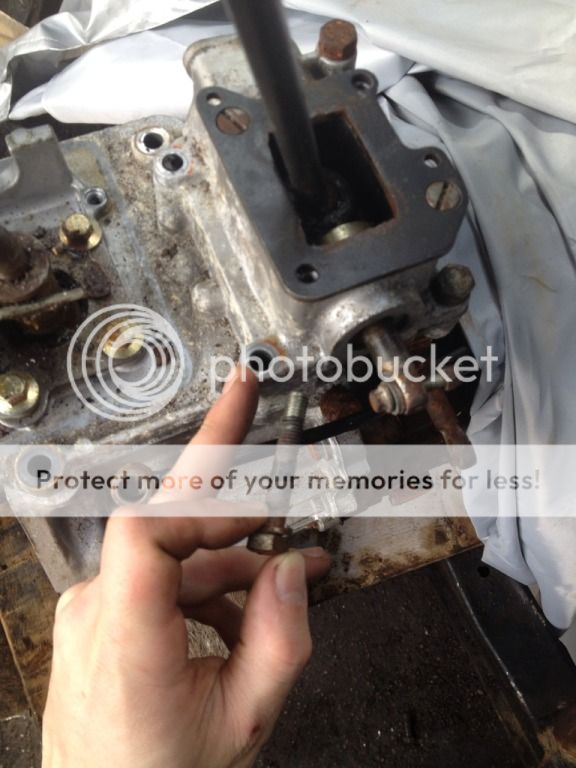
Short bolt holes
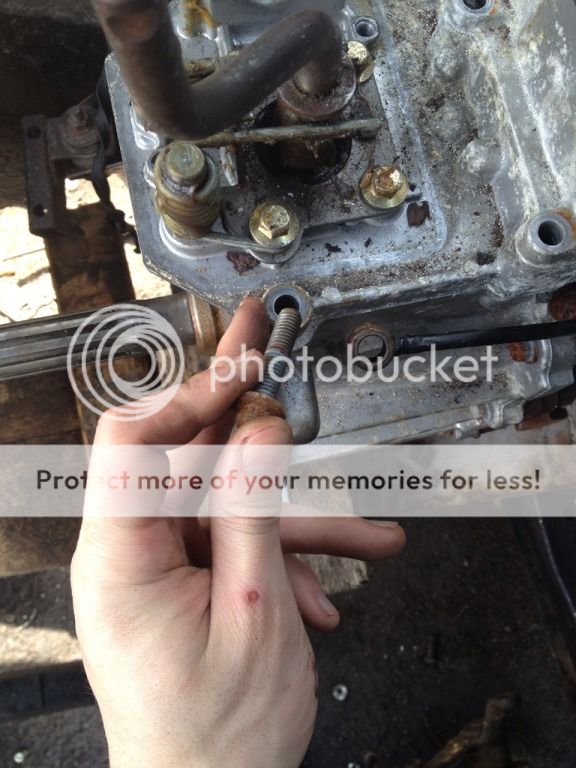
With those three removed then take off the cover plate to get access to number four

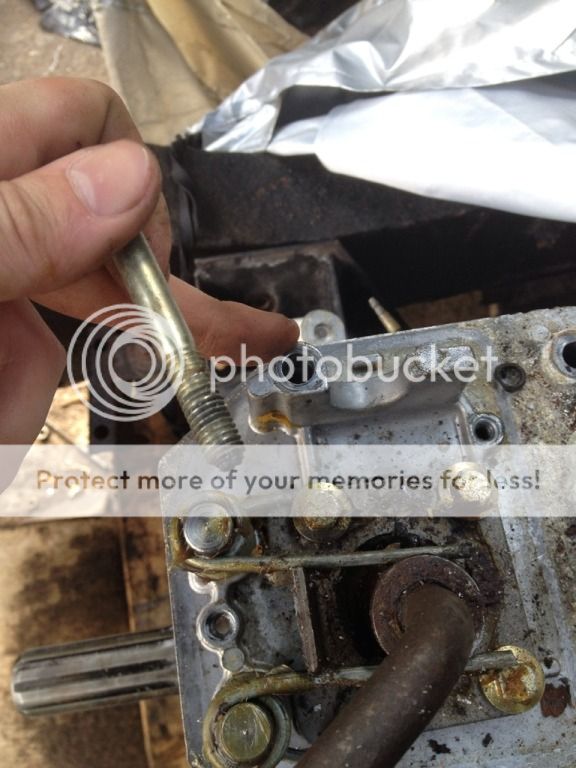
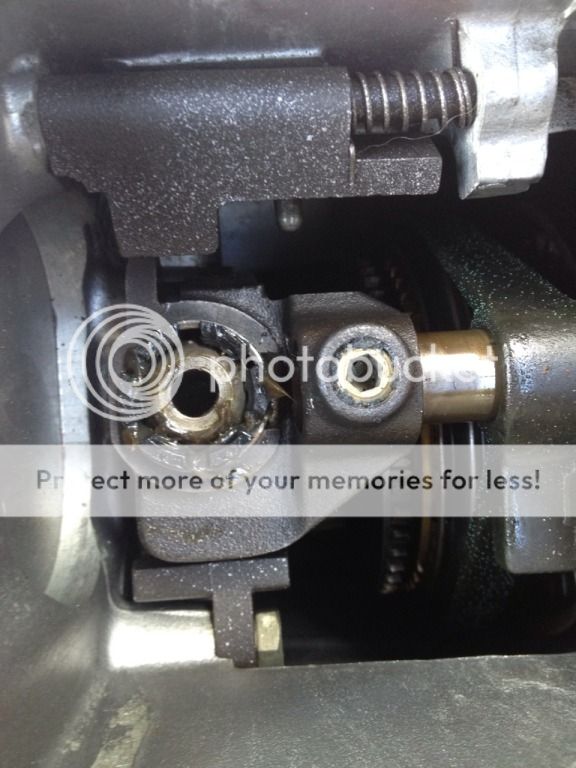
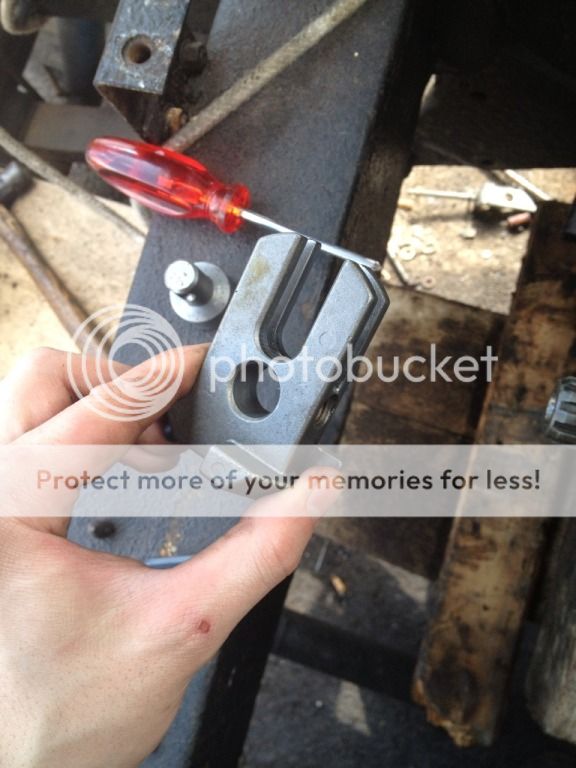
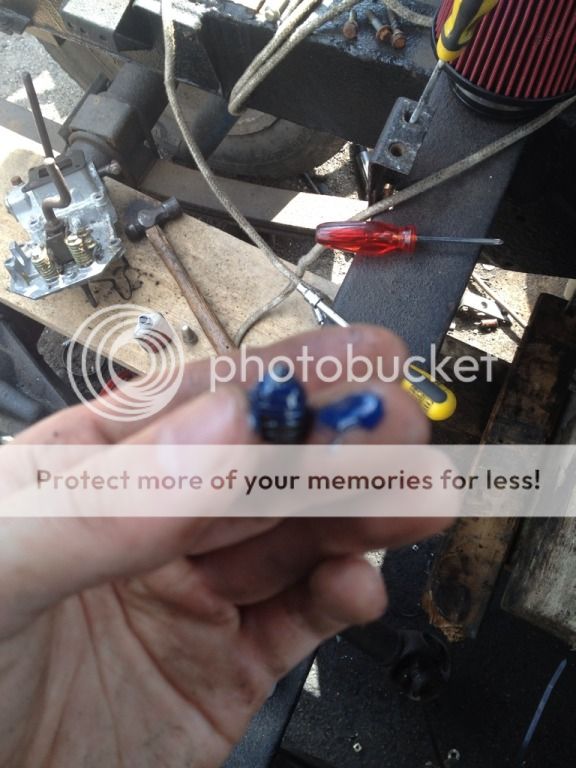
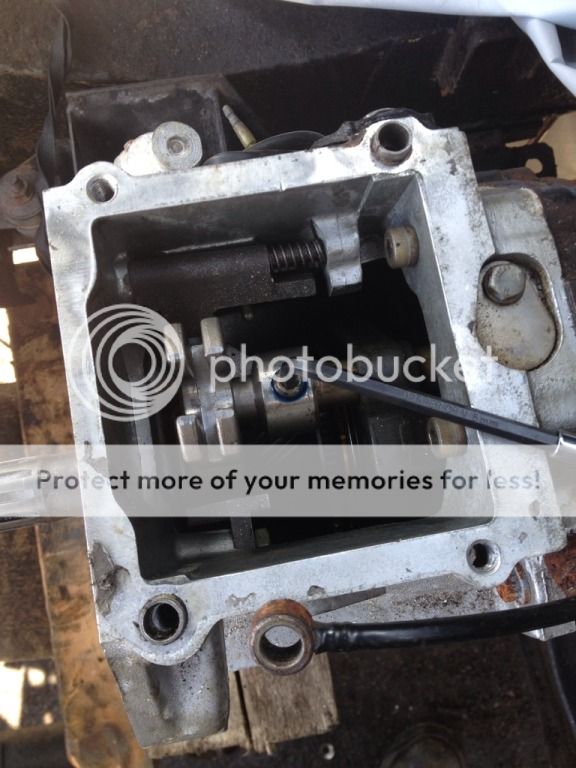
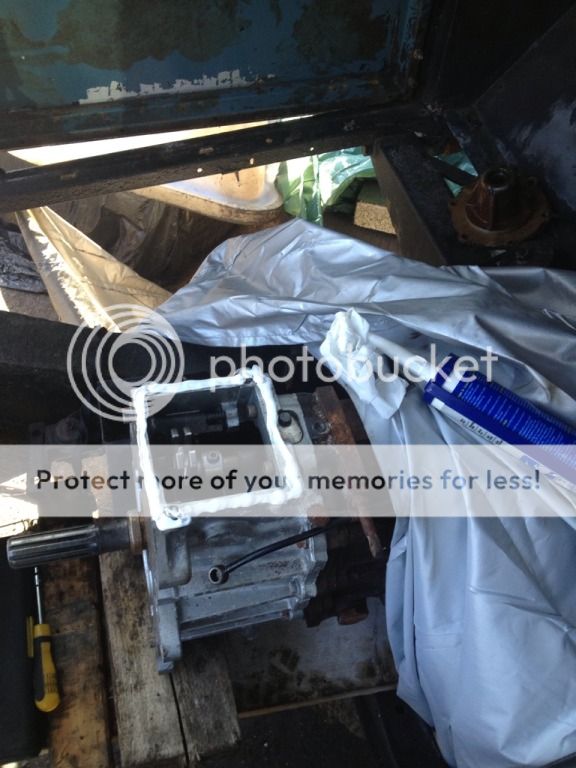
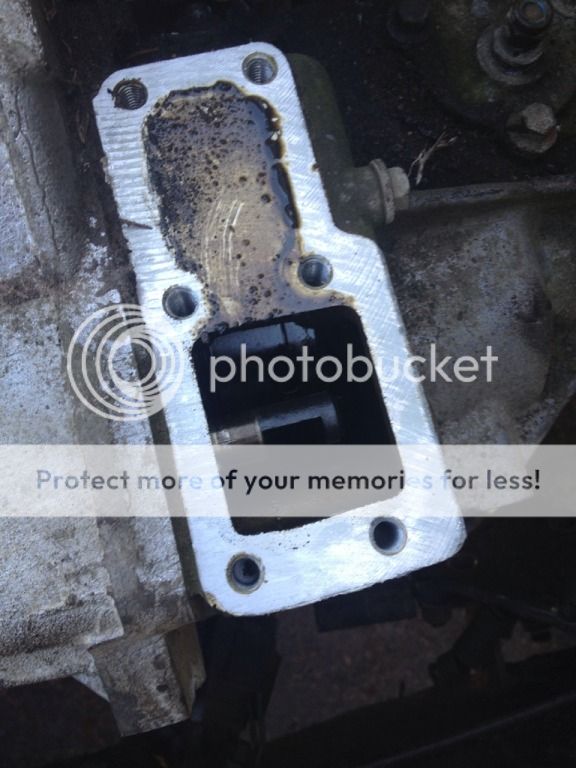
Remove the selector housing
Selector shaft exposed
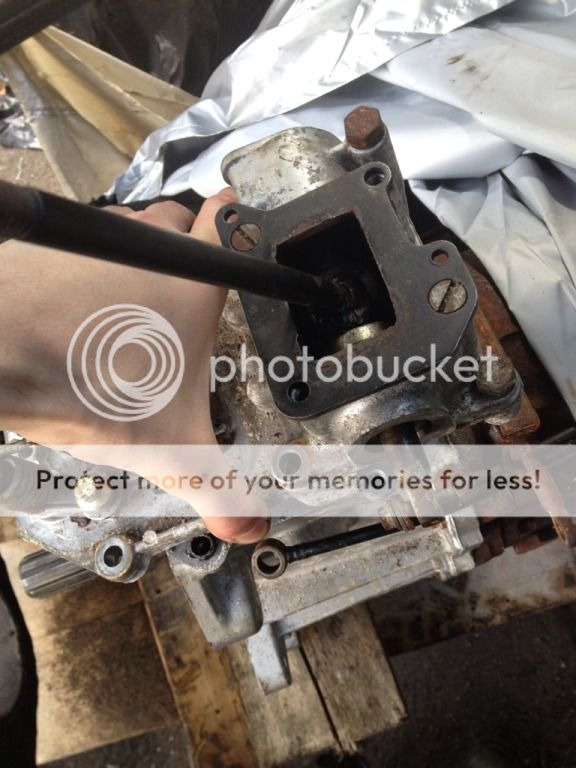
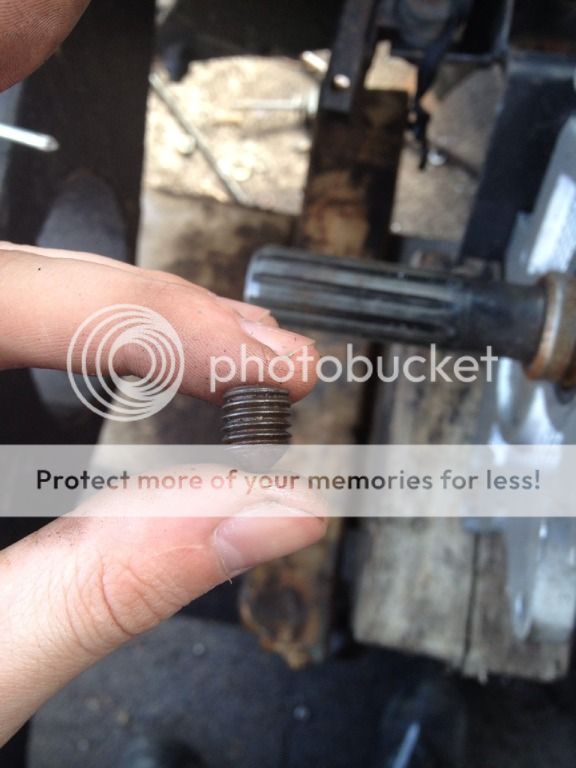
5mm allen key and a suitable driver to get some purchase on there
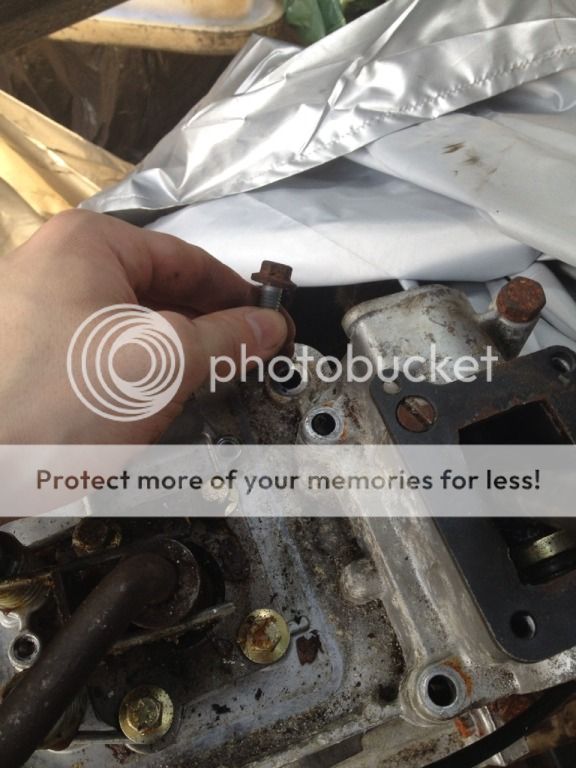
Remove the screw
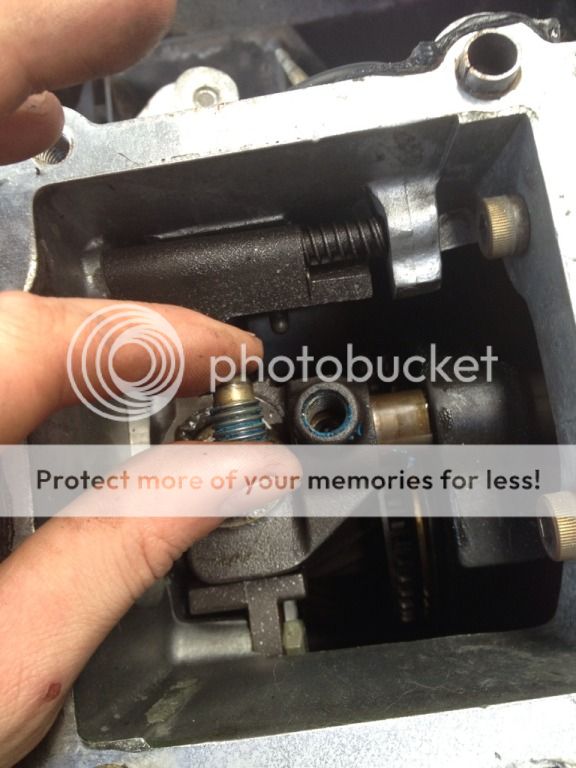
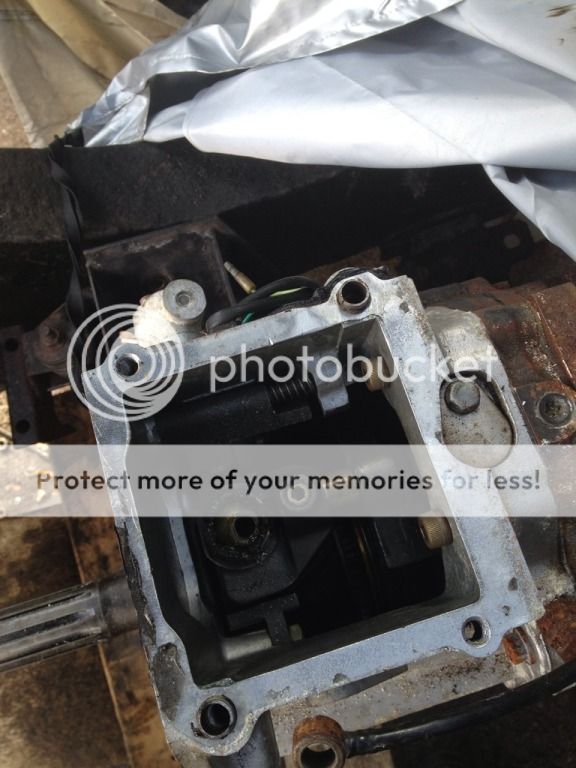
Other grub screw you'll need
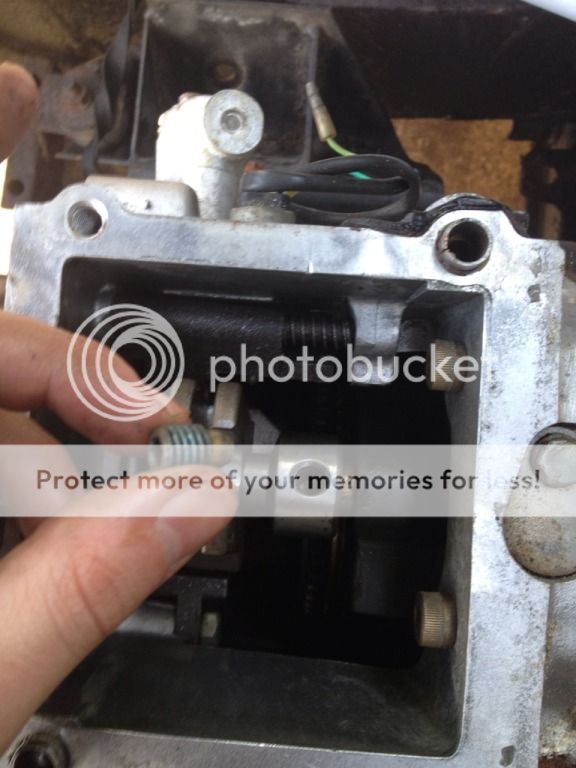
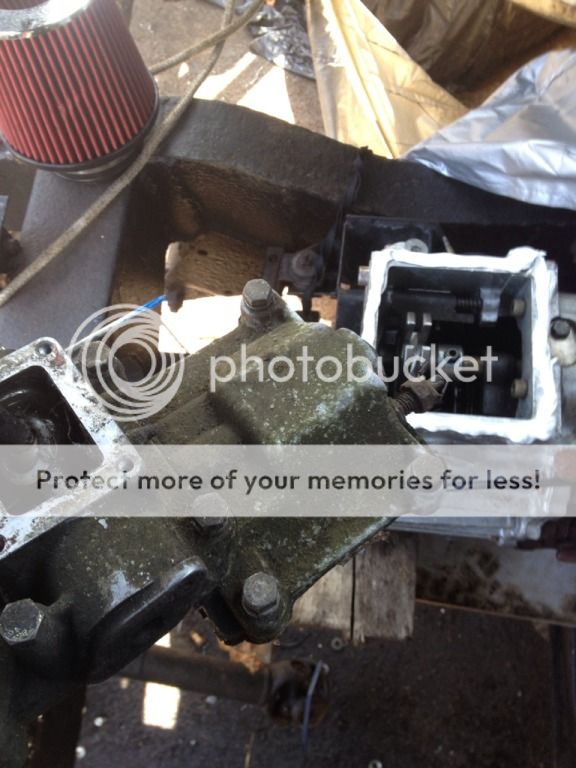
This is the selector rail adaptor

Gear selector quadrant
You need to push the shaft into third in order to get enough space to remove the disco selector and get the defender selector mechanism on there
This is the old mechanism
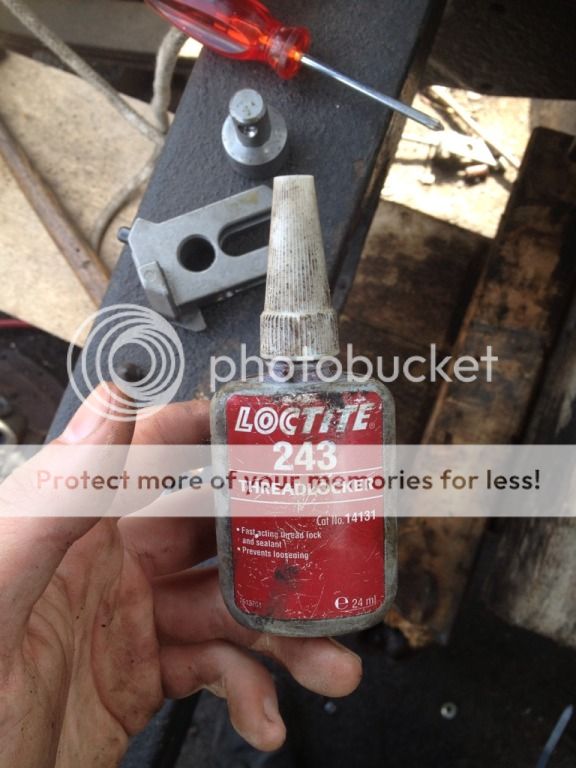
Apply loctite to the screws
Pointed one goes onto the shaft that slides into the selector
Tighten this mutha####a up! And I mean tighten!

Long grub screw now
Apply loctite again
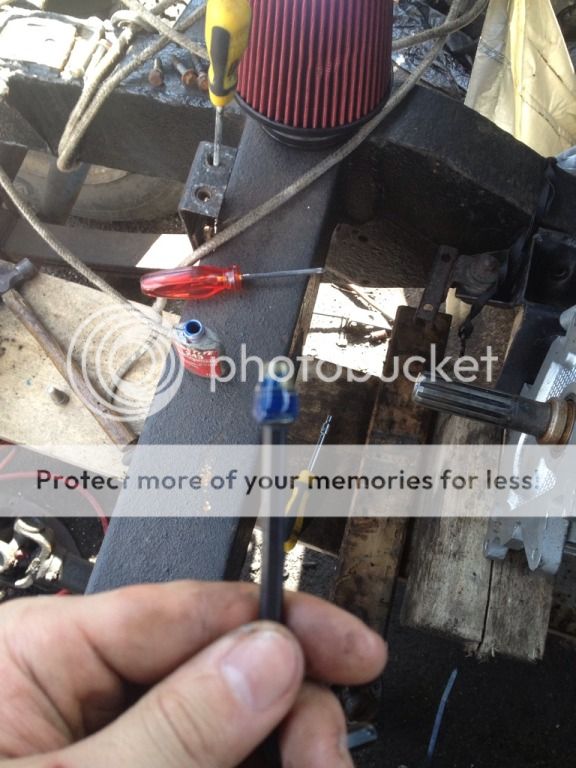
Again torque the bastard!
You don't want them coming undone!
Step back and take a break
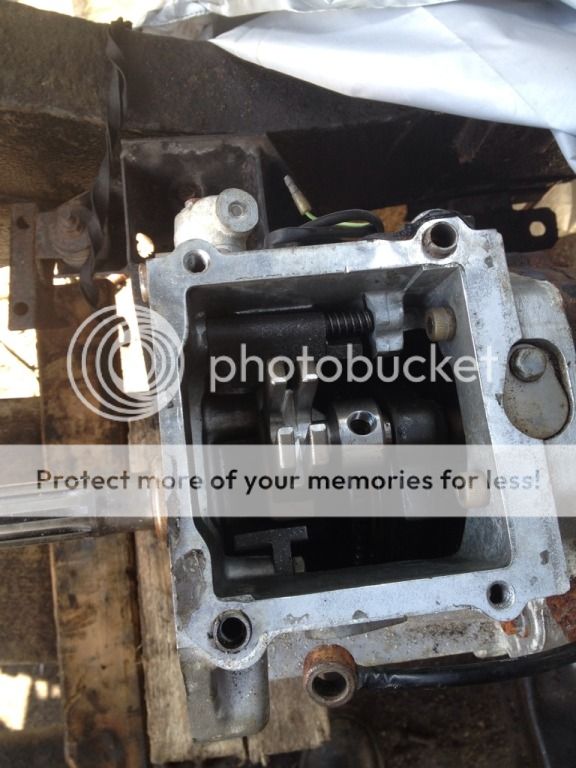
Remove the LT77 selector from your chosen storage space
Apply a good bead of sealant and begin assembly
Locate it on dowel and remember where your bolts came from
Begin with the long bolt

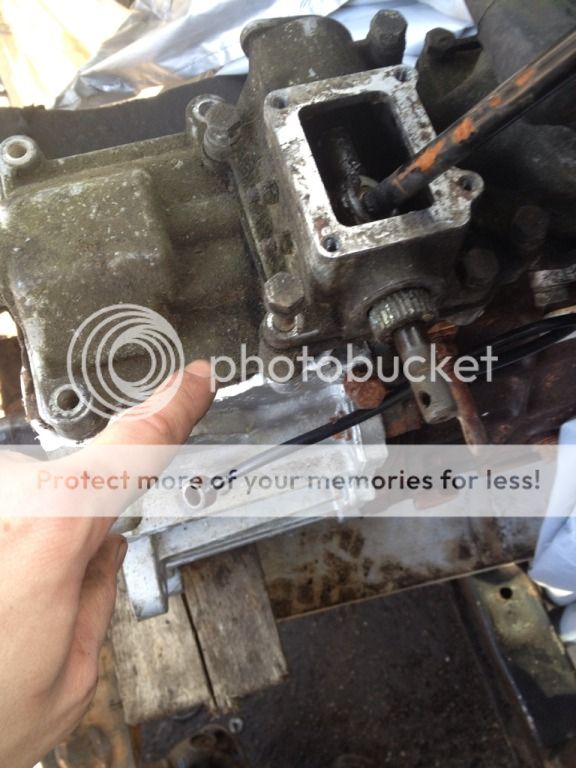
After this just tighten the buggers up, I found out I cant select the bottom set of gears too easily which on inspection looks to be the bias plate that needs some fettling so I'll sort that at a later date
So I did some more work after this as the sun was still out
Roof off
New crossmember in (had to grind a chamfer and remove some old welds from the previous owner) Needs welding in but its not going anywhere as I had to fit it with a No.1 engineers tool

Removed old crossmember (it had a hole in it and had water inside but was fairly solid)

My cutting disc ran out about half way in so had to use a hacksaw, cold chisel and a large hammer to roughly remove the rest, rain then stopped play before I could put the transfer box on so I tucked him in and set about tidying up
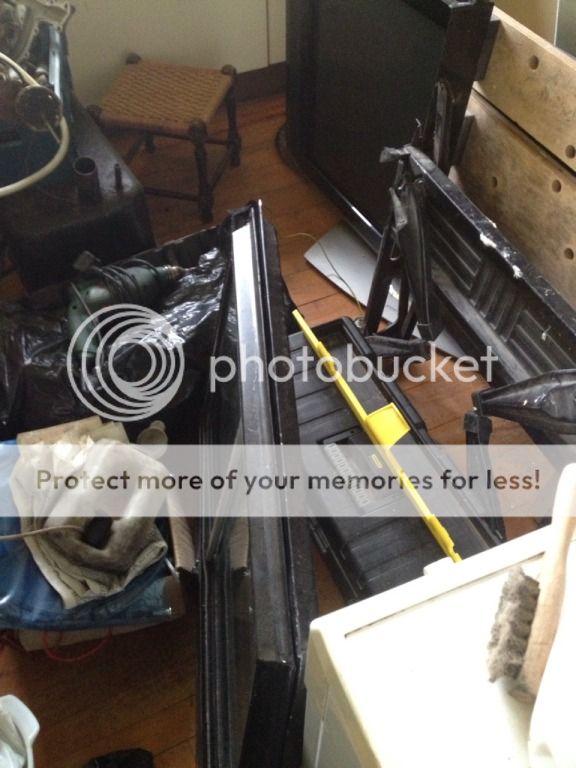
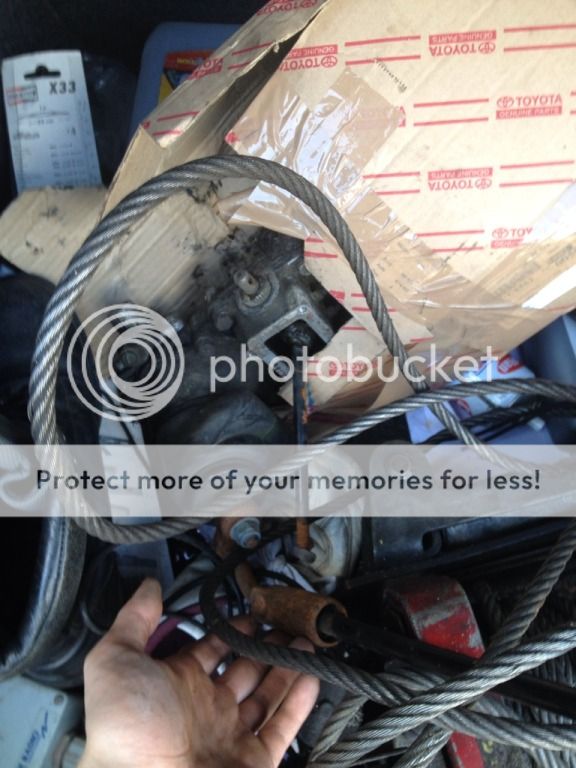
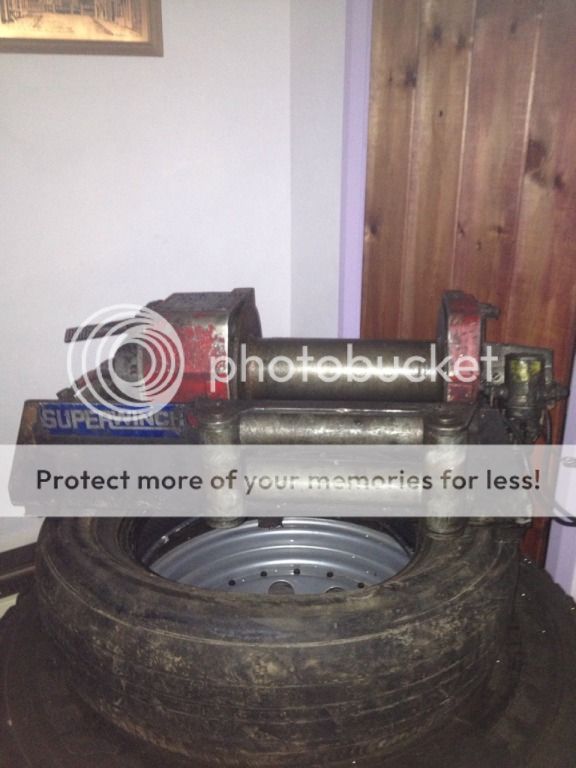
Brought the winch inside after this and began to strip it
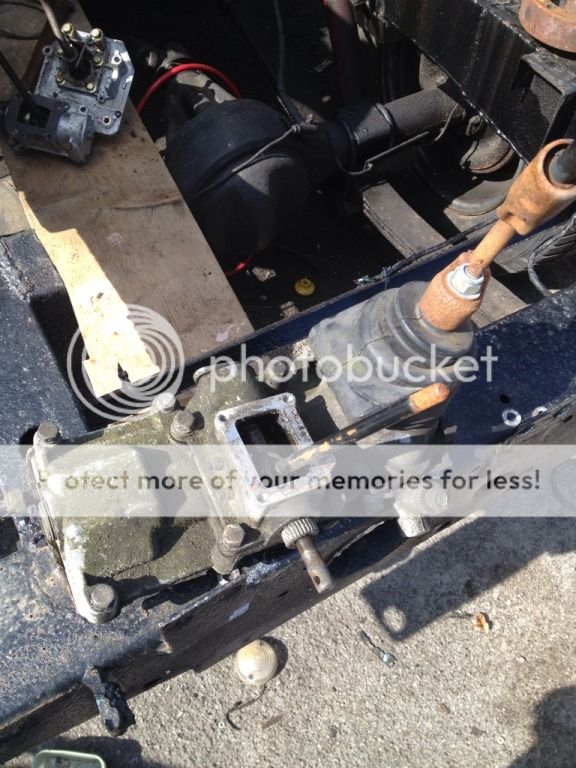
So today I got a bit of a move on again, sorted out transfer box and linkages, put body back on and started tidying it up ready for the new innards
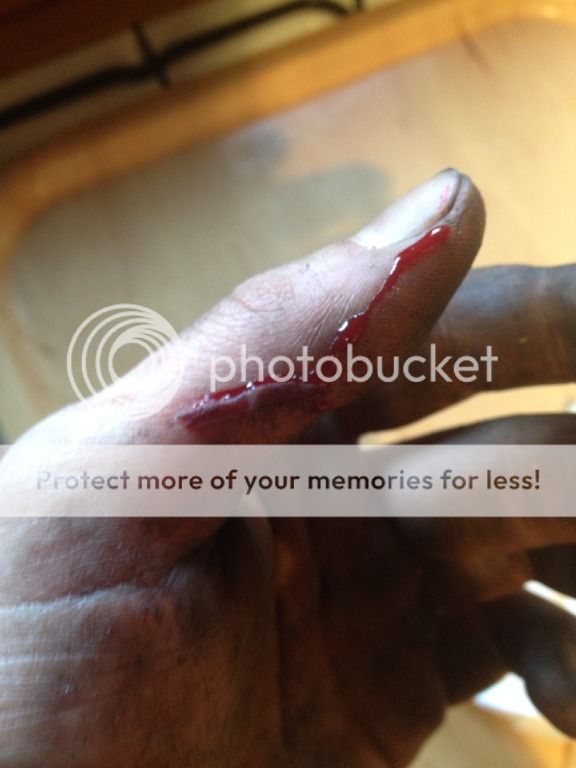
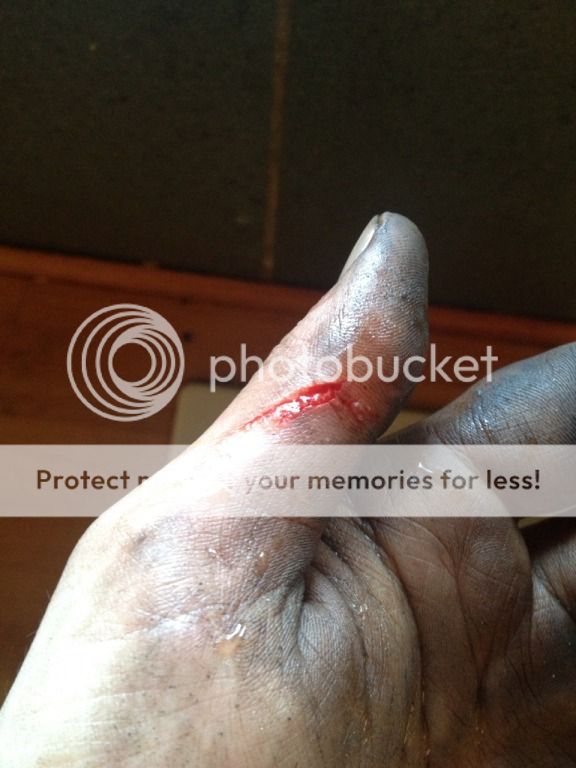
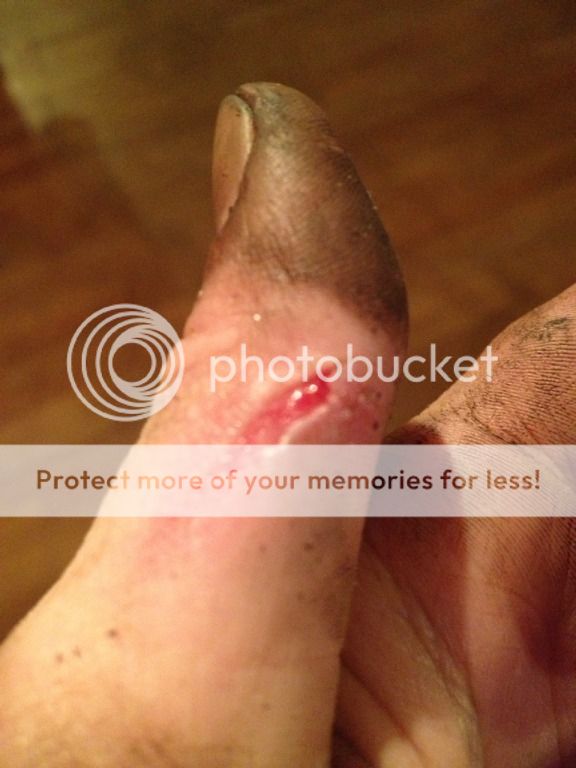
In removing the final parts of the old crossmember I smashed my thumb open :doh:
Anyway after this I moved onto getting the transfer box in
Removed selector in order to free it up
After this I hooked it up again and sorted out the linkages, now goes into high, neutral and low. Gearbox also selects all gears now that I've removed the T-Piece and plunger switch from the housing
Roof delivered and packed away (Cheers Egg
LT95 arrived too
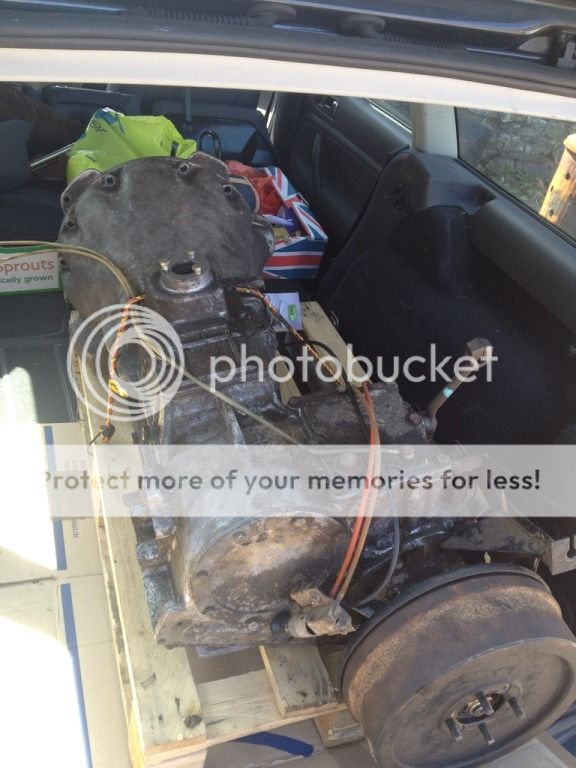
One man removal is simple with some planks, just lift up the pallet by hand and slide them under before using them as a ramp to slide it down
Rear tub back on (turtled it over then used planks to slide it on properly)


Sorted out the drivers side seatbox with some aluminium angle after this

Looking more series like again!

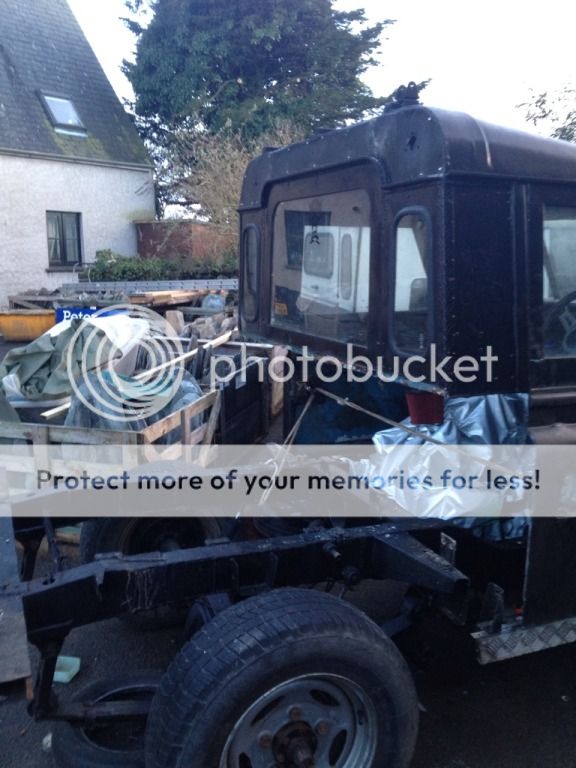
Packed up under a tarp again

Gonna get some more aluminium to sort out the floor and then make a start on the gearbox mounts, its getting there! Pace has picked up now and the to do list is rapidly shrinking
Found the missing pic
Semi productive day today, no pics as my phone was low on power and I really couldn't be arsed as nothing major was being done………..
On the Series 2a I changed the shock bushes…….surprise surprise the ****part ones didn't fit over the studs for the lower shock mounts so I had to used the same kind of bush that was used for the top. Fine they fit and with some compression from the mole grips went on nicely so the shocks got plenty of rubber on it now.
Think I may have been given a part thats been superseded for a lower pin style rather than eye.
Also fixed the exhaust mount on it so its ready for the MOT now
Onto the **** bastard that is my Series 3………….
One step forward ten back.
Made a start at tidying up the roof, re-drilled all the pop rivets to do again with a nicer set and began to shove more bolts into the bodywork to make it secure now that its nearing the end. Halfway through this process I found a dead homing pigeon that had been attacked by a sparrow hawk and somehow managed to bounce off everything and find its way under the workbench………..took a break to report it etc.
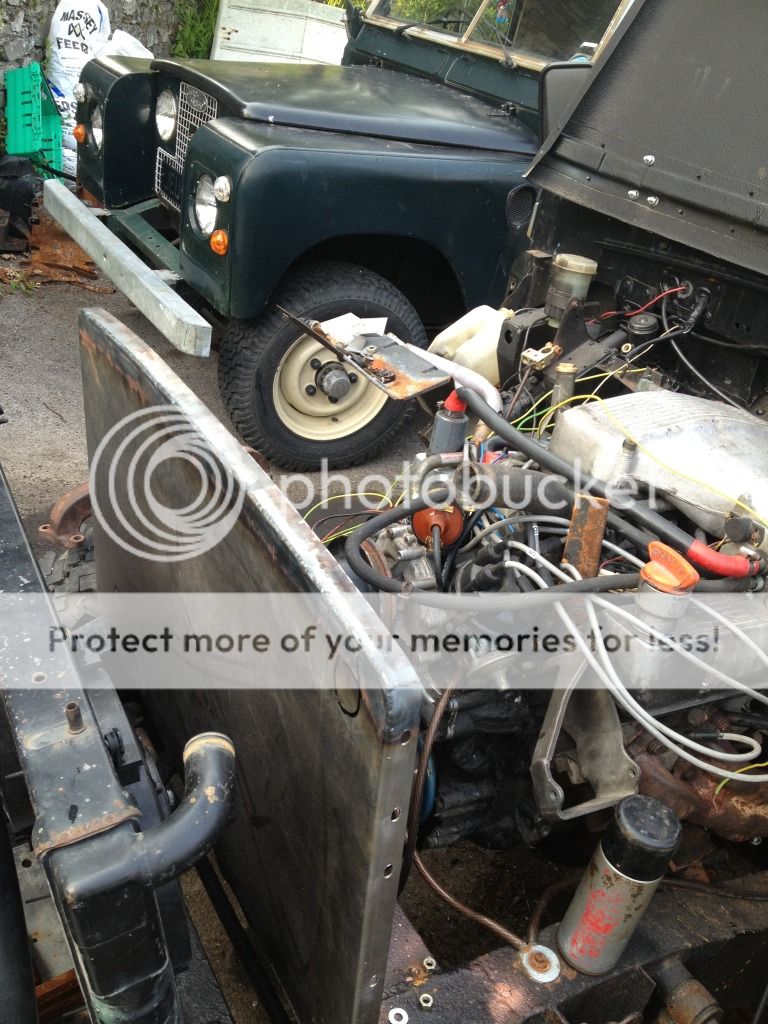
After this minor stall I measured up my rear prop length, it would appear that I'll only have a 280mm prop shaft which is 10mm shorter than the absolute minimum for any kind of decent prop. So I'm bringing the engine forward by 110mm leaving me with a 390mm prop (only 160mm shorter than standard then) this means I can keep decent travel length and reduce vibrations.
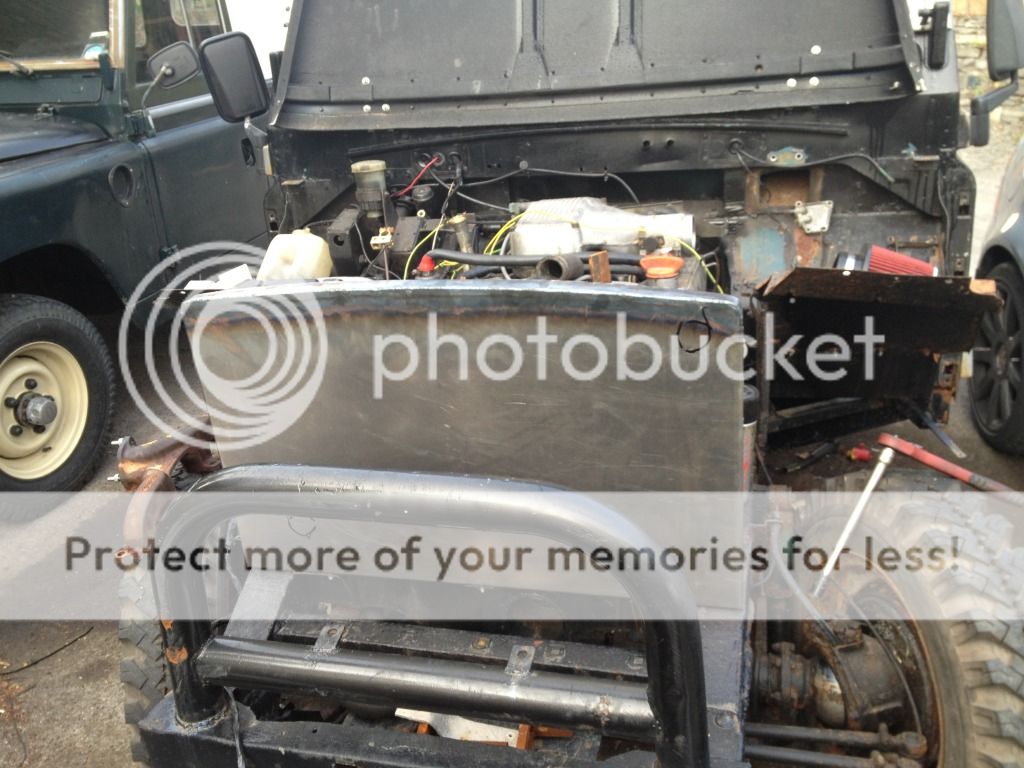
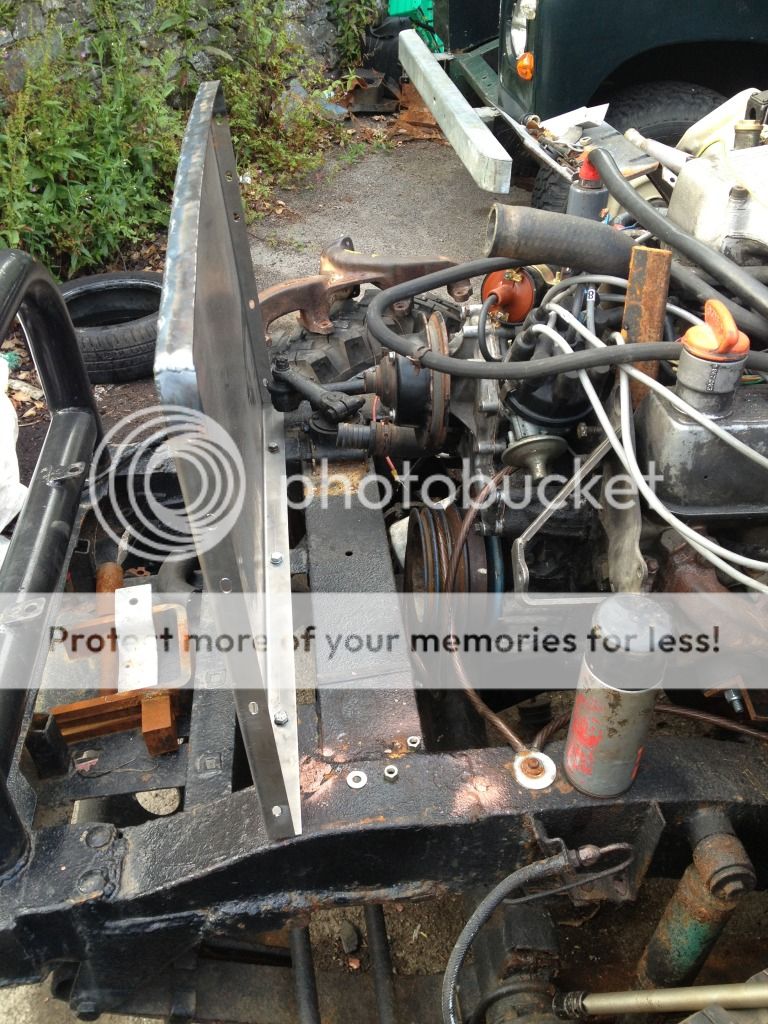
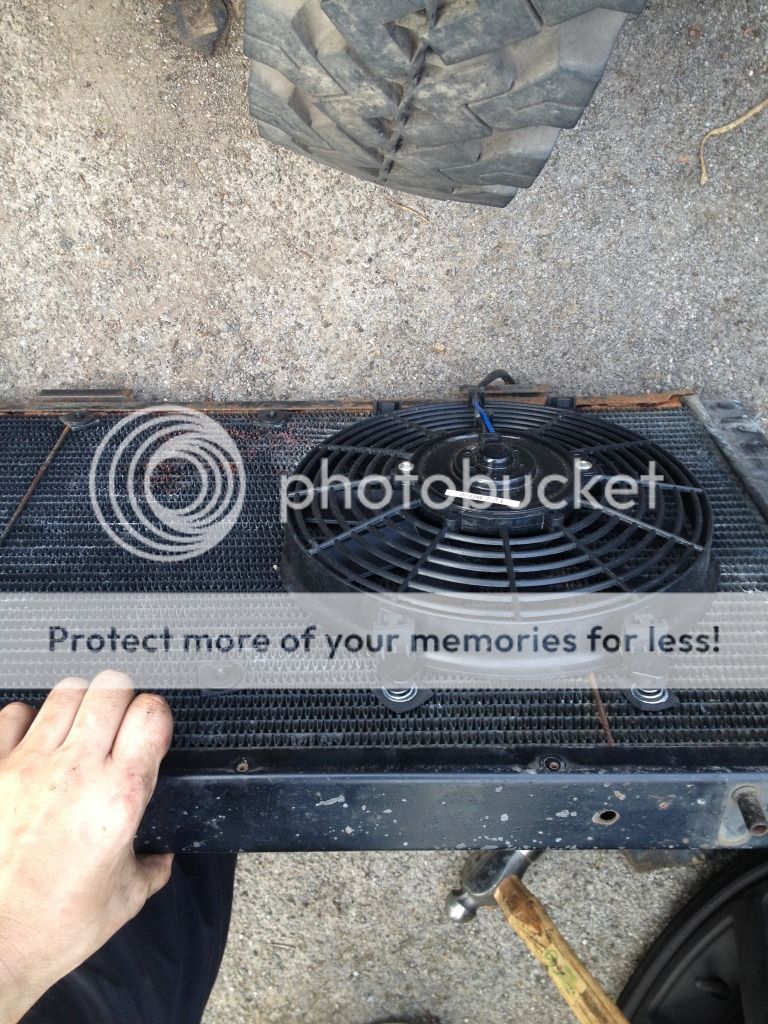
So in order to account for this 110mm loss on front space whilst keeping the series front the radiator has been relocated to the rear or will be once I fabricate some brackets for it to lie on.
Radiator wise in order to account for the lost air flow I'm going for a twin rad set up with triple electric fans in order to keep things cool. These are going to be underslung rads, underneath the pickup bed with a filler cap going through the bed. measured up and they'll be perfectly safe under there especially once I put a mesh stone guard over them.
The crank pulley also has to be shortened so that it fits which means removing the redundant PS and AC belt pulley so it has been turned from a long nose pulley into a stumpy pulley by removing the first couple of belt pulleys and bolting it back together.
In order to sort the engine mount problem I'm using some box section and offsetting it 30mm between the holes to give me a 30mm engine lift (moves filter away from axle) and then making the holes on both sides 110mm apart……….now with these I'm not sure they'll fit and without having the engine out to measure I cant be certain so as well as making some box section mounts I'm also making a set of Z shaped ones too.
Only box section I had was 80x80x5mm so I'm not sure if it'll make the mounts a little too tight a fit hence the backup plan of two 1/4" steel plates welded with a 10mm bar between them creating the Z and then the offset holes allowing for the lift and movement forwards
Anyway by doing it this way it means I get to keep the series front end for the looks and get a decent length rear prop shaft allowing for a bit of extra comfort on the manufacturing side of things
The custom engine rubbers I wanted have arrived so just need to get all my mounts made up
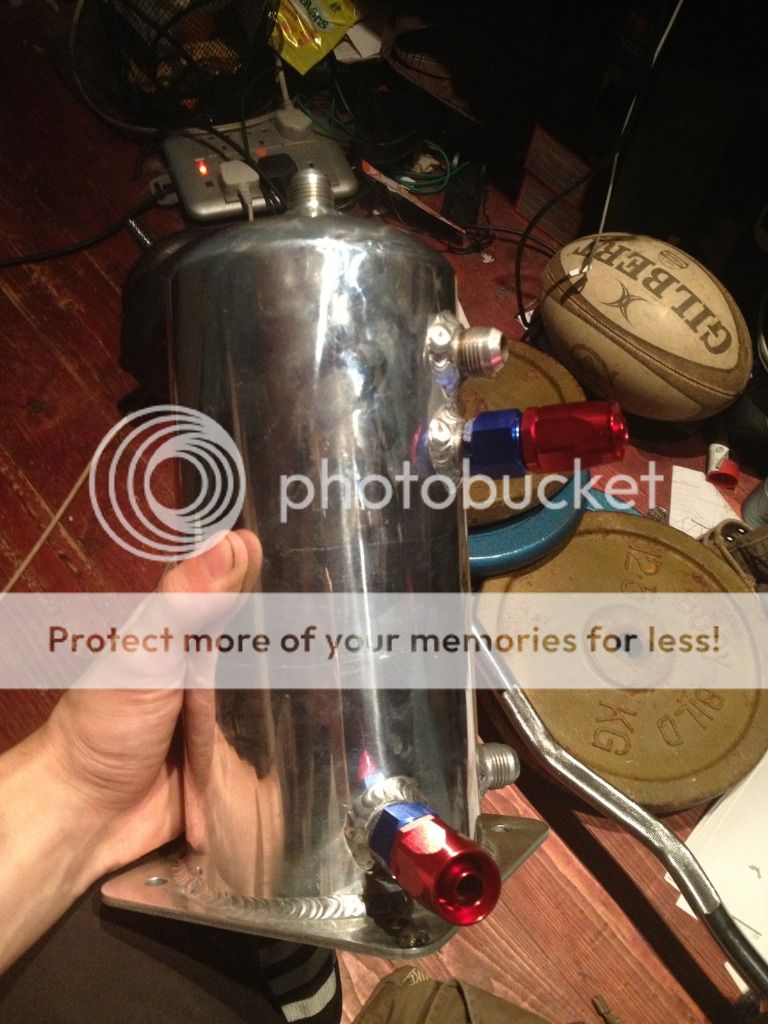
Fuel pump needs mounting in the tank although I'm planning on getting creative and making a special mini swirl pot for it in order to make sure its constantly submerged in fuel. Once the TIG's set up and I can be arsed I'll be making up a full new tank.
Essentially then next weekend once I move the engine forward I can put all the major body panels back on and finish off neatening up the roof as I want it to look pretty much factory flush on top so thinking a little smear of body filler over the rivets before sanding down smooth should sort that. Fuel tank job is going to wait a little longer until I can work out just how I want the fuel pump to sit or if its possible to mount it inline within its own swirl pot fed via the fuel return which I think it may be depending on which of the two high pressure pumps I decide to use
Final to do list and then MOT
So to go through it in detail;
Handbrake - needs to be a custom length so I'm making it up of thin steel rope in a heavy duty heat shrink tube. Shrink one end, pump with grease and shrink other end
Throttle - the cable has to be a custom length due to the set up so I need to make a new one out of steel rope/string again but for now a cable tie will do as a just get it moving mod!
Lights - the wires just need stripping, soldering and heat shrinking so thats an hour or two's worth of work next week
Washer pump - the old one was well past it and totally fubar so I'm just going to hood up and old fuel pump that I have and use it to provide water to the jets. Its a bit of an overkill but I have it spare so why not
Wipers - the wiper motor or wiring is buggered, so if its the motor I'll be taking off the bodywork as if the screens not there it cant be tested
Fuel gauge, speedo, temp guage - these need addressing for obvious reasons when running a V8
Exhaust - the exhaust needs re-fabrication as I've decided to go for P38 manifolds. So I just need to make up some downpipes and change the angles slightly but it does mean I get more or less tubular headers
Wings and slam panel - the wings obviously have the lights in them so they need to go on before the wiring but its just five bolts on each wing, one on the slam panel either side and three on the base. However my new custom slam panel now houses the radiator so I can keep a skinny viscous fan on the block which will no doubt help cooling a lot! It also allows me to more or less keep the series look seeing as I've had to move the block forward to increase prop length
Gearbox tunnel - this needs to be a custom size and shape due to me hacking up the bulkhead (it was fecked and I was bored) but I'll be getting it made from nice shiny ally
Seatbox and floors - as it sounds for floors but the seatbox needs trimming in the centre due to the width of the R380 and extra height over the series box. It'll be fitted and then the back end of the tunnel will be trimmed to fit
Rear tub and inner tub - the rear tub is a custom size and just needs drilling and riveting in place now
Rear bulkhead - this just needs a few longer rivets putting in the cappings as the small ones wouldn't quite go all the way through the capping and bulkhead
Fit and bleed slave - as it sounds, getting a new pipe made up atm and then need to wait for me new slave rod
Roof, back and sides - these need tidying up a little with some ally plate and body filler but not a huge job. Probably take me a day next week to fully tidy when its dry
X members - The Egg has given me an R380/LT230 crossmember (this is bolt in but needs welding due to the series not having the holes) so that needs bolting to the box, levelling and welding up and the central one I had to replace needs welding in place too as its currently just held in by the force of the chassis
Props - these are being done on the cheap……….using one of my old series ones I'm having them chopped down just to get me mobile and I'm having a disco rear prop shortened by 2 inches to fit the front of the series
ECU and MAF - the ECU is getting mounted inside on the passenger side of the gearbox tunnel in a sealed container so it doesn't get soaked. MAF will get mounted to the inner wing or rear of the slam panel I think
New wheels - leadfarmer gave me some nice cheap modulars with general grabbers on them so they will be replacing my old cracked series wheels til I can afford Mach 5's or ZU's
Fuel filter - just an inline filter before the regulator
Alternator and belt - need to decide if I want a right or left hand alternator as I have both brackets and then the belt needs putting on to drive it and the water pump
Finally the seats and belts - these are being brought up to me from stroud and I'm taking the disco 1 seatbelts from the breaker in the yard
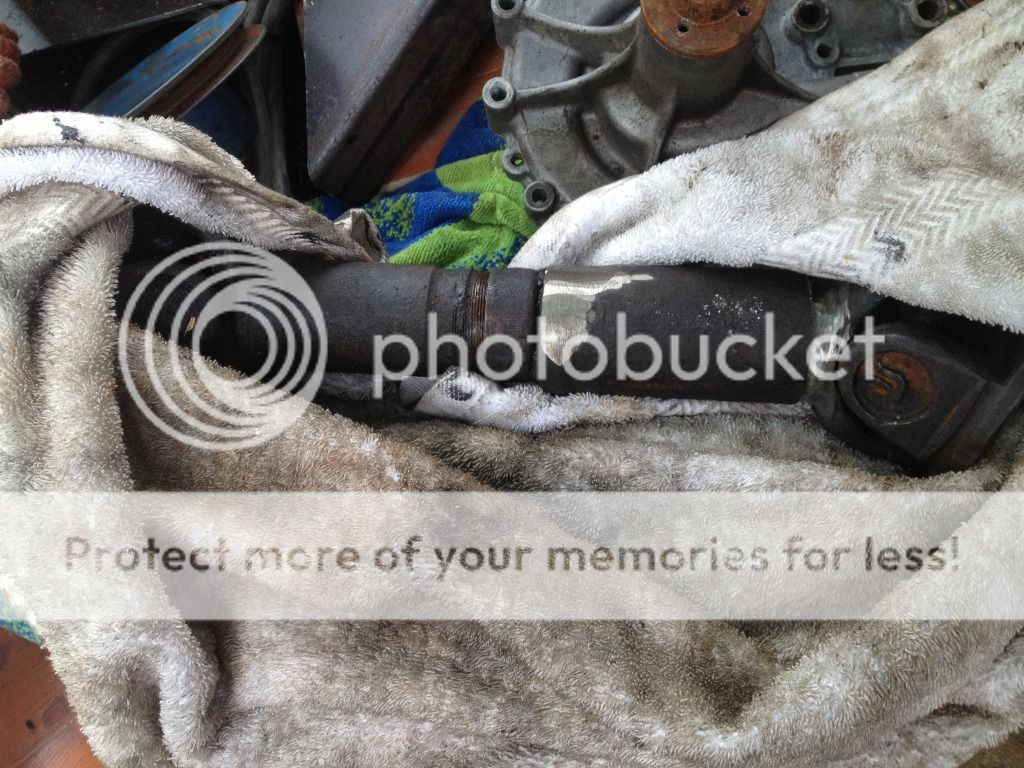
Diddy propshaft is diddy

Rear tub slipped in with no issues just need to rivet it in later, new slam panel blank is perfect and the only thing left to decide now is what to do about the rad and drivers manifold......
Drivers manifold now fouls the engine mount as it drops down in the centre so to get round this I can either fit one that exits at the front or rear. Rear would be the better bet, so P38 or SD1, with the P38 it's semi tubular like the passenger side and steel meaning I can easily modify it by cutting and welding
Rad wise I can now actually get away with fitting the rover one and lose three inches of the slam panel/body gap or lose two and have the Saab rad. Thinking rover one might be the best option as it has twin fans mounted to it already and if it fails then there's still room to fit the Saab one after. Not got Saab one with me as its in the workshop but rover one is pictured, will offer it up later in its final position once I make up a little bracket for the slam panel to sit on
Anyway pics!

Got the fuel tank return sorted out and then gave up and made the other series into an open top so we could go for a drive
Gonna sort out my radiator mods later this week or tomorrow if I can be bothered
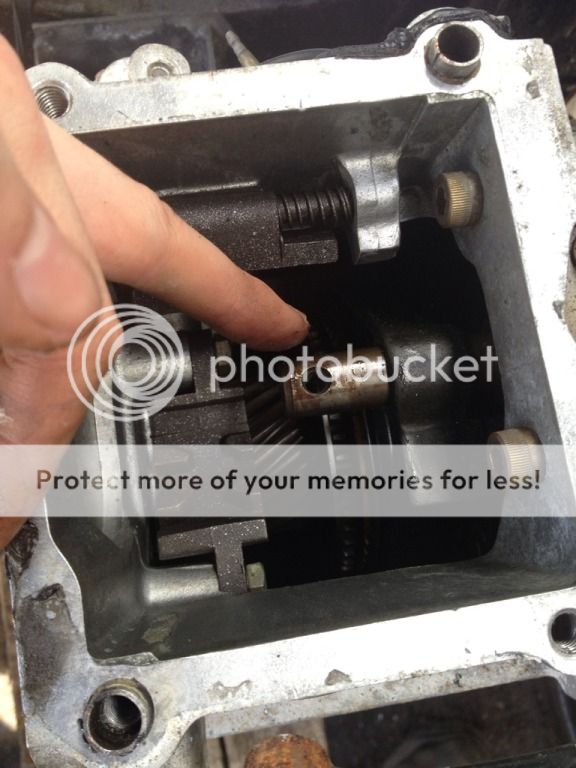
Whipped off the PTO cover on my LT230 to have a look at the input gear………
Well its tighter than a gnats chuff, no play whatsoever! Gearbox in neutral transfer in high and high lock as well as neutral, no slack as far as I could see. Turned dog gear on the end by hand and the others followed suit without hesitation
Decided to fabricate some new engine mounts this week too so I can use the standard exhaust without any modification. Far better option to do it right once I think. It'll never be standard again and an engine mount doesn't count as chassis modification as far as I can tell from reading round
Richards do offer the mounts for £20 from what I've read on other forums but if they're not making them anymore I'll fab some up. I want to make them slip over the chassis leg so I can get a weld on the outside, top and inside given that it'll be slightly awkward with the engine in there to get a full seam on the inside

Right, update time
Gearbox mount gotten, new engine mounts in process, radiator modification in process and feeling good about it
Sliders need picking up still as I decided I couldn't be arsed collecting them yet but yeah, this should hopefully be good to have a little drive around in at the end of week after next assuming my engine mounts arrive on time to get welded in and I can pilfer a littler inverter welder to use there as my oil filled ones far too big!
New engine mounts from Richards
Anyway D Day approaches!
Went in to check process of my rad today and it'll be a £60 job which isn't too bad…….gonna return the Saab one I got in exchange for some other useful bits from the scrappy. Thinking an old bike fuel tank would do nicely as a swirl pot with a quick mod, i.e. soft solder in a couple of hose in/outs

Ok just to expand a little on the work done on monday
We got the engine mounts welded in, the gearbox mounts welded in and that was it but…….
More problems have arisen, the drivers manifold now fouls on the accelerator linkage so thats getting hacked off next time I'm round, replacing it with a big foot pedal then routing some pulleys round in order to get it to work properly, the engine has been raised up fully so its as high as I can get it while being able to close the bonnet, this also means I can access the crank pulley for timing and it raises the sump away from the danger zone!
So this brings my to do list down to a more manageable level, the main job left now is simply to weld in a new hand brake mount but I wont be doing that til the seat box is modded and ready to sit in place, gearbox tunnel will be made up once I get that in too and the rad and wings will go back on too as soon as I chop off the throttle linkage.
One major flaw in my plan of raising everything up to give more under carriage clearance is that the prop angle has now increased to about 20* which is ok but too high for my liking (it has increased length too though) so the way I'm doing it now is mini prop and a CV flange either side to give me plenty of working angle
Shiny shiny
Look at this for a swirl pot
Series is coming home to mine in a few weeks as well

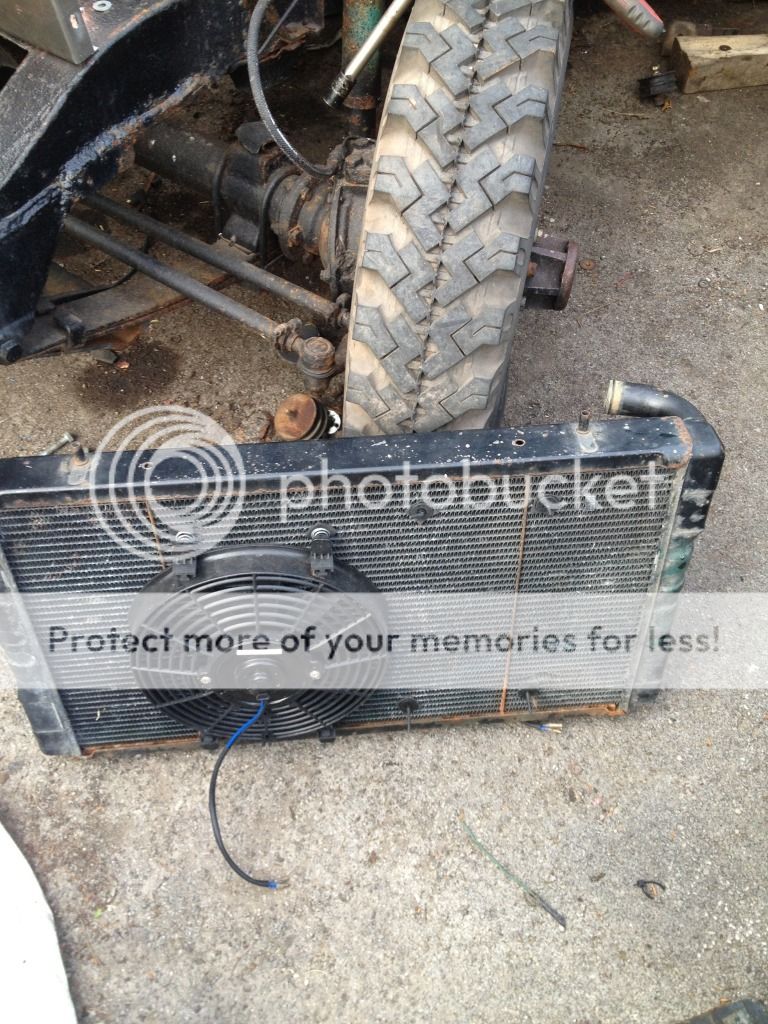
Heres the shiny new radiator
Rated for 190bhp IIRC so more than enough to cool the V8 especially as I'm running an oil cooler on it too
Need to cut off a couple of the tabs as they aren't needed for fitting it into the V8 for that I'll just be using the stalks on top and bottom


Ok done a little phoning about
£250 for a wide angle UJ prop shaft working up to 30* or if I need 45* its £600
So if it does turn out that I need more than 30* I'll be making an axle and keeping the series as front wheel drive until I get that done!
And with that in mind the axle would need to be made up with the diff above the drive line so that you bring the working angle closer to the 180* neutral…..so I'm hoping when I make up the triangle to check working angle at full drop and standard running height I'll get away with it!
As long as running angle is good I can put on axle check straps to limit the drop
Thus you want something like this
Or in home made form, take a diff in its own freestanding housing and build it into a casing. I'd be looking at a Jaguar LSD and then building it into a tubular frame using UJ prop shafts with no sliding section for the rear and ending up with something like this
This is a more crude looking one but you can see it all fitted up

Bastid V8
What about making an atomic axle?
Was thinking about making one tbh, definitely be preferable to make them but it'd lose me two more points so I'd be right on the limit for tax exemption
However given that I have the tools and the ability to do it I'm only one small push away from making a set of leaf sprung atomics……they would give me an awesome stance too!
Jaguar rear diff then a matching ratio front diff as the XJ40 is a 3.54 LSD and build them into a sealed housing. Run them to CV half shafts onto the stub axle for the rear and on the front I'd have to make a female adaptor for the CV joint then a male adaptor for the hub
Would need to make up the front axle casing by doing some cut and shut with a standard axle to retain the steering arm links but then I could widen it to give a better stance
These are Bobby Long's axles (bottom pic) he made for a leaf sprung Hilux, would go down the same route, couple of folded pieces of sheet with reenforcement bars on the casing insides and out and then welded to a diff casing the inside would be bolt on in order to make changing shafts easier if they snapped, mine would differ slightly in design but I have access to a small lathe outside of uni.
To get round the hub problem as said I'd weld on the landrover ones but modify them to end up like this, I may extend the axles outwards though as said to make the series sit prettier
This is what an XJ6 set up looks like without the subframe…….bollocks……..its more or less perfect for my application
Create a subframe that will match the landrover casing and thats not hard either as I know theres an empty axle casing down the road from me I can borrow for dimensions to make up a subframe that holds everything steady and bolts to the leafs…..use extended CV shafts and UJ's to create a fat ass rear end and raise the diff up by 3" bringing it perfectly into plane with the handbrake drum…..
FFS its all doable

It as of last night
Ready to go!
Quick pic of the two
And in its new resting place
Definitely need some bigger tyres and to sort out the wings!


Just bought £122 worth of fuel pipe and fittings…….5M of AN10 hose (armoured version), 4 x 10mm brass straight connectors, 1 x 90* AN10 connector and 2 x straight AN10 connectors and 1 x 10mm brass Y splitter
Should be here thursday or friday so I can fit the swirl pot in properly!
Seat box chopped up and bolted in, taken quite a bit out of the centre so there'll be a few strengthening panels being fitted in to give it back rigidity
Tomorrow I'll be putting in the slave cylinder and bleeding it, riveting a few more repair panels into the rear tub and if all goes well I'll also be able to plumb in the rad! Weather says sunny so I'll be up and working from about 10 ish to try and get as much done as I can
Also got hold of some aluminium sheet to repair the wings where the bolt holes on the side for the slam panel have rotted away.
With any luck I may also be able to plumb in my swirl pot and radiator, just need to drill a couple more holes in the slam panel spacer
My rear axle is coming into stock next week so hopefully be able to travel down and pick it up and I've found out why my parabolics look so low! (only got 5" between bump stop and axle casing) It looks like the PO has packed the rear axle and raised it up 2" for some reason as theres some wedges under the axle. However I'll just renew the springs with a good pair of SH ones as they are pretty shot, front ones aren't packed yet they're even closer space wise. Definitely past their prime!
Also picked up a battery as well as a complete relay panel with flip switches for the ignition system and other things like spot lights and electric fan.
Seat box bolted in……ish! Only put about 4 in to hold everything in place
From the top, large section of the strengthening had to be removed to fit in so this'll be getting a beefy repair section riveted in during the next week, can also see where it had to be cut to get over the drive flange and diff lock mechanism. Also moved the handbrake blanking plate from the passenger side to drivers and I'll be riveting in a panel on the passenger side purely because I cant see it then
Had a plan for the rear axle to gain a bit of extra articulation as some upward travel will be lost otherwise with the raised diff. I may scallop the crossmember and add in a bulge to the rear tub bed in order to allow a few extra inches of movement.
Will see how the jag axle looks anyway once I get it here


Right, got a bit done today.
Slave cylinder and clutch rod on, now as we all know this is a b*stard of a job but one tip, buy the landrover original slave clips! I had one original from the old gearbox and two britpart ones, the britpart ones are far less flexible even after a hot water soak!
Picked up some mineral based clutch fluid too seeing as everything is old! As well as red coolant ready for the rad filling.
I drilled holes in the spacer plate ready for welding in tomorrow, basically just going to tack it in as its not going to go anywhere
A nice man dropped off a Mocal remote oil filter for me too and I chopped off the old throttle linkage ready to make up a new one seeing as the last owner made a hash of it anyway.
Oh the exhaust manifolds are on too, scrapping the idea of tubulars for now!
Tomorrow I'm going to bleed the clutch if I have time, tidy up the birds nest of wiring in the engine bay as well as a little bit of general tidying inside and hopefully plumb the rad in after making up a few mounts for it to sit on!
Heres a few pics to keep you lot happy anyway, ignore the droopy looking wings they need bolting in fully still and I need to make up a plate to sort out the wing mounts to the slam panel


Picked up the four modulars with 35's today
Will try and fit them on the series tomorrow and take a few pics of them next to standard 6.00, 7.50 and 245/75's for comparison! They look crazy


Original puny tyres! 6.00/16's

New 35/12.5/15's or 320/140/15


Exhaust down pipes on, last tyre on, floor pans in and remote oil filter on too. Will put up a pic or two later.
Tomorrow is more wiring and finishing off the rest of the exhaust, bolting in the seat box a bit more, radiator mountings need cutting and sorting out so it fits in without wobbling
6.00, 7.50, 35


The last bastard to go on


The piece of wood here is 14" tall so you get an idea of clearance!

And in this one it just looks pretty damn good

Rad mounts take one……. 30x30 box with a 15mm hole, the rubber shock mount can then be squeezed in with a little help from a flat head screwdriver, After this I found the rad sat a little too high for my liking so I drilled holes in the spacer plate shown below a the same size then put the shockers in there
Welded in the spacer plate but its been put in so I can revert at a later date if needed
Shiny aluminium race radiator
Bonnet up ready to go in!
Rad in and 99% plumbed, just need one on the top pipes that run next to the plenum
This is the gap between bonnet and new panel position
Heres the front view, the slam panel needs raising up a little and now I can see the gap I can also extend it backwards too.
The bonnet currently sits on the rad cap but it wont do after I finish with the modifications, there will then be a 3/4 gap between wing top and bonnet base so I'll be filling that in by making up a ventilated panel to allow more air into the engine bay


Running fully
Had to go to the gym at 5
Here we go, ignore the rattling thats a loose bolt I need a nylock for
Will do a proper update after dinner but this is the vid
http://www.facebook.com/photo.php?v=696679417010551&l=8614320167612301460
Maf plumbed to standard intake position, making up a nice air ram for it next week

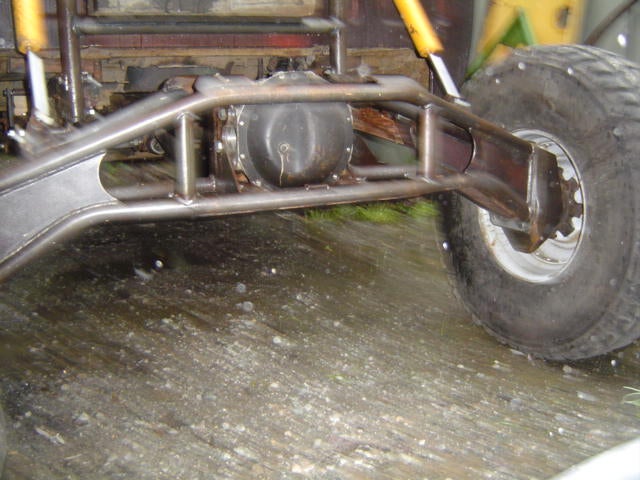
Heres the axle
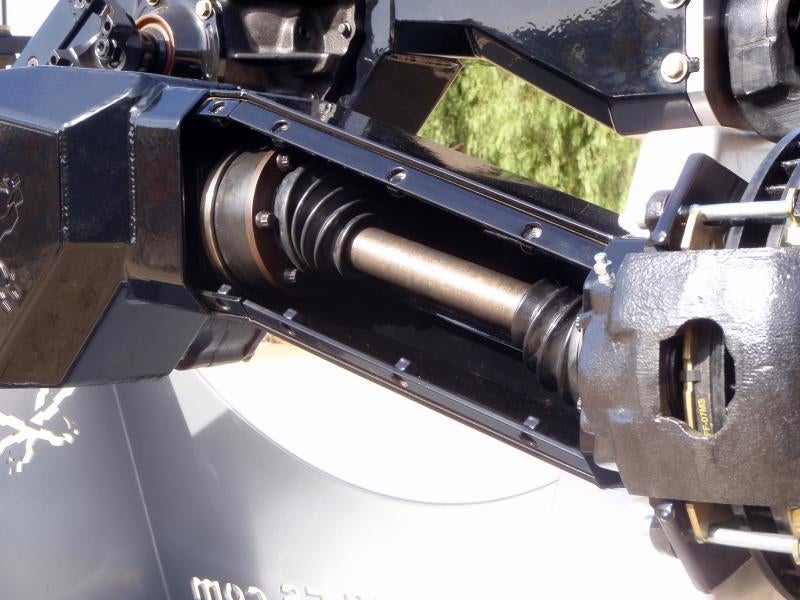
So that was the subframe off and then onto the CV drive shafts! These things are very beefy
Other one off
One bare diff with brakes
One free brand new 4.0L Jag V8 radiator with fan and oil cooler…….may swap it into the series if its not too wide
Not sure if you can make it out here but it says 3.54 on this
Then I dropped it on my finger
Anyway onto the drive shafts, hubs and other free bits. Leather steering wheel off a jag, new bearings, flexi-brake lines and seals too and the hubs/shafts are 10 spline so some salisbury rear ones may just fit!
The UJ's also have more than enough angle to allow me to lift up the diff 2" or slightly more in order to bring the drive line closer to 180*
One free Valeo 140A alternator


So heres a fairly rough axle case design, need to get hold of an old axle in order to get proper dimensions but fairly simple four piece axle
The case has the diff fitted inside via eight bolts and then three cover plates bolt on over the top. These cover plates allow me to get access to the UJ's in order to grease them, service the brakes, drop the oil in the diff etc


Only a couple of pics as it started ****ing it down and I didn't want to take my phone out after that
Anyway I've used M4 stainless bolts on the rear tub instead of rivets……hate rivets
Also found out with a tiny bit of trimming the V8 Jag radiator will fit so the honda ones getting drained and I'm fitting the Jag one. Better to overcool than undercool plus the Jag one has a fan fitted already which means I don't have to make a bracket


Right got a decent bit done today
Most of which wasn't on my original to do list :doh:
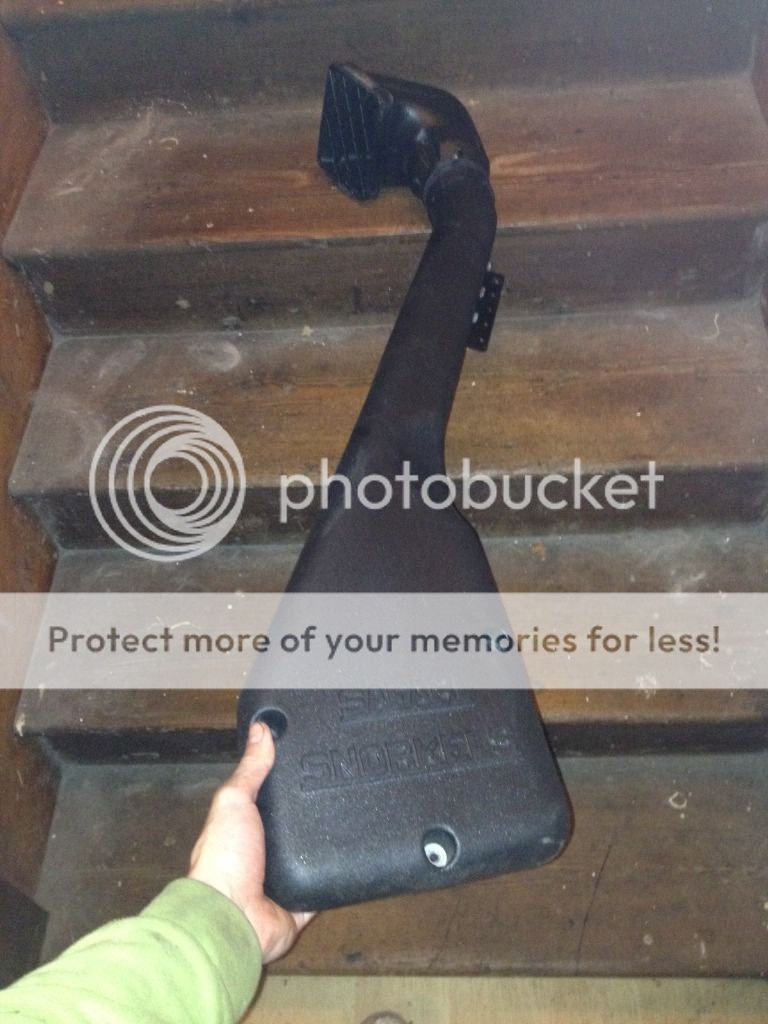
Got back after picking up a snorkel for it and went to remove the wing so I could bleed the clutch first and then sort the MAF plumbing out to the snorkel as its easier that way with my set up…..
This didn't happen! I spotted a rust bubble on the side of the bulkhead pillar and poked it with a screwdriver…….bad move, found some rust! Ground back paint and found a little more.
Broke out the stick welder and ****ed straight through it :doh:
Following this I had to drain the new rad which took a while as I was trying to save the coolant
Unbolted the slam panel ready to cut the air vents and then I took off the drivers wing! Thankfully no rust on that side of the pillar.
Tomorrows job therefore is to finish off the front end
So snorkel, MAF plumbing again as it turns out a disco air box is perfect for my application, put in the new Jaguar radiator which is a better fit than the Honda one (was free anyway and brand new with a fan), refill the radiator, wire in the front lights, paint slam panel and mount the remote oil filter on the wing


So got the clutch sorted, drivers wing on, rad mounts modified for the 4.0, new thermostat ordered and I didn't shear any bolts either
New radiator in place
This is the bulkhead, been sanded down properly and painted now


Put the sliders next to the series to get an idea of how far they'll stick out once welded up
After this I bolted on the front wings and sorted out the radiator pipes for the 4.0 rad I've acquired
Jag wheel fits nicely
And now its packed up


So today, new bulkhead
Oh new brake servo too as I'm doing the same brake set up as sam has on his


Small update whilst I'm having lunch, slam panel marked and cut
Its currently drying off as I've just given it a coat of red ox before the tractor black goes on
After that I'll drill a couple of holes and attach the grille


In red ox
And the mesh grille starting to take shape, I'll be putting a frame round it before fitting
Sorted out the radiator hose too so the rads ready to fit I just need to paint the outside of the slam panel again as it started raining before I could get the paint on!


Gearbox out and now in the house, gonna start stripping it in a bit


Ok onto today……other than getting the collar pulled and ordering the gearbox bits heres the rest!
One new recovery point……..this is the NATO 7.6t pintle, so more than suitable!
Two cubby boxes I acquired but have no use for so they'll be up for grabs soon enough
One mud stuff dash with wiring and carling switches
One set of gauges
Three free pairs of very nice Record Stilsons!
A Record vice again free
Screw jack
Copper and graphite grease!
Ignition button starts plus a rather beefy recovery point, again free
Many free relays!
A set of idiot lights and a whole load of switches plus wiring
One free cross drilled LT230 input gear
More free cable ties than any normal person should need and some brand new jate rings too
And finally a home made wiring loom with switch panel that will be used for lights, washers, aux lights, air horn and more or less anything else I fancy seeing as theres a good few relays not being used.
Everything is fused too so it's nice and safe


.
Last edited: