auld duffer
Well-Known Member
- Posts
- 577
- Location
- scotland
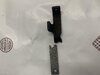
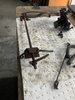
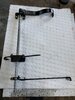
rev teeth on idler and layshaft 1st and 2nd dog teeth, 2nd and 3rd bush
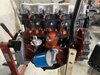
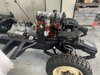
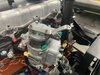
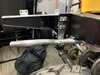
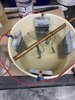
Will look out for those areas .. thanks, it s not a box I have heard but one I have been given from a stash of spares,so an untested unknown start .. would have got some clues if it came from a running vehicle, but beggars cant be choosers
")