I just hope that if anything happens to me that my wife doesn’t sell my landys for what she thinks I’ve spent on them

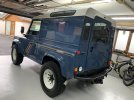
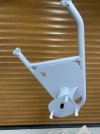
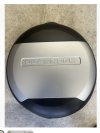
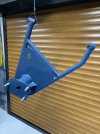
excluding buying the landy which I paid a little over, but worth it just for the Anglesey provenance. Parts alone it would have costed me circa £13k once I purchase the finishing items spare wheel carrier, tyre for spare wheel, spare wheel cover , sound proof bonnet liner and side steps.
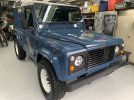
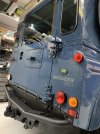
However this 300tdi is as, sorry better than new no nut or bolt has been unturned. If it was for sale I would have to be looking at min £25k that would equate to a labour rate of £2.50 an hour

But thankfully this is my hobby or should that be therapy! this is why I dont have a time frame or short cut on anything, if I’m not happy I redo or replace.


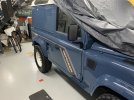

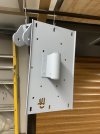
 even bought a waterproof thermal cover as well, bought one off ebay for the series 3 they are only £40 ish but excellent for keeping them warm and dry.