Project 1989 90 (Bruce)

This site contains affiliate links for which LandyZone may be compensated if you make a purchase.
had a quick look at my stripped chassis, there is a mounting bracket bolted on to the rear crossmember.
see attached photo of old chassis bracket and also pic of new rear crossmember, there are untapped holes that go thro both skins.

Cool rebuild by the way !


On mine, the holder for the exhaust bolts to that oval shaped bit above and to the right of your exhaust holder looking from above. Mine's a 200tdi though....


Yes, here it is
landy%20back%20shrunk.jpg
 
Last edited:
had a quick look at my stripped chassis, there is a mounting bracket bolted on to the rear crossmember.
see attached photo of old chassis bracket and also pic of new rear crossmember, there are untapped holes that go thro both skins.

Cool rebuild by the way !

On mine, the holder for the exhaust bolts to that oval shaped bit above and to the right of your exhaust holder looking from above. Mine's a 200tdi though....


Yes, here it is
landy%20back%20shrunk.jpg

thanks chaps

seems like i am going to either fabricate something along the lines of the original or modify the exhaust hanger to fit the one for the 200 tdi. i think ill hang on until i have an engine in and the rest of the system roughly fitted to save it from being incorrectly routed
 
Defender sam

Just sat and read all 9 pages mate, very inspiring stuff. Hats off to you you,ve taken your time and the finished project will be better than when it rolled off the production line.

If i could acheive half the results you have i would be a very happy man!:D

Looking forward to continuing reading about your progress......its given me a wee rocket up the arse.......hope the bank agrees .:rolleyes:
 
Defender sam

Just sat and read all 9 pages mate, very inspiring stuff. Hats off to you you,ve taken your time and the finished project will be better than when it rolled off the production line.

thanks a lot got my inspiration from 90 truck cabs rebuild of his series two, i couldn't find a series locally so settled for a 90 less than a mile from me. its taken over a year to get it this far and probably late spring early summer till its back in the road, hopefully worth it tho.

on the subject of progress had a steady day today started by fitting the diesel tank followed by the seatbox,

IMG_0103.jpg


IMG_0104.jpg


then started to fit the plinths for the NAS spec lights couldn't complete them though as i need to get a holesaw to enlarge the holes in the body.

IMG_0101.jpg

any ideas whether my number plate light will be ok like this or will it need the extension piece?:confused:
I've been advised it because the number plate is quite tall, but we didn't know whether it would be ok without, i guess i will have to test it and see.
IMG_0102.jpg


Sam
 
Last edited:
YRM are cheapest to get them from - Land Rover Defender Rear Crossmember Exhaust Hanger - YRM Metal Solutions

I know when I replaced my crossmember I asked for new ones, as I like to replace potentially dodgy bits - paddocks recommended keeping the ones I had as were about £30 each!

the ones for yours are similar price - ntc 4252 - NTC4252 EXHAUST MOUNTING BRACKET | shop | www.lrseries.com | L. R. Series

I can't find code for 200tdi one...

top man thats just what i need, ta for the link I've got a list of parts to get from lr series so ill add that to the list.
thanks a lot.:D
 
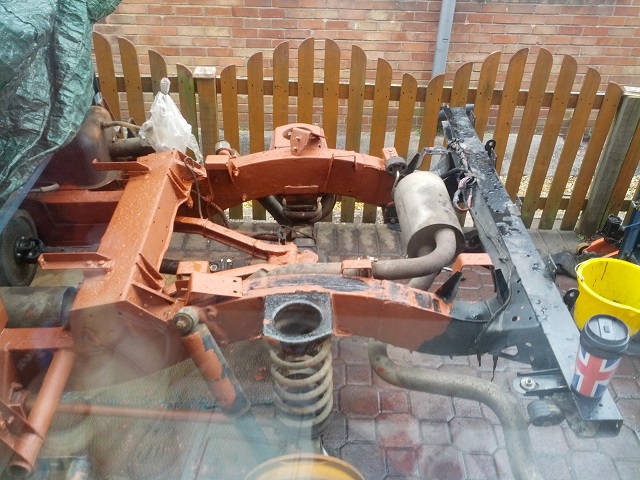
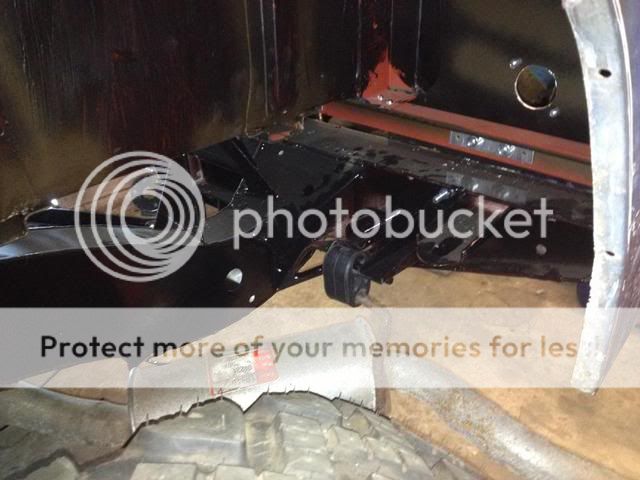
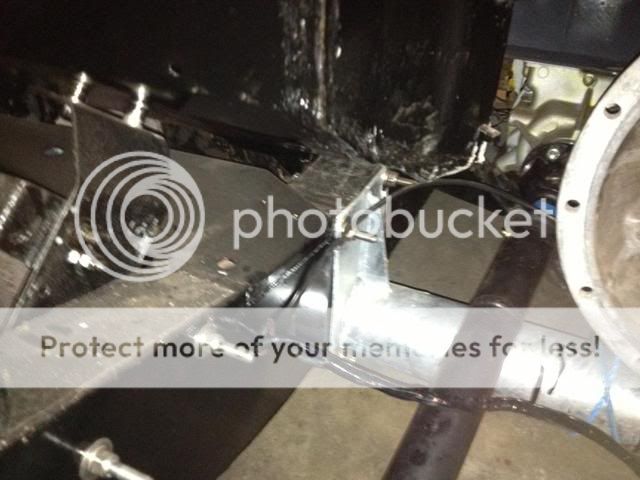
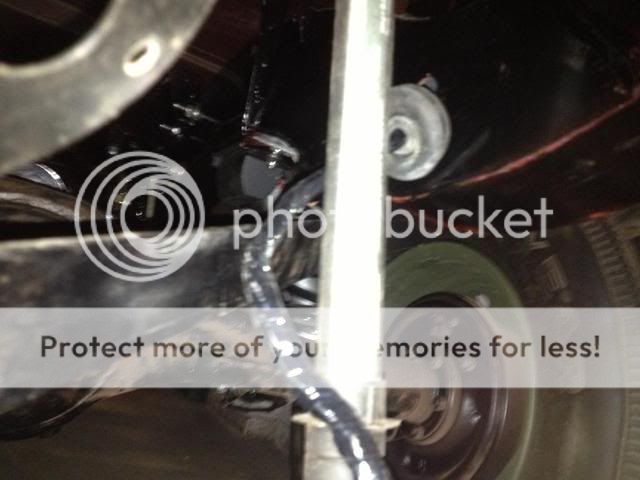
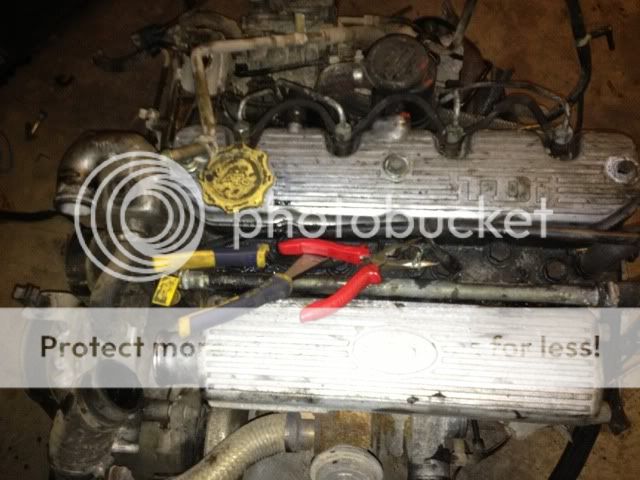
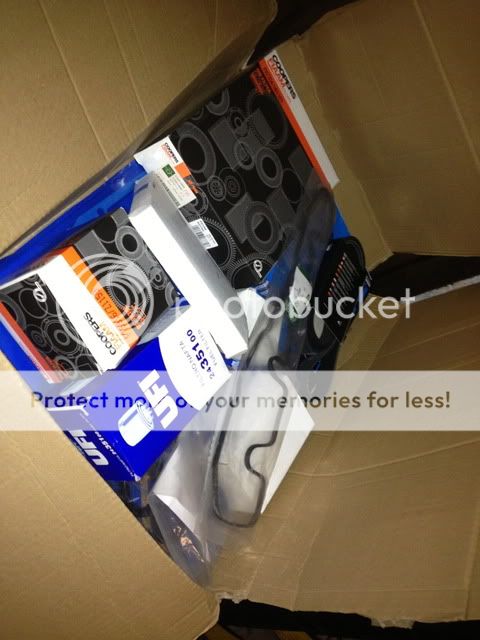
Right then got a few hours on it today, started off with the clutch finally sourced all the correct parts so finished the piping,
even treated it to a new pipe clip
IMG_0120.jpg


IMG_0121.jpg


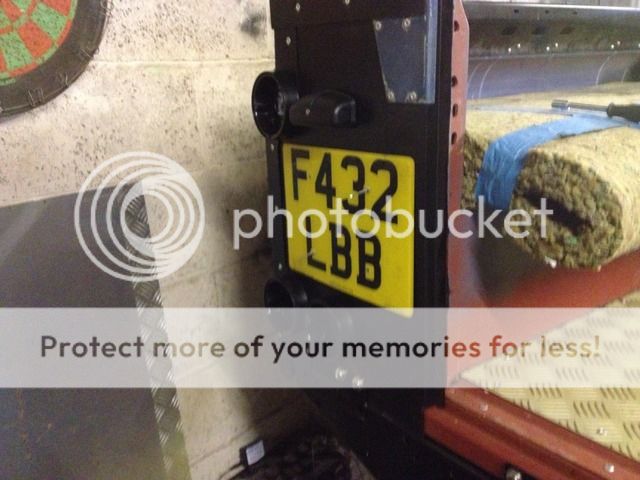
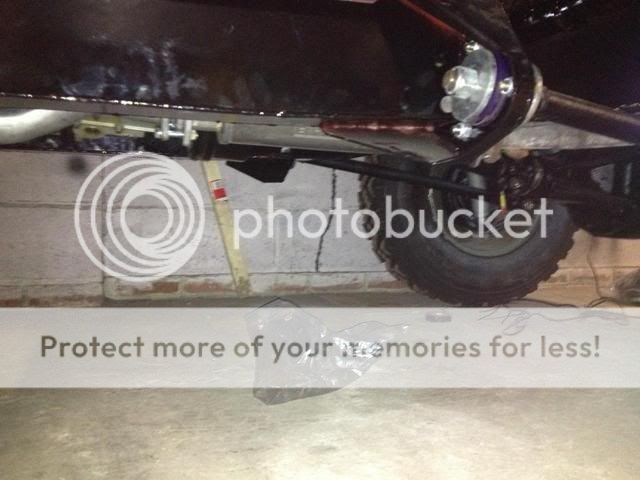
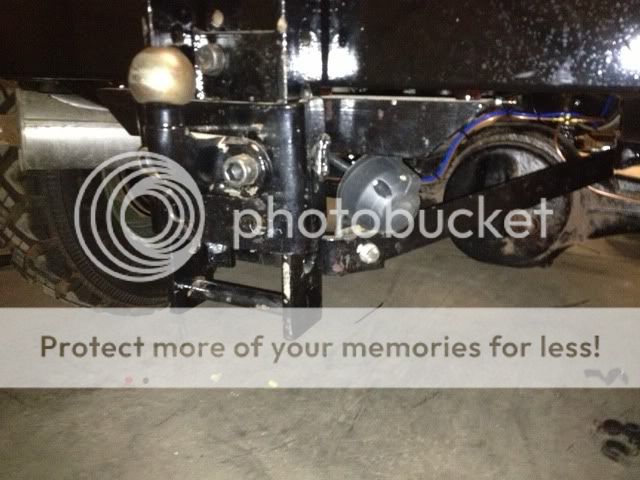
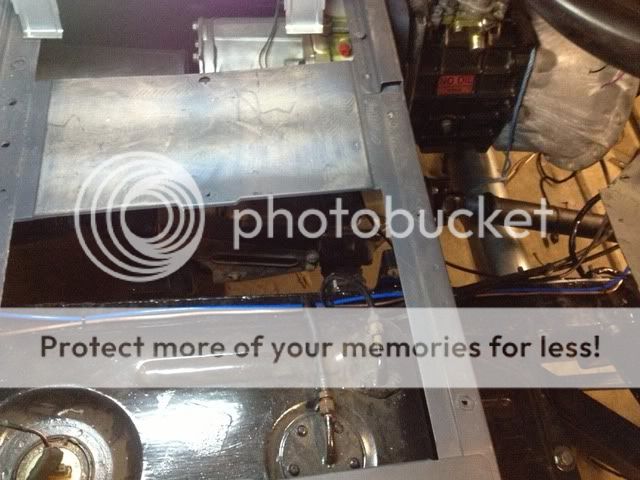
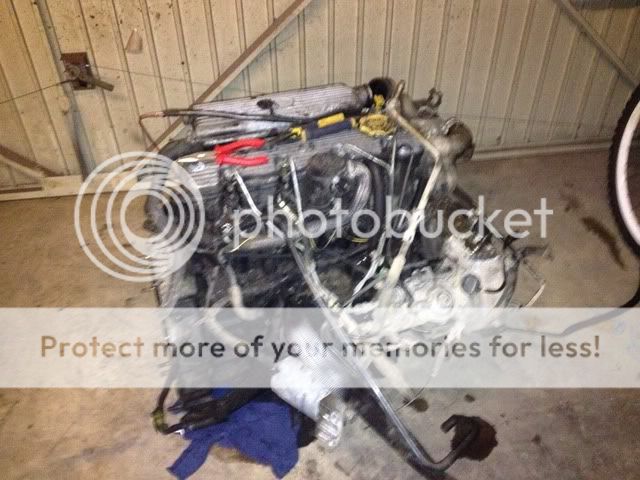
then set about the exhaust now i had all the bracketry,

IMG_0114.jpg


IMG_0115.jpg


IMG_0116.jpg


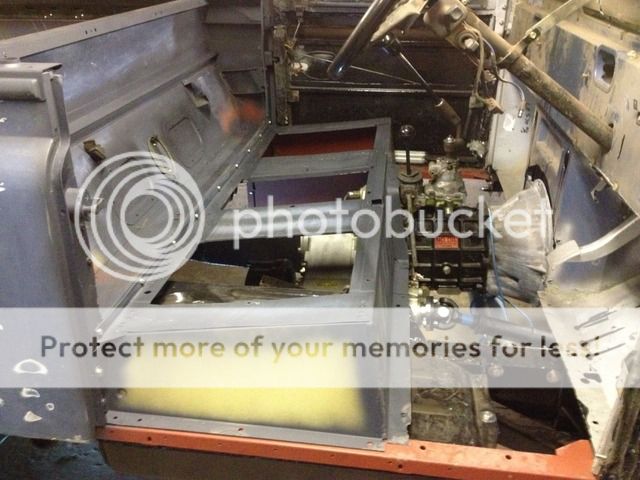
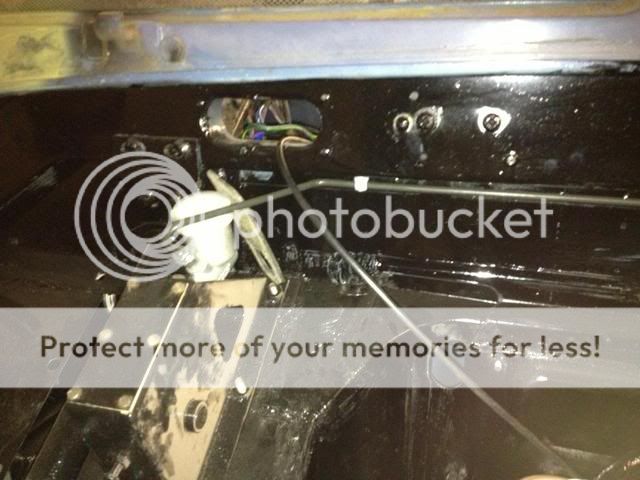
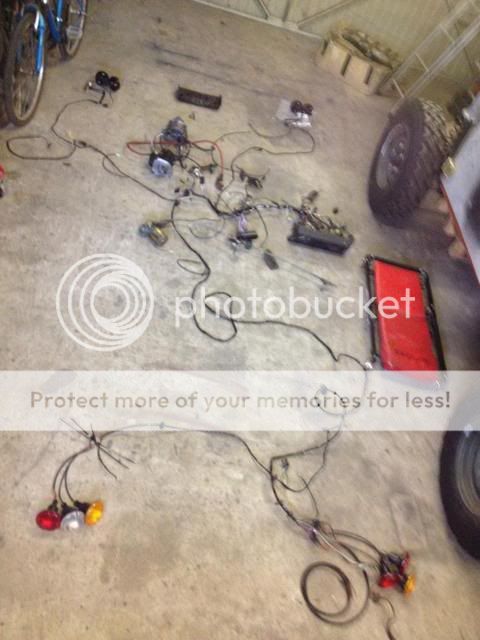
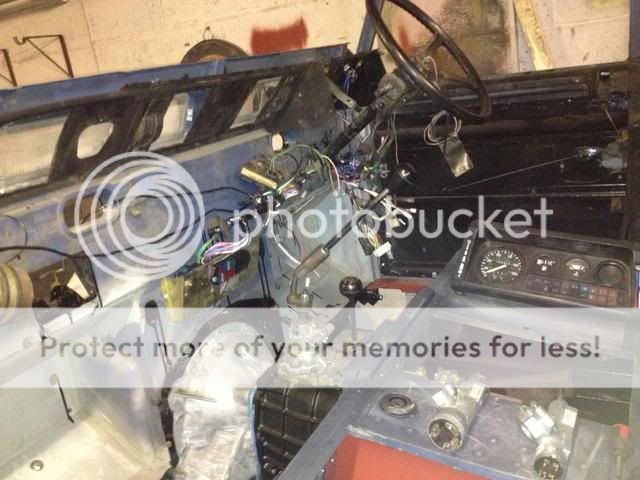
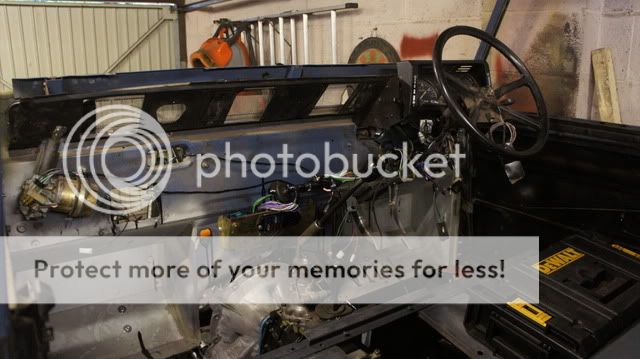
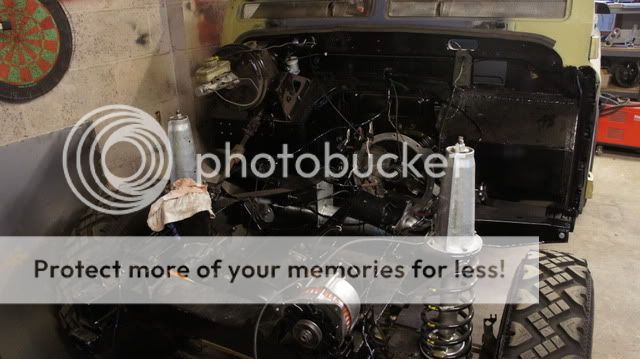
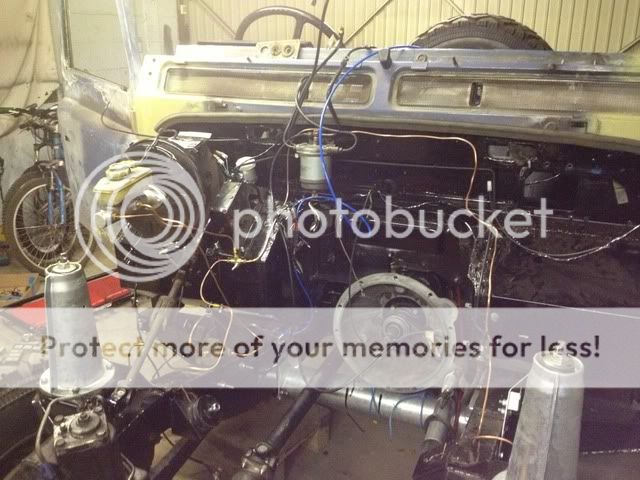
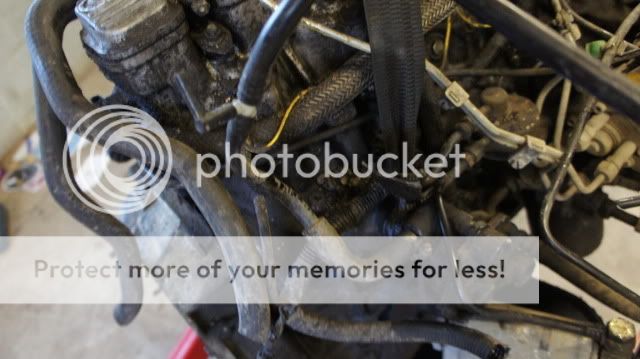
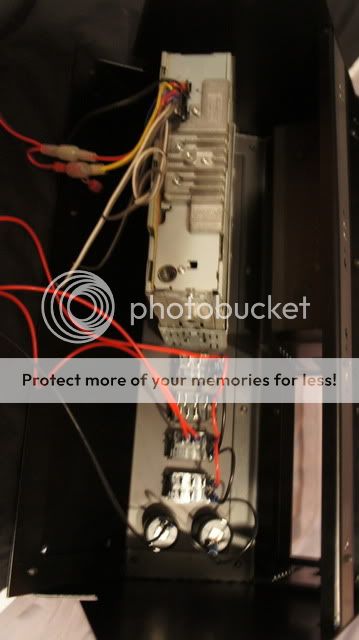
then onto the task I've been fearing most.....wiring,
not as bad as i thought being mostly new, but when i took the old loom off i should have really used more labels it seems the only wire i labeled was the roof light. i started by spreading it out on the garage floor so i knew roughly where each wire needed to go

IMG_0109.jpg


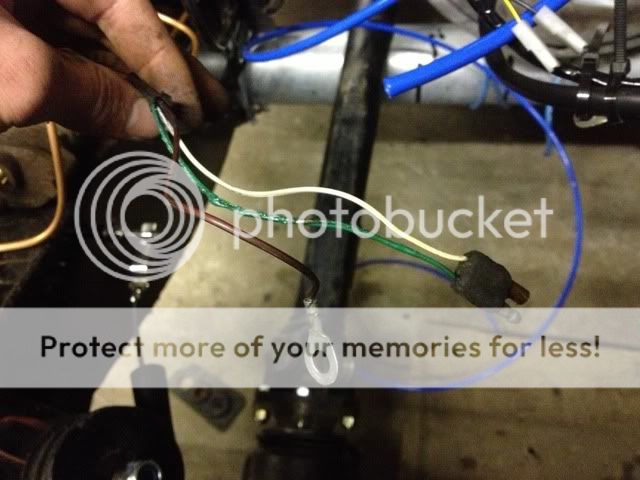
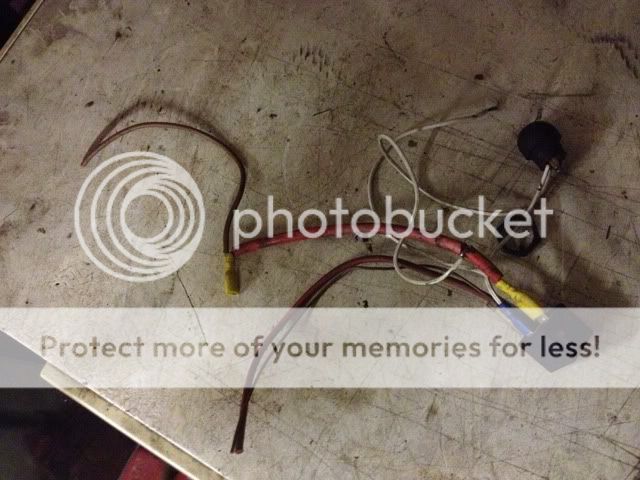
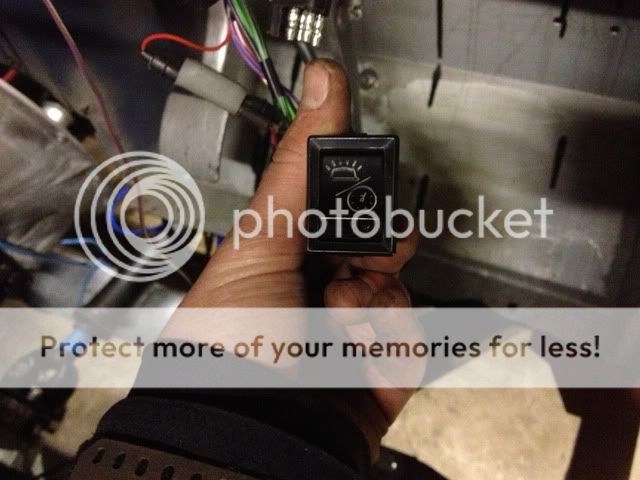
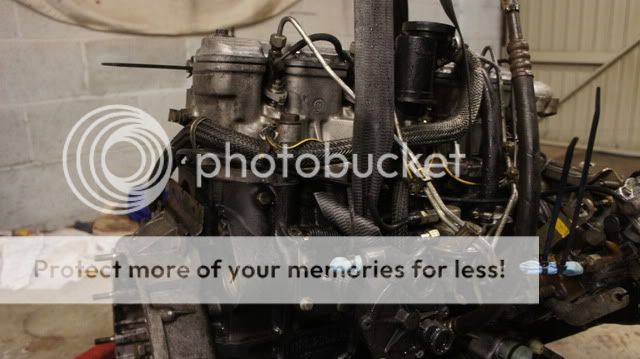
with a mass of connectors it doesn't inspire much confidence finding things like this

IMG_0112.jpg


i guess jag and land rover share a few connectors.

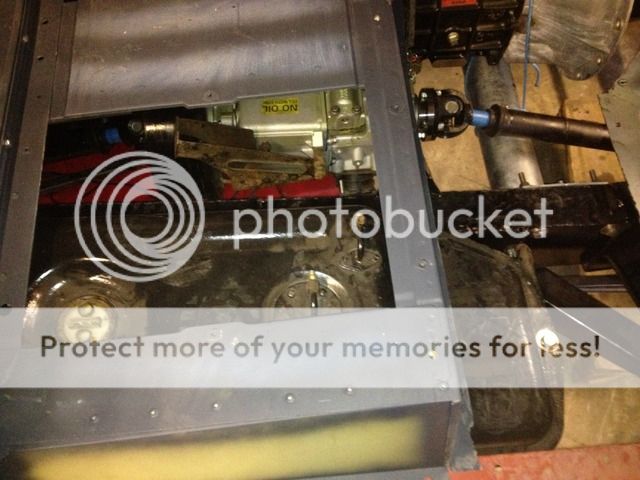
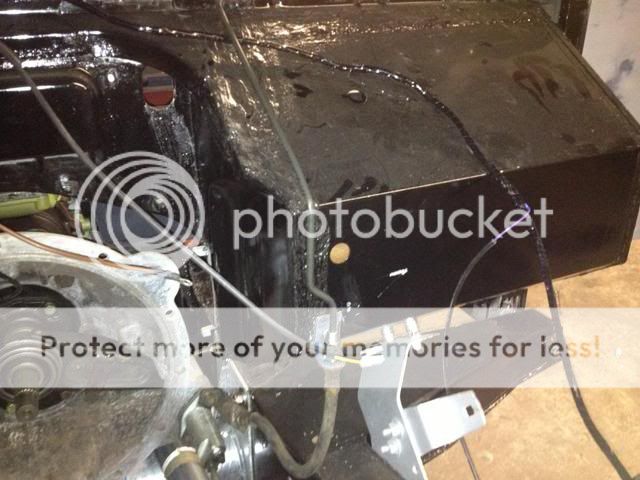
once lay out it came to installing i thought it would be best to start with the chassis loom i had been warned its a nightmare of a job so was advised to buy one of these wiring contraptions to pull the wiring through..... worked and absolute treat

IMG_0113.jpg


IMG_0122.jpg


IMG_0125.jpg


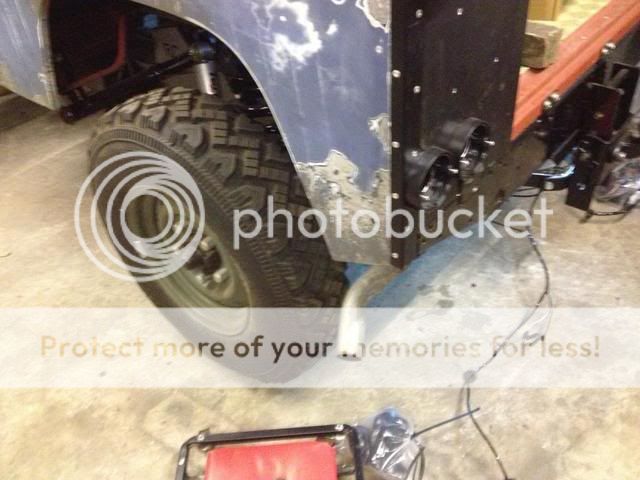
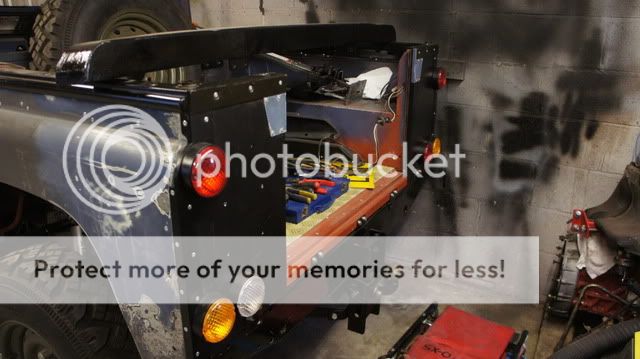
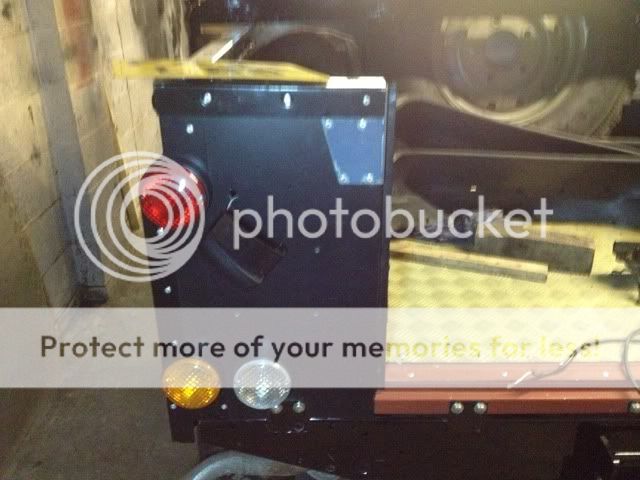
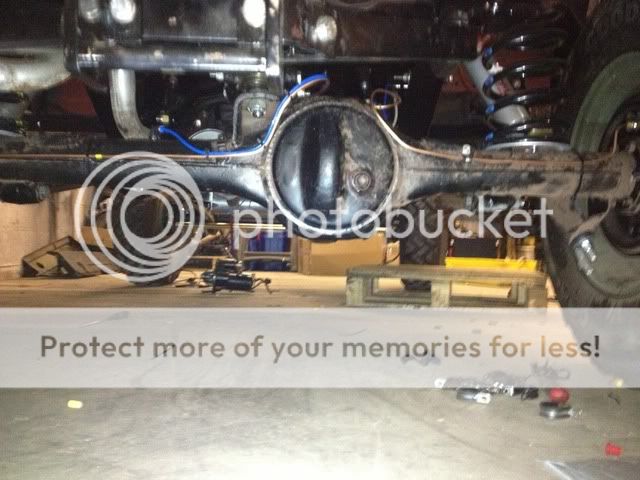
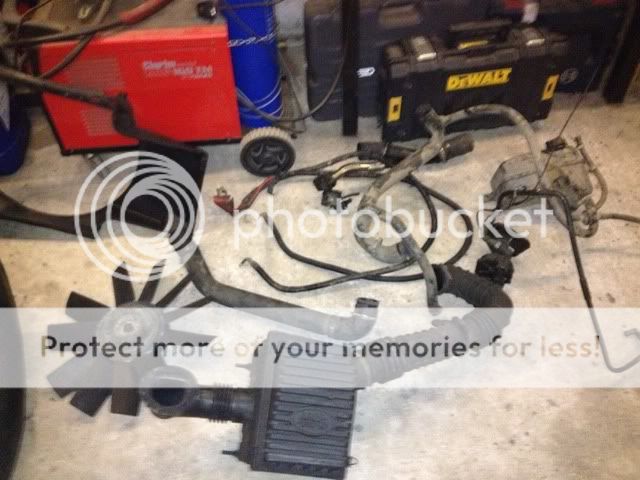
just got to connect the rear lights up and wire the tow bar electrics

finished the day by making a start on the bulkhead main loom

IMG_0118.jpg


again apologies for the terrible pictures to lazy to get the camera.
:rolleyes:
 
carried on with the electrics today. not much progress but found once i had found out the wonderful concept of earths it started to work properly.
pictures,

DSC00681.jpg


had to mock up the engine bay so i could test the rear,

DSC00680.jpg


most of the rear lights now work as the should just need to sort the make the connections more "permanent" i thinks ill attempt to solder them.

DSC00679.jpg


how i left it going to have ago at the towbar wiring one evening after work

DSC00684.jpg

:)
 
had a good day in the garage today, everything was going well so spent from 10.30 till 8 this evening having a play with the wiring all the wiring to the rear is done the towbar wiring is connected just need to confirm it works. gave up on the rest of the wiring and had a crack at the brake pipes which are all done now just need to get some new front callipers and pipe them to the flexis and the brakes are complete. once that was done i ran the axle breather from the rear to the front just need to check some clearance pics to decide where to put the manifold, then run the rest of the breathers.
didn't have any bolts long enough to attach the number plate light so left it on the wires until i can bolt it on

IMG_0131.jpg


all wiring tidied away behind the covers,

IMG_0132.jpg

IMG_0133.jpg


tow bar connector hidden up high looks quite neat,

IMG_0137.jpg


rear axle pipes,

IMG_0130.jpg


along the chassis fitted the diesel pipes aswell whilst i could get at them

IMG_0129.jpg


finished off by making a start trying to make under the bonnet a little neater, some way to go mind. :tea:
IMG_0135.jpg
 
hello people I'm seeking some wiring advice, as you may no i am in the process of re wiring the land rover using mostly new looms but i am having issues in a couple of areas.
issue 1
i cannot find where to plug in the fuel wiring that comes from the tank into the main loom. does it plug into the main harness in the engine bay or pass through the bulkhead and attach in the cabin area somewhere?
this is said wiring so far with the wiring i have just matched colours and connectors. this is when i realised i am a little out of my depth after spending ten minutes splicing a new section of wiring into the small loom where it had been previously rubbing against the prop. i had it connected at the tank end but of trial and error and connected it to a connecter in the engine bay which quickly had the wiring smoking and melted the insulation meaning that i will need to make a new mini loom out of my old loom.

IMG_0145.jpg


issue 2

the wiring coming off the brake fluid reservoir on the master cylinder three wires two black and white and what i presume is an earth, any help to where these connect to the loom would be of help a picture would be perfect.

IMG_0146.jpg


and issue 3
the original engine was a 2.5 td which used this arrangement for the glow plugs. with the yellow crimped thick red and thin brown going to the ignition barrel and the thick brown/red tracer being what i believe is the feed to the glow plugs being controlled by the push switch. now this is where it gets complicated I have fitted a ignition barrel from a td5 which allows me to use one key for the doors and the ignition will this be ok for me to use the original type glow plug wiring or should i wire it to glow on spring of the ignition (the cranking part)

IMG_0147.jpg


IMG_0148.jpg

my old loom was fitted with this switch which looks to me like it could also be something to do with the glow plugs this never seemed to do anything when i started the engine before it came a part? can some one confirm what it does/ should do.

like i say any help is appreciated Sam :tea:
 
my old loom was fitted with this switch which looks to me like it could also be something to do with the glow plugs this never seemed to do anything when i started the engine before it came a part? can some one confirm what it does/ should do.
IMG_0148.jpg

like i say any help is appreciated Sam :tea:

Can't help with the rest at the moment but that switch is just for the interior light/off/dash illumination, nothing to do with the engine I'm afraid. Good job on the rest of the vehicle by the way.
 
Last edited:
and issue 3
the original engine was a 2.5 td which used this arrangement for the glow plugs. with the yellow crimped thick red and thin brown going to the ignition barrel and the thick brown/red tracer being what i believe is the feed to the glow plugs being controlled by the push switch. now this is where it gets complicated I have fitted a ignition barrel from a td5 which allows me to use one key for the doors and the ignition will this be ok for me to use the original type glow plug wiring or should i wire it to glow on spring of the ignition (the cranking part)

IMG_0147.jpg

That wasn't like that out of the factory the 2.5TD should do glow plugs on the key and not that push button, it looks like it has been bodged by a previous owner, can't see what is wrong with using the TD5 barrel as you suggest.
 
That wasn't like that out of the factory the 2.5TD should do glow plugs on the key and not that push button, it looks like it has been bodged by a previous owner, can't see what is wrong with using the TD5 barrel as you suggest.

Thanks, think I'm going to rewire this and refit it with a new switch rather than buying a new relay and playing with the wiring. thanks for the light info swell.
 
Thanks, think I'm going to rewire this and refit it with a new switch rather than buying a new relay and playing with the wiring. thanks for the light info swell.

You'd still be best having a relay - otherwise all the current goes through the switch!
 
right then, not got too much progress recently just been carrying on with the wiring and slowly making some progress. as today is my birthday i thought id treat myself to a new engine (Sad i know) but ahh well....

IMG_0160.jpg


300 tdi out of a disco

IMG_0161.jpg


IMG_0159.jpg


IMG_0162.jpg


tomorrows job give everything a look over and a good clean and then start fitting some of this

IMG_0158.jpg


cheers Sam :biggrin1:

Nice present :) Beats socks !

Could you not find a 200 tdi ?
 
Nice present :) Beats socks !

Could you not find a 200 tdi ?

yeah certainly does, i looked into both engines but in the end went for the 300 as there a little newer and seemingly slightly cheaper, i guess because they need a little ingenuity to get one to fit. got this one for what i think was a good price from a genuinely nice bloke just up the road so seems to make sense to me :)
 
little progress today unfortunately. started of well giving the engine a good dousing with degreaser and started washing it off only for a pipe to blow on the pressure washer. spent most of the day attempting to track down a replacement pipe. then by the time i got round to cleaning it, it had gone dark. hopefully there will be more progress tomorrow.

while I'm on here does anyone know the weight of a complete 300 Tdi as my engine crane seems to be dropping slowly on the 250Kg stage just wondered if its overloaded or if the seals are going?, also how do people go about lifting them it was delivered to me using a seatbelt from the inlet to the vac pump i guess lifting it like this is not advisable.

dirty engine

DSC00690.jpg


clean engine

DSC00697.jpg


:doh:
 
not much progress unfortunately hit a few issues with the engine, damaged the rear seal installing it so waiting for the new one and ordered the later timing kit
even though the engine is a 95 so needs the early one :frown: and the steel I've been waiting on to make the engine mount hasn't shown up either so waiting for that. cracked on with some body work today, cut out the cheuqerplate a while back but drilled some holes and countersunk it followed by some etch primer and one top coat still needs another.

DSC00704.jpg


same process for the hinges,

DSC00705.jpg


whilst only slightly high on paint fumes i fitted the battery cables and an earth from the gearbox to the chassis, got another for the engine when its in along with the rear tub when i can access it.
had my delivery from raptor engineering with a nice steel dash binnacle to replace my shattered plastic one, along with the console, made a start with wiring up the switches.

DSC00707.jpg


DSC00710.jpg


DSC00708.jpg


DSC00711.jpg

thats all folks :D
 
Back
Top