Project 1989 90 (Bruce)

This site contains affiliate links for which LandyZone may be compensated if you make a purchase.

Defender-Sam

New Member
Posts
358
Location
Burton Upon Trent
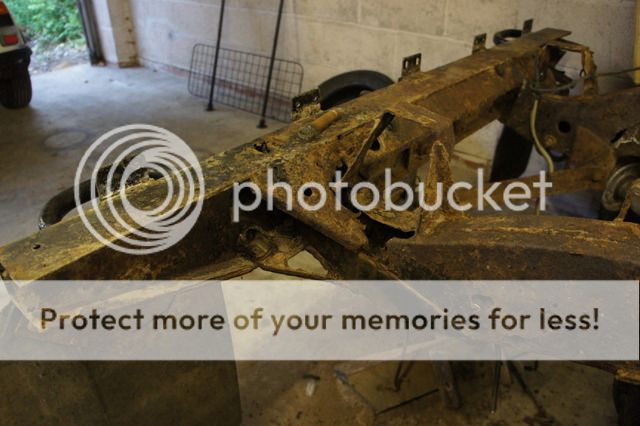
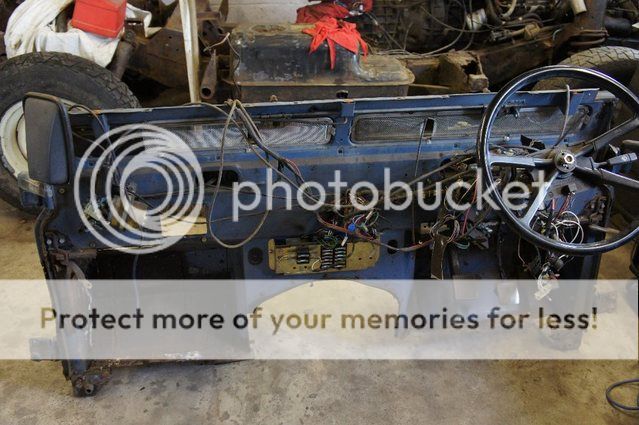
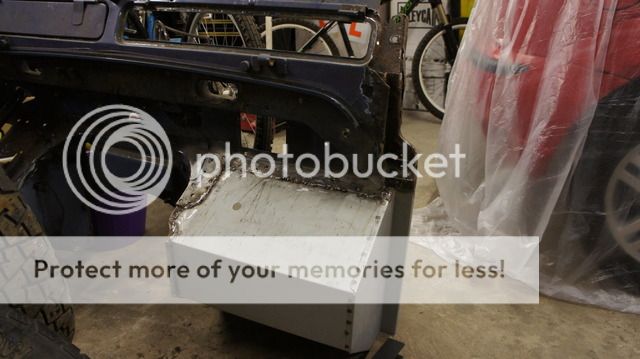
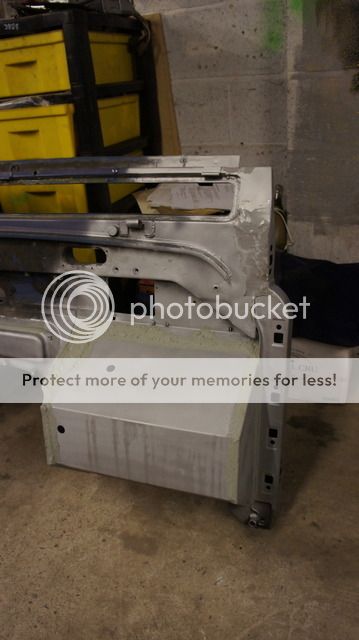
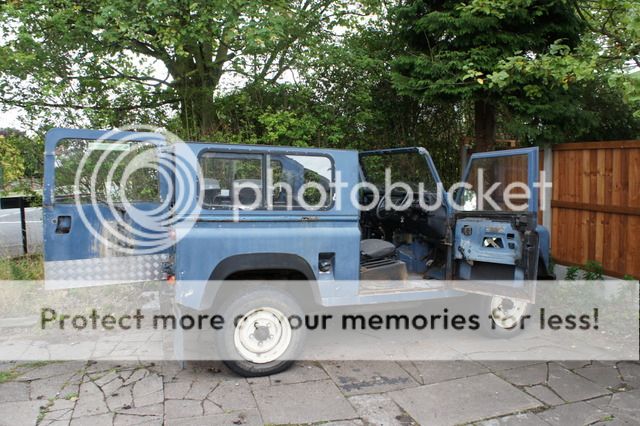
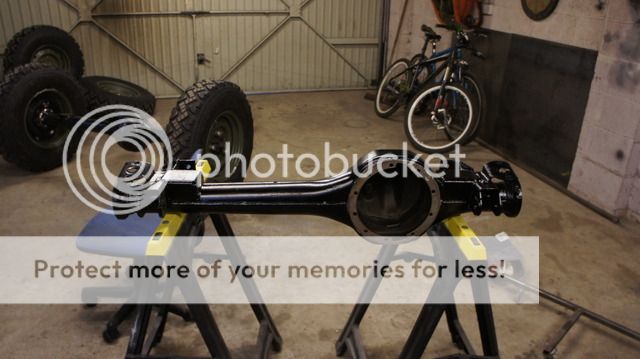
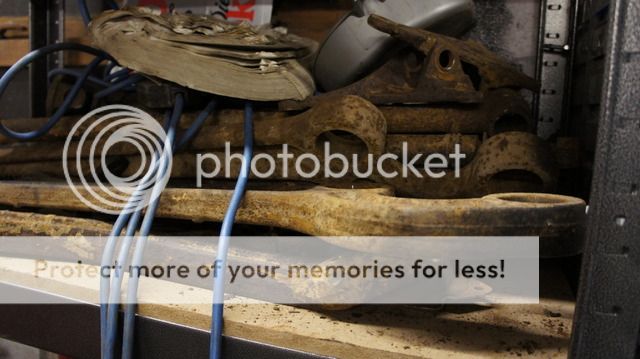
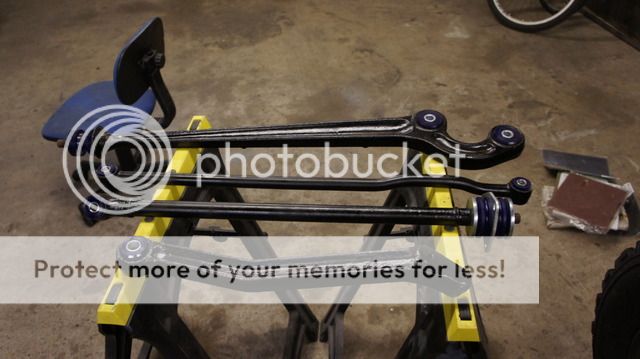
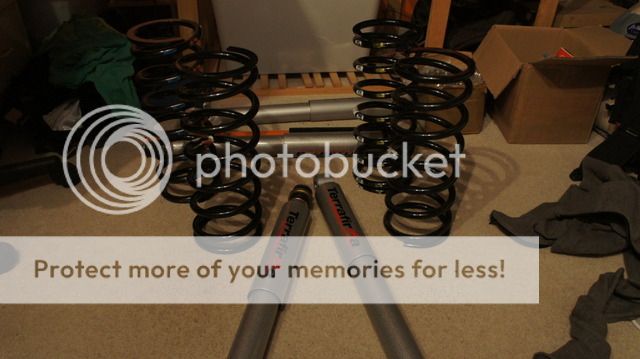
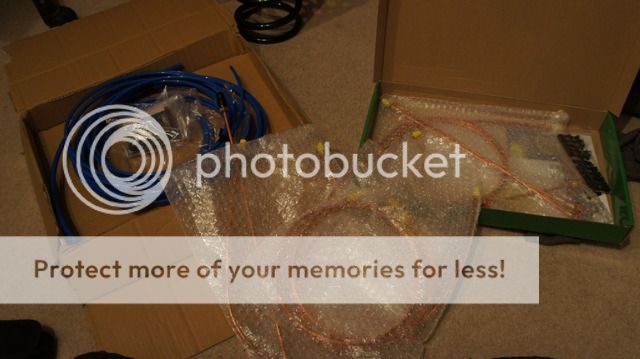
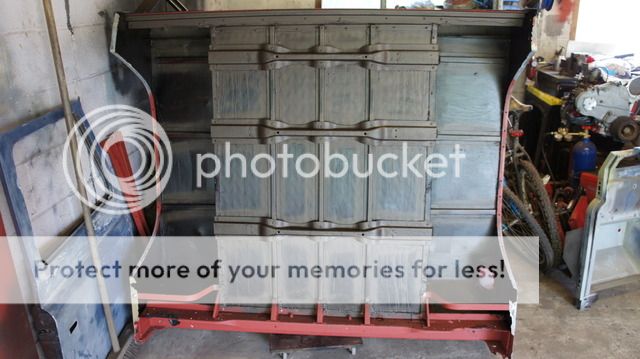
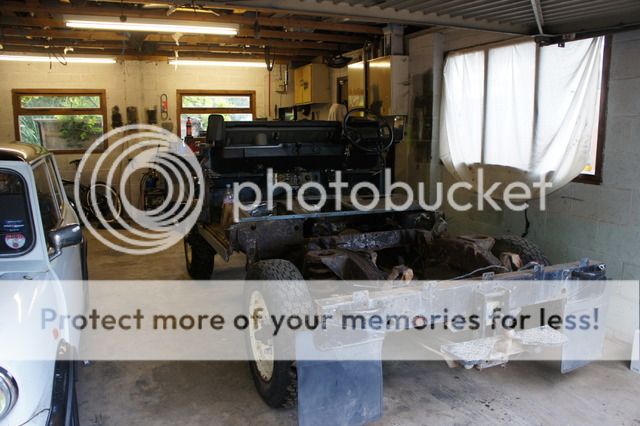
How do people, thought i would start a thread for my 90 project, it was brought around this time last year and i have been working on it in my spare time. it turned out to be a fairly big project requiring a new chassis (richards) due monday and fairly extensive work mechanical wise and body.... I will start with a few posts of the work i have done so far

299905_10150281535853403_710748402_7962174_6272264_n-2.jpg

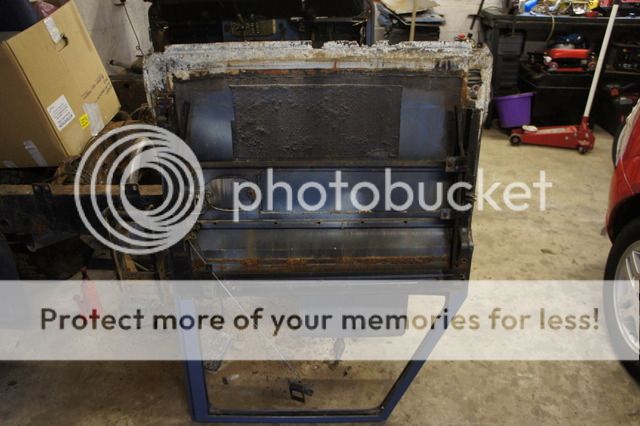
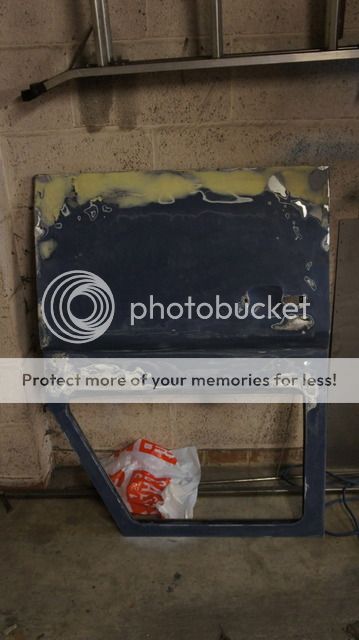
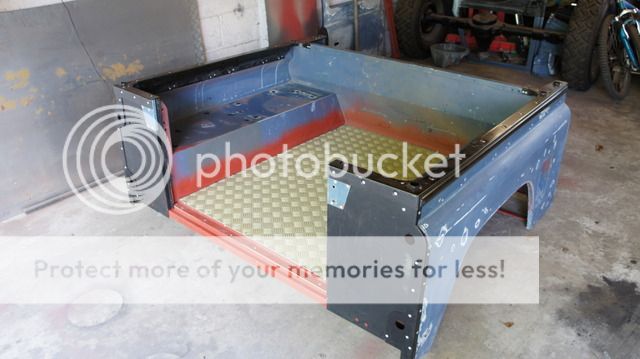
doesn't look to bad?

294606_10150281535563403_710748402_7962171_1034165_n-1.jpg


DSC00188.jpg


DSC00177-1.jpg

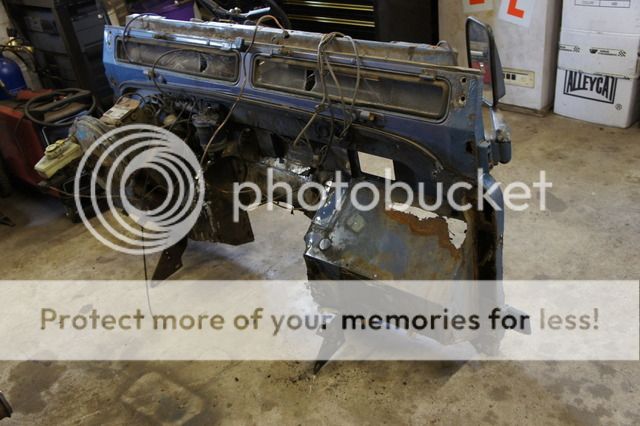
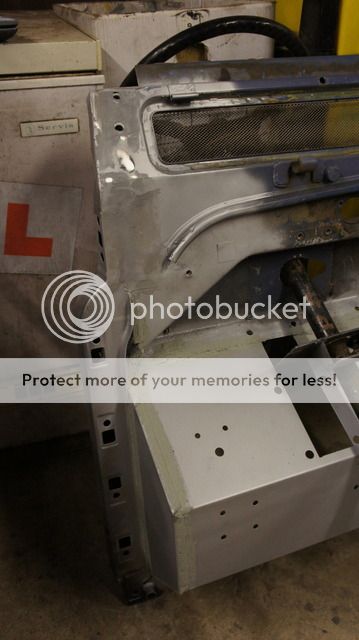
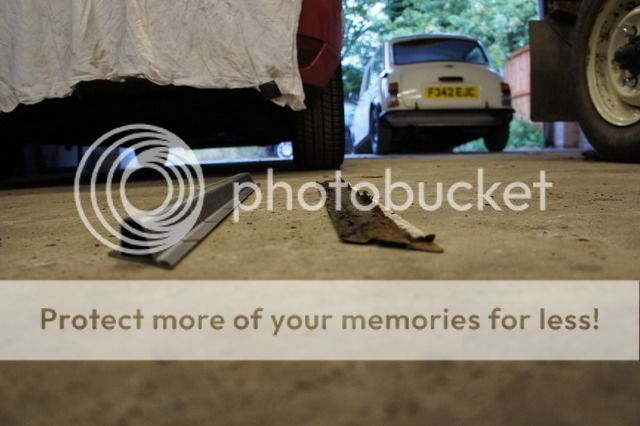
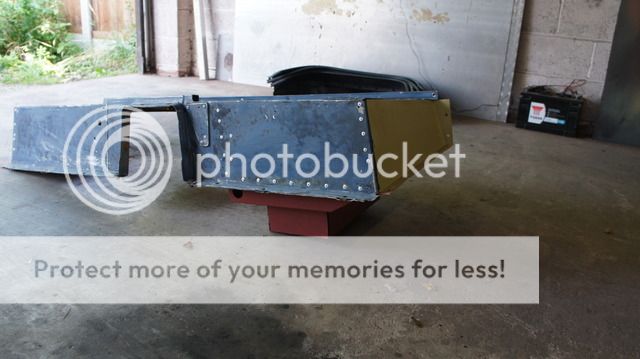
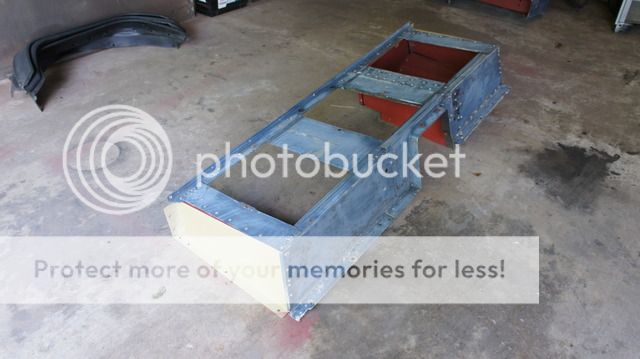
oops spoke too soon!
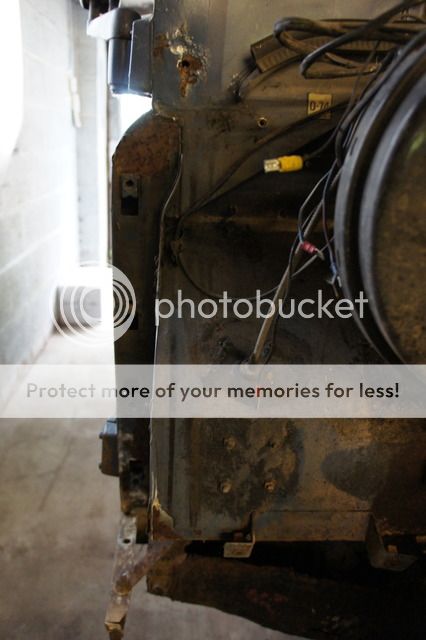
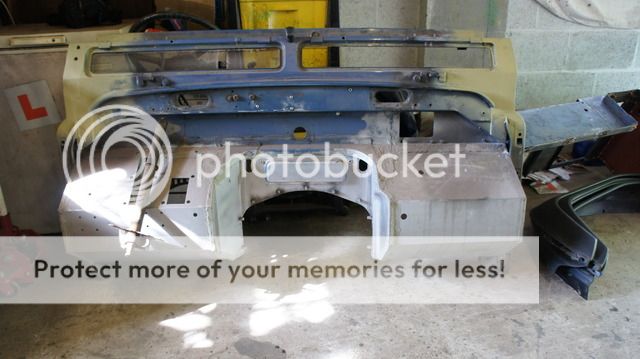
DSC00180.jpg


thanks for looking. Sam:)
 
Ooh can't wait to see how this progresses. One thing I was grateful for on my project was the solid bulkhead.

Should have gone the same route as you though and got a whole new chassis.
 
Hi guys thanks for showing some interest, regarding the chassis it probably could have been repaired but i think i would have been chasing my tail so to speak keeping it treated and patched so bit the bullet and decided a new one was the way forward. pics
DSC00208.jpg


DSC00268.jpg


DSC00267.jpg


DSC00209.jpg


DSC00274.jpg
 
Well i think i will make the most of a quiet night in and add some more progress, as you can see by the pictures so far, apart from the chassis the bulkhead is in probably the worse condition. So i got the required panels ordered and set about replacing the rot starting one side at a time to try and minimise warpage as much as possible. the worse side was the passenger side needing a footwell, hinge panel, mounting whotsit along with the regular top repair panel along with small extensions and mods made to these standard "repair" panels because mine is quite bad.
312053_10150281539468403_710748402_7962220_7859402_n-1.jpg

the foot well has had its fair share or patches and repair work in the past

DSC00234.jpg

On with the fabrication
DSC00457.jpg


couldn't find any of the drivers side during the work but took some once finished,

DSC00492.jpg


DSC00488.jpg
:D appologies still trying to get this pictures and writing set up looking "presentable" cheers Sam
 
Right on with the doors, both the drivers and the passenger side doors were in quite a bad way as with most landys but the previous owners of this particular one didn't seem to quite grasp vehicle maintenance, so as with the general vehicle condition they were especially bad. now i will admit beforehand that I'm not particularly proud of this bodge but it is the best i could do with what was left, the plan is to source some better condition doors once he's up and running, pictures are meant to paint a thousand words so here they are-
roofgone.jpg

its hard to see i know but its just possible to make out how much has rotted of the bottom door frames in the above pic so to be clearer

DSC00200.jpg

new section on the left and old on the right

DSC00203.jpg

the aluminium skin has corroded pretty badly as mentioned

DSC00442.jpg


repair section fabricated which was welded to the rest of the remaining frame, the skin bent back around and a skim of filler
DSC00517.jpg

the same process was used on both doors but the rear door was beyond repair having sustained serious corrosion to both aluminium skin and steel frame, and the weight of the door mounted spair wheel cracking all the welds, rendering the door useless so a new one will be sourced later in the project along with a swing away wheel holder to help carry the hefty weight of the wolf wheel (more info later on them) thanks Sam
 
Looking good so far , doing all the right things , mines heading this way , just got an engine and going to do the bulkhead and engine and stick it back on the road and get the v5 changed to reflect the new engine. Then do the chassis with the engine mounts to suit the new engine :)
 
thanks for the positive comments, I'm going to be keeping the engine standard for insurance reasons really being only 19 its going to be a nightmare with the standard engine so no doubt they wouldn't be happy with an upgrade but thats something ill worry about nearer the time. got a call of richards today whilst at work the chassis is coming tuesday now not monday but no major worries, ill be updating the thread tomorrow with axles and suspension maybe some work on the rear tub and engine but i need to capture so pictures of them so we will see. thanks guys sam :hippie:
 
Right then this time its axles, both had similar treatment stripped down de rusted, primed, painted then reassembled using i mix of new, re used and reconditioned parts. I have/will be fitting all new brake components when assembling the 90, the front had new disks and will eventually have new callipers still deciding on genuine or non genuine so if anyone has an opinion then please let me know thanks, both front and rear have since be fitted with ashcrofts reconed diffs as they were showing signs of wear, the rear had been fitted with a range rover diff not sure why just what was available i guess. on with pics not many during the work but i take it most people know what goes into an axle anyway.
rear stripped awaiting paint

DSC00461.jpg


front swivel housing and hubs drying,
DSC00511-1.jpg


front axle awaiting assembly
DSC00504.jpg


finished rear fitted with my newly purchased wolf type wheels (set of 5 fitted with brand new tyres) they won't be staying nato green but unsure whether black or white to go with the final vehicle colour of pennine grey. sorry don't seem to have and pics of the finished front axle.
DSC00498.jpg
cheers Sam
 
I'm in the same boat, can sneak it off the road for a weekend at most. really frustrating.

Would love a 90 as a plaything to strip and rebuild but also want to buy a Sankey and convert for camping. Need a lottery win.
 
;)right people, i can't get a lot done this weekend kind of waiting for the chassis to arrive. so instead i will update you with some suspension progress. all the suspension components such as radius arms, trailing arms, panard rod, a frame assembly, shock mounts, diesel tank mount, engine and gearbox mounts along with the propshafts have been cleaned up and painted, the bushes have been replaced with polyurethane ones and the rolling chassis will be assembled using new springs all round along with the terrafrima shocks. i will be replacing the standard type axle breathers with extended ones routed to somewhere around bulkhead level or up to the snorkel if i decide to fit one. pictures-
as removed
DSC00472.jpg


painted and new bushes fitted
DSC00515.jpg


new suspension components
DSC00576.jpg


brake pipes and breather bits
DSC00577.jpg
;)
 
right people onto some bodywork, as you can see its in good condition apart from the bit between the headlights and tail lights but i guess that my fault for starting with a bad one..... too late now anyway, i have had to replace a couple of panels including both front wing skins due to the drivers side had a fair sized dent streching from the front panel to the wheel arch and the ns had been filled in areas with body filler to a depth of about 3 inches so replacements were sourced (paddocks abs skins) which are of varied fits one side needed every hole extending to fit the bolts and the other one fitted perfectly first time, the rear tub needed a fair amount of work as the rear panels had been torn somehow then filled again with a decent amount of filler so new panels were sourced and fitted along with new corner and top cappings, underneath the floor supports running the length of the floor have been replaced along with the floor itself as it had rotted through with the supports and a new section which secures the assembly to the rear
crossmember.
DSC00582.jpg


DSC00581.jpg


the seatbox has been fitted with one of yrms aluminium battery trays and there replacement side panels which had corroded through were they mount to the sill members.

DSC00578.jpg

definitely my record for the most rivets set in a day there.

DSC00579.jpg

DSC00580.jpg

just to throw in a pic of the finished bulkhead the clutch pipe bracket and the support brackets will be fitted once its mocked up on the chassis
DSC00584.jpg


and to show the wing dent and its just about possible to make out the rear capping rust,
safari21.jpg


along with this repair work i have been rubbing down the rest of the panels to help speed the project up a little i prefer to do the sanding outside as the garage gets filthy enough as it is, all thats left is the roof to flat back and probably some final tweaking of the other bits. :tea:
 
Back
Top