philsefo
Active Member
- Posts
- 287
- Location
- Manchester/ wirral
Good work mate, looks amazing

Boris 113 have you posted your method before?, i did some research on here before painting my chassis and came across that method and so i followed it only applying the red oxide between the etch and top coat, as i either read or was told that its not recommended to top coat directly after etch primer so used the red oxide to bridge between the two. either way i can't see it being much of a problem.
pics
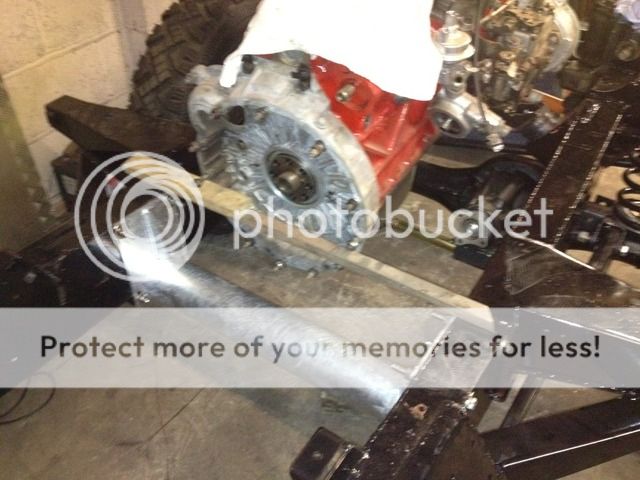
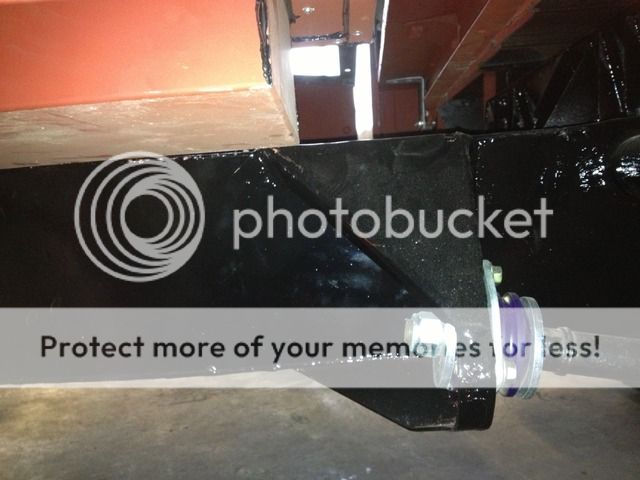
i have already posted the t washed chassis pic and completely forgot to get one of it etched so onto the red oxide,
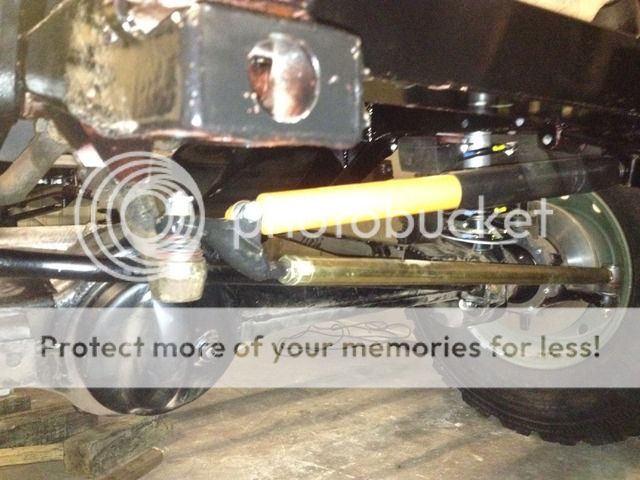
 The normal hammerite on top because I had a load of it in the shed already.
Yes I think I have done. Your chassis looks great, what top coat did you use? It's a scary moment when the T-wash colours all the new galv! I used hammerite special metals primer, one of the tiny tins did the whole chassis surprisingly
I was going to use red-oxide in between but the hammerite products are directly compatible according to the tin, however if it was another brand of paint then I would have done. I was also in a hurry and couldn't spare 2 days of painting/drying time...although considering the 90 still isn't done I could have in hindsight :doh:
Keep up the good work!
Immense! It will be a better than when it left Solihull to begin with!
How much has it cost to this stage?
Looks great.
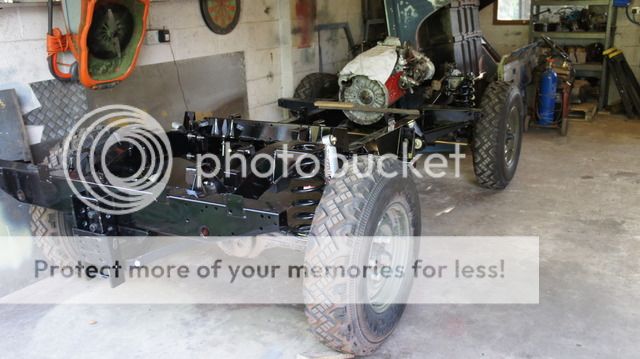
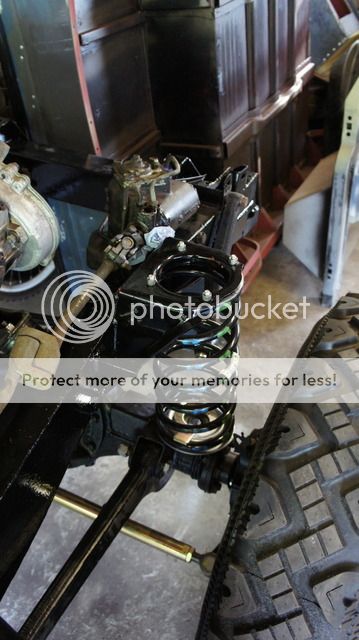
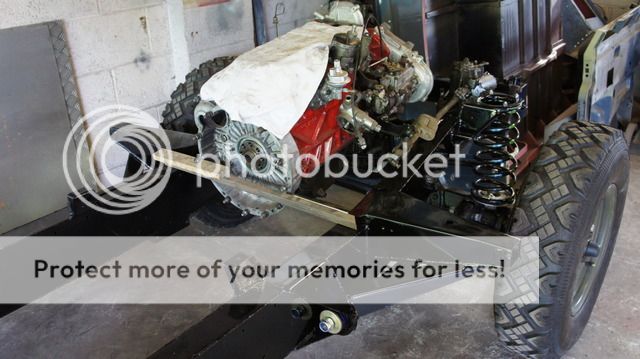
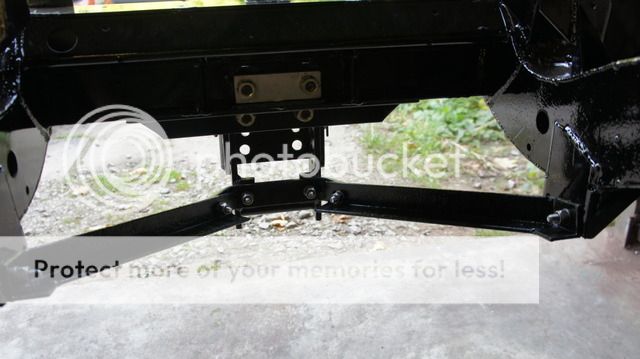
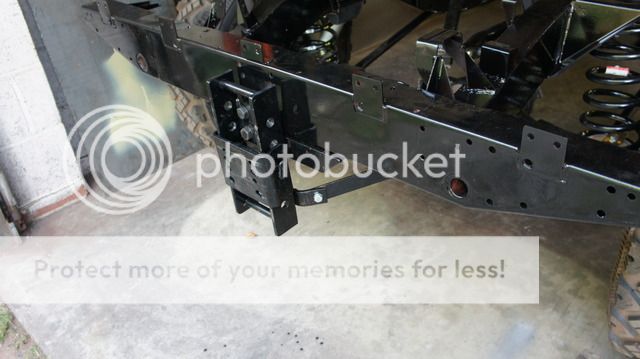
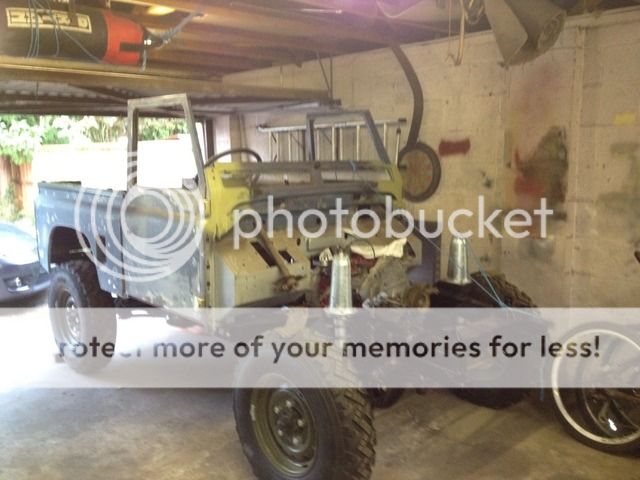
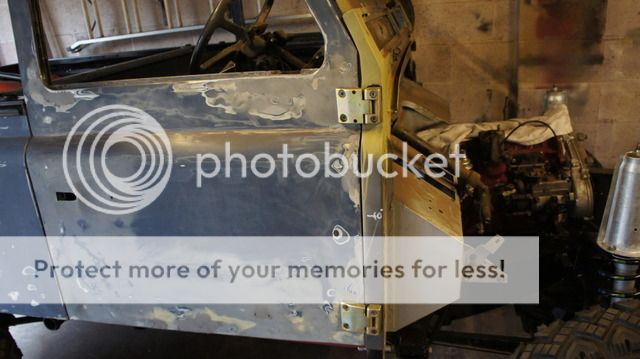
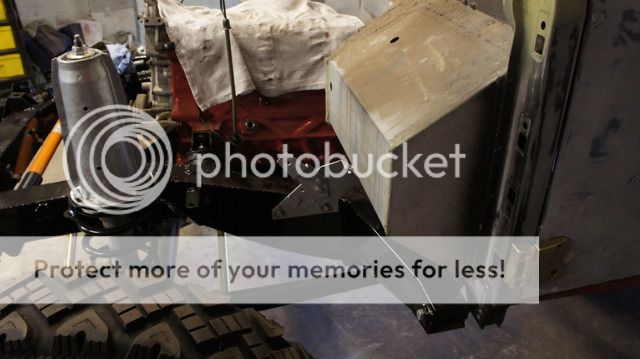
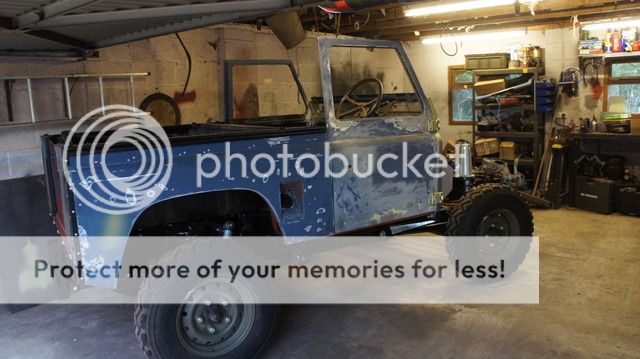
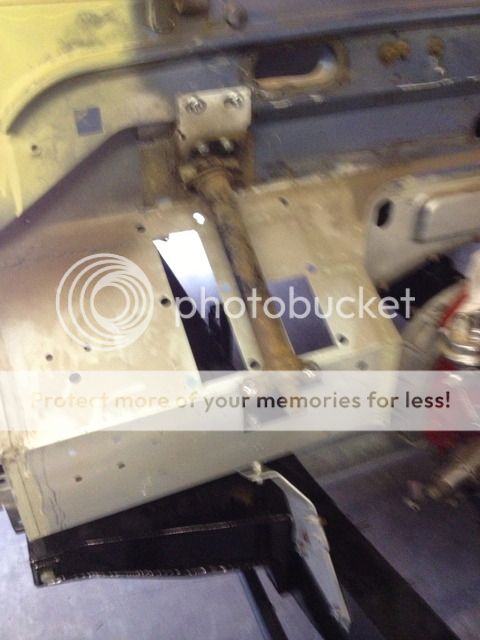
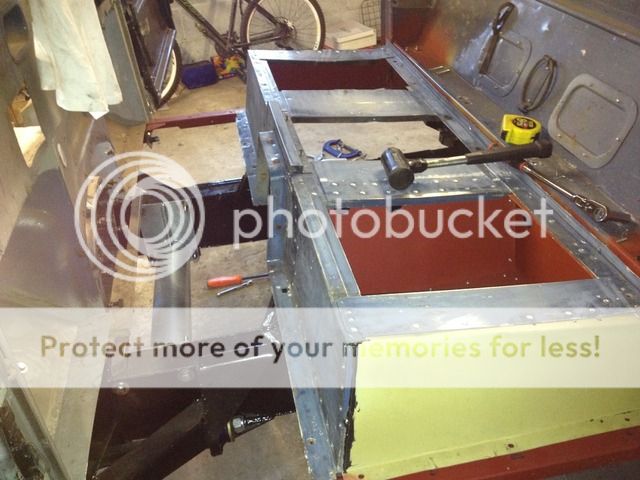
 thats all folks Got a little done today started by mounting the rear tub which seems to fit ok just need to re drill the mounting holes, the seatbox on the other hand is a bigger issue not having a chassis when i put it together i took a gamble which hasn't paid off and the internal battery box fouls on the ns chassis rail and the trailing arm bracket so that needs sorting. the whereas the rest of the panels seem to fit fairly well.....sorry couldn't resist
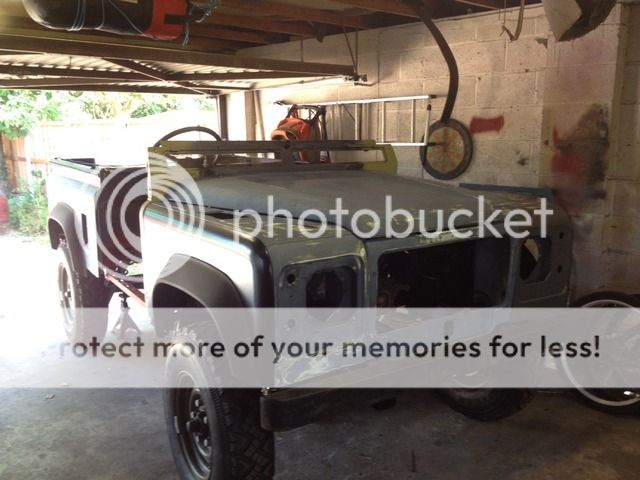
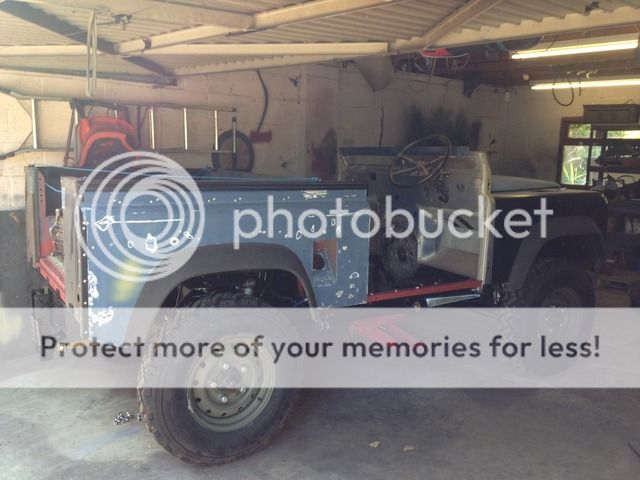
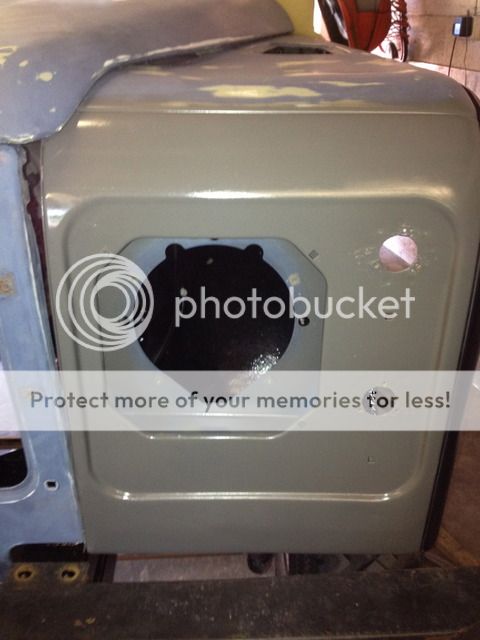
sorry, hate to be the bearer of bad news but the paint is grey unless you mean the wheels of course. Thanks for the commentsThe olive colour is really nice.

 thanks
haha thanks, I'm already being asked what is the next project.... think i best focus on getting this one finished first.Loving the thread, it's really coming together now. I live just outside Burton, can you do mine next
Welcome To LandyZone, the Land Rover Forums!
Here at LandyZone we have plenty of very knowledgable members so if you have any questions about your Land Rover or just want to connect with other Landy owners, you're in the right place.
Registering is free and easy just click here, we hope to see you on the forums soon!