GSF 109
Well-Known Member
- Posts
- 813
- Location
- Scotlandshire
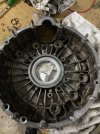
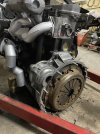
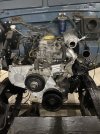
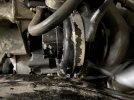
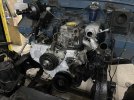
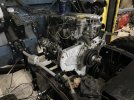
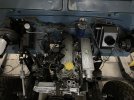
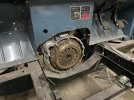
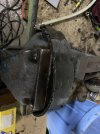
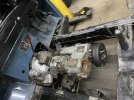
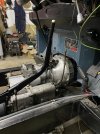
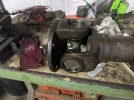
 . Been at least 7 years that there was last an engine in the chassis. Next up, the gearbox…..
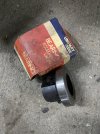
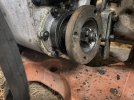
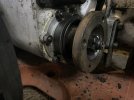
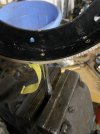
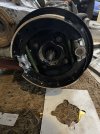
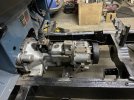
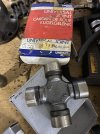
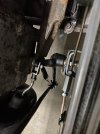
 . Let’s hope not anyway. I took off the actuating rod, clutch release arm and fixings, cleaning them up as I went. I bought a new old stock Unipart release bearing, which fitted perfectly after cleaning up the nose that it slides along with emery cloth and lubricating with copper grease. Fitted a new slave cylinder, swapped over the bleed screw fitting from the old to the new, and gave it all a clean up with a wire brush on a drill.
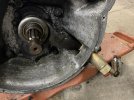
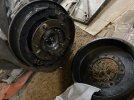
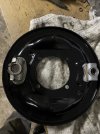
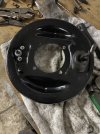
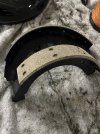
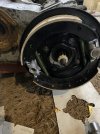
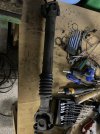
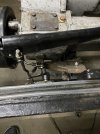
 Time for some new brake shoes I think. After this, I ordered some new old stock brake linings, so that will be a job for next weekend along with replacing the offending leaking seal and a real good cleanup!
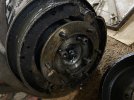
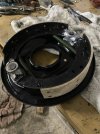
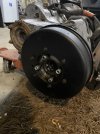
When I stripped down the brakes, the adjuster was completely seized, so I ordered up a new one. It was a ‘county’ make which seemed to be decent quality and a good fit too. Just the same price as Britpart. I also stripped, cleaned and rebuilt the expander mechanism. What a faff that securing clip is! Talk about making something difficult when it could be made simpler! After coating all the sliding surfaces with copper grease, it all seems to be working perfectly.
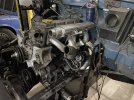
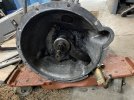
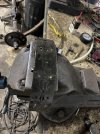
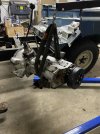
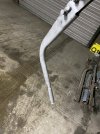
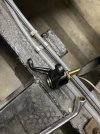
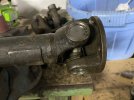
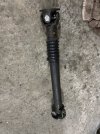
….. . I fitted two new gearbox mounts along with new fixings. Felt like a big step forward!. All that work on something no one will even take notice of…... Think I will move onto the propshafts next to clear some more stuff of the garage floor!I didn't know this was a thing. Thats a great jobAfter stripping the shoes off, I put them in the vice and chisled off the old friction material then sheared off the old rivets. Cleaned them up and gave it a light dusting of black paint to smarten them up a bit. I love the fact I have new old stock linings which are oem manufactured and fitting them onto original shoes. It’s also considerably cheaper than buying inferior new ones. I haven’t riveted shoes for many years so it’s good to try out old skills
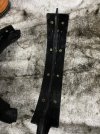
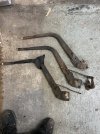
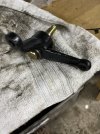
Youve really got some ground covered, Hope the origional gearbox is up to the jobAfter fitting the lever, I found the relay and rods, stripped and cleaned them. A going over with the wire wheel on the bench grinder, I primed and painted the relay with satin black. I checked the centre wear bush and it was in good condition. I had a new pivot pin, so after a good coat of copper grease I fitted it into the relay. I had a new pivot already in stock, and a good used one, which I cleaned up and refitted. Unfortunately I don’t have the shim or nut to secure the relay, so that will have to wait until the new year when PA Blanchard delivers them
")
Thanks Wagon Loon - yep, when I was an apprentice fixing lorry brakes, truck owners didn’t like spending money. They would ask me to fit brake linings instead of buying complete shoes as it was a fraction of the priceI didn't know this was a thing. Thats a great job
. Didn't know that you could get linings for Landrovers until I found these! Great option though 
I hope so, but I have it on good authority that as long as you don’t abuse the box, it will last.Youve really got some ground covered, Hope the origional gearbox is up to the job

 .
. Welcome To LandyZone, the Land Rover Forums!
Here at LandyZone we have plenty of very knowledgable members so if you have any questions about your Land Rover or just want to connect with other Landy owners, you're in the right place.
Registering is free and easy just click here, we hope to see you on the forums soon!