JonnyP
Well-Known Member
- Posts
- 1,918
- Location
- Sunny Cornwall
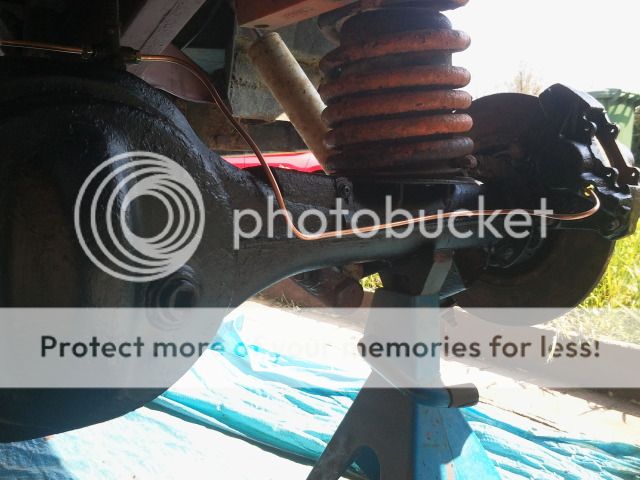
Nice work chap. Just recently did the front pads on mine. Luckily the pistons were ok and it was a 10 minute job each side.
With your sills, remember to make sure the doors line up courtly as you weld them in. Its amazing how much the body moves when the sills are cut out!
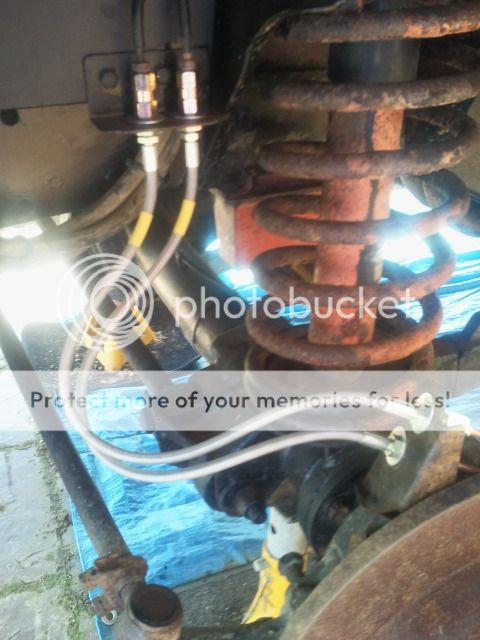
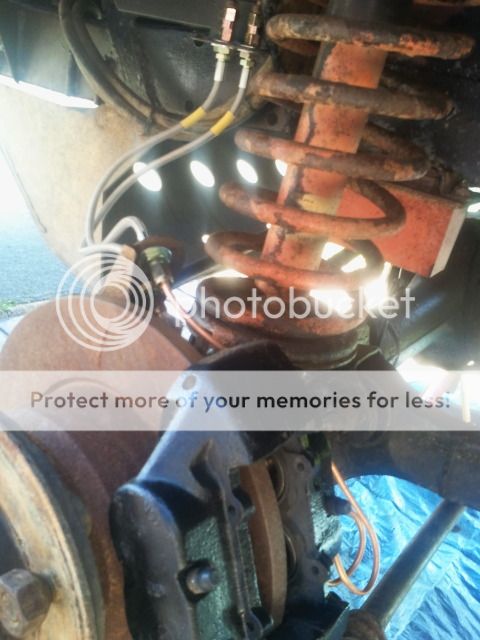
Whilst you have the front of the cabin stripped out, I would recommend spending an hour or so and relocating the relays in the footwell to higher ground. It will help later if you intend to wade in deep water and at the moment you have great access so it will be easier.
I would like to use some kind of rubber paint in the Hornet. I have used a product many years ago whilst restoring an MGB Sebring Racer with my brother. However I couldn't remember what it was nor where I got it from but I would love to find it again as you could paint a sheet of glass with it and make rubber matts it was that good.
Some kind of rubber solution might be good, although might be a bit messy if you ever need to repair anything, and might cover any developing rust rather than let you see it so it can be sorted.
Really good thread, appreciate the picture detail, for someone fairly new to this stuff its good to have a good set of references, between you, GH and Mr Noisy I think i have enough to start hammering on mine to get it done!
What an absolutely top hole topic \m/
Very nice work fella! I am envious of the fact your going to have a nice solid disco at the end of it!


looking good, nice tidy work
good job on the repairs!


Welcome To LandyZone, the Land Rover Forums!
Here at LandyZone we have plenty of very knowledgable members so if you have any questions about your Land Rover or just want to connect with other Landy owners, you're in the right place.
Registering is free and easy just click here, we hope to see you on the forums soon!