- Posts
- 58,170
- Location
- Preston Lancs.
He's done enough front covers in his time !
This is true. But then again i cut my toe nails but i am not a chiropodist.
")
He's done enough front covers in his time !
Just wanting to give a "heads up" relating a couple of experiences, both engines 3.5's, first.020" overbore, both done by different reputable professional engine reconditioning machine shops, mine done first, my mates done about 3 years later, both shops said it was common occurrence, they were not happy with the problems that came back to bite them because in my case they had to do a set of "top hats" for it on the second go, my mate scrapped his recon engine and fitted a complete new 4.6.i cant say that something ive seen with the hundreds of 3.5s ive bored out
Just wanting to give a "heads up" relating a couple of experiences, both engines 3.5's, first.020" overbore, both done by different reputable professional engine reconditioning machine shops, mine done first, my mates done about 3 years later, both shops said it was common occurrence, they were not happy with the problems that came back to bite them because in my case they had to do a set of "top hats" for it on the second go, my mate scrapped his recon engine and fitted a complete new 4.6.
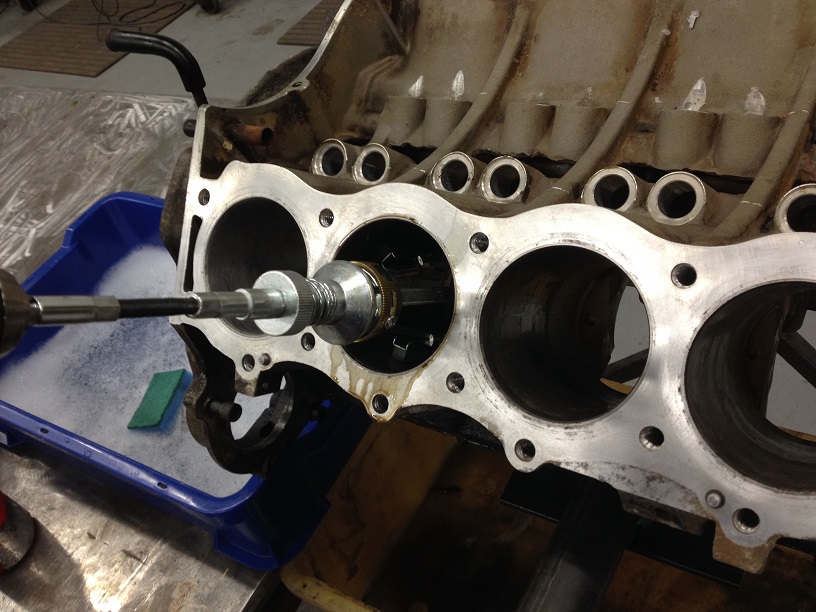
Really appreciate your kind words Mozz, hope you are well.....it is hoped this thread will help others resurrect an otherwise tired/dying engine!ant .. this in my opinion is the best thread I have read in 6 years of being a member ,,,,,step by step with pictures and instructions etc etc . you are a inspiration my friend . a fine knowledgeable guy .... I cant wait to follow on and enjoy the thread ,,,, till it finally comes to fruition .. I wish you all the success possible ,,, and thank-you for this excellent informative post ,,,well done ,, kind regards Mozz

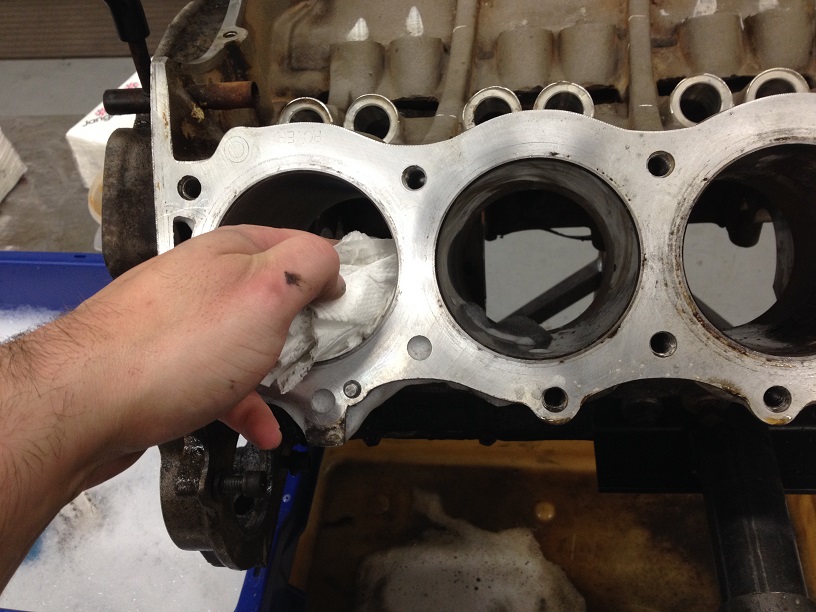
No, not always, certainly not in our cases, it was a result of too light interference fit liner to block at the manufacturing stage, bore in the alloy cylinder block casting was perfect, just a fit issue, I think I read somewhere in another forum that LR pretty much confessed to some glitches on the engine line in days gone by.Liners slip because the block holding them in place cracks.
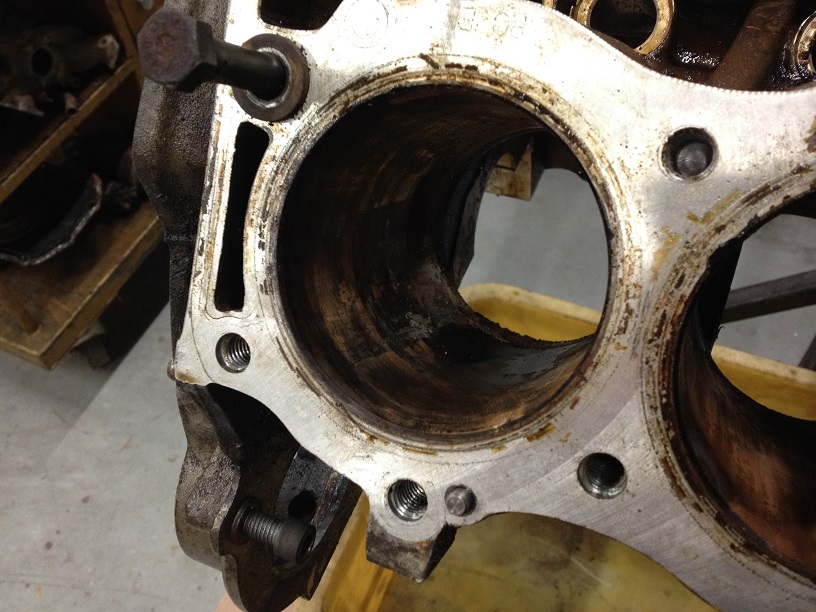
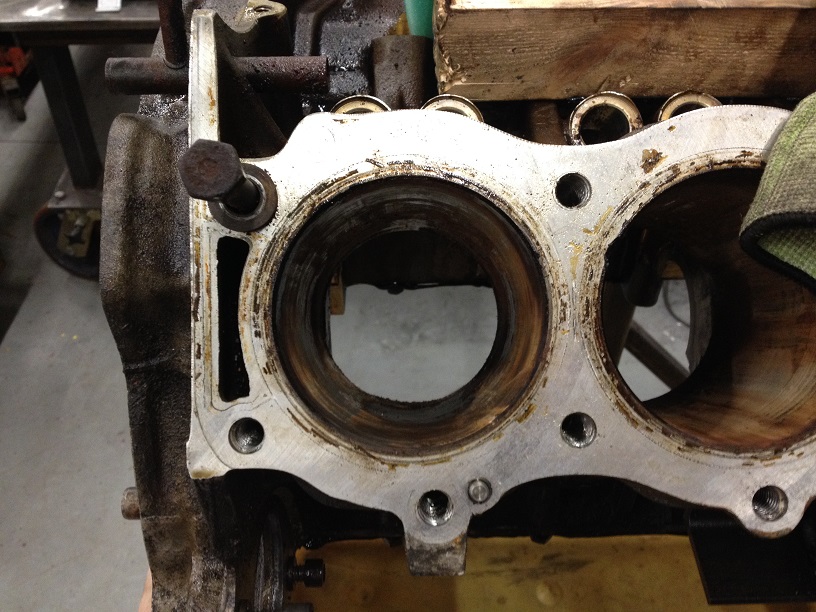
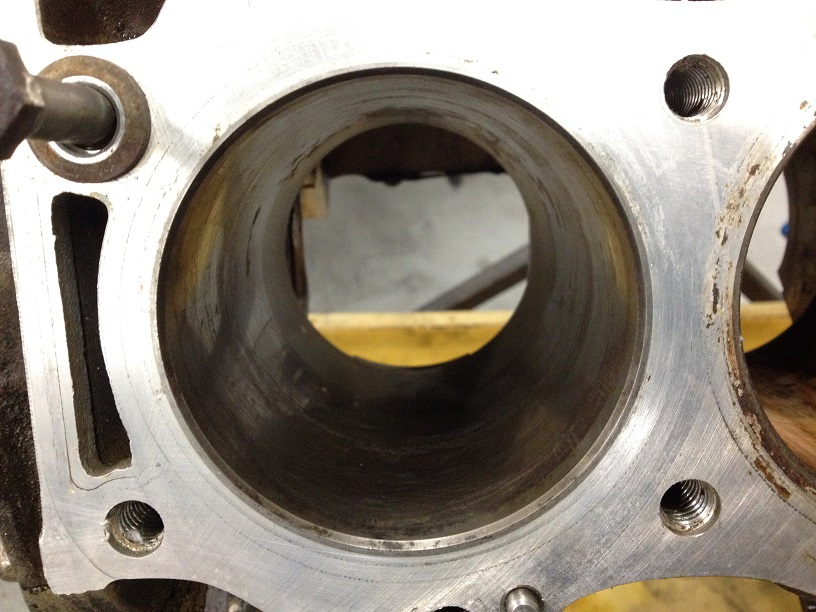
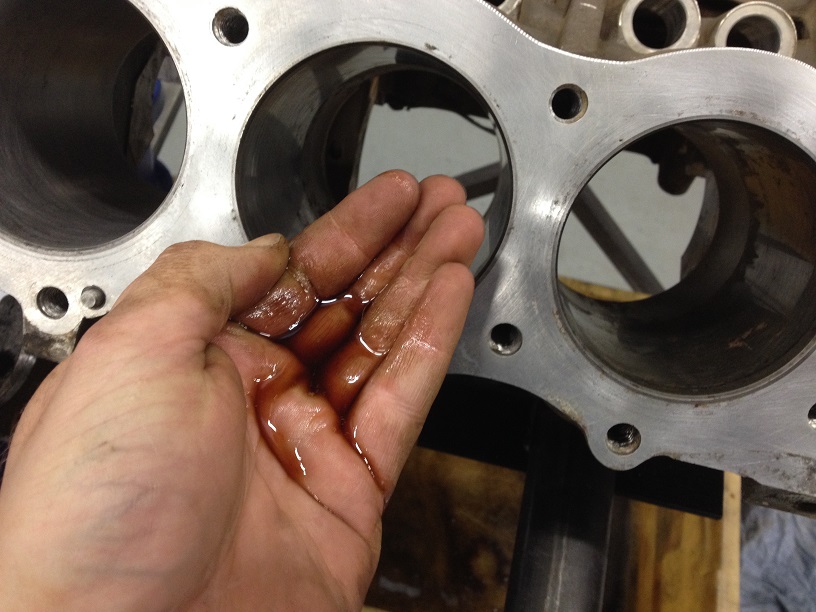
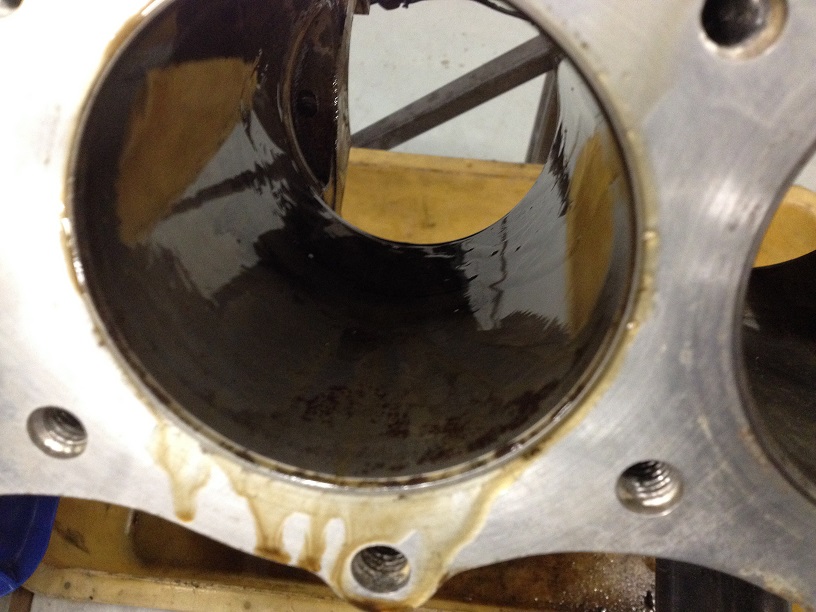
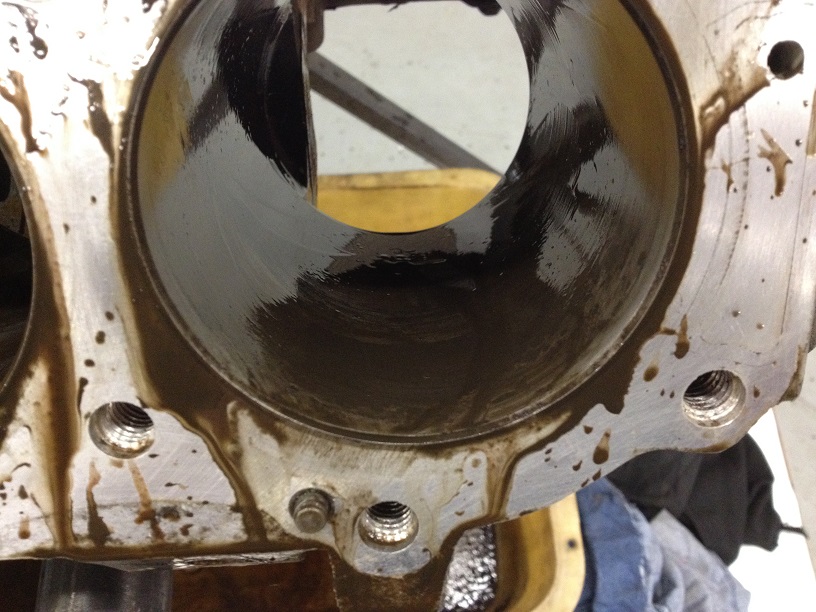
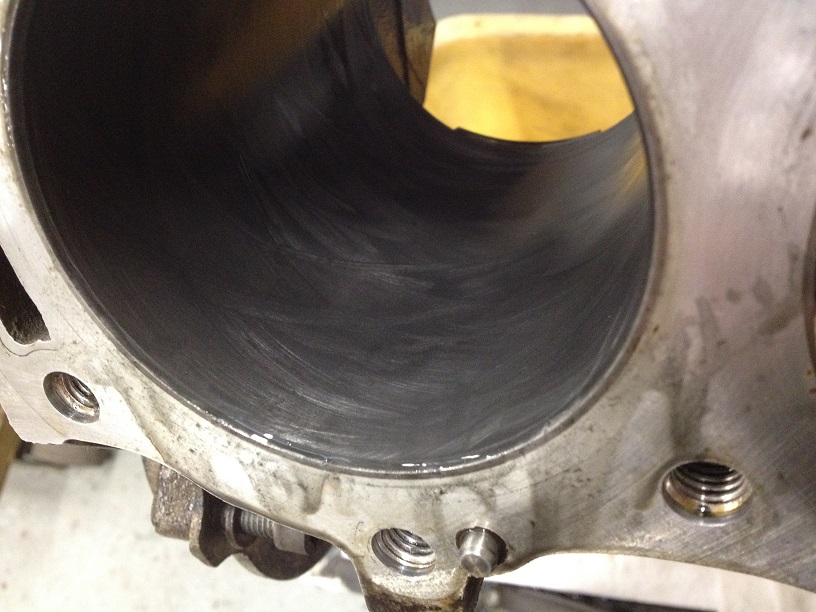
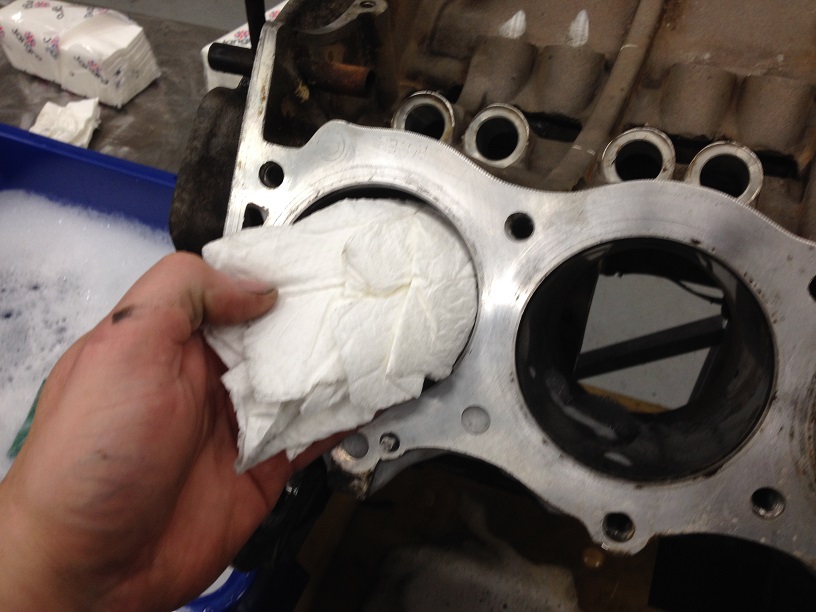
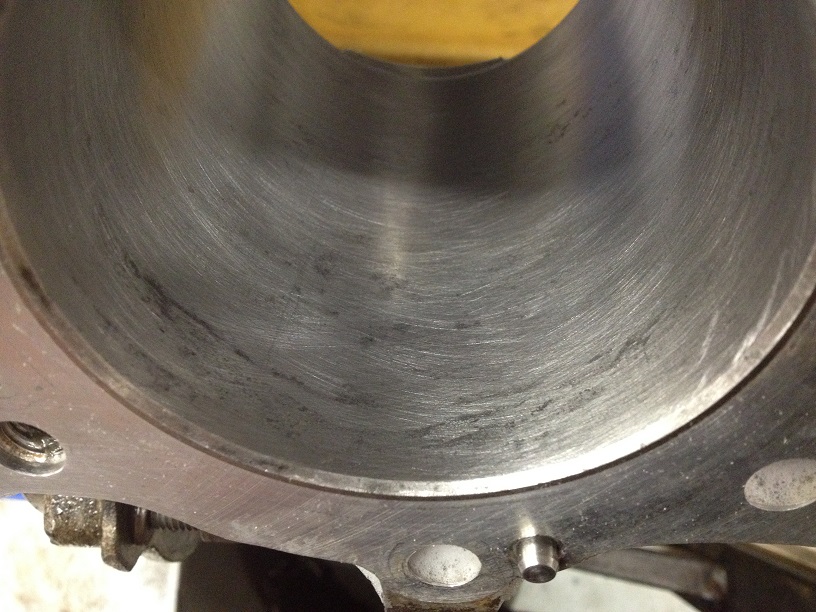
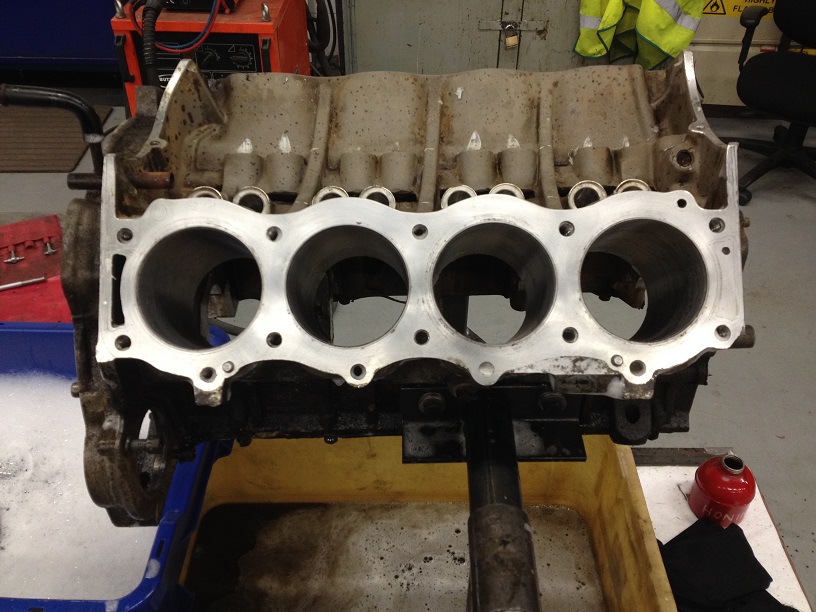
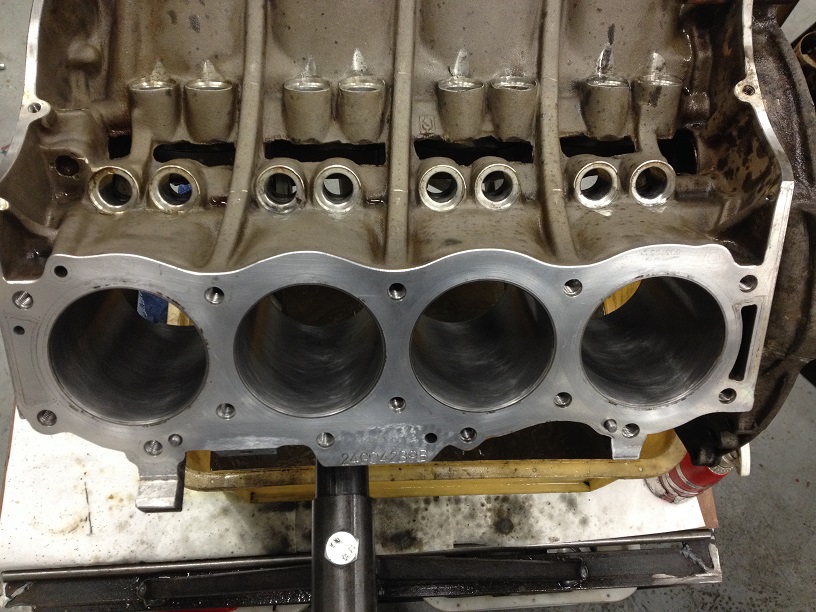
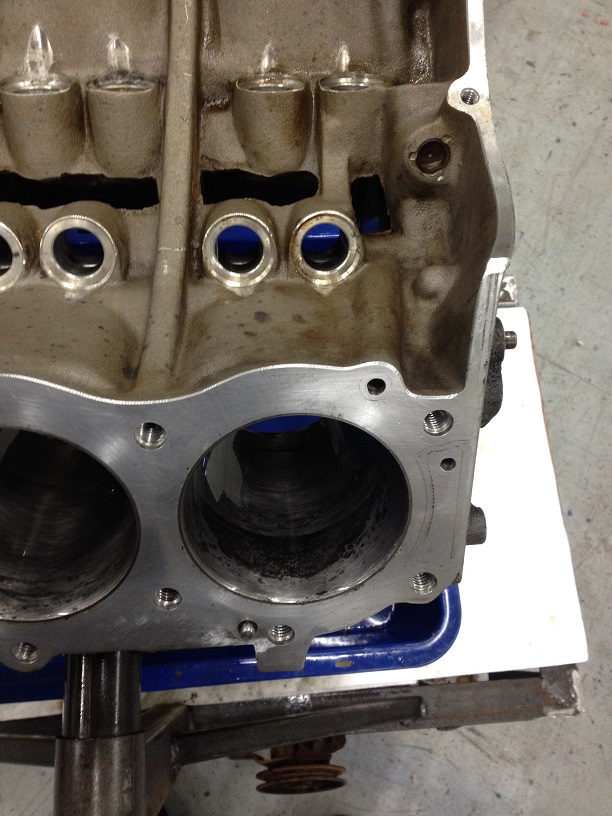
Some of those bores will come up nicely, will be great if they are within tolerance for a rebuild.There is one bore that is stained and the stain won’t move….it is not pitted, scored or dmaged, the stained area is as smooth as the rest of the bores,
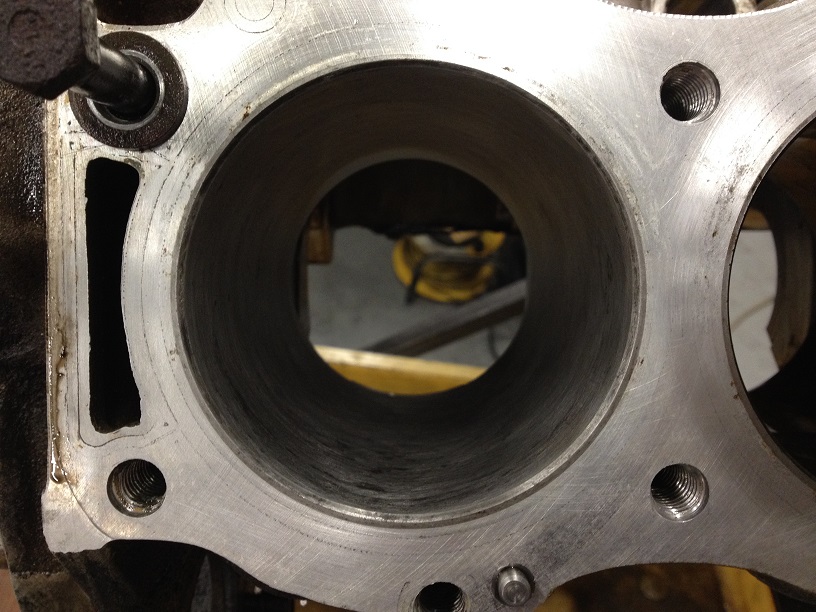
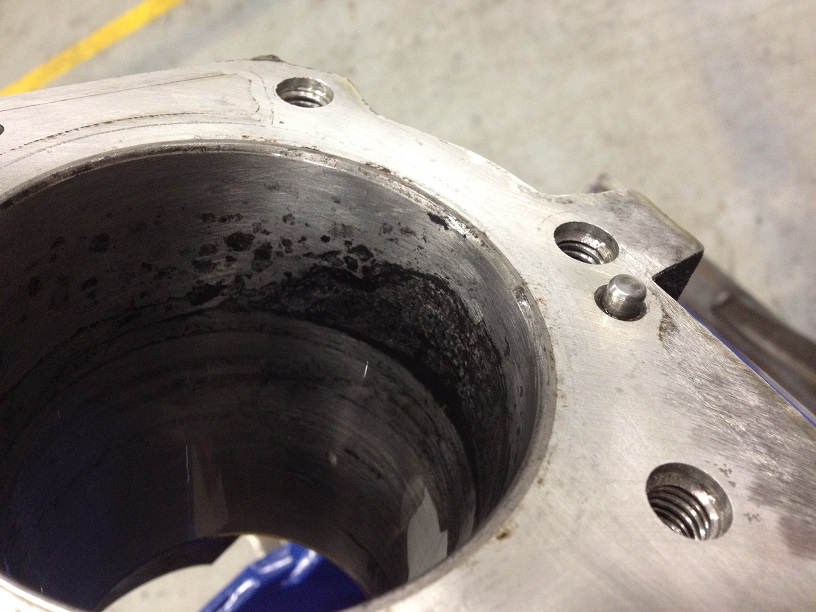
bored or linered ,some water marks can be deeper than you think ,and so rebore doesnt completely remove them in which case you use liners and then bore to std piston sizeThis is an excellent thread. Do the rust shadows mean the block is toast, or can it be re-linered?
you find imperfections in quality in any manufactured items especially from decades ago but we did v8s regularly and in no small number,without issue when the 3.9 came out that was were we found troubleNo, not always, certainly not in our cases, it was a result of too light interference fit liner to block at the manufacturing stage, bore in the alloy cylinder block casting was perfect, just a fit issue, I think I read somewhere in another forum that LR pretty much confessed to some glitches on the engine line in days gone by.
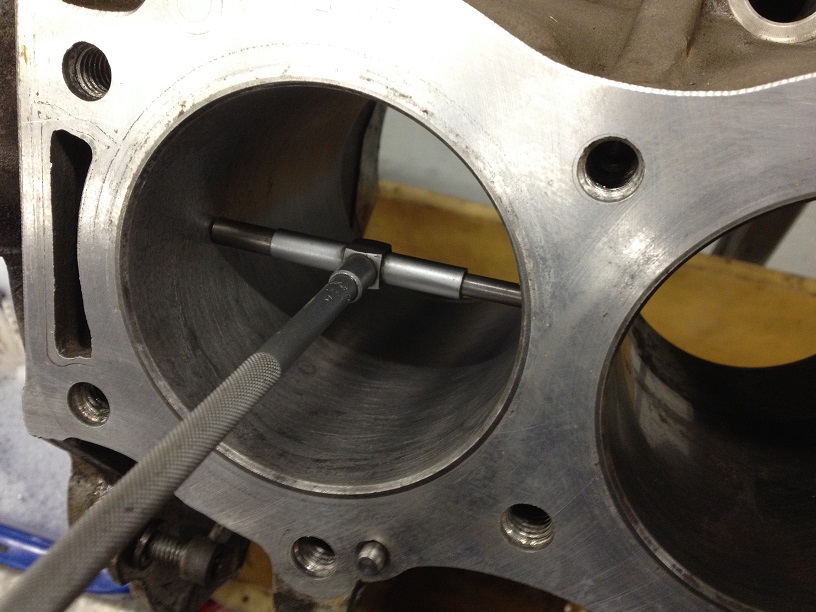
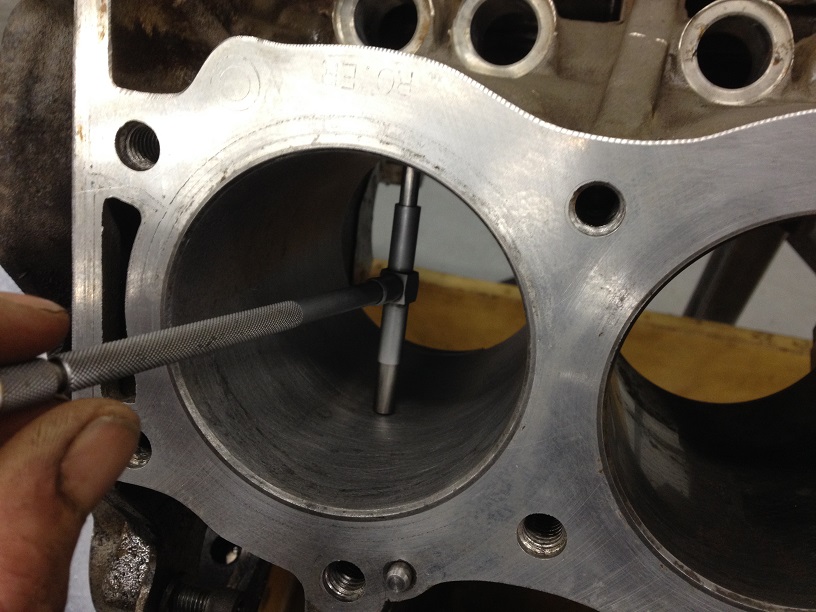
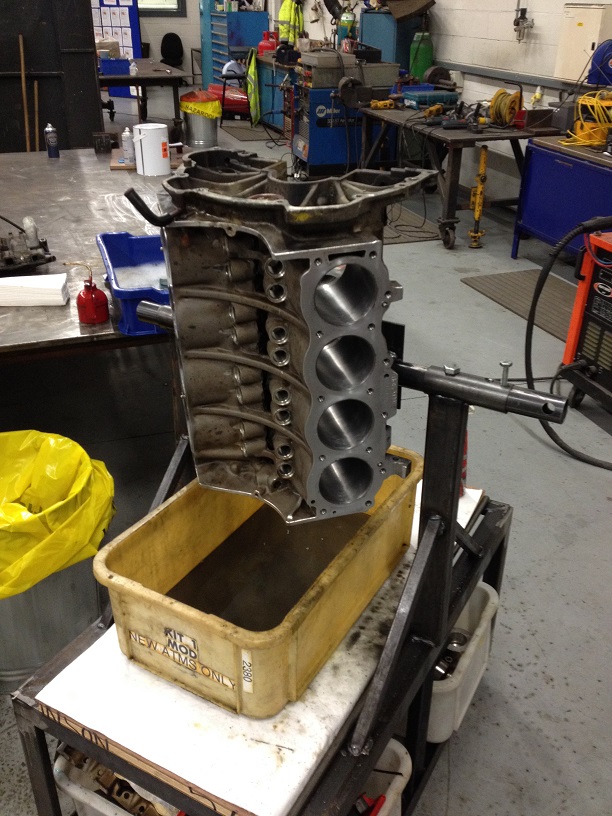
Some of those bores will come up nicely, will be great if they are within tolerance for a rebuild.
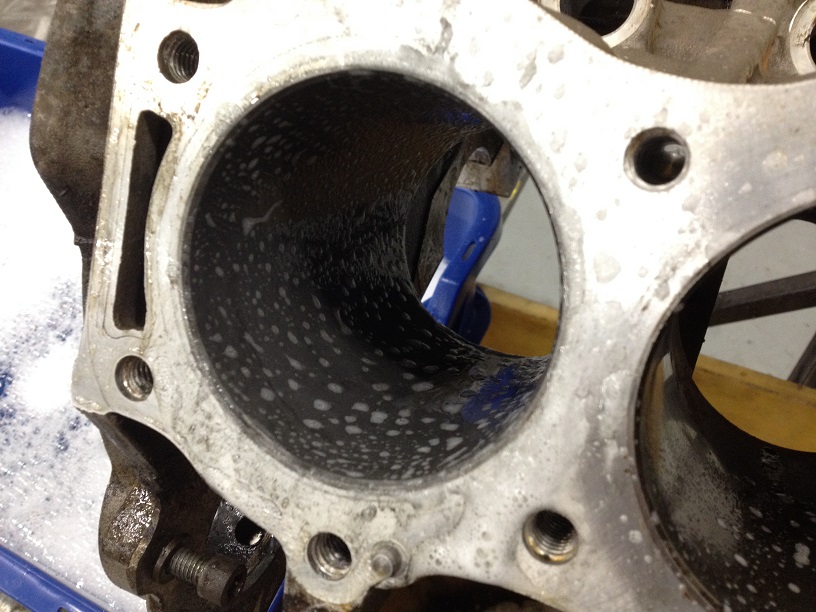
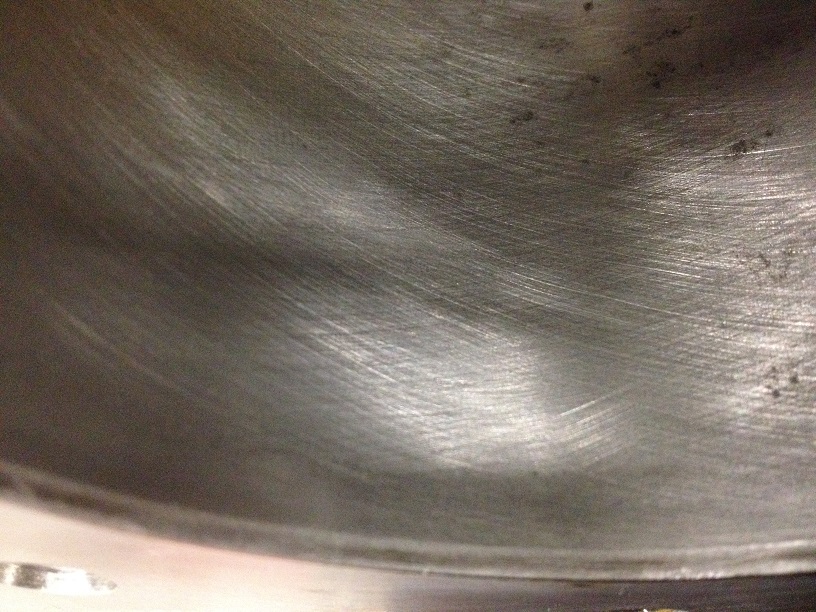
Each one of those "stained" areas are what is known as "rust shadows" even though they appear smooth etc, the metal there, or what remains, is much softer than the original bore surface, if you run rings across it it will degenerate very quickly. You will see the same effect on a ball or roller bearing race track, where moisture has rusted the surface, they are the first raceway areas to fail.
Why would that dear old Rangie have been put out to pasture with only 26K on it, that's the sort of mileage you want to find on that "special" barn find, low K's all original, just clean off the dust, pump up the tyres, hunt the birds out, and start the engine..but it has only done 26k miles so wear is minimal
Why would that dear old Rangie have been put out to pasture with only 26K on it, that's the sort of mileage you want to find on that "special" barn find, low K's all original, just clean off the dust, pump up the tyres, hunt the birds out, and start the engine.
The history of the car must be interesting but, that ain't no way to treat a lady that is capable of giving half a million miles of service using three or four new engines.
From what I see many V8s have low mileage and often you can pick them up cheaper than diesels.Sorted that for you.
From what I see many V8s have low mileage and often you can pick them up cheaper than diesels.
Wonder if its anything to do with the fact that they gargle with a gallon of petrol when you hit the starter.
Welcome To LandyZone, the Land Rover Forums!
Here at LandyZone we have plenty of very knowledgable members so if you have any questions about your Land Rover or just want to connect with other Landy owners, you're in the right place.
Registering is free and easy just click here, we hope to see you on the forums soon!