3.5 V8 Rebuild

This site contains affiliate links for which LandyZone may be compensated if you make a purchase.

discomark10

Well-Known Member
Posts
3,977
Location
Milton Keynes
So, after reading a Mr Noisy's thread I've decided to follow in his footsteps and rebuild my 3.5L EFI Rover V8 @135k.
As it stands it runs ok, well... as-well as you could expect from an engine of this age/miles, but I'de like to have something i know will be reliable and more responsive.

The plan :-

I'm aiming for a bog standard rebuild to replace worn parts, not a performance build.
Ill also be cleaning the lot, doing a bit of painting, as-well as doing a few mods (adjustable oil pressure, valley drilling, 10 bolt torque setup).
I'm hoping to not replace the crank,oil pump, distributor drive or rocker assembly, but ill re-asses if its needed.


I've just ordered £450 worth of parts from real steel which consists of :-
Top and bottom gasket set's.
STD piston rings.
The new STD Camshaft (i believe its the 3.9 revised one).
All steel timing set (no more nylon gear).
STD bearings all round.
STD stretch bolts.
STD Lifters.
STD Valve springs.
(I may have left bits off the list but ill update when they arrive)

I plan to take the lump out and strip down this weekend ready for cleaning ect.

Wish me luck!!!
P.S. feel free to add any helpfull hints/tips :D
 
Mark I'm doing exactly the same but with a 3.9 but in no rush, so going to take all winter, I would not have ordered the bearings yet incase you find the crank to be oval and need a re grind then you would need +10 bearings but I soppose reel steel will let you return if you don't open the box, read that the 3.9 can is a good upgrade in the 3.5, just take your time and get plenty of pics as you go;) good luck
 
Mark I'm doing exactly the same but with a 3.9 but in no rush, so going to take all winter, I would not have ordered the bearings yet incase you find the crank to be oval and need a re grind then you would need +10 bearings but I suppose reel steel will let you return if you don't open the box, read that the 3.9 cam is a good upgrade in the 3.5, just take your time and get plenty of pics as you go;) good luck

nice heads up there, ill keep that in mind for when i check the parts over.
The 3.5 cam is non existent any more as the 3.9 is basically the same and works perfectly (from what i can gather from reading).

And i plan to take pics of EVERYTHING!!! :eek: :D
 
Hi mate!

Yep, good luck, my thread should be a good source of info, just get stuck in!

Don't worry about getting lost etc, there really isn't that many bits!!!

Just strip the ****er, box everything up, drill that valley then start rebuilding!

Don't **** it up then you won't have to take it apart again 3 times like I did lol :D

Any hints and tips? Urm, well apart from the above :p buy some new engine mount rubbers cos they're very cheap and I bet you'll find yours are ripped, don't forget to use a thermostat gasket like I did, if you have trouble getting the plenum base off then remove the plenum top, remove the bolts from the base, bolt the top back on then knock the plenum at the inlet end with a mallet to break the seal, remember to crack the crank pulley bolt off with a big bar against the chassis and kick the starter motor before you start the job, bond the sump gasket to the block before fitting sump and apply sealer to sump side of gasket too, and order rubber rocker cover gaskets, very carefully inspect all breathers, be careful that plastic T piece is impossibly brittle, the injectors fit into and come out of the inlet mani fitted to the fuel rail so don't take the clips off til it's out in one piece, and pay special attention to the handing of conrods, caps and main caps.

Over to you now! :)
 
Thx dude.. this is my 1st rebuild.. most ive done is a head gasket on a rover 2LT... so should be a interesting and fun lurning curve. The bit im least looking forward to is removing the lump in the first place.
 
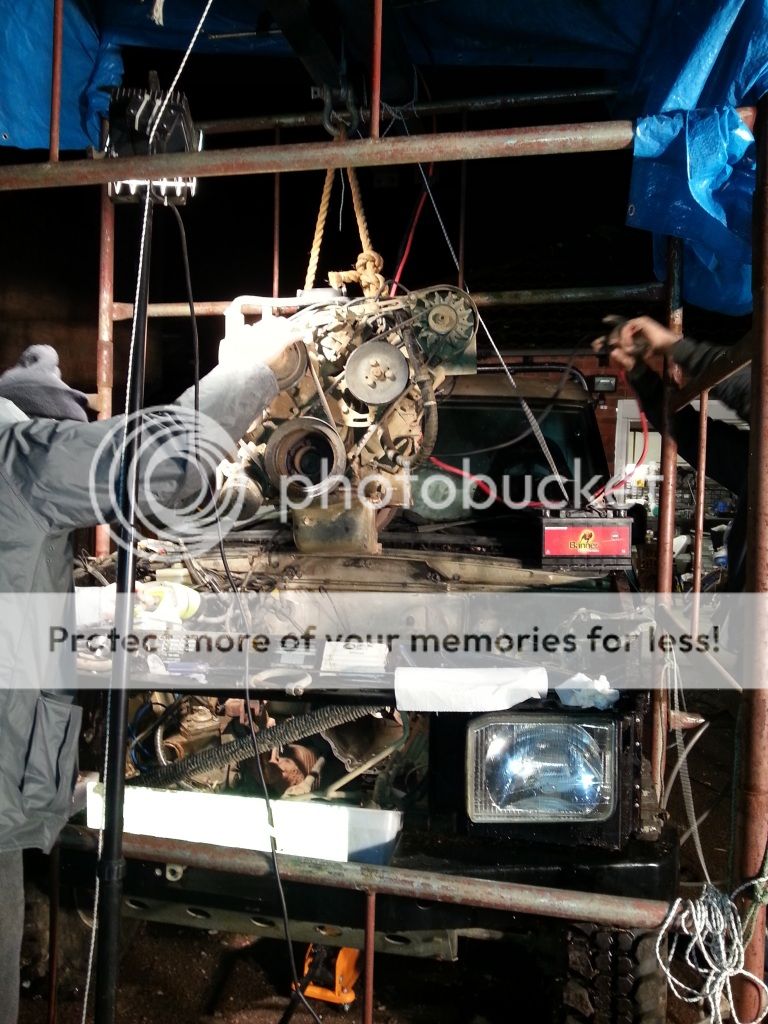
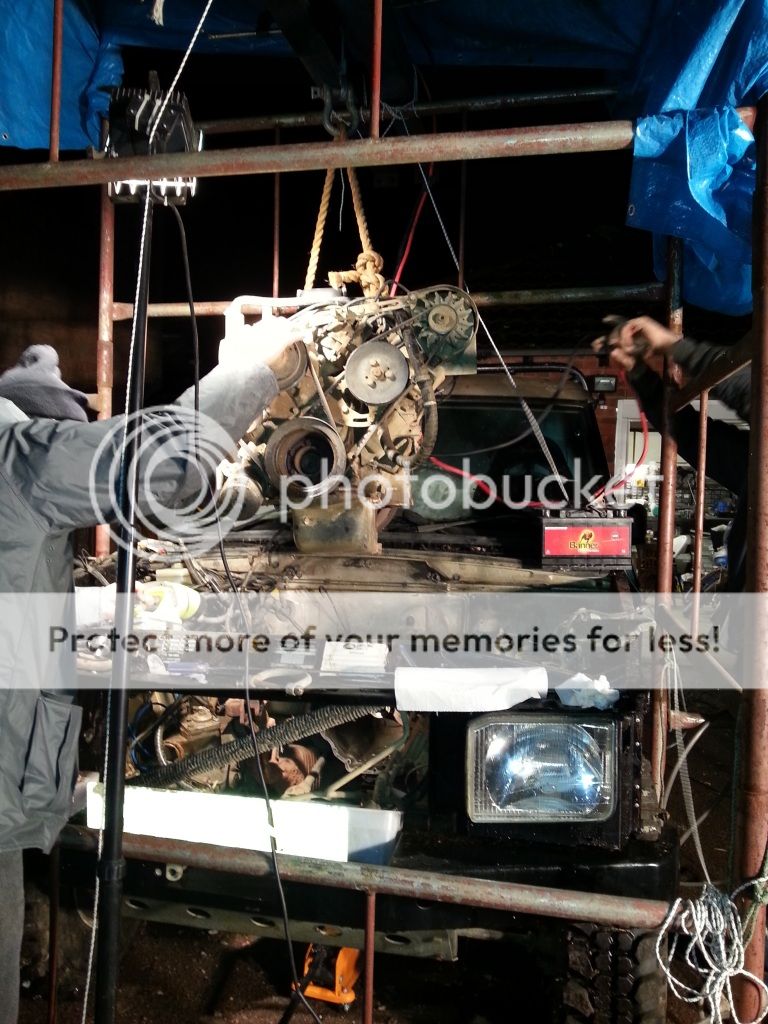
So ... with the pouring rain me n the Mrs set up the scaffolding and set-up the winch on to with a tarp.
Set to disconnecting all the wires n bits. Who knew a few bell housing bolts could be such a bitch, but with some help from the old man we got it out in the end just before the fireworks started.
Ill put up a few pictures in a little bit.
 
Last edited:
Hmmm goodies!

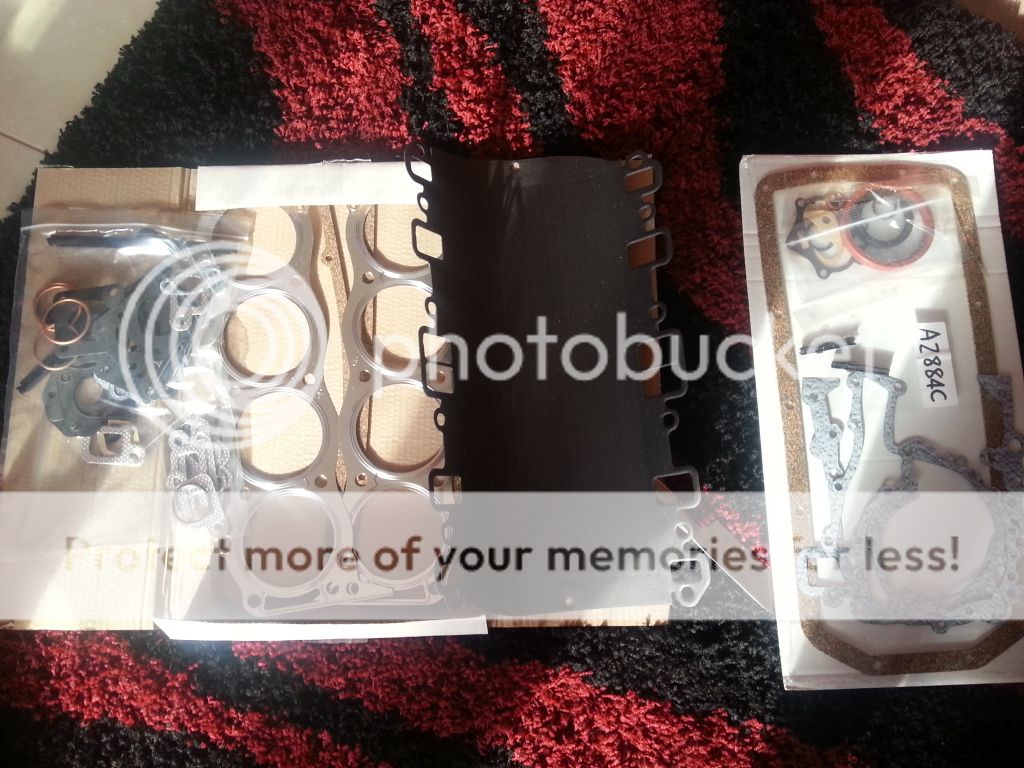
Upper and Lower overhaul kits:-


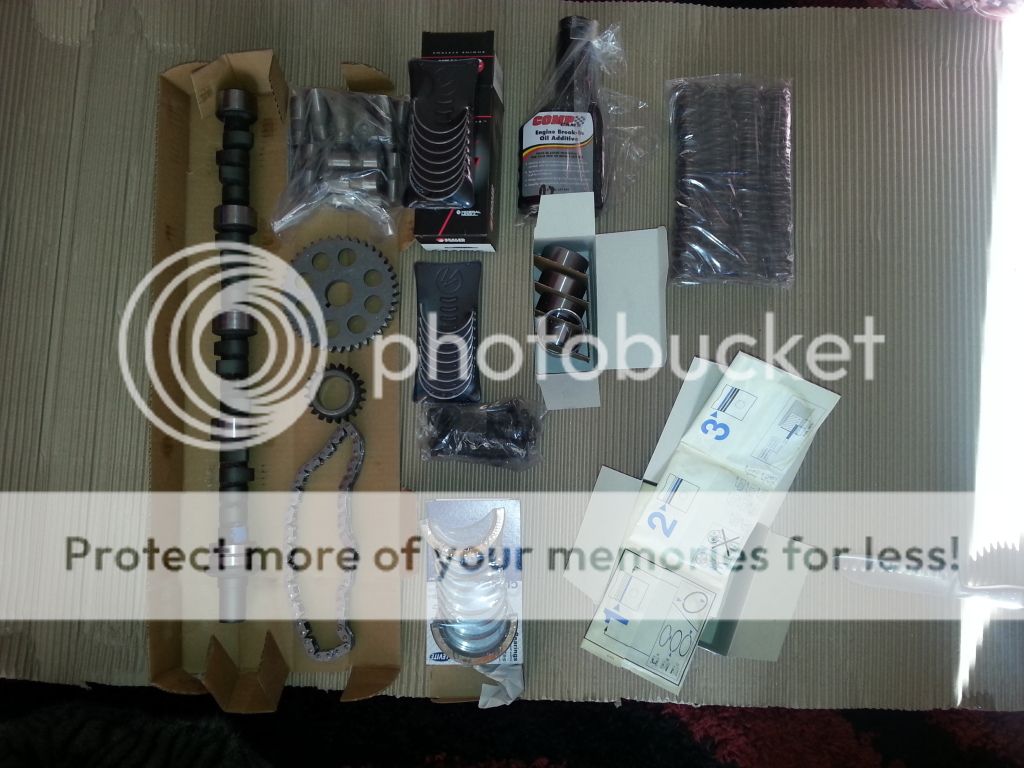
Cam, Gears, Chain, Followers, Bearings, Break in oil, Bolts Rings and Springs


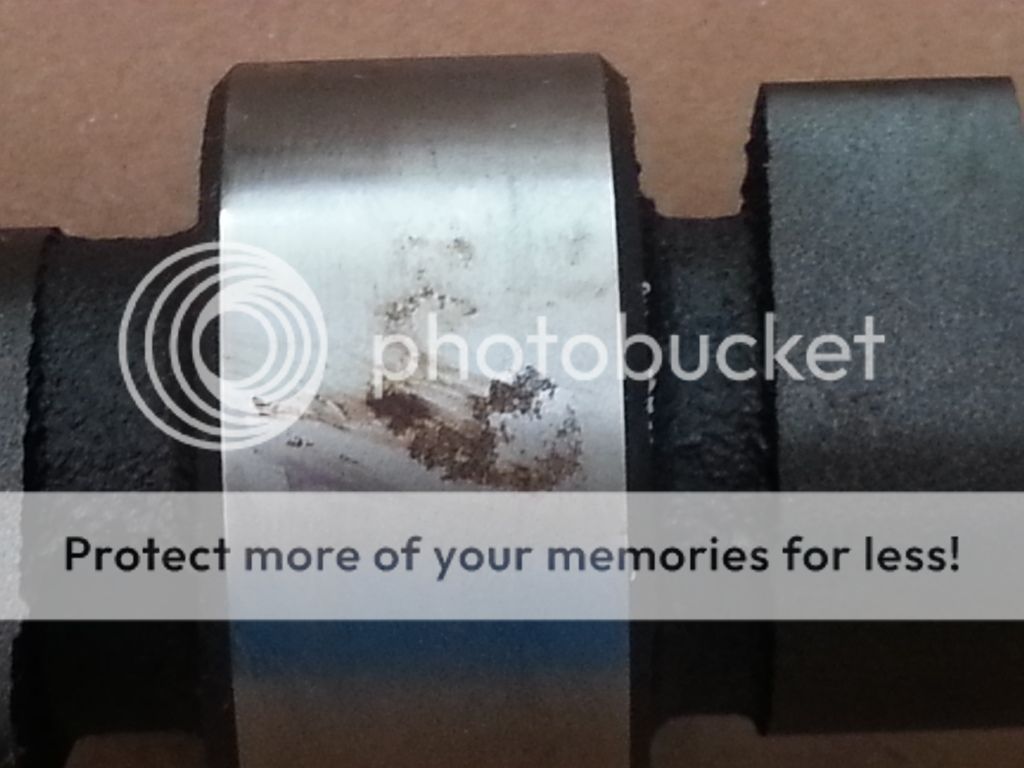
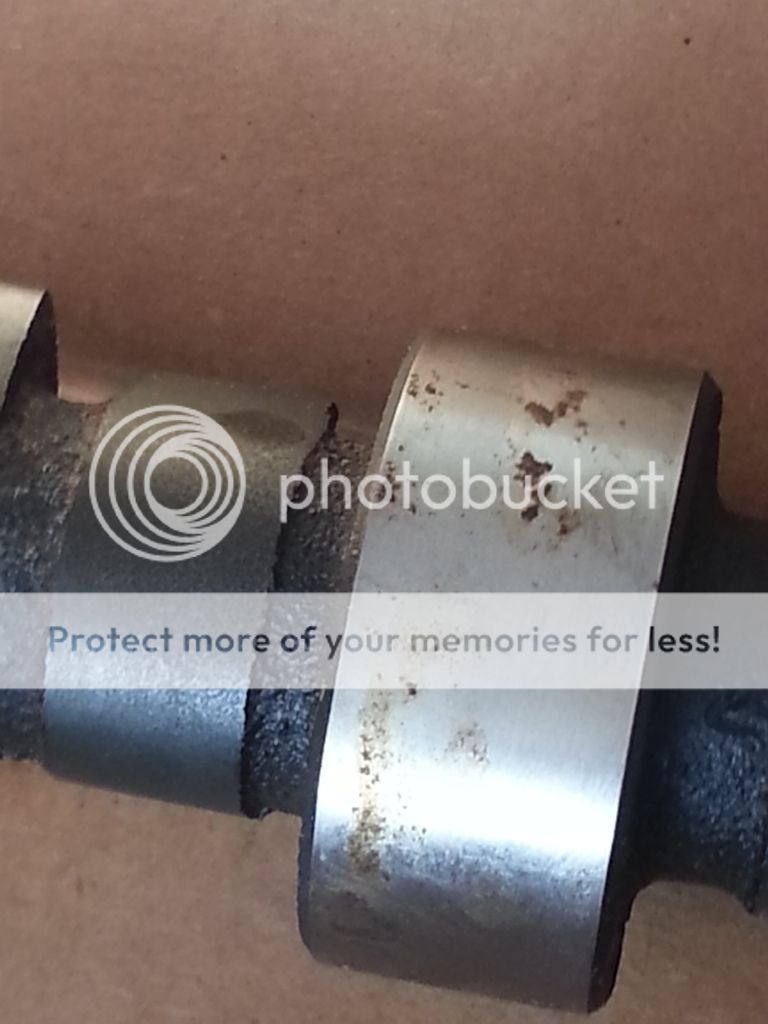
Now after checking the pats over i noticed this...


The bearing surfaces on the cam had light rust on them.
After speaking to RealSteal they said it happens a bit and just to rub them down with a very fine paper with oil and it will be fine And/or to send it back.

I think ill have a go at it and see how it looks... any comments on that?
 
Last edited:
After fiddling around making a start on striping the block down i decided it would be wise to get a stand to put it on rather than a table with blocks of wood lol.
I spent the morning trying to find a place that hires out an engine stand.
Had no luck, so set to making one.. almost done, just gota make the bit that bolts to the block.


On another note the new Mill mechine arrived :D:D:D:D:D Now i just need to think of something to make with it for the Disco :p
 
stands are cheap on ebay but I noticed with my that if you have the flywheel on its too tight against the bracket to turn the engine over. silly design
 
Back
Top