ukadamwest
Well-Known Member
- Posts
- 2,990
- Location
- Surrey
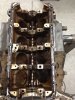
So Saint`s been in heaven all day, up to his armpits in classic v8s and enjoying ever second
what a way to spend a nice sunday.
Well the alternative was a day in Heston
So Saint`s been in heaven all day, up to his armpits in classic v8s and enjoying ever second
what a way to spend a nice sunday.
You've seen Saint then.


Eagerly awaiting the next thrilling installment, will it be saved or not
Do hope so it in good hands
Reminds me somewhat of Trigger's broom.
Nice....might have to write a V8/Range Rover Bible one day!!!!Adam, ch 8, v 8. And Saint said: recheck thy tank. And, upon removing the filler cap our nostrils were crinkled by fumes and lo and behold, the water had turned into petrol. And there was much rejoicing.
(Extract from the Range Rover bible.)
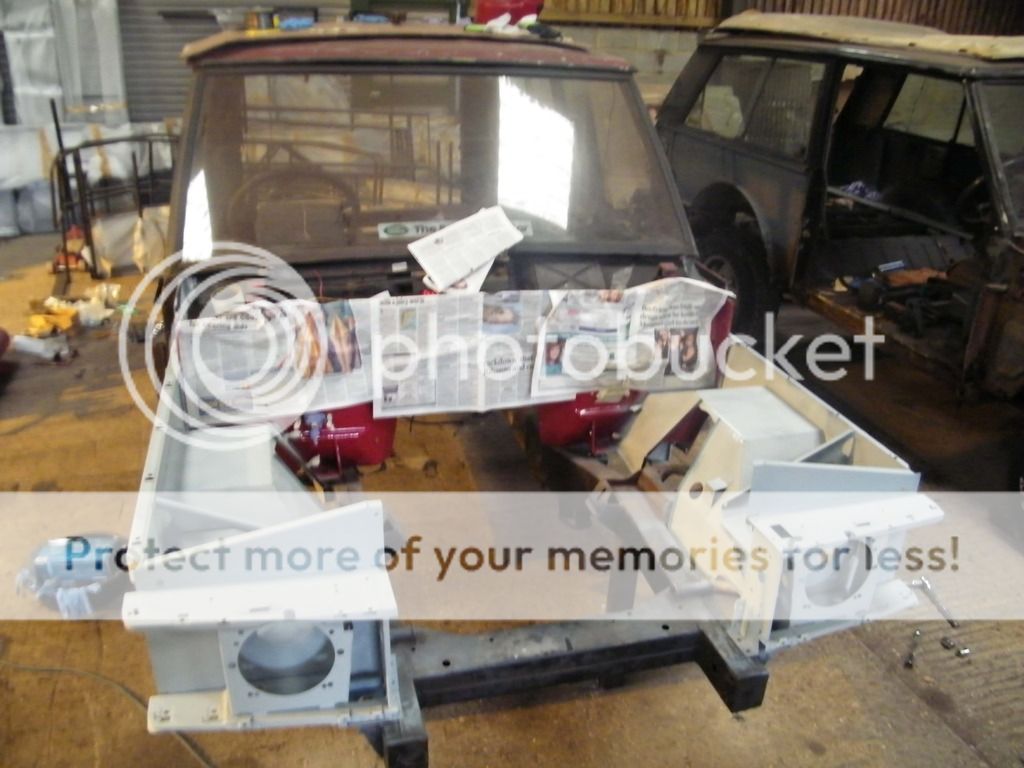
New rear wheelarch should be in tomorrow so i can then get the nearside wheelarch and boot floor welded in. then the bodyshell is pretty much done apart from popping the winndscreen and seeing to the bubbles around that..
Welcome To LandyZone, the Land Rover Forums!
Here at LandyZone we have plenty of very knowledgable members so if you have any questions about your Land Rover or just want to connect with other Landy owners, you're in the right place.
Registering is free and easy just click here, we hope to see you on the forums soon!