You are using an out of date browser. It may not display this or other websites correctly.
You should upgrade or use an alternative browser.
You should upgrade or use an alternative browser.
Steve's unexpected Series 3 rebuild.
- Thread starter LincolnSteve
- Start date
This site contains affiliate links for which LandyZone may be compensated if you make a purchase.
raywin
Well-Known Member
- Posts
- 3,808
- Location
- North Yorkshire
Love the picture of the stub axle brake assembly above, its pictures like that that show why the effort is worthwhile.
Just the tiny niggle that down there in the mud and crap in a few years it will be the same again..........Oh well.
Just the tiny niggle that down there in the mud and crap in a few years it will be the same again..........Oh well.
LincolnSteve
Well-Known Member
- Posts
- 1,224
- Location
- Lincoln
It's true. Whatever we do we are only fending off the deterioration. Sometimes it can get depressing to realise that. I am glad that I'm bringing this landy back. I think another year of neglect would have probably seen it scrapped. Another one will live on.
raywin
Well-Known Member
- Posts
- 3,808
- Location
- North Yorkshire
Try to see the positive maybe in 20 years someone else could have the joy of posting a picture of the same axle restored and thinking I did that.
It's great to see such a good job being done and actually it makes me push a bit harder to do a neat job when I do something on my 90.
It's great to see such a good job being done and actually it makes me push a bit harder to do a neat job when I do something on my 90.
LincolnSteve
Well-Known Member
- Posts
- 1,224
- Location
- Lincoln
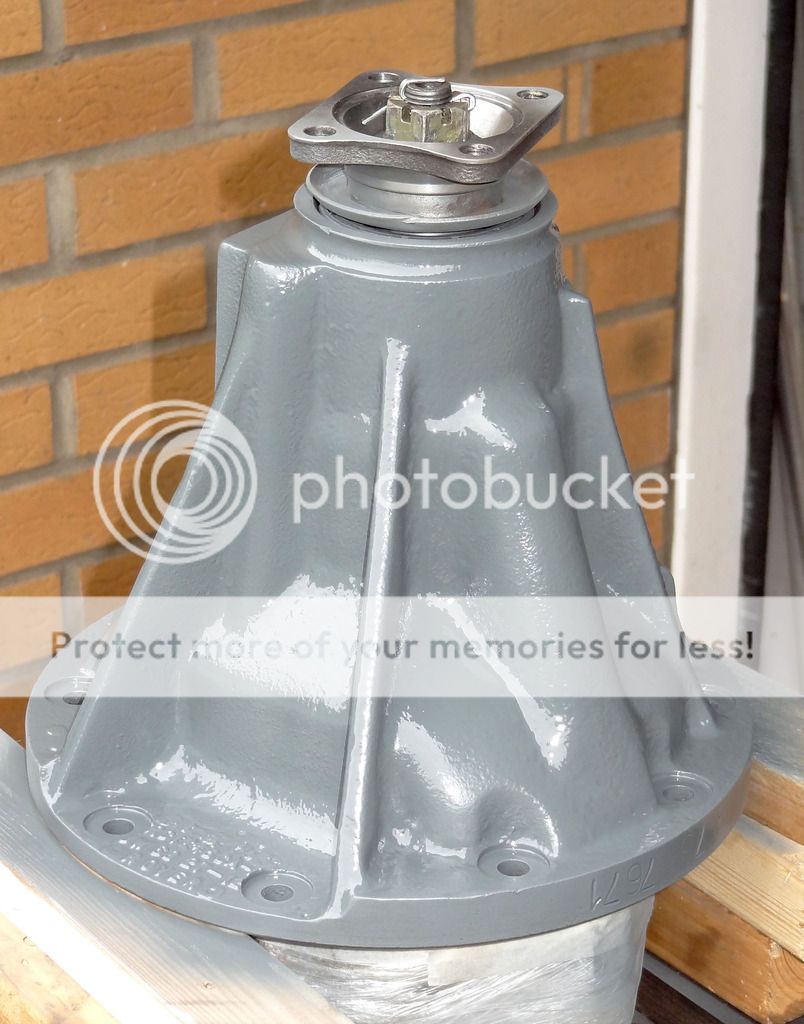
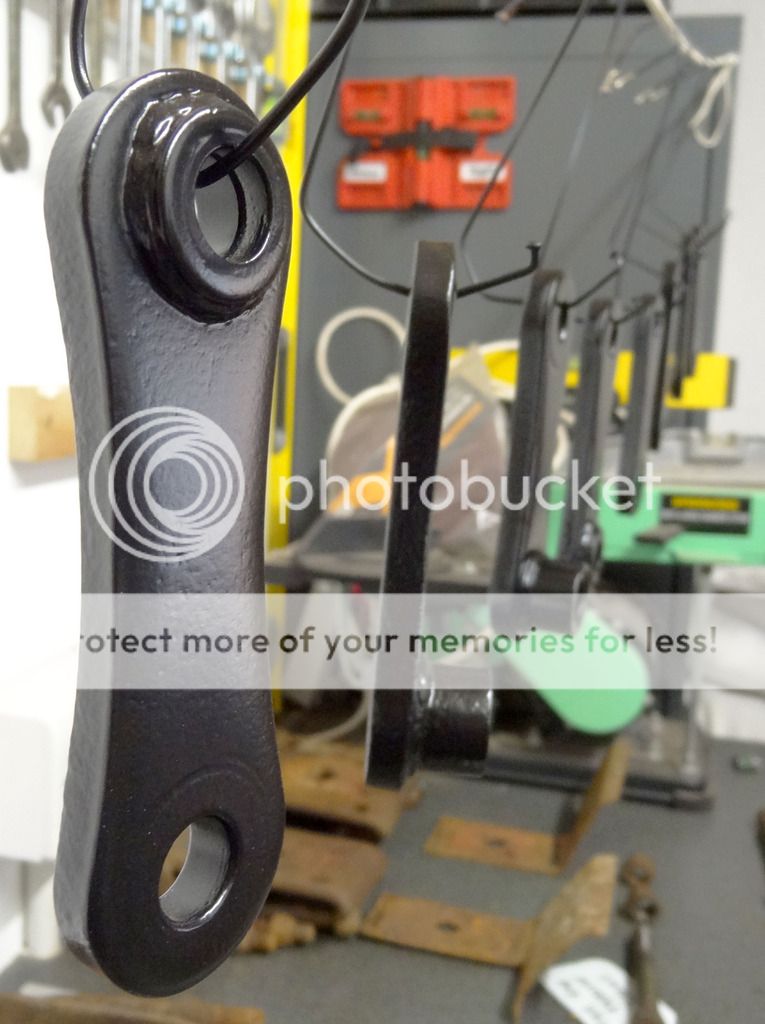
In the end I got my stub axle turned down to fit the old bearings. It all started to go back together well and the machine shop have done a fantastic job. (Hindles in Lincoln if any locals are reading this ).
So everything is wonderful, what could possibly go wrong?
I got to the point of fitting the driven flange. As I tightened the last of the bolts the thread in the hub gave up!
The bloody thing waited until the last possible second, drawing me in, making me think all was well before taking the mickey again.
I swear this car does not want to be mended! It's fighting back!
I'll show it who's boss yet.
LincolnSteve
Well-Known Member
- Posts
- 1,224
- Location
- Lincoln
I'm sick of chuffing around with this hub now. I really can't be arsed to strip it down again. The bearings have already been in and out once because of the stub axle debacle. I'm thinking about using a helicoil. That way I can leave everything in place and not have to paint a new hub.
What are your thoughts on this please.
What are your thoughts on this please.
A well fitted helicoil will be fine. The problem, however, is more likely to be related to the locking of the stub in the back of the hub. I think you will probably have to remove the hub again...I'm sick of chuffing around with this hub now. I really can't be arsed to strip it down again. The bearings have already been in and out once because of the stub axle debacle. I'm thinking about using a helicoil. That way I can leave everything in place and not have to paint a new hub.
What are your thoughts on this please.
...you might want to try a seriously strong thread locker instead as a locking medium but that might not be so successful with the helicoil as well (dunno - give it a go)
Oh hang about - in your other thread you say this is the driven flange bit - if so then helicoil should be fine - locking not so much of a problem. Advice was given for a wheel stud...A well fitted helicoil will be fine. The problem, however, is more likely to be related to the locking of the stub in the back of the hub. I think you will probably have to remove the hub again...
...you might want to try a seriously strong thread locker instead as a locking medium but that might not be so successful with the helicoil as well (dunno - give it a go)
...the sides of the walls on the hub near to the threaded parts for the driven flange bit do seem a bit thin though so be careful when drilling the next size up
LincolnSteve
Well-Known Member
- Posts
- 1,224
- Location
- Lincoln
Oh hang about - in your other thread you say this is the driven flange bit - if so then helicoil should be fine - locking not so much of a problem. Advice was given for a wheel stud...
...the sides of the walls on the hub near to the threaded parts for the driven flange bit do seem a bit thin though so be careful when drilling the next size up
An M10 bolt fits nicely through the driven flange and is larger than the existing one. I have sent a question to the eBay seller of the helicoils to see what size drill bit comes with the kit. Then it's a balance of trying to get the right size hole without weakening the hub. Also I need to make sure M10 is big enough.
LincolnSteve
Well-Known Member
- Posts
- 1,224
- Location
- Lincoln
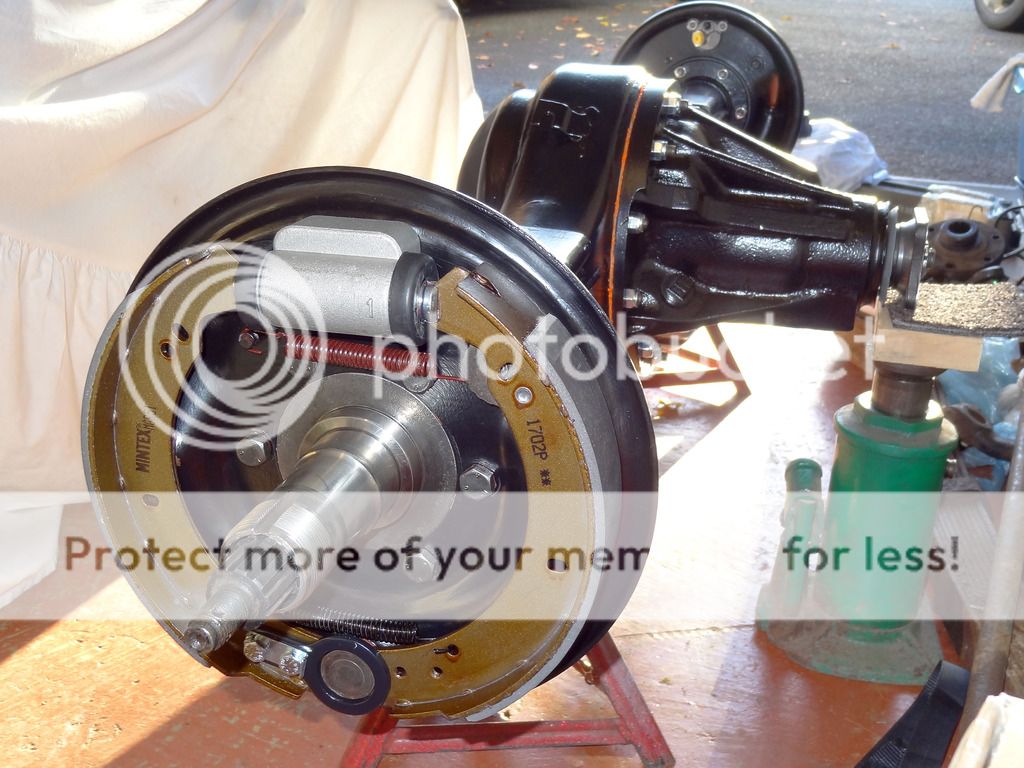
Well i'm now a believer!! Helicoils are bloody brilliant.
I bought this kit
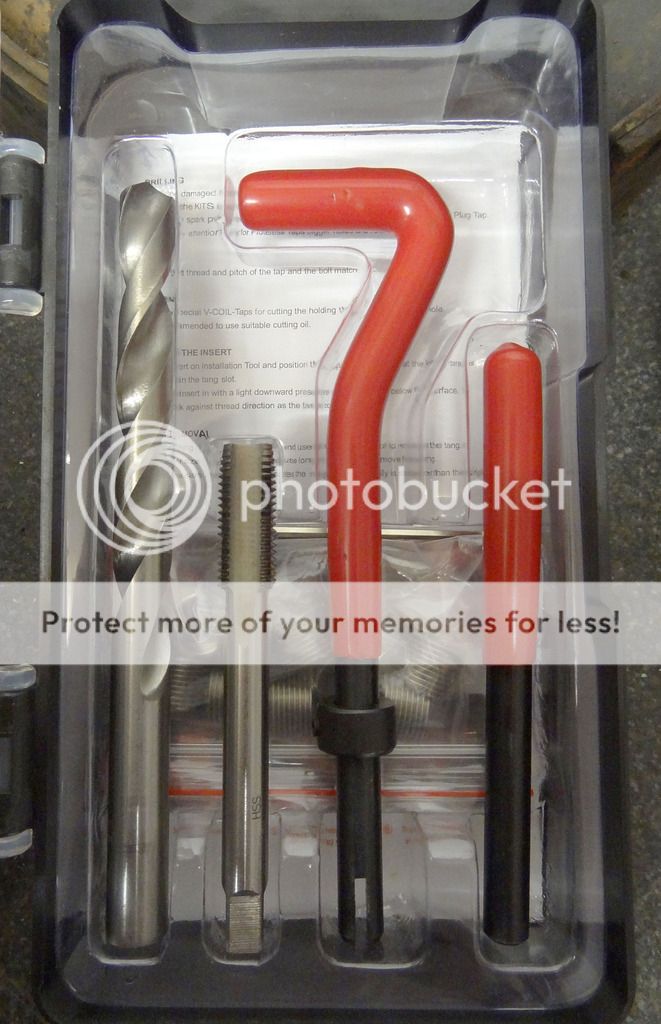
I stuck to my usual policy of only buying the cheapest available so I wasn't expecting much but I am pleased to say that it's great. Drill, tap, inserts and the tools to fit them for about £9, all in a nice little case. A comprehensive sheet of instructions so even a numpty like me can do it.
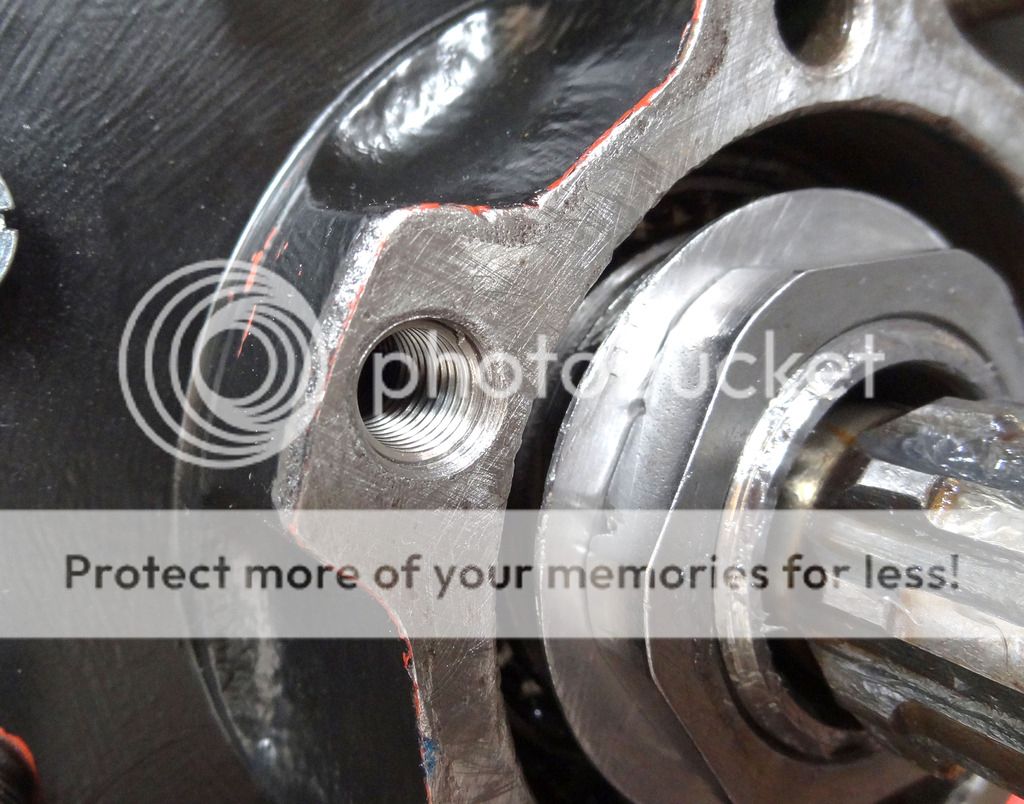
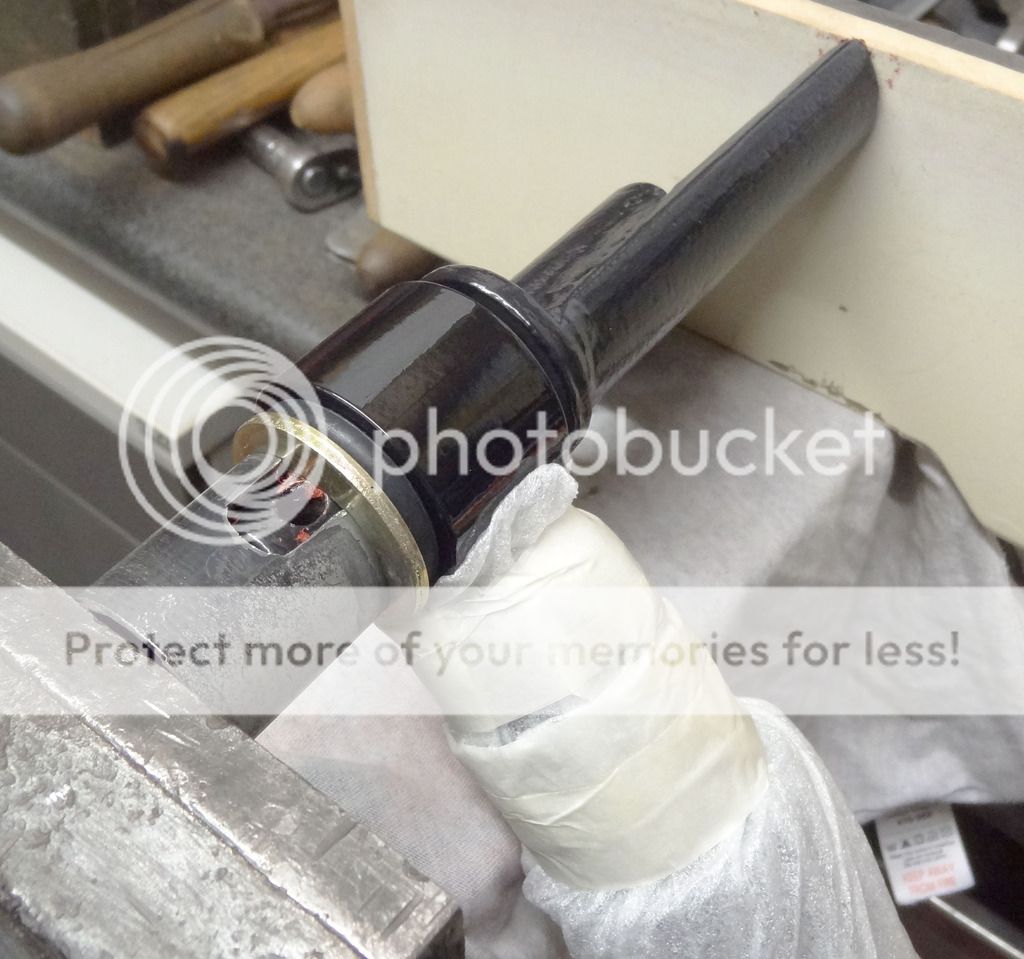
Off came the hub again and with the clever use of tape and sandwich bags I managed to seal it so that no muck or swarf could get in. Everything went really well and here it is all fitted.
I bought a good quality high tensile bolt as I didn't want to take any chances. It cost £3 which for one bolt I thought was a bit steep.
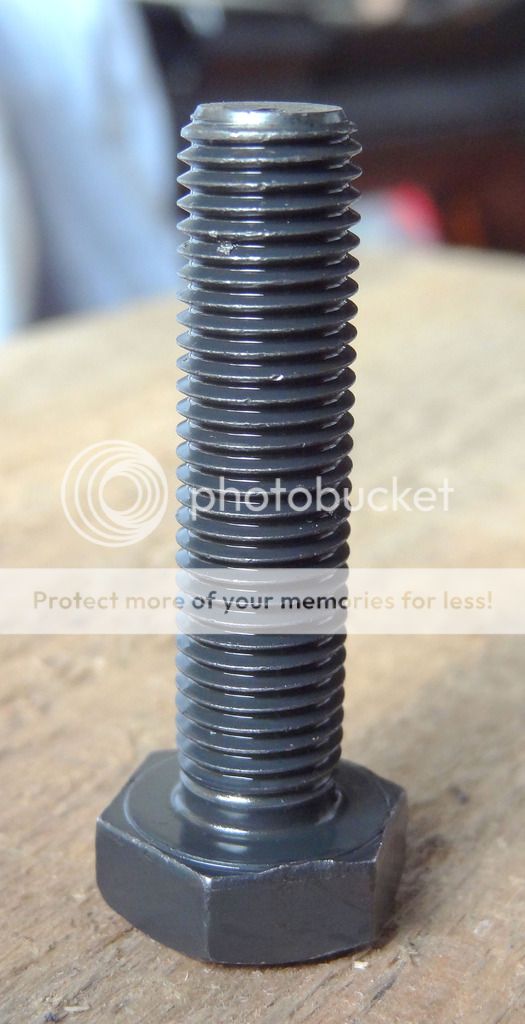
Does that look like £3 quids worth to you?
I bought this kit

I stuck to my usual policy of only buying the cheapest available so I wasn't expecting much but I am pleased to say that it's great. Drill, tap, inserts and the tools to fit them for about £9, all in a nice little case. A comprehensive sheet of instructions so even a numpty like me can do it.
Off came the hub again and with the clever use of tape and sandwich bags I managed to seal it so that no muck or swarf could get in. Everything went really well and here it is all fitted.

I bought a good quality high tensile bolt as I didn't want to take any chances. It cost £3 which for one bolt I thought was a bit steep.

Does that look like £3 quids worth to you?
LincolnSteve
Well-Known Member
- Posts
- 1,224
- Location
- Lincoln
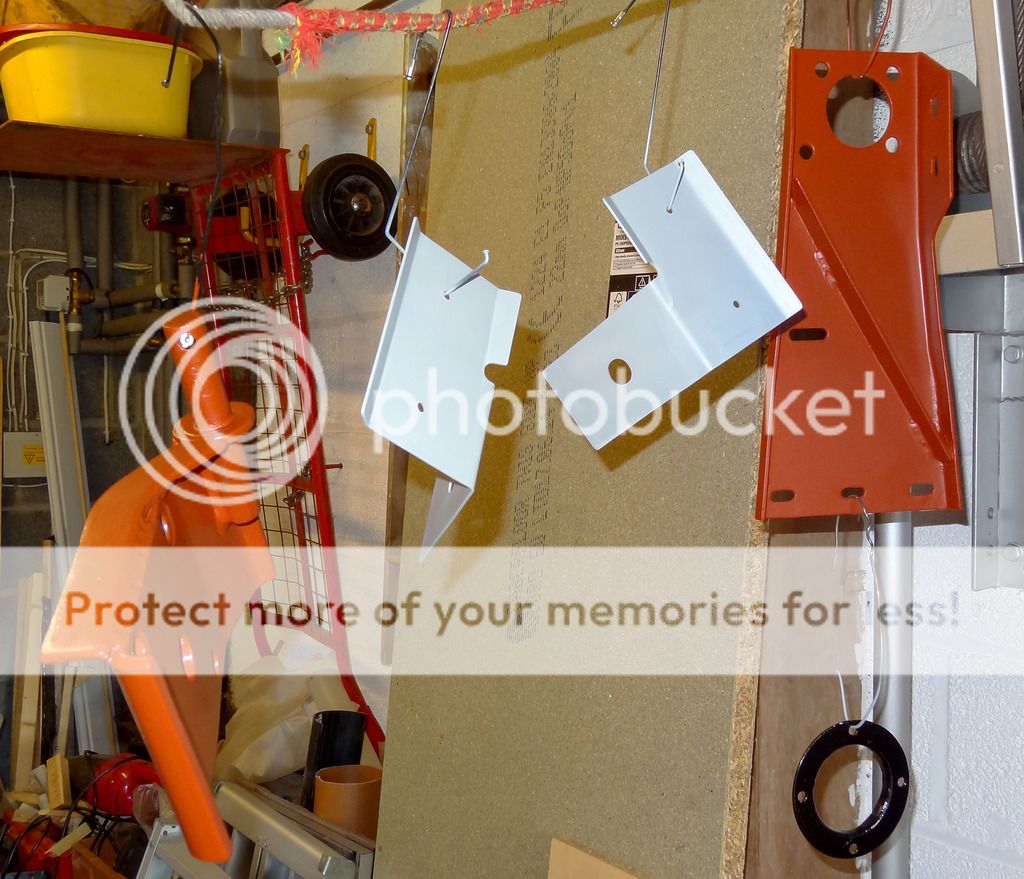
Back axle next.

These bracket thingies were past it so I made some new ones out of a shelf that I nicked from Radio Rentals when I worked there about a hundred years ago. I knew it would come in handy. Bit of good steel that and best of all free.
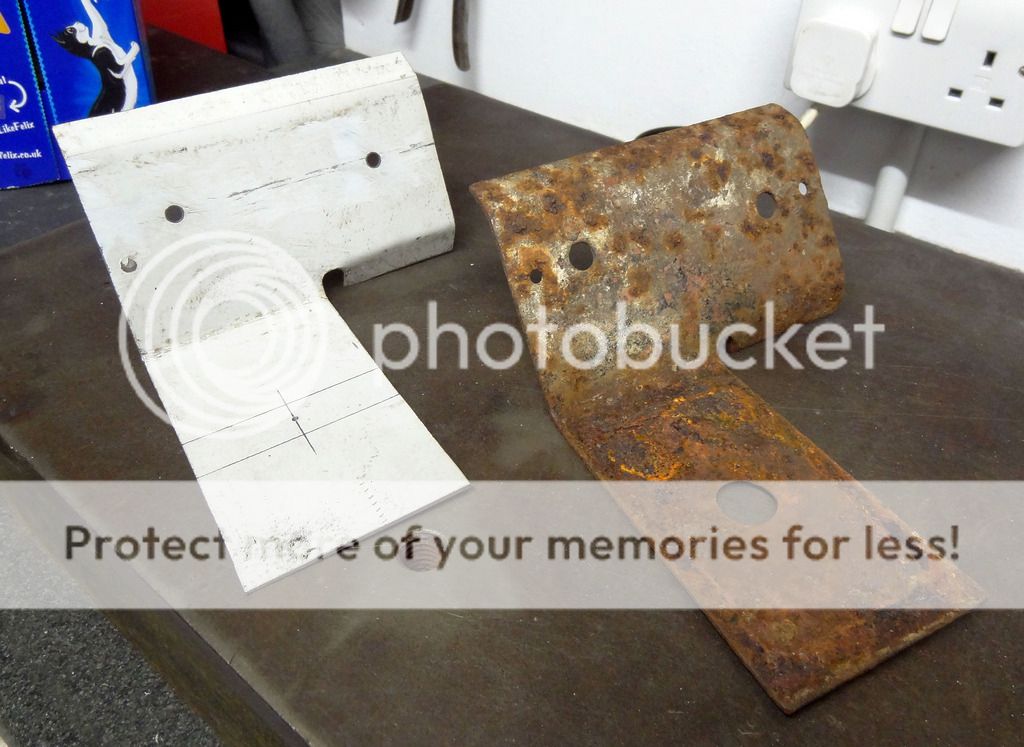
It's very time consuming refurbing all these fiddly bits but it's got to be done.
I've even had to get all new wheel nuts as this is the state that most of them were in.

I'm off work for a week soon and I hope to get it to the rolling chassis stage.
Operation snails-pace hurtles relentlessly on!


These bracket thingies were past it so I made some new ones out of a shelf that I nicked from Radio Rentals when I worked there about a hundred years ago. I knew it would come in handy. Bit of good steel that and best of all free.

It's very time consuming refurbing all these fiddly bits but it's got to be done.


I've even had to get all new wheel nuts as this is the state that most of them were in.

I'm off work for a week soon and I hope to get it to the rolling chassis stage.
Operation snails-pace hurtles relentlessly on!
Bl**dy hell!!! that wheel nut looks absolutely knackered - that has had some serious abuse to end up like that .
.
Oh yeah, the £3 bolt - No, it doesn't look like £3 to me either, but ??? what else can you do - glad you're a helicoil convert - blinking brilliant things they are
.Oh yeah, the £3 bolt -
No, it doesn't look like £3 to me either, but ??? what else can you do - glad you're a helicoil convert - blinking brilliant things they are LincolnSteve
Well-Known Member
- Posts
- 1,224
- Location
- Lincoln
It's getting hard to make progress at the moment. The dark, cold and rain really bugger things up don't they.
Anyway I have been making some headway.
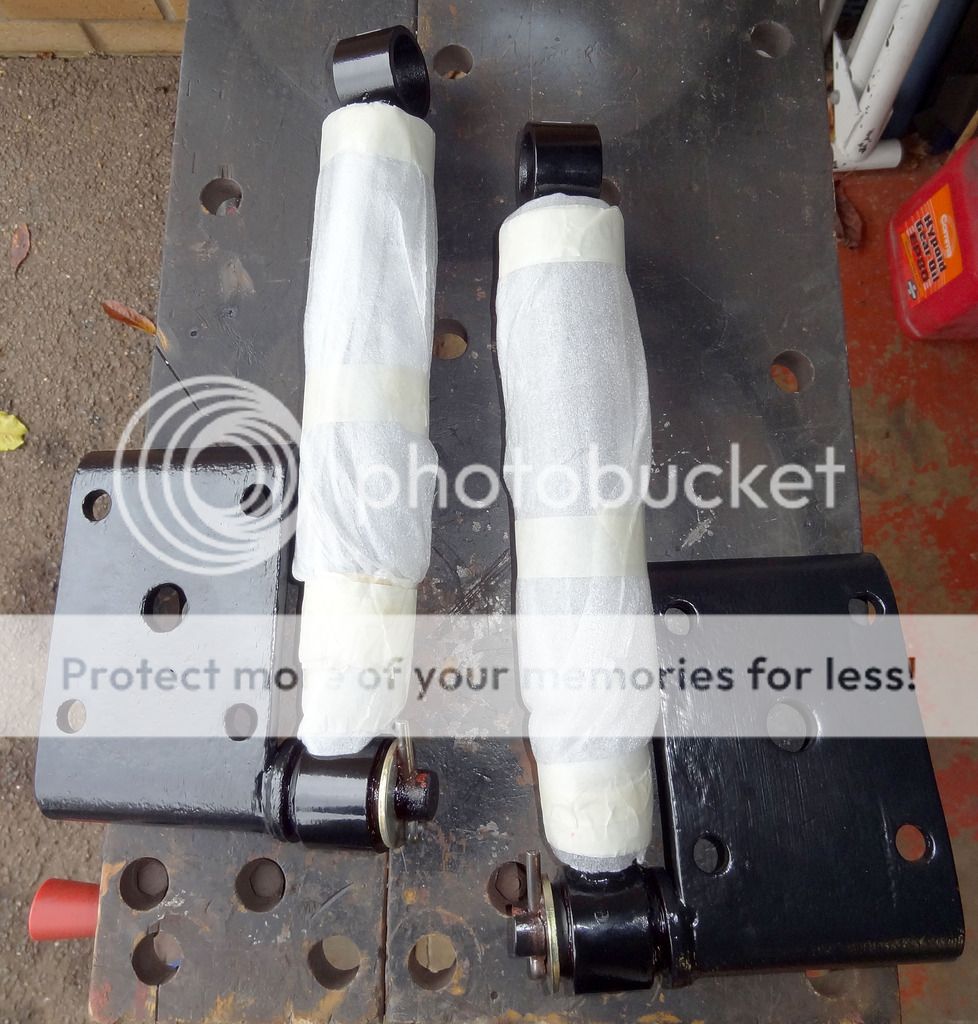
I've had the shock absorbers for ages and at last I got round to fitting them. I read somewhere that if possible it's better to fit them to the spring mounting plate thingy off the car. The way you have to compress the bushes it must be a bit of a cow to do without a vice. I made a nice little gadget to let me get the split pin through.
It was then time to get the thing back on it's wheels. I had a week off work but the weather looked a bit rough so I improvised this cover to give me a bit of working room.

Quite cosy actually.
I had oiled the springs really well. They had been laid on a huge bit of cardboard on the garage floor and over a couple of evenings I dribbled oil onto the sides so it ran between the leaves. When they were good and soaked I wrapped them in cheap clingfilm to keep it in there.
Getting the springs/axles/chassis back together was heavy work. Father in law came to lend a hand. I think he's more enthusiastic about the job than me at the moment. I have had my tin of copper grease since I restored an MG 25 years ago. At the rate i'm going I will use it up in no time.

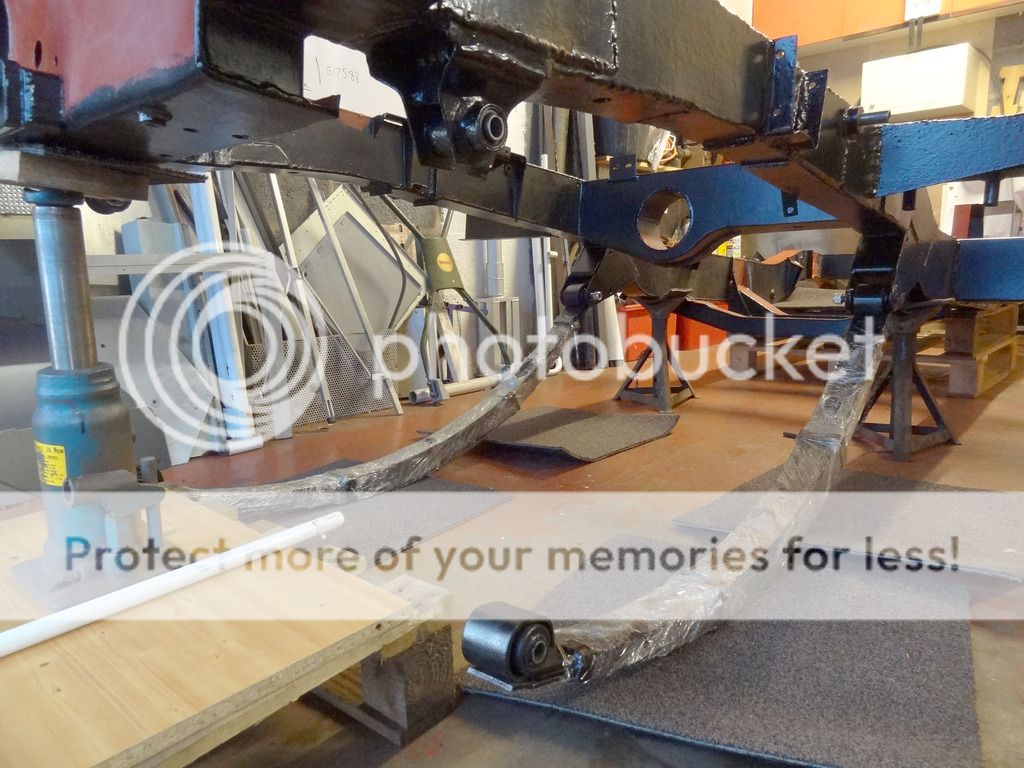
The chassis has led a hard life and as i'm putting new bits back on it's clear that some previous repairs are not great. Nothing is far out but it's not great either, everything needs a bit of persuasion to fit but it's all solid and strong. Having said all that when it finally came together it seems to sit nice and level. Now it's early days and the engine, gearbox and all the other weight needs to go on yet but all the droop that there used to be on the front drivers side seems to be gone. With all my doubts about the chassis this seems too go to be true, so it probably is. I will have to wait and see.
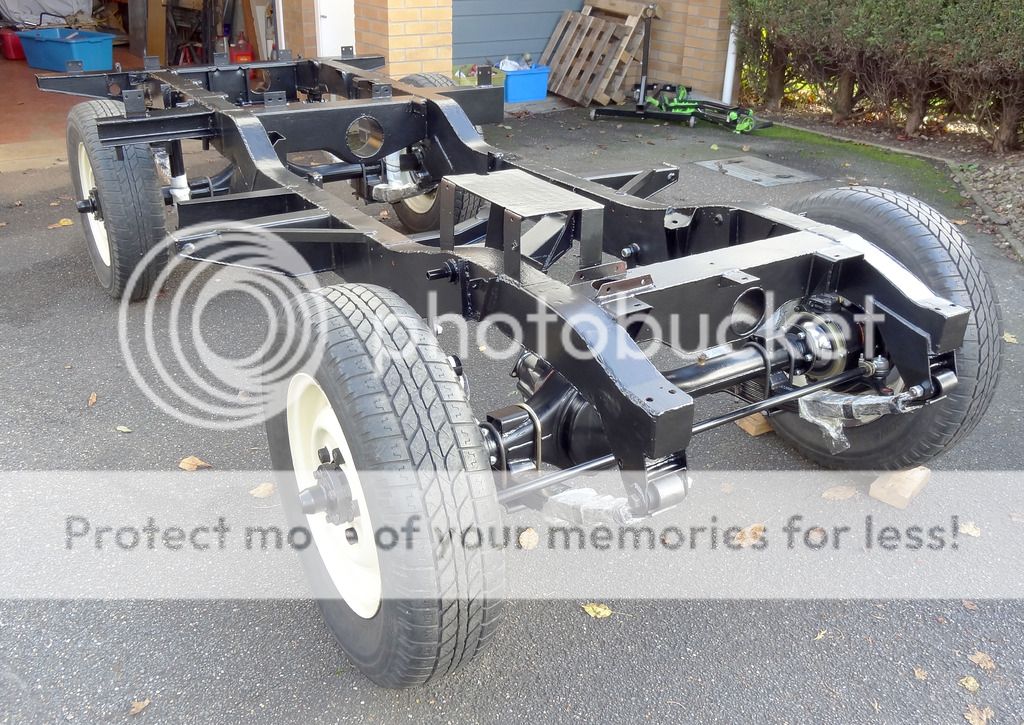
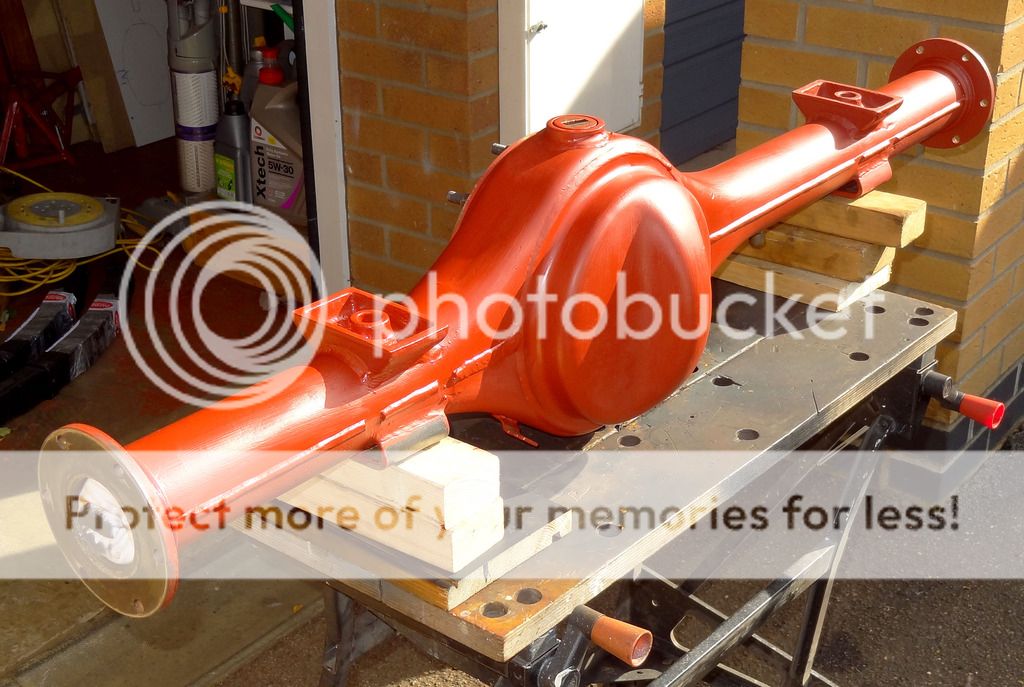
After a bit of paint this is where we are up to now.
I am amazed at how bouncy and compliant the new springs are. They seem great so far.
Anyway I have been making some headway.
I've had the shock absorbers for ages and at last I got round to fitting them. I read somewhere that if possible it's better to fit them to the spring mounting plate thingy off the car. The way you have to compress the bushes it must be a bit of a cow to do without a vice. I made a nice little gadget to let me get the split pin through.


It was then time to get the thing back on it's wheels. I had a week off work but the weather looked a bit rough so I improvised this cover to give me a bit of working room.

Quite cosy actually.
I had oiled the springs really well. They had been laid on a huge bit of cardboard on the garage floor and over a couple of evenings I dribbled oil onto the sides so it ran between the leaves. When they were good and soaked I wrapped them in cheap clingfilm to keep it in there.

Getting the springs/axles/chassis back together was heavy work. Father in law came to lend a hand. I think he's more enthusiastic about the job than me at the moment. I have had my tin of copper grease since I restored an MG 25 years ago. At the rate i'm going I will use it up in no time.

The chassis has led a hard life and as i'm putting new bits back on it's clear that some previous repairs are not great. Nothing is far out but it's not great either, everything needs a bit of persuasion to fit but it's all solid and strong. Having said all that when it finally came together it seems to sit nice and level. Now it's early days and the engine, gearbox and all the other weight needs to go on yet but all the droop that there used to be on the front drivers side seems to be gone. With all my doubts about the chassis this seems too go to be true, so it probably is. I will have to wait and see.

After a bit of paint this is where we are up to now.
I am amazed at how bouncy and compliant the new springs are. They seem great so far.
jamesmartin
Well-Known Member
- Posts
- 91,879
- Location
- louth lincs
shocks are easier to fit as you have a good idea was your tool, though shockers wont fit on top mount till you get some weight on the chassi
LincolnSteve
Well-Known Member
- Posts
- 1,224
- Location
- Lincoln
I hadn't thought of that. With having to finish paint I just tied them temporarily to the axle to stop them flopping about. My next job was going to be the shock top mounts but they will probably have to wait now. Always plenty of other stuff to be getting on with though.shocks are easier to fit as you have a good idea was your tool, though shockers wont fit on top mount till you get some weight on the chassi
aaronmorris
Head's a shed
- Posts
- 6,369
- Location
- Doncaster
Looks great Steve, good to see it rolling again A stage where you can finally start to see all the hard work come together.
A stage where you can finally start to see all the hard work come together.tomhop
Active Member
- Posts
- 320
- Location
- Scotland Angus
Great post just sat and read it from beginning to end, building up the will to carry on with mine got the chassis back from the galvanisers a couple of months ago but not got round to doing any rebuilding yet. But seeing your rolling chassis may give me the kick up the arse I need!
Wow - been a while since I saw your progress. You're going great guns.
I must say though - Leylandii =>
Why do people have it? Causes more neighborhood trouble than teenagers with fireworks!
Nice tent though I must recommend a thick tubed party tent for such events. I got a 6 meter by 3 meter monster with side walls for about 200 euros which has saved many a wasted (rainy) day of working on cars. Tie wheelie bins to the corners and even hurrician Barry can't lift it (!)
LincolnSteve
Well-Known Member
- Posts
- 1,224
- Location
- Lincoln
I must say though - Leylandii =>
Why do people have it? Causes more neighborhood trouble than teenagers with fireworks!
You are right about the hedge. It goes nearly the whole length of the garden on the other side. I have a once a year cutting marathon that takes all weekend. When we moved in here 16 years ago I could finish it in a day. I can't decide if the extra years make the difference or if it's because I'm bone idle. I would like rid of the hedge at the front but down the back garden it does keep it more private.
You are right, it is bloody rum stuff. None of ours is allowed to get more than about 7 feet high but some in the village is out of control.
Similar threads
- Replies
- 9
- Views
- 740
- Replies
- 5
- Views
- 507
- Replies
- 2
- Views
- 508