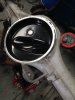
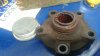
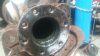
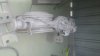
New shiny parts are always a good thing to see. Reminds me, I've not got my bump stops yet!
Haha easy things to forget, especially when we never took any off of ours in the first place!
New shiny parts are always a good thing to see. Reminds me, I've not got my bump stops yet!
You would have passed by the bottom of my road if you went to paddocks, was it Bob who served you ?
")
You would have passed by the bottom of my road if you went to paddocks, was it Bob who served you ?
That's very handy!


Looking good ralph, and nice informative posts for those that need it
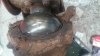
What blast pot are you using out of interest? Thinking it'd make life a damn sight easier if I could get one.
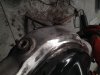
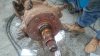
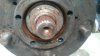
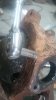
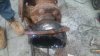
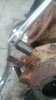
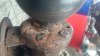
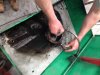
Blast pot is just a cheap Chinese one I believe, roughly £80 off flea bay, however have found that to get decent results its all about the compressor you couple it up too, hope this helps . Good to see though. Is your old man a mechanic by any chance or have you got access to a fully equipped garage? seeing those swivel bolts is giving me nightmare flashbacks. Mine were a right pain to get off. Your post write ups are as good as your work. Kin hate all these youngsters coming on ere and making us olduns look useless
Superb detail, mate. I reckon you're going to win the shiniest LR competition with all those galv parts. Until you get it covered in mud that is
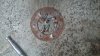
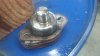
That metal plate you asked if it was necessary, I couldn't decide what it was for either so left it off in the end. Hasn't caused any problems so far and still don't know what it was for!
Welcome To LandyZone, the Land Rover Forums!
Here at LandyZone we have plenty of very knowledgable members so if you have any questions about your Land Rover or just want to connect with other Landy owners, you're in the right place.
Registering is free and easy just click here, we hope to see you on the forums soon!