You are using an out of date browser. It may not display this or other websites correctly.
You should upgrade or use an alternative browser.
You should upgrade or use an alternative browser.
S884s Defender 90 Full Galvanised Rebuild
- Thread starter S884
- Start date
This site contains affiliate links for which LandyZone may be compensated if you make a purchase.
- Posts
- 11,032
- Location
- North of the Wall
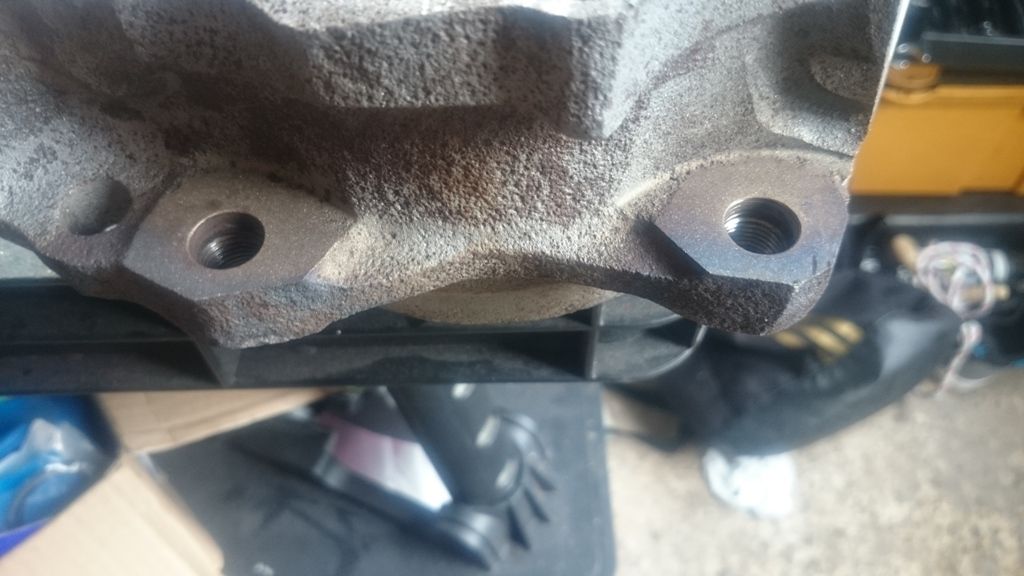
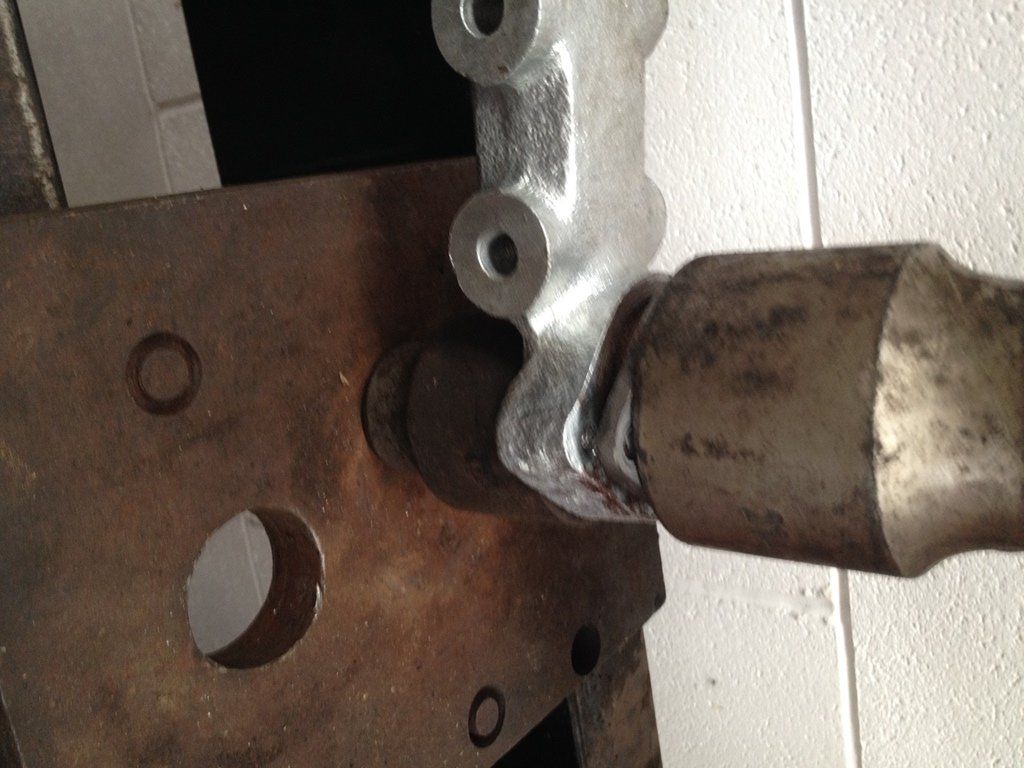
They bolt to the tub. Here's mine upside down. One of the holes those brackets bolt to is close to the centre of this pic, with the dinitrol dribble running out of it. The other is on the far left of the pic.

They bolt to the tub. Here's mine upside down. One of the holes those brackets bolt to is close to the centre of this pic, with the dinitrol dribble running out of it. The other is on the far left of the pic.
Aha that makes sense, thank you very much!
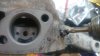
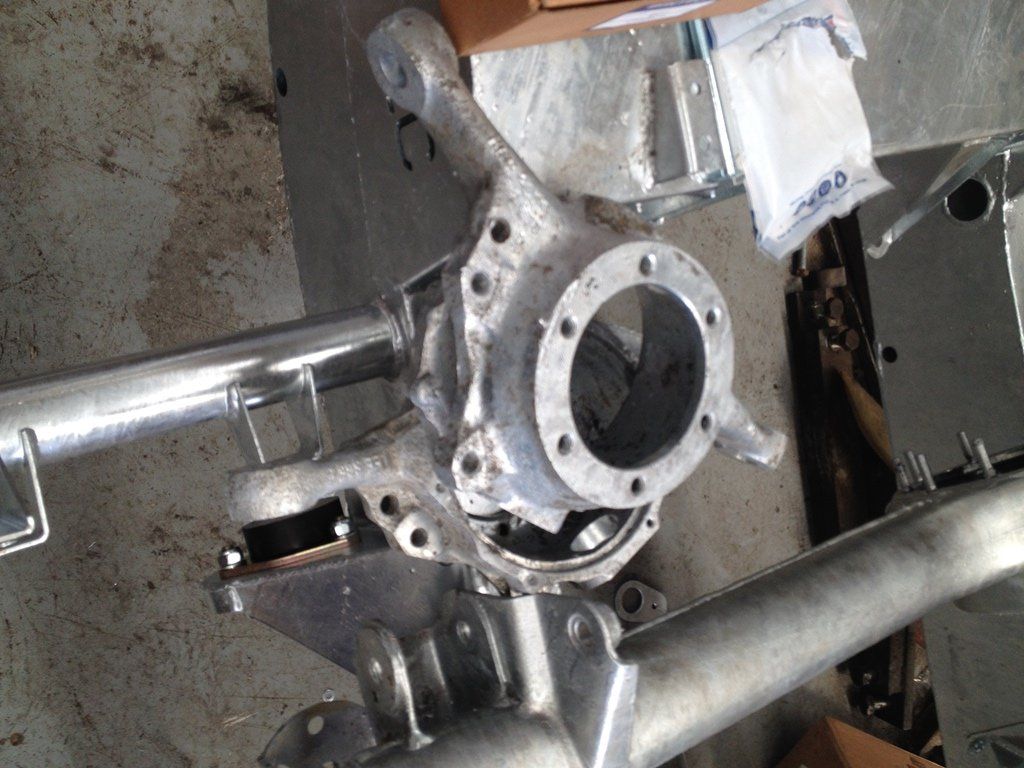
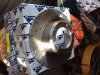
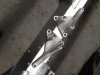
So before I could drop a load of parts off for galvanising on sunday, we had the trouble of tackling all the seized bolts in the swivel housing, a task that proved more difficult than ever
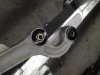
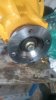
Started with the calliper mounting bolts, drilled them to 5mm, tapped them out to 6mm then tried to tighten up a nut and bolt to use to undo the seized bolt but they just sheered, the holes were then drilled out bigger and an easy out used to remove the bolts


Finally go them out after a lot more work than expected
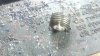
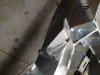
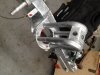
Anyone know why LandRover made the swivel housing fill plugs this shape? they're a swine to remove
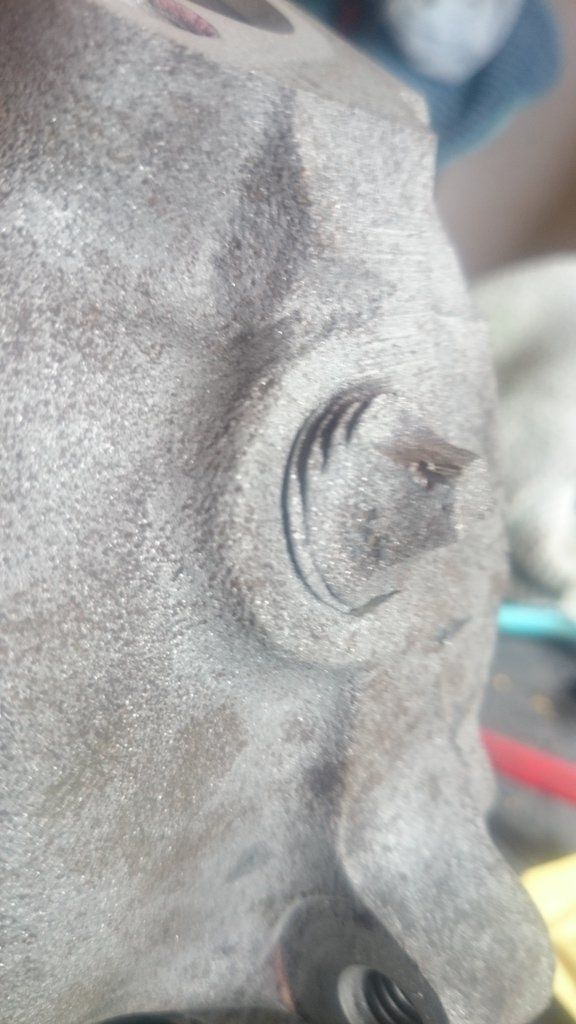
expected to just drill it then use an easy out, but no, that would be way to easy..

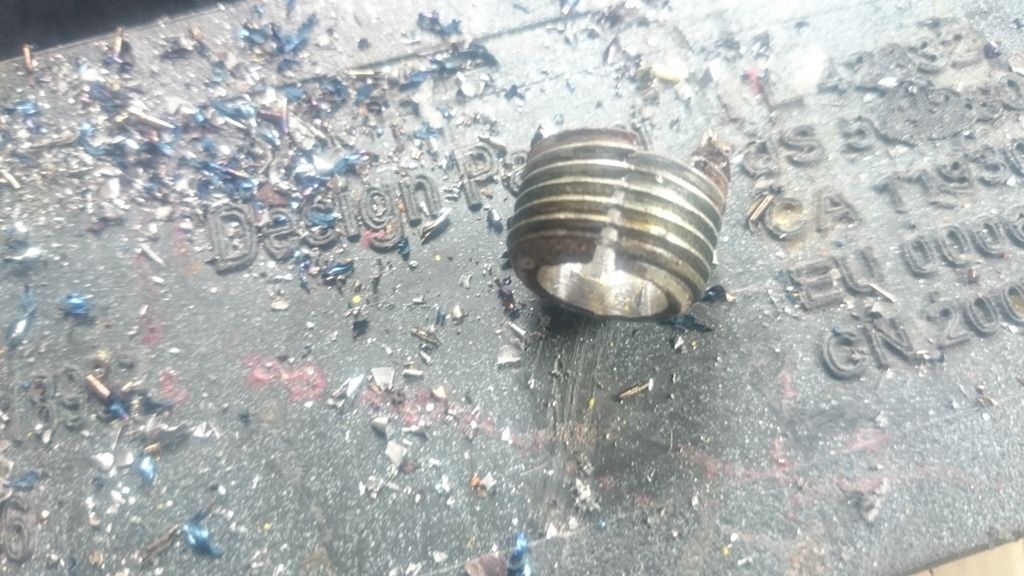
After a lot of attempts to remove it ended up having to drill it big enough to fit a hacksaw blade so it could be cut out, what a game!
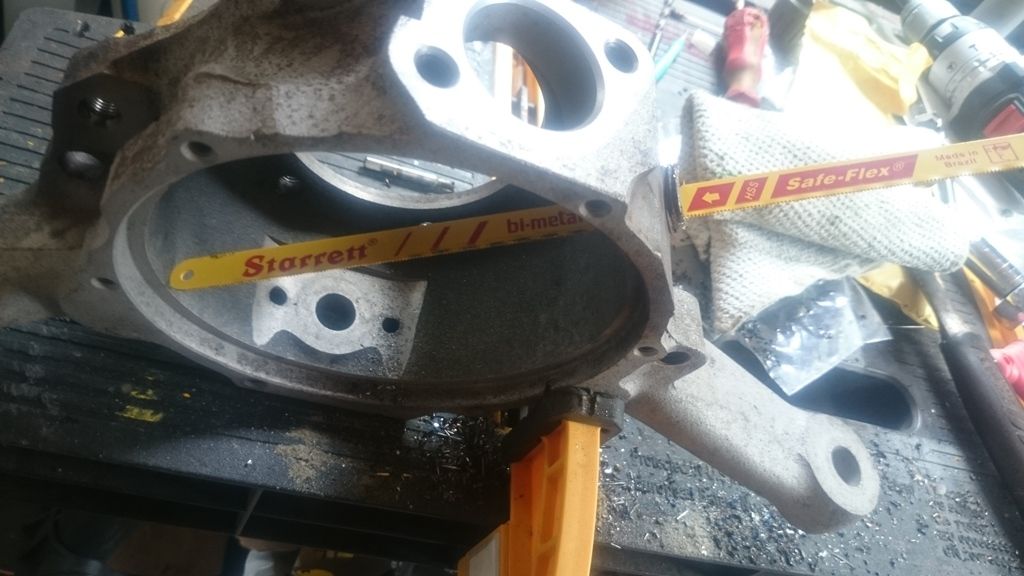
finally got it out though
However Sunday wasn't all bad, in the evening we went to drop a load of bits off for galvanising which we should get back later this week, and also got the chance to meet fellow LandyZone member 'XRIZLAX' who was a really nice guy and has made an amazing job of his own land rover defender 90!
Started with the calliper mounting bolts, drilled them to 5mm, tapped them out to 6mm then tried to tighten up a nut and bolt to use to undo the seized bolt but they just sheered, the holes were then drilled out bigger and an easy out used to remove the bolts
Finally go them out after a lot more work than expected
Anyone know why LandRover made the swivel housing fill plugs this shape? they're a swine to remove
expected to just drill it then use an easy out, but no, that would be way to easy..
After a lot of attempts to remove it ended up having to drill it big enough to fit a hacksaw blade so it could be cut out, what a game!
finally got it out though
However Sunday wasn't all bad, in the evening we went to drop a load of bits off for galvanising which we should get back later this week, and also got the chance to meet fellow LandyZone member 'XRIZLAX' who was a really nice guy and has made an amazing job of his own land rover defender 90!
Attachments
-
 Tackling-Swivel-Siezed.jpg74.3 KB · Views: 1,218
 -
 Hacksaw-Fill-Plug.jpg83 KB · Views: 1,134
 -
 Fill-plug-Removed.jpg119.2 KB · Views: 1,128
 -
 Drilling-Fill-Plug.jpg71.8 KB · Views: 1,174
 -
 Calliper-Mount-Holes-Tapped.jpg76.5 KB · Views: 1,170
 -
 Drill-Bit-Snapped.jpg77.9 KB · Views: 1,162
 -
 Stuck-Fill-Plug.jpg85.5 KB · Views: 1,175
- Posts
- 11,032
- Location
- North of the Wall
Anyone know why LandRover made the swivel housing fill plugs this shape? they're a swine to remove
Yours are just badly corroded. They should have a half inch square end on them. (or there abouts)
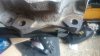
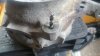
So yesterday saw a trip to pick up a load of galvanised parts and also a few new parts from paddocks
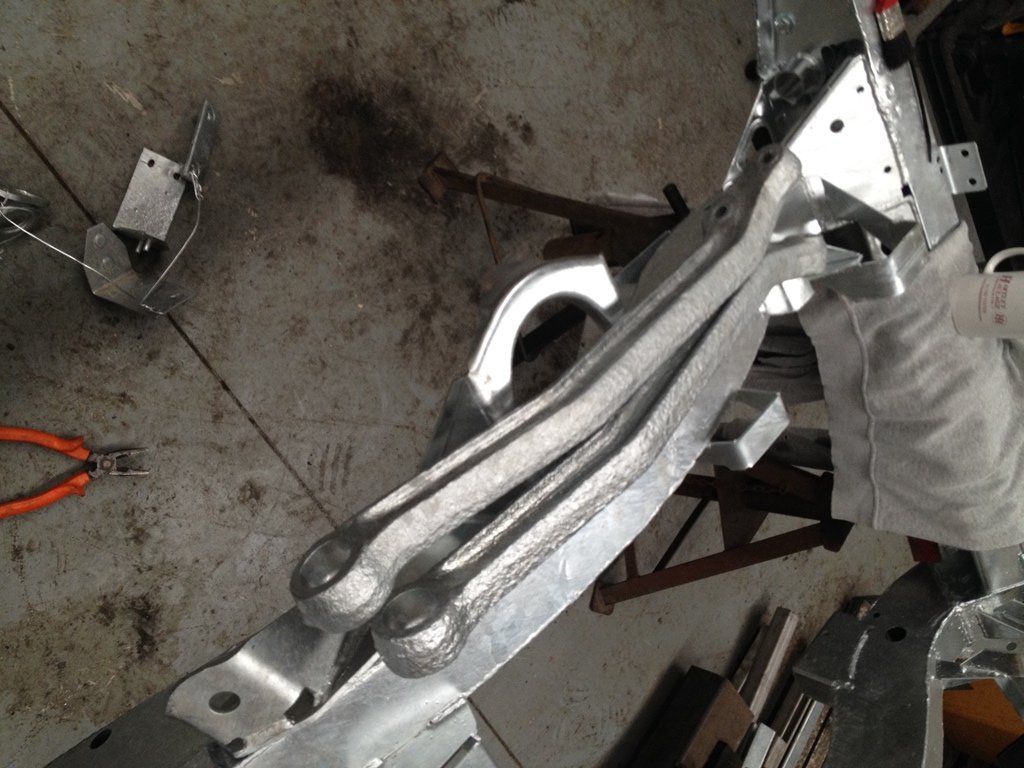
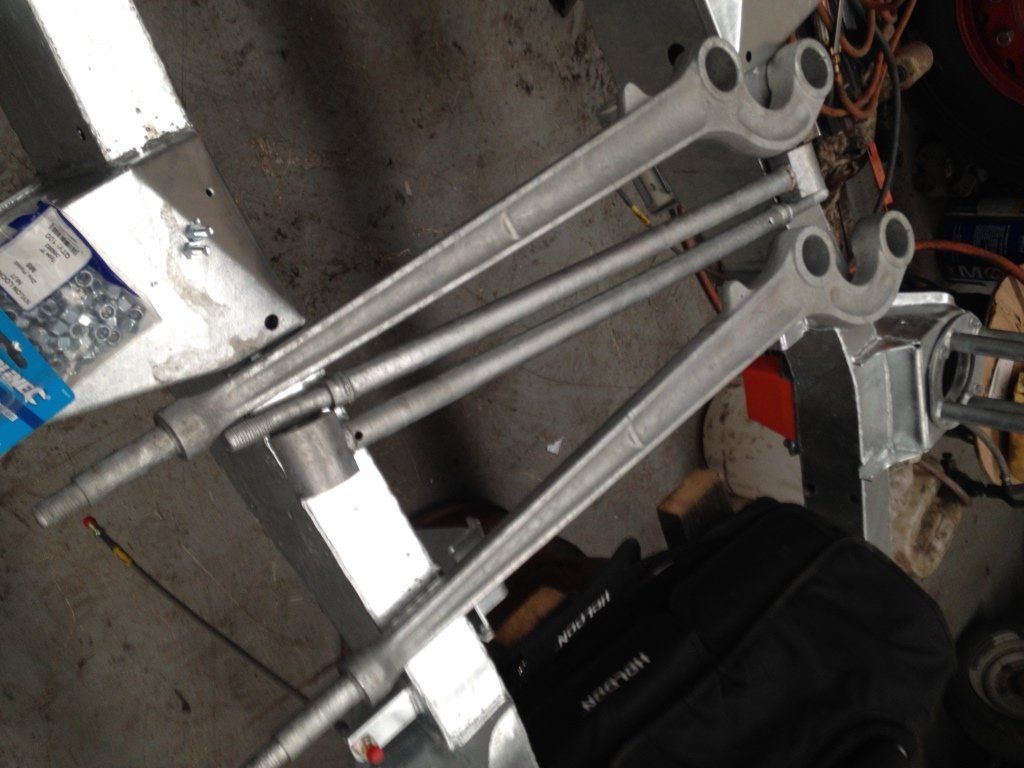
Had the A-Frame arms galvanised
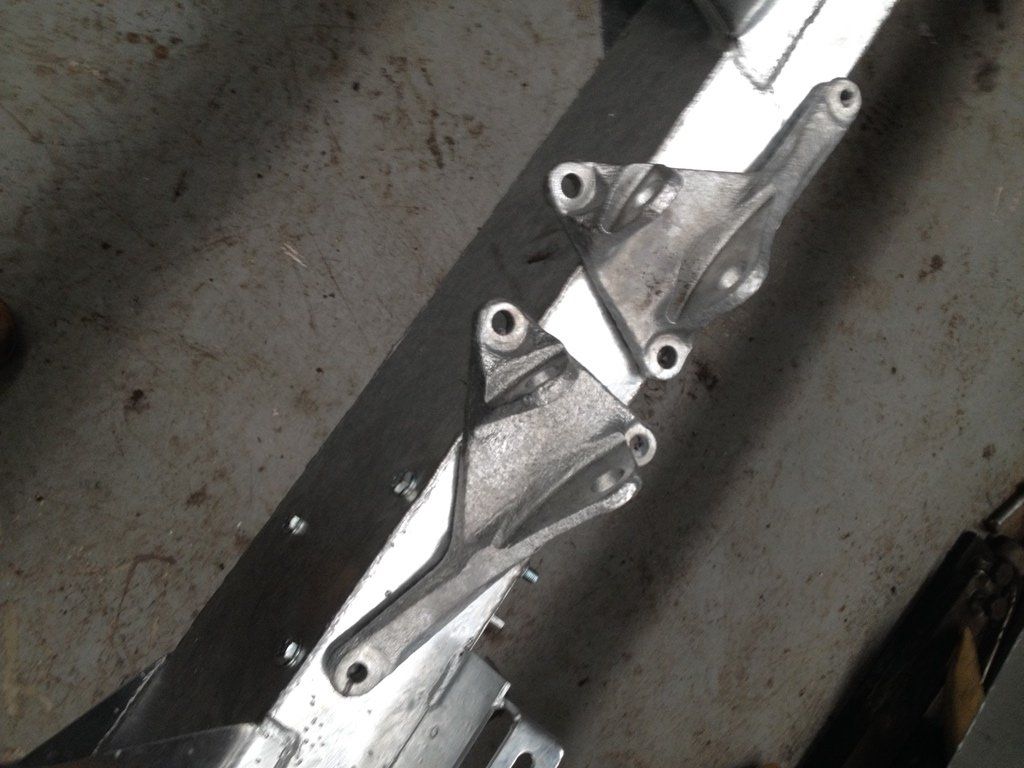
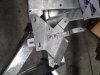
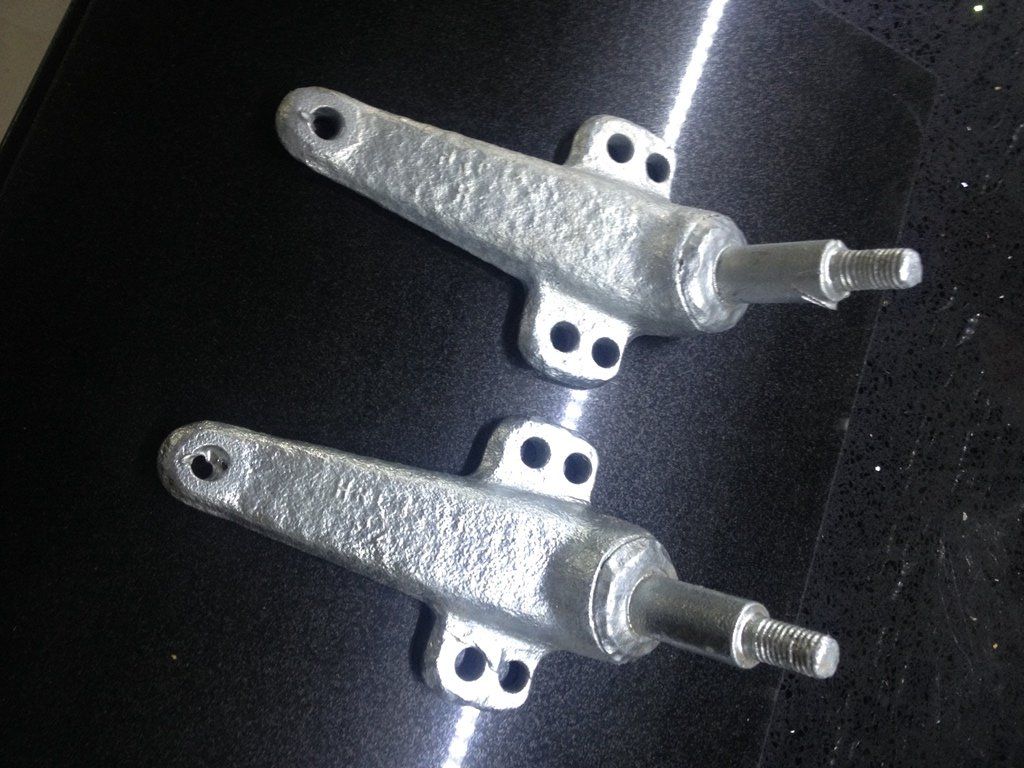
The A-Frame brackets galvanised
The bulkhead brackets galvanised

The Steering drop arm galvanised
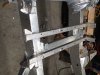
The Trailing arms and Radius arms galvanised
The sill rails galvanised

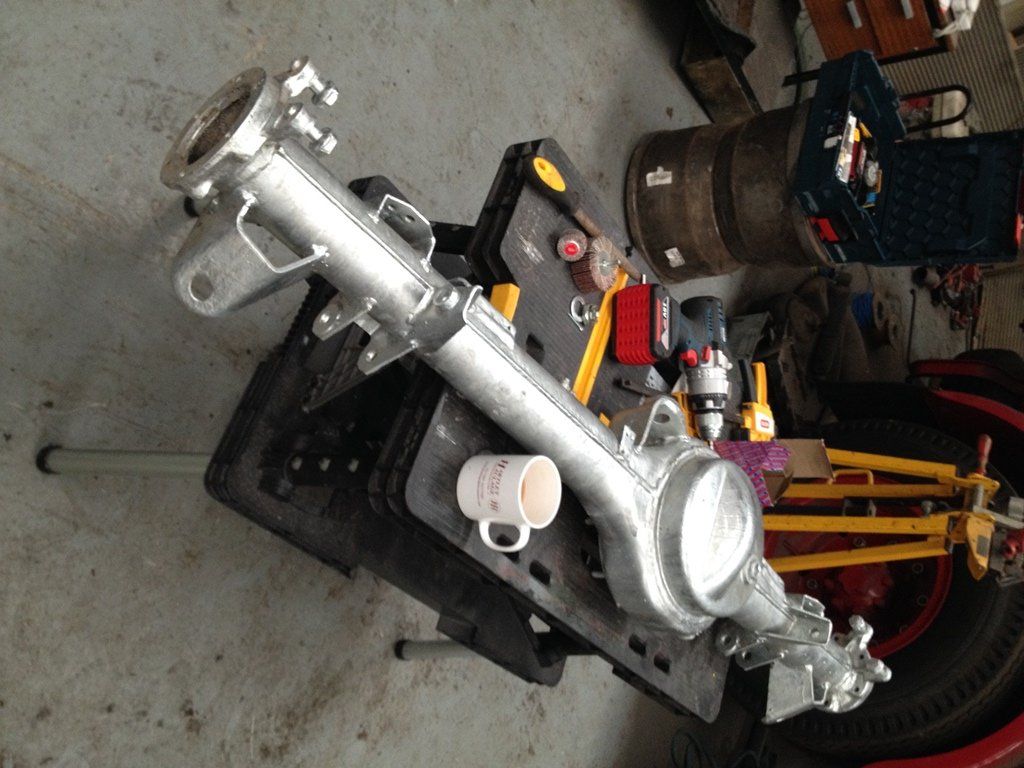
The swivel housing galvanised
And both axle casings galvanised
There were also a few other bits that I never got chance to get pictures of, things like our heavy duty steering arms, the towing eyes and spring seats...
There is still loads more to galvanise like the bulkhead, the battery tray, the engine sump and loads of other little brackets that we'll find along the way
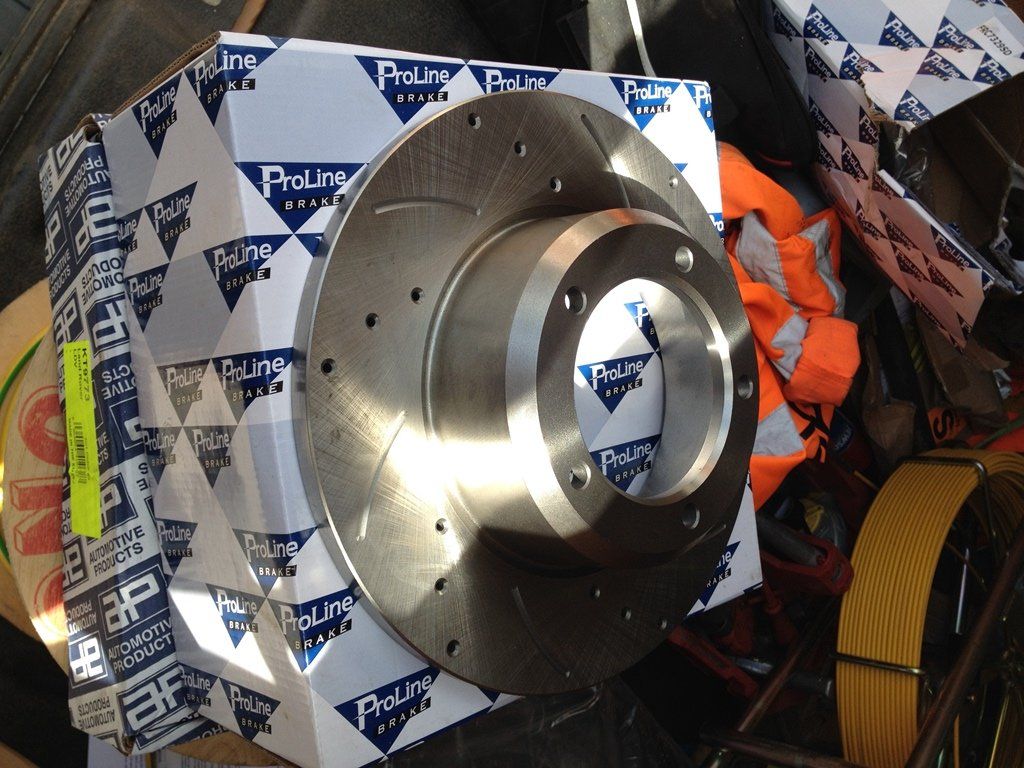
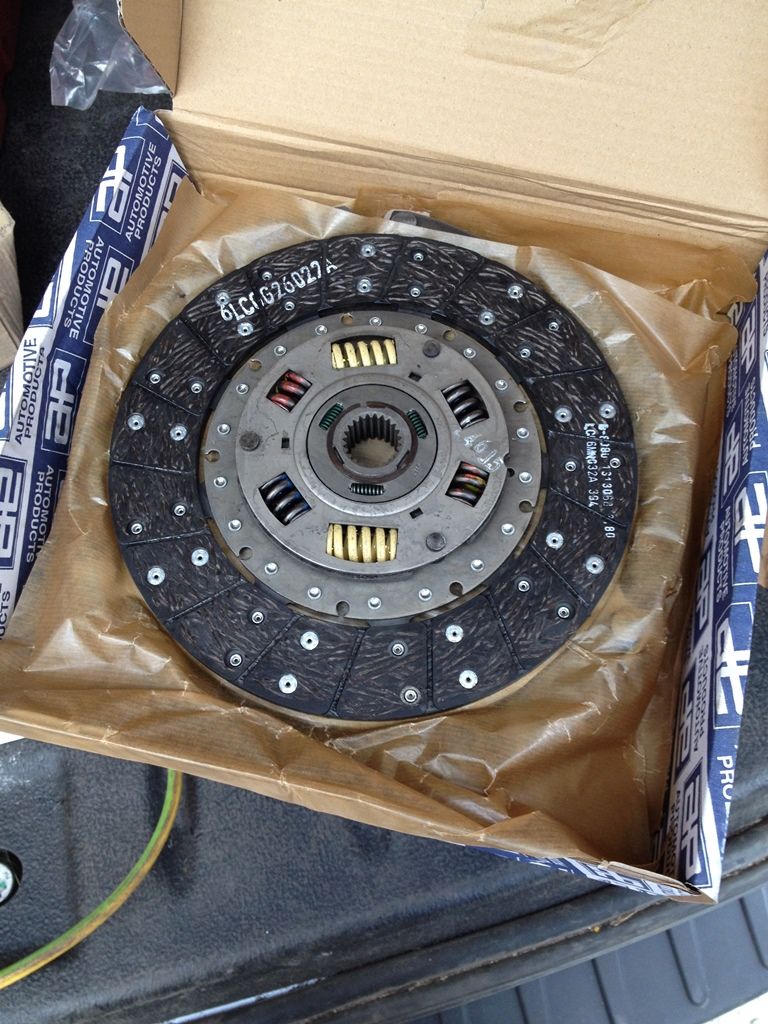
Got a few new parts from paddocks too, mainly small pieces like engine hoses, window seals and spring retainers, but also got a new clutch with heavy duty clutch fork and a full set of new drilled and grooved discs and new pads
Had the A-Frame arms galvanised
The A-Frame brackets galvanised
The bulkhead brackets galvanised
The Steering drop arm galvanised
The Trailing arms and Radius arms galvanised
The sill rails galvanised
The swivel housing galvanised
And both axle casings galvanised
There were also a few other bits that I never got chance to get pictures of, things like our heavy duty steering arms, the towing eyes and spring seats...
There is still loads more to galvanise like the bulkhead, the battery tray, the engine sump and loads of other little brackets that we'll find along the way
Got a few new parts from paddocks too, mainly small pieces like engine hoses, window seals and spring retainers, but also got a new clutch with heavy duty clutch fork and a full set of new drilled and grooved discs and new pads
Attachments
-
 New-Clutch.jpg158 KB · Views: 1,010
 -
 New-Brake-Discs.jpg154.6 KB · Views: 1,043
 -
 Galvanised-Trailing-and-Radius.jpg100.9 KB · Views: 1,220
 -
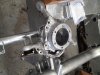 Galvanised-Swivel-Housings.jpg124.2 KB · Views: 1,426
 -
 Galvanised-Sill-Rails.jpg145.1 KB · Views: 1,329
 -
 Galvanised-Drop-Arm.jpg129.6 KB · Views: 1,097
 -
 Galvanised-Bulkhead-Brackets.jpg107.6 KB · Views: 1,264
 -
 A-Frame-Brackets-Galvanised.jpg102.7 KB · Views: 1,007
 -
 A-Frame-Arms-Galvanised.jpg129.5 KB · Views: 1,058
 -
 Rear-Axle-Galvanised.jpg121.5 KB · Views: 1,704
And then today we got to fit some of our freshly galvanised parts
Fitted the front shock turrets first

Then the rear shock mounts were fitted

Bushes were then fitted to anything that was there and ready
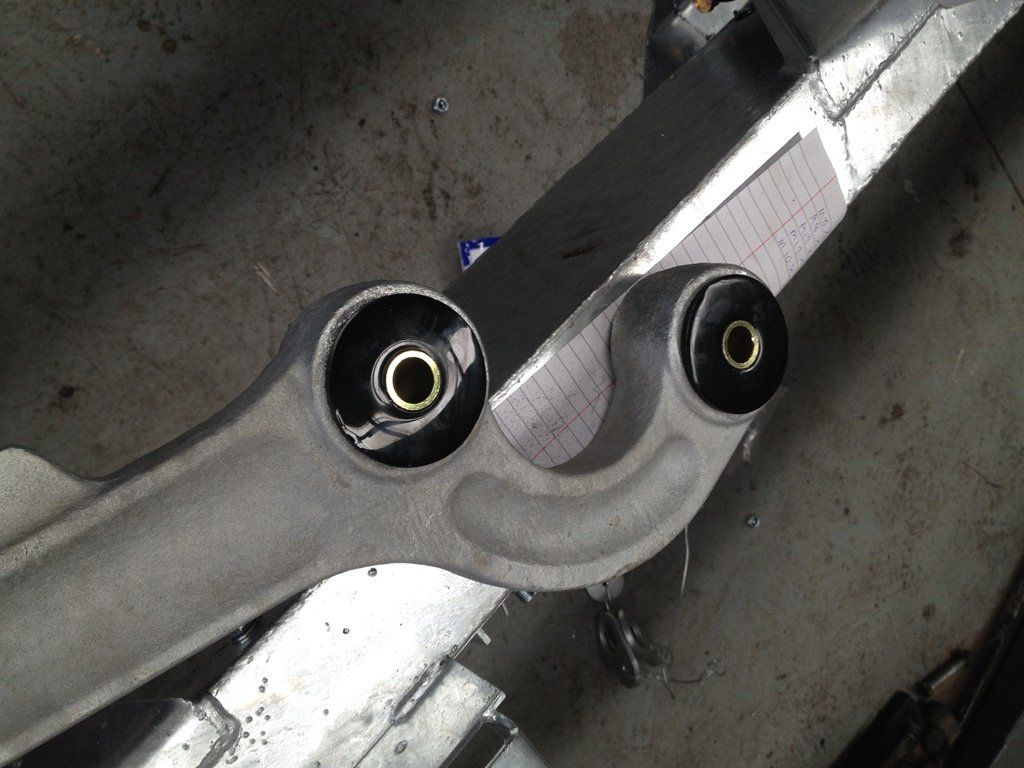
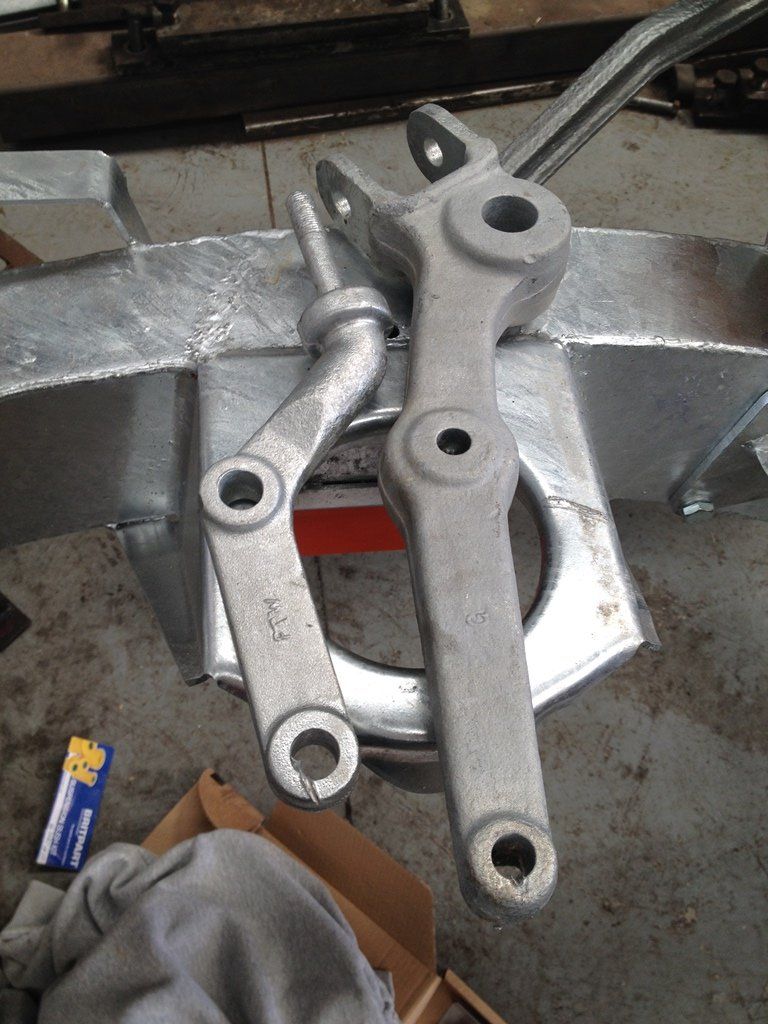
The A-Frame ball joint was then pressed in using plenty of copper grease
The A-Frame parts were then assembled ready to mount to the chassis

The rest of the day was spent cleaning the diff out and getting ready to assemble the rear axle which may well be done one night in the week
As mentioned earlier on in the thread the standard rear shock mounts would be galvanised but not used, and as promised this has been done so are ready if anyone wants to buy them, just send me a message
(The hole with galv in has now been drilled out so they're ready to bolt straight on)
Fitted the front shock turrets first
Then the rear shock mounts were fitted
Bushes were then fitted to anything that was there and ready
The A-Frame ball joint was then pressed in using plenty of copper grease
The A-Frame parts were then assembled ready to mount to the chassis
The rest of the day was spent cleaning the diff out and getting ready to assemble the rear axle which may well be done one night in the week
As mentioned earlier on in the thread the standard rear shock mounts would be galvanised but not used, and as promised this has been done so are ready if anyone wants to buy them, just send me a message
(The hole with galv in has now been drilled out so they're ready to bolt straight on)
Attachments
-
 Galvanised-Rear-Shock-Mounts-Selling.jpg135.9 KB · Views: 1,104
 -
 Radius-Arms-Bushes.jpg113.4 KB · Views: 1,168
 -
 Built-Up-A-Frame.jpg191.1 KB · Views: 1,278
 -
 Pressed-A-Frame-Ball-Joint.jpg107.1 KB · Views: 1,078
 -
 Rear-Shock-Mounts-Fitted.jpg108.7 KB · Views: 1,061
 -
 Front-Shock-Turrets-Fitted.jpg121.2 KB · Views: 1,105
IamRobbie
Well-Known Member
- Posts
- 2,800
- Location
- Derbyshire, j28 M1
That's alot of galv! This truck will never rot!
faulksy
Member
- Posts
- 53
- Location
- powys. CAERSWS
Well done, brilliant job
So decided to carry on with rebuilding the defender rear axle, however after putting the new diff flange seal in the diff refuses to spin as soon as any torque is put on the bolt that holds it down
We therefore put the old one back on to check but that also does it, so basically I was wondering if any of you could help and let me know what's happening here?

We therefore put the old one back on to check but that also does it, so basically I was wondering if any of you could help and let me know what's happening here?
Attachments
James_mac
Active Member
- Posts
- 264
- Location
- Leeds & Yeovil
Mine did the same mate when I fitted mine, I torqued it up to the correct setting and couldn't move it, I had to use a pry bar to turn it. But I just assumed that it was normal
MayorQuimby
Active Member
- Posts
- 290
No. It certainly isn't normal. No way should you need a pry bar to turn it!
Bennehboy
Well-Known Member
- Posts
- 2,260
- Location
- Huddersfield
:nothingtoadd:
James_mac
Active Member
- Posts
- 264
- Location
- Leeds & Yeovil
No. It certainly isn't normal. No way should you need a pry bar to turn it!
It has loosened off a bit and it does move by hand now but it's still tight, it does however seem to turn ok when I roll the chassis
- Posts
- 8,081
- Location
- East Midlands
Is the drive flange (or rather, the mudshield on the drive flange) fouling the seal when the bolt is fully done up? That can make 'em very stiff to turn by hand. In which case, can the seal be tapped a little further into its socket? You don't want too much friction between the mudshield and the seal or it'll wear the seal away.
MayorQuimby
Active Member
- Posts
- 290
That sounds about right
- Posts
- 10,639
- Location
- Oxfordshire
i'd still paint the galv btw, if you get some thin bits it can corrode with grit in winter
Turboman
Mab An Gov
- Posts
- 60,151
- Location
- Lathrowda, Kernow
i'd still paint the galv btw, if you get some thin bits it can corrode with grit in winter
Yes, I would too. Road salt in winter turns it horrible crusty brown!
- Posts
- 11,032
- Location
- North of the Wall
i'd still paint the galv btw, if you get some thin bits it can corrode with grit in winter
Yes, I would too. Road salt in winter turns it horrible crusty brown!
FFS
Why don't they tell you that when you're buying one?
Too late to paint mine now.
Similar threads
- Replies
- 11
- Views
- 2K
- Replies
- 4
- Views
- 628