Wagon Loon
Well-Known Member
- Posts
- 573
- Location
- Aberdeen
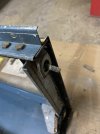
Yes, as in first pic. But it's not easy to see.
Last edited:

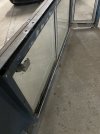
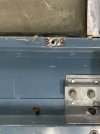
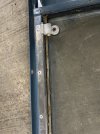
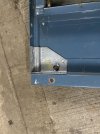
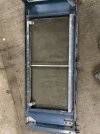
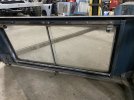
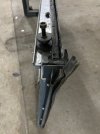
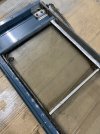
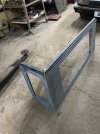
That's looking amazing, and it's all really coming together nowI thought I would try a front door on, so fitted the hinges and gave it a try. As you can see it’s a mile out!
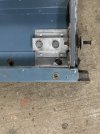
I expected this, but not by that much…. Anyway, it could do with the bulkhead aligning as the chassis bracket is not fitted. I’ll try and get it better next time

Thanks - still seems like a mountain of work to go, but progress is progress as they sayThat's looking amazing, and it's all really coming together now
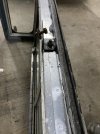
 ….. Surprisingly, it fitted fairly well straight away. Once the seals are in place, I think it will be better again…..
 .
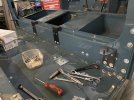
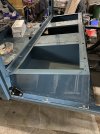
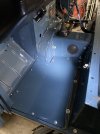
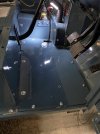
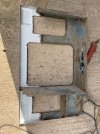
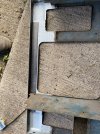
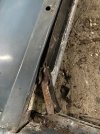
.Brings back memories, I rebuilt a couple of SWB series.Moved over to the other side and fitted the driver’s side floor. Sounds easy, but took a fair bit of fettling to get it to sit properly! Anyway, I got it in and sealed it with dum dum the same as the other side.
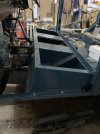
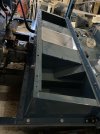
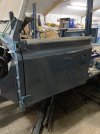
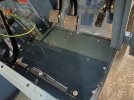
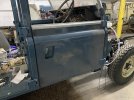
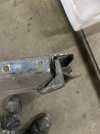
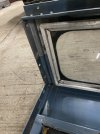
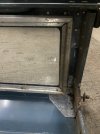
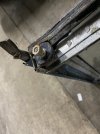
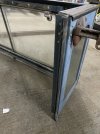
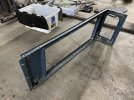
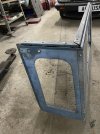
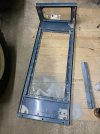
After that nightmare, I thought I would brave trial fitting the driver side front door
I’ve got tons to do, but I think I will move onto stripping the rear body sides ready for paint along with the roof. Dreading that one!
Cheers - hopefully your panel gaps were better than mineBrings back memories, I rebuilt a couple of SWB series.
Looks great

Your rebuild is miles betterCheers - hopefully your panel gaps were better than mine
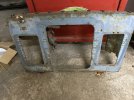
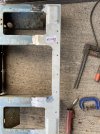
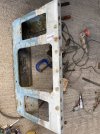
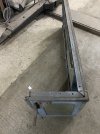
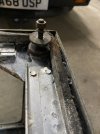
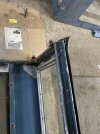
. Next up, I removed all the mounting brackets, then tried the the rear window glazing strips again. The tiny cross head screws were burred over and were impossible to remove, so I had to drill the heads off then unscrew the remains with a pair of pliers. Oh joy, but that’s it done, on that one anyway! The glass came out fine as it was only in with dum dum…. It just needs some prep work, cleaning and shipping off for paint. Sounds easy if you say it quick enough…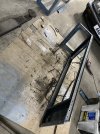

Welcome To LandyZone, the Land Rover Forums!
Here at LandyZone we have plenty of very knowledgable members so if you have any questions about your Land Rover or just want to connect with other Landy owners, you're in the right place.
Registering is free and easy just click here, we hope to see you on the forums soon!