Project Rusty.

This site contains affiliate links for which LandyZone may be compensated if you make a purchase.
buy the comp and shot pot and then sell it for the pram.... its an investment! ;)

With so much steel cut out of my Rusty and the lack of glazing means it's not really a suitable alternative for sleeping when she blows a gasket at the sight of it :eek::oops:

I am cutting out so much of the rot and the rust converter should save me the need to go to such lengths, looking to get it running for at least another 8 to 10yrs then maybe I'll be in a position to take it off the road for a nut and bolt rebuild all over again.
 
not sure i like the idea of a water solvent based system which leaves a latex emulsion coating ??

I've used a few water based paints for steel and they've mostly worked quite well.

The coating uses active ingredients that convert the rust, it's not really so much of a paint as a chemical catalyst solution, I'm going to give it a whirl, whats the worst that can happen?

I am planning to do the Dinitrol treatment annually and hope that regular applications will stave off future corrosion.
 
All good research. I also heard of vactan. Considered fertan but didn't want the hassle of having to wash off. Bilt hamber do one called hydrate 80 which I'll probably use. Question is, how well do these rust primers stick to the reacted film? I'm all house ****e most of the week but hope to get out everyday next week as long as weather holds. I thought exactly same with chop out all required then any spots I can't hit convert. Aqua steel did look good when I looked into that too. So many products :eek:.

You won't go wrong with that epoxy over a neutralized surface though I know that. I might ring bh and ask what they recommend over the neutralized surface. I'm sure they'd say electrox but I thought that was bare clean metal only.

Looks like owning a landy just makes you a rust guru :rolleyes:
 
Think I might try the bondage stuff next.

Not sure the boss would be happy :eek:
download (5).jpeg
 
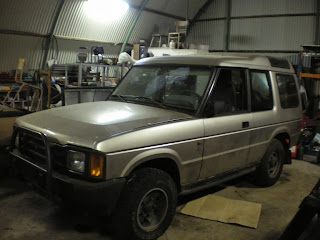
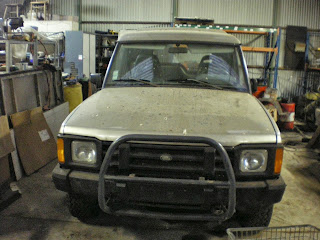
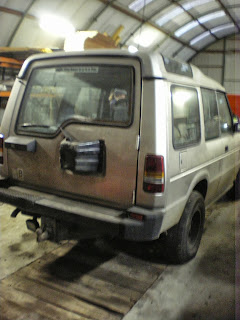
So this is my project, Rusty.

cat+and+new+Disco+021.JPG


cat+and+new+Disco+023.JPG


cat+and+new+Disco+026.JPG


Land Rover Discovery 1 1992 200Tdi diesel.

Not too bad looking from the outside, but that's just the beginning!!

cat+and+new+Disco+028.JPG


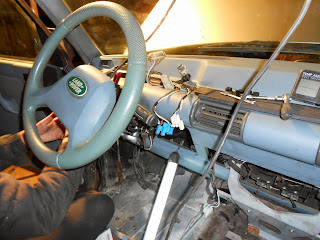
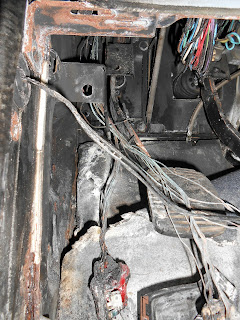
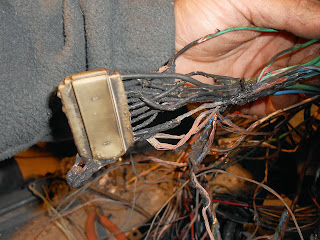
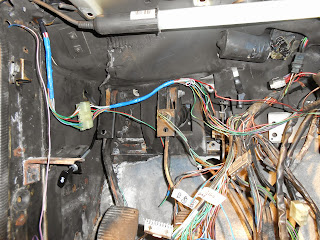
This was initial nightmare!!! A careless welder had set fire to the foam insulation on the bulk head and it burned out most of the L/H loom and affected nearly all the circuits in one way or another!!

I am by no means deterred by any of the work I have done on Rusty and many have said that I was robbed when I paid 1200 euro for him but on the other hand I also know the types of people that were looking at him when he was burned out and a non runner!!! All they are looking at is the chance to double their money selling the engine and transmission on to someone else and scrap the rest, but I not only wanted to make him run again, which I have but I want to make him better than he was when new.

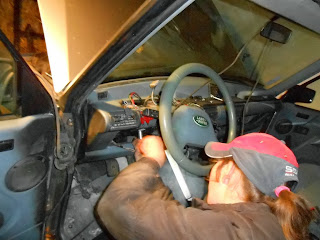
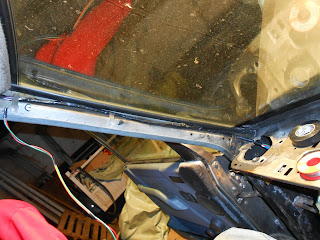
I was busy doing some of this...

Project+Rusty+030.JPG


Project+Rusty+033.JPG


Project+Rusty+034.JPG


Project+Rusty+031.JPG


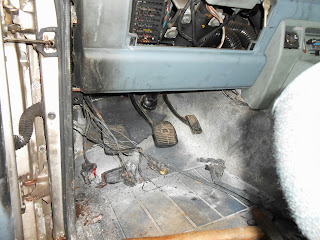
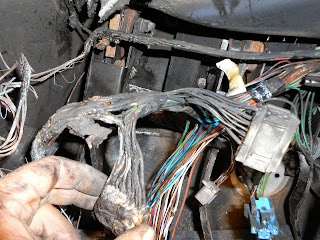
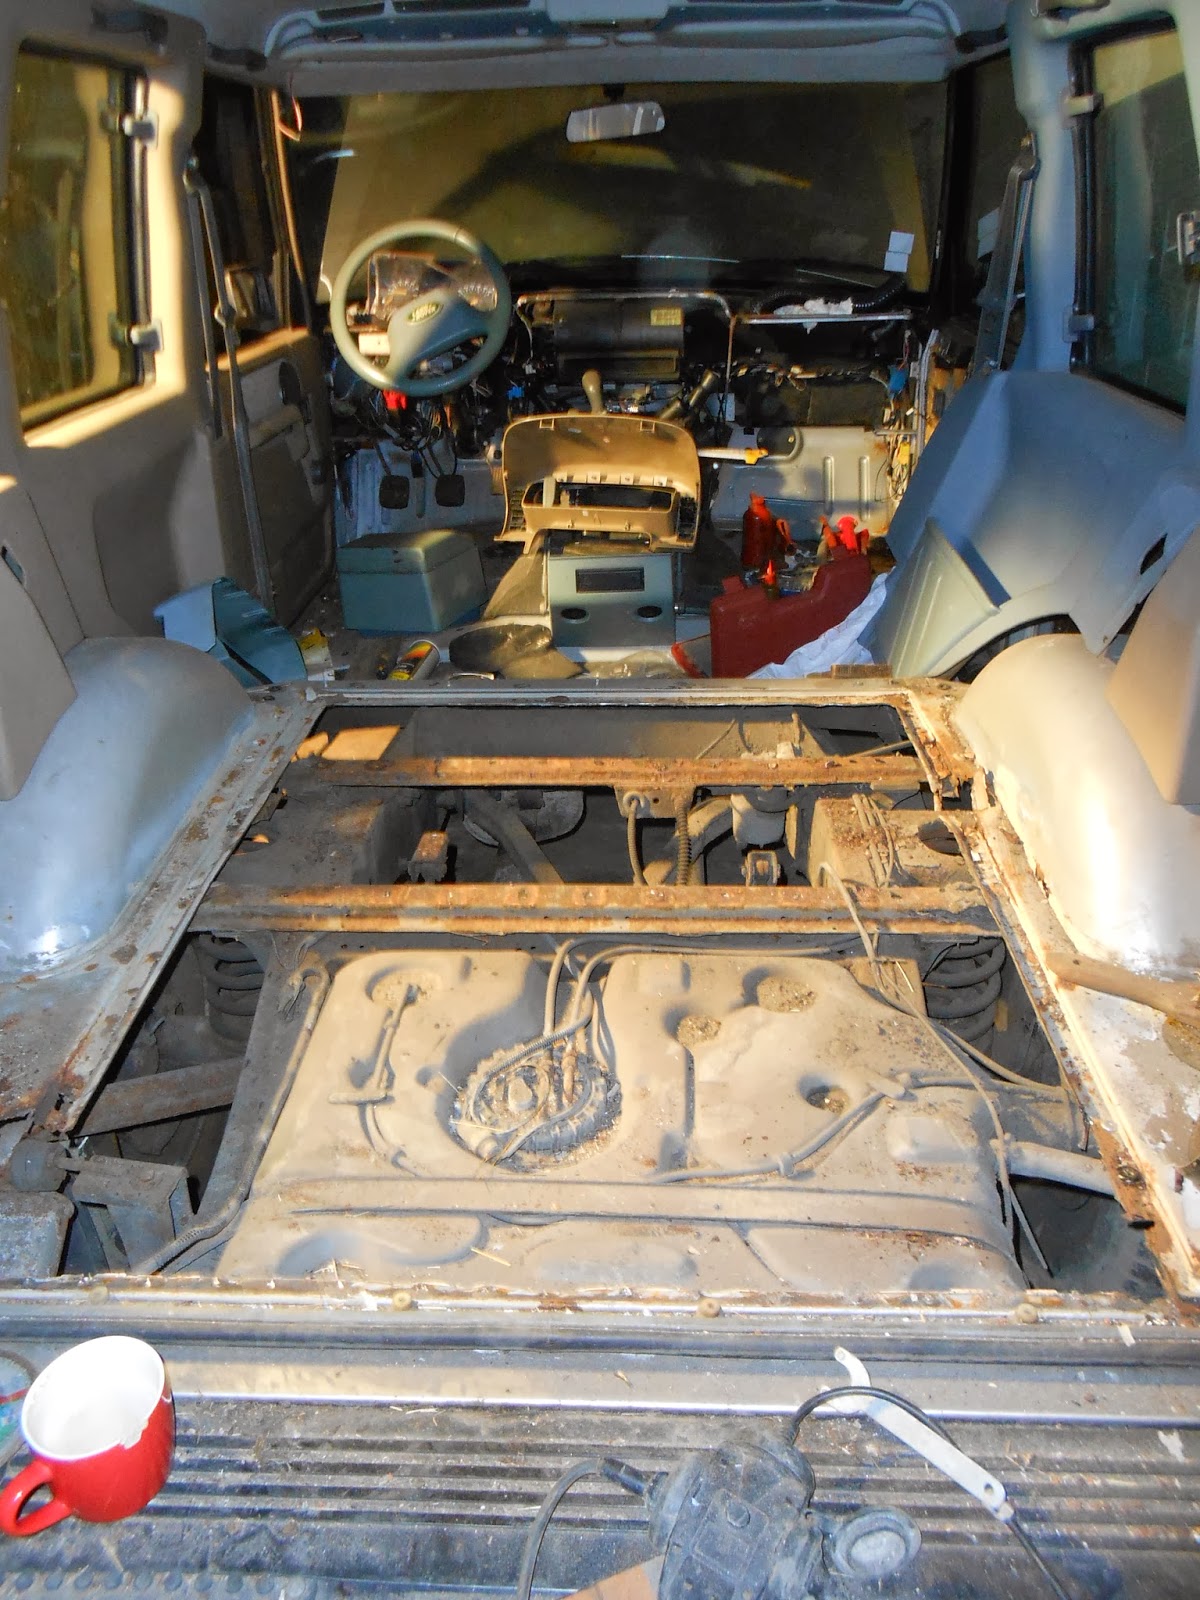
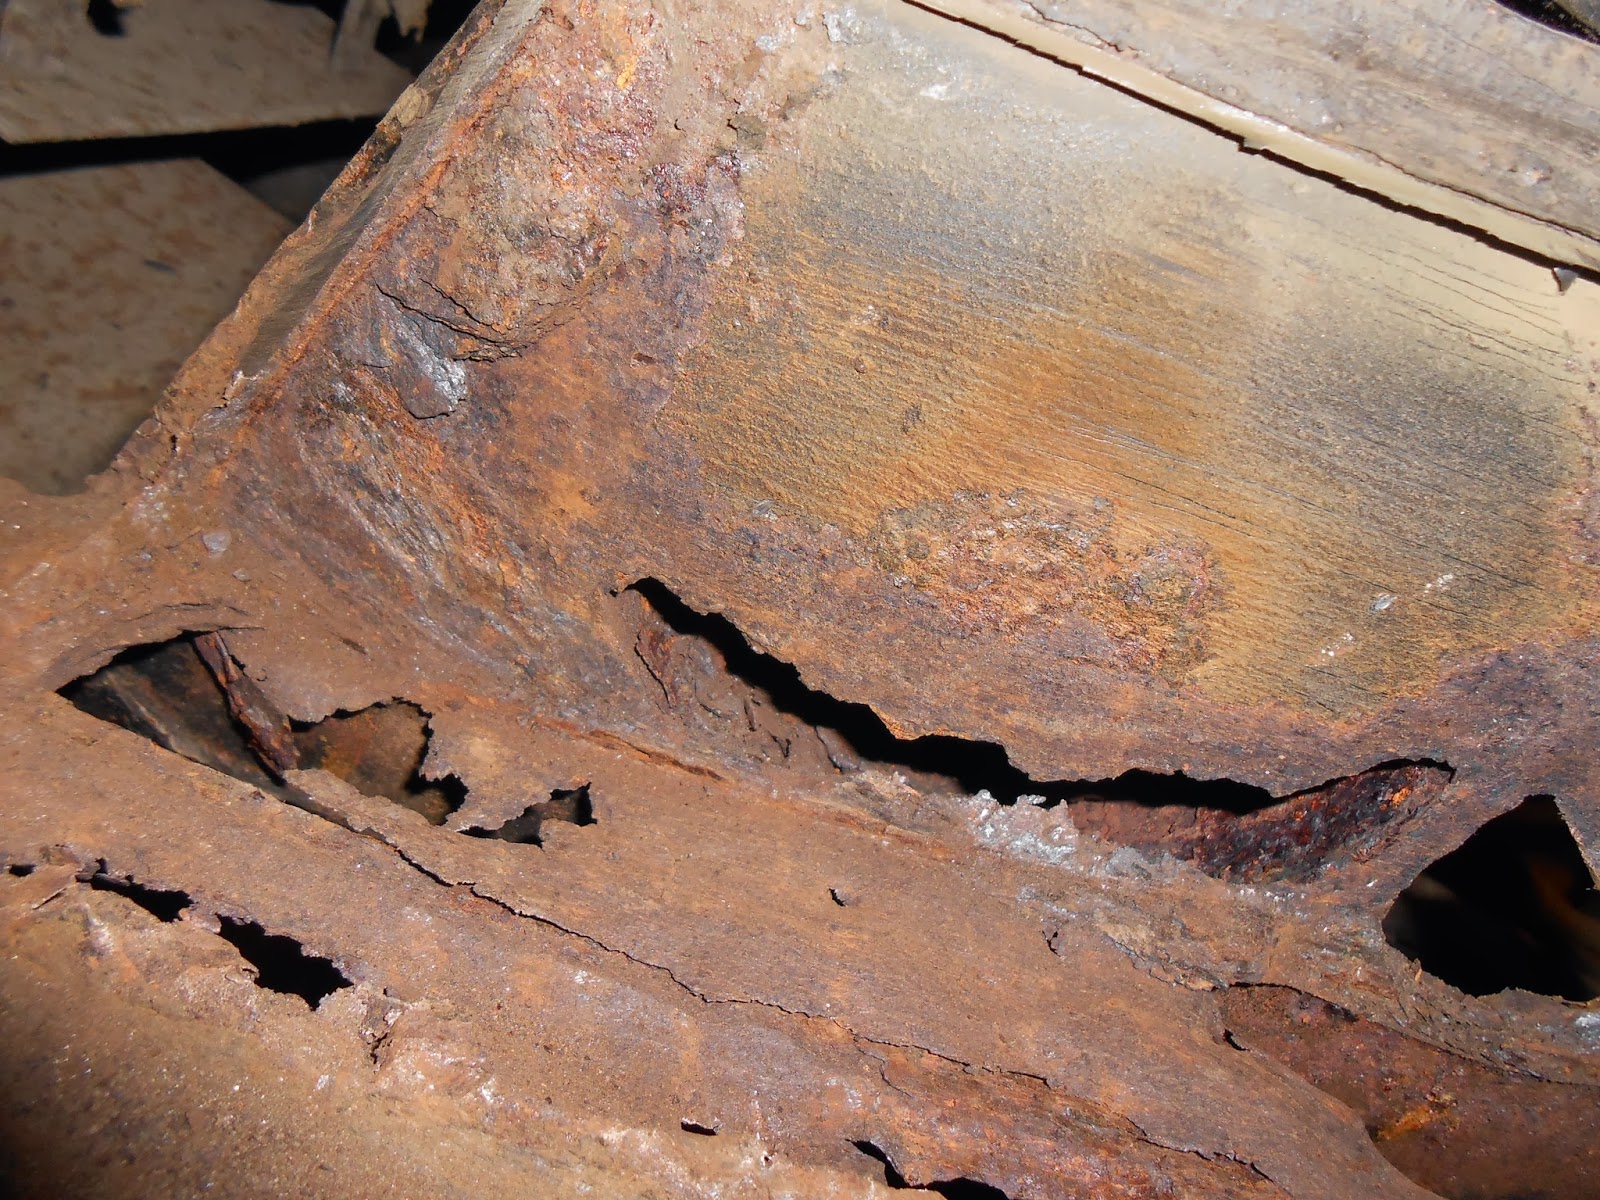
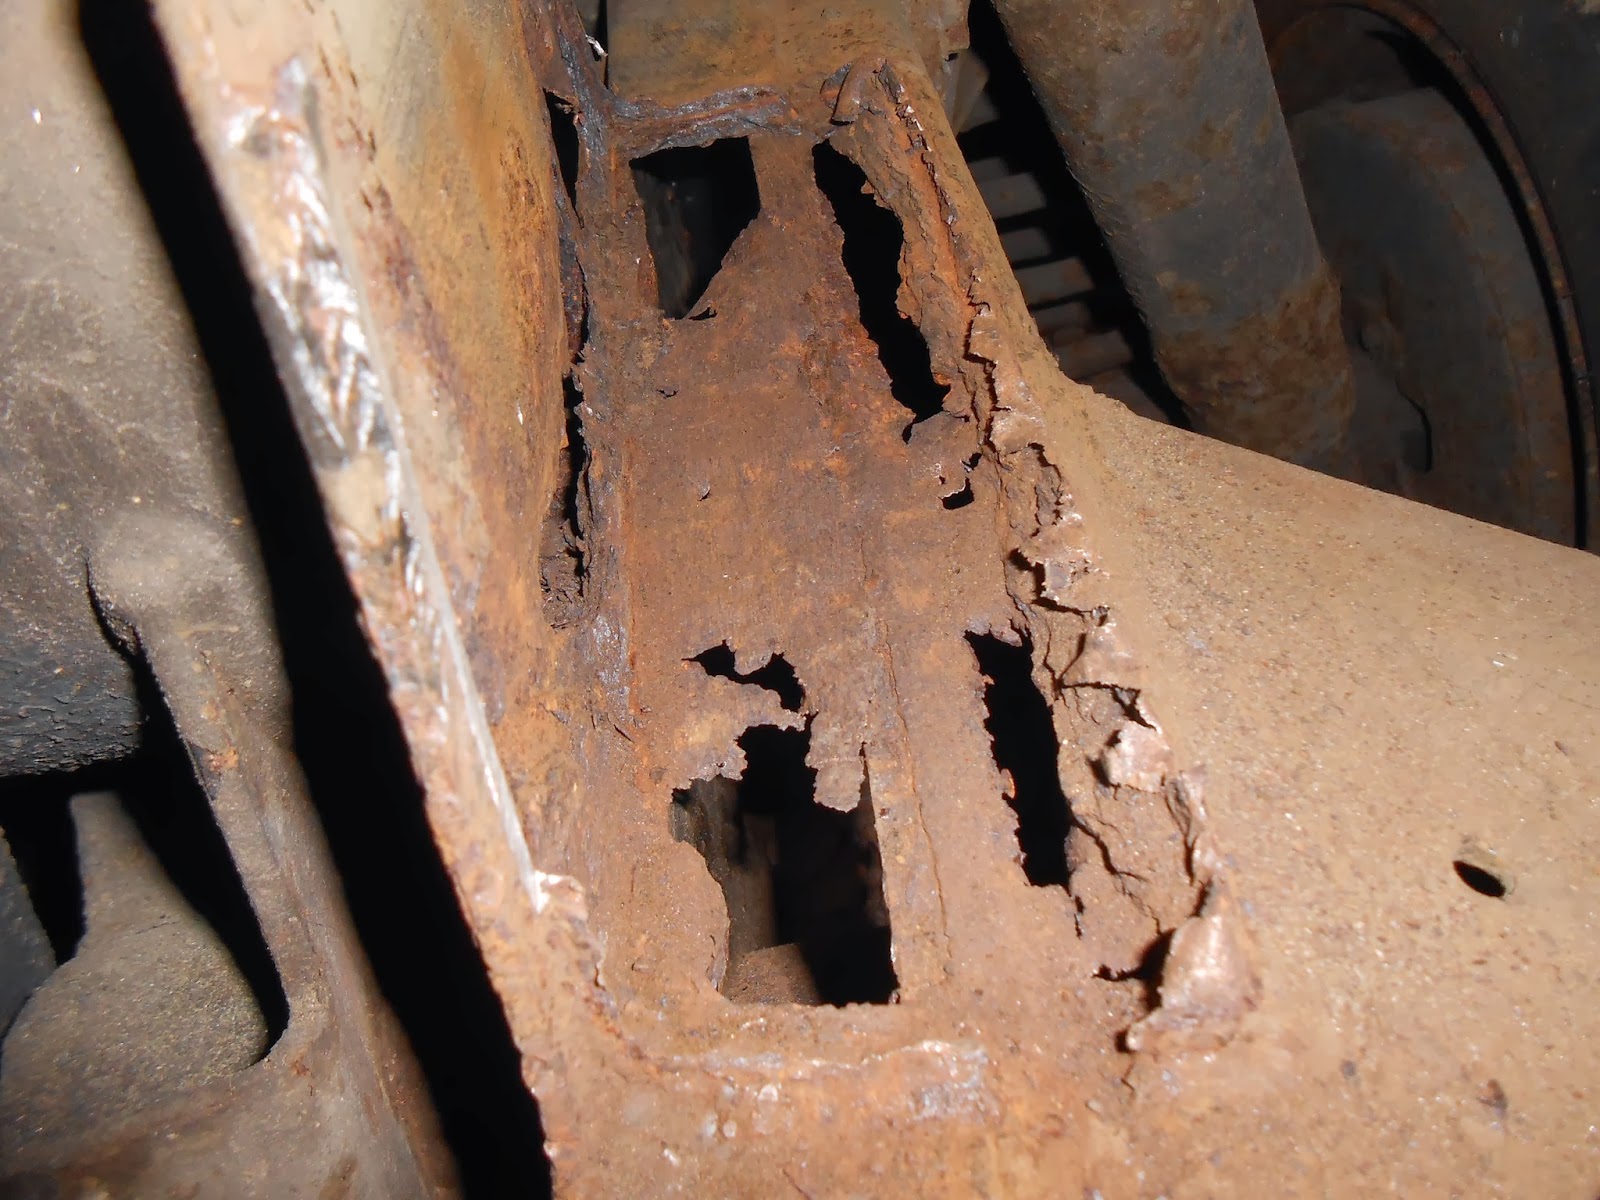
So once stripped out I got to see what I was dealing with, and it wasn't pretty!!!

Project+Rusty+007.JPG


Project+Rusty+008.JPG


13-10-12+rusty+003.JPG


13-10-12+rusty+007.JPG


Rusty19-10-12+002.JPG


Rusty19-10-12+003.JPG


Rusty19-10-12+004.JPG


Rusty19-10-12+011.JPG


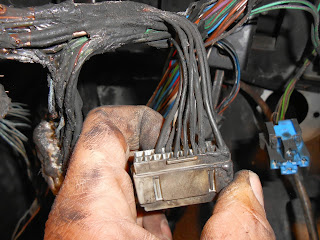
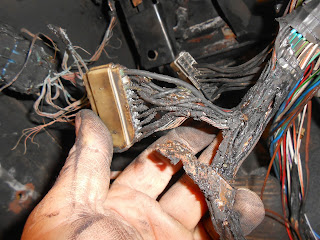
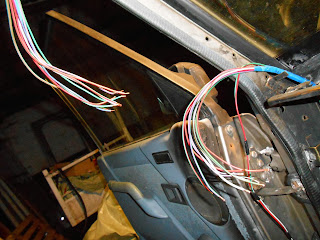
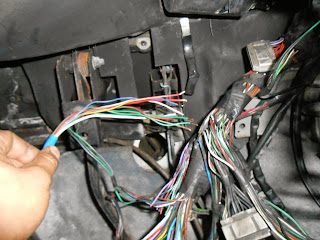
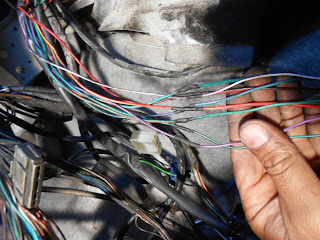
So bad bits cut out and it was time to cut and paste it all back together again.

Rusty19-10-12+041.JPG


Rusty19-10-12+043.JPG


Rusty19-10-12+046.JPG


Rusty19-10-12+047.JPG


Notice there are a couple of extra cables in the new loom section for a time when I build a roof console to fit even more gadgets in to the truck.

Rusty19-10-12+045.JPG


So with the wiring all finished it was time to see if he started......

Video is unavailable thanks to PhotoBucket holding pix & vids to ransom.

So for the first time in over 7 months of being stood waiting for someone to send him to the scrap yard I started him with the aid of my little van as the battery although was fully charged had a dead cell so was useless and in need of replacement.

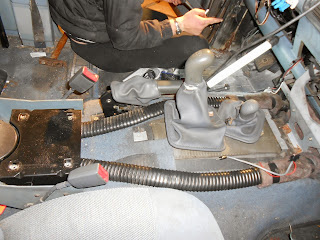
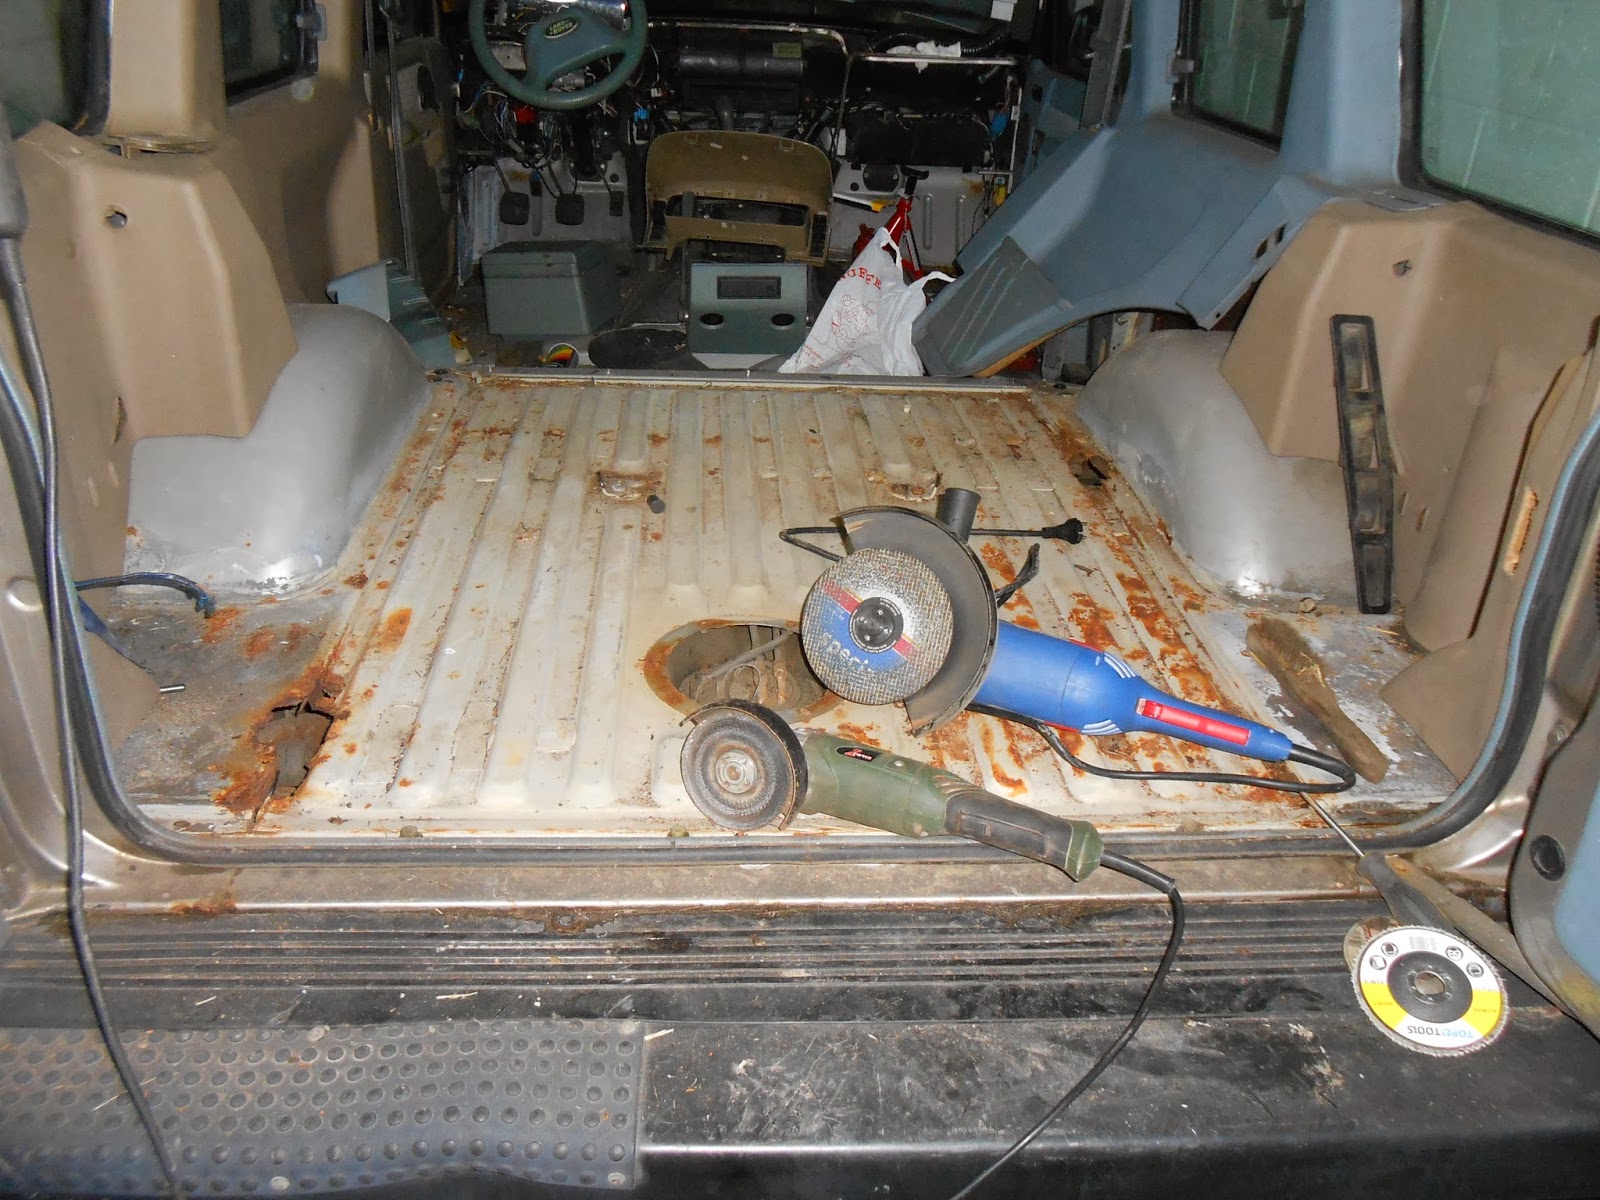
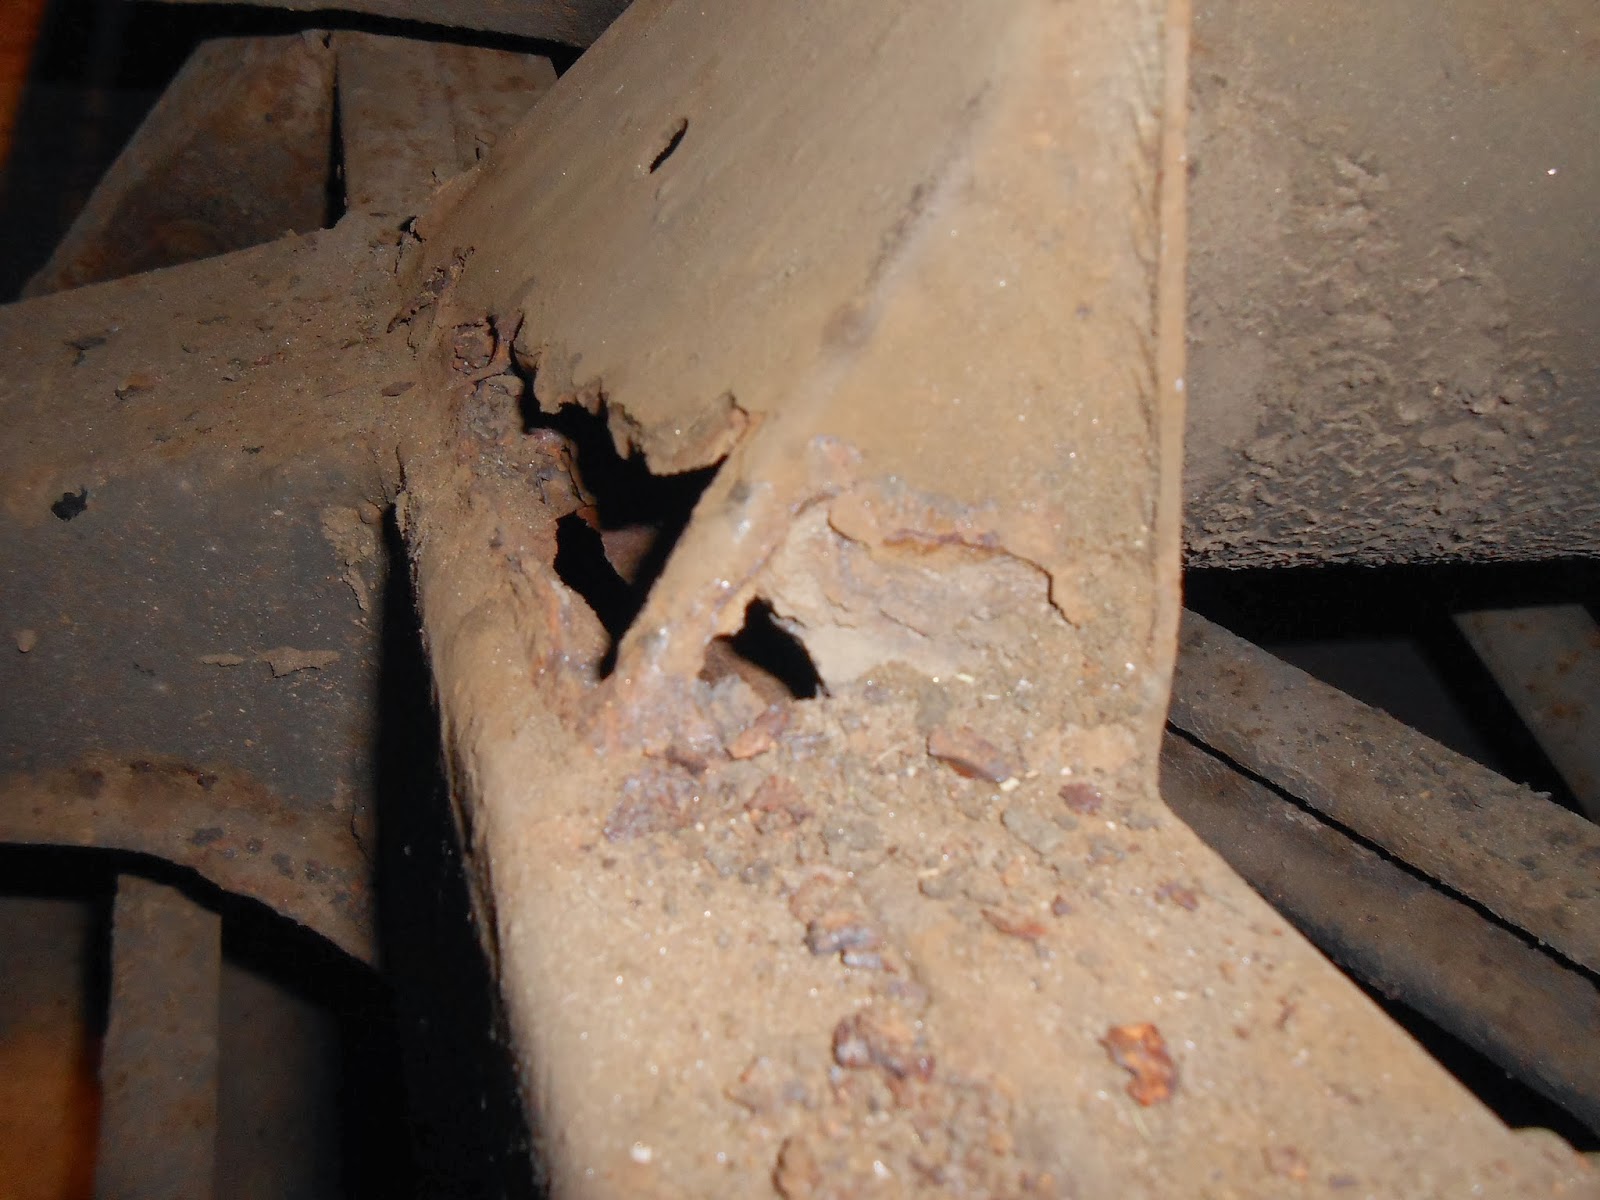
So with the wiring done I needed to turn my attention to the welding!!!

Rusty+06-07%255B11%255B12+005.JPG


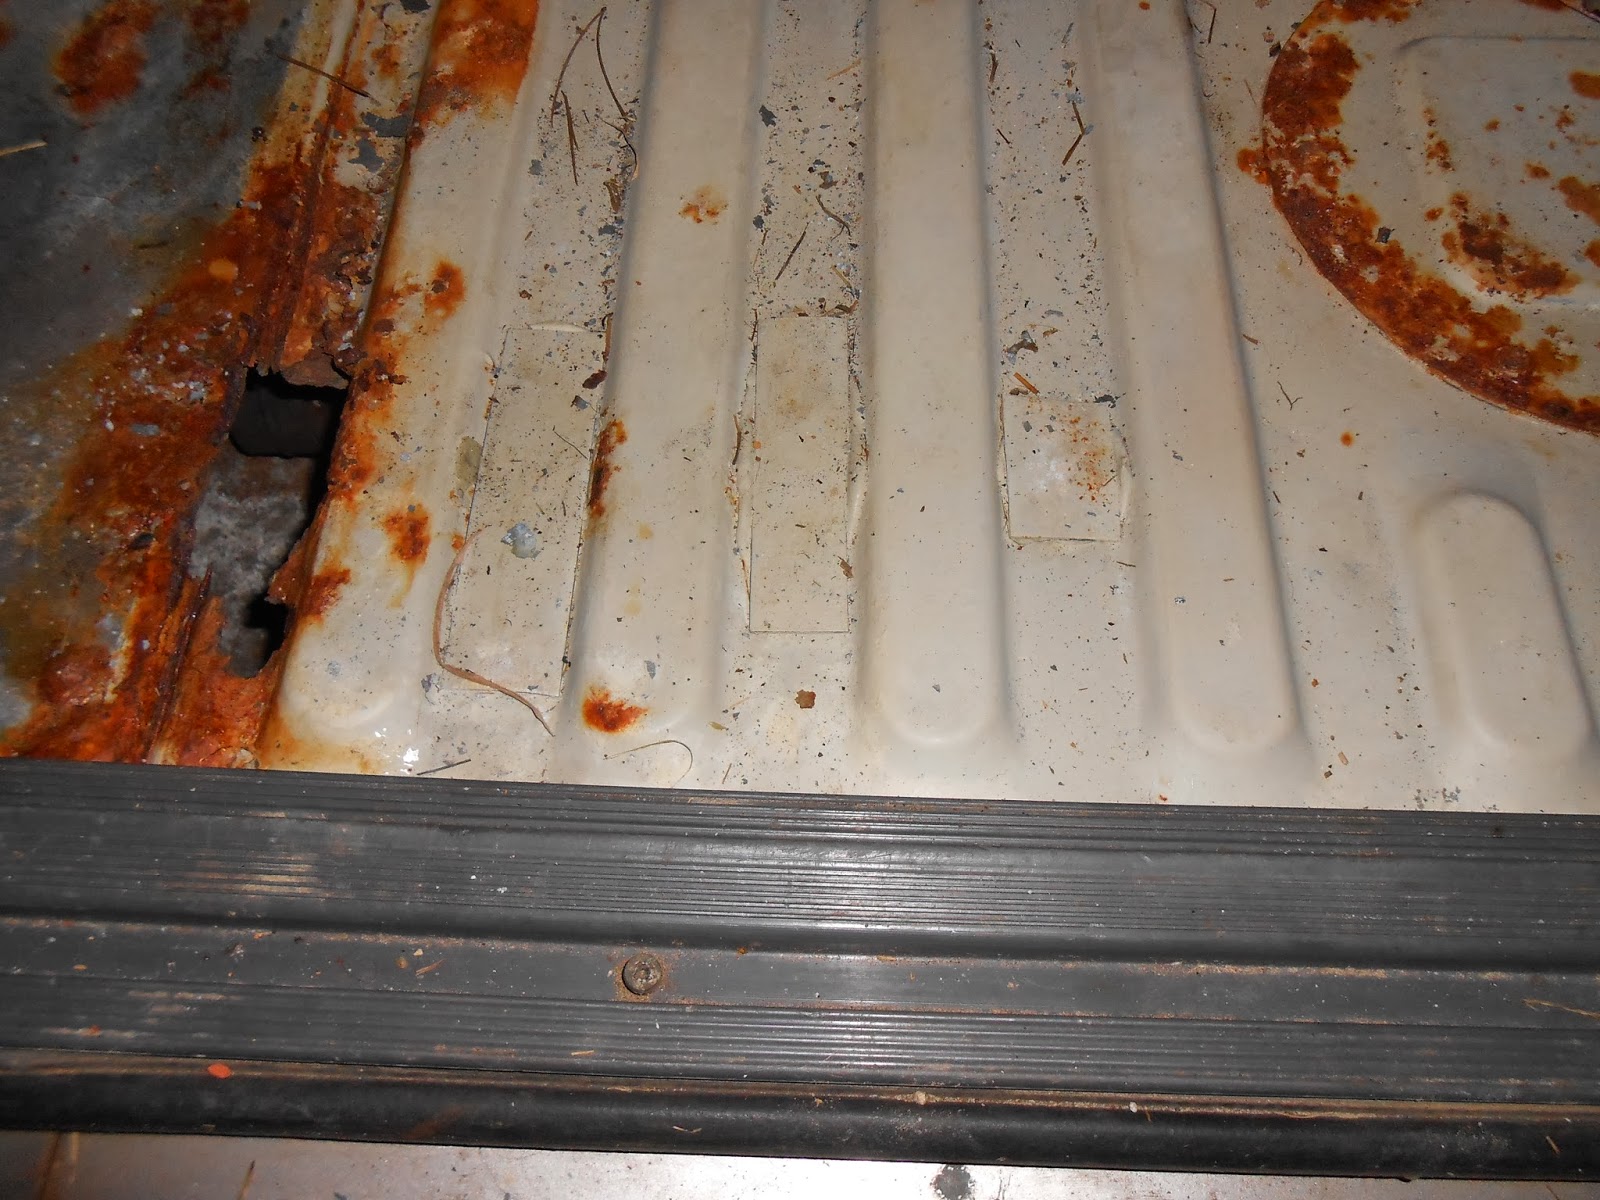
This is just one hole that I knew of but it didn't stop me wondering why on earth the boot floor was not replaced a few years ago when it first rotted through, the little tabs you see are tin strips that are stuck down with silicone, poor effort just to get through the Kuering!!!

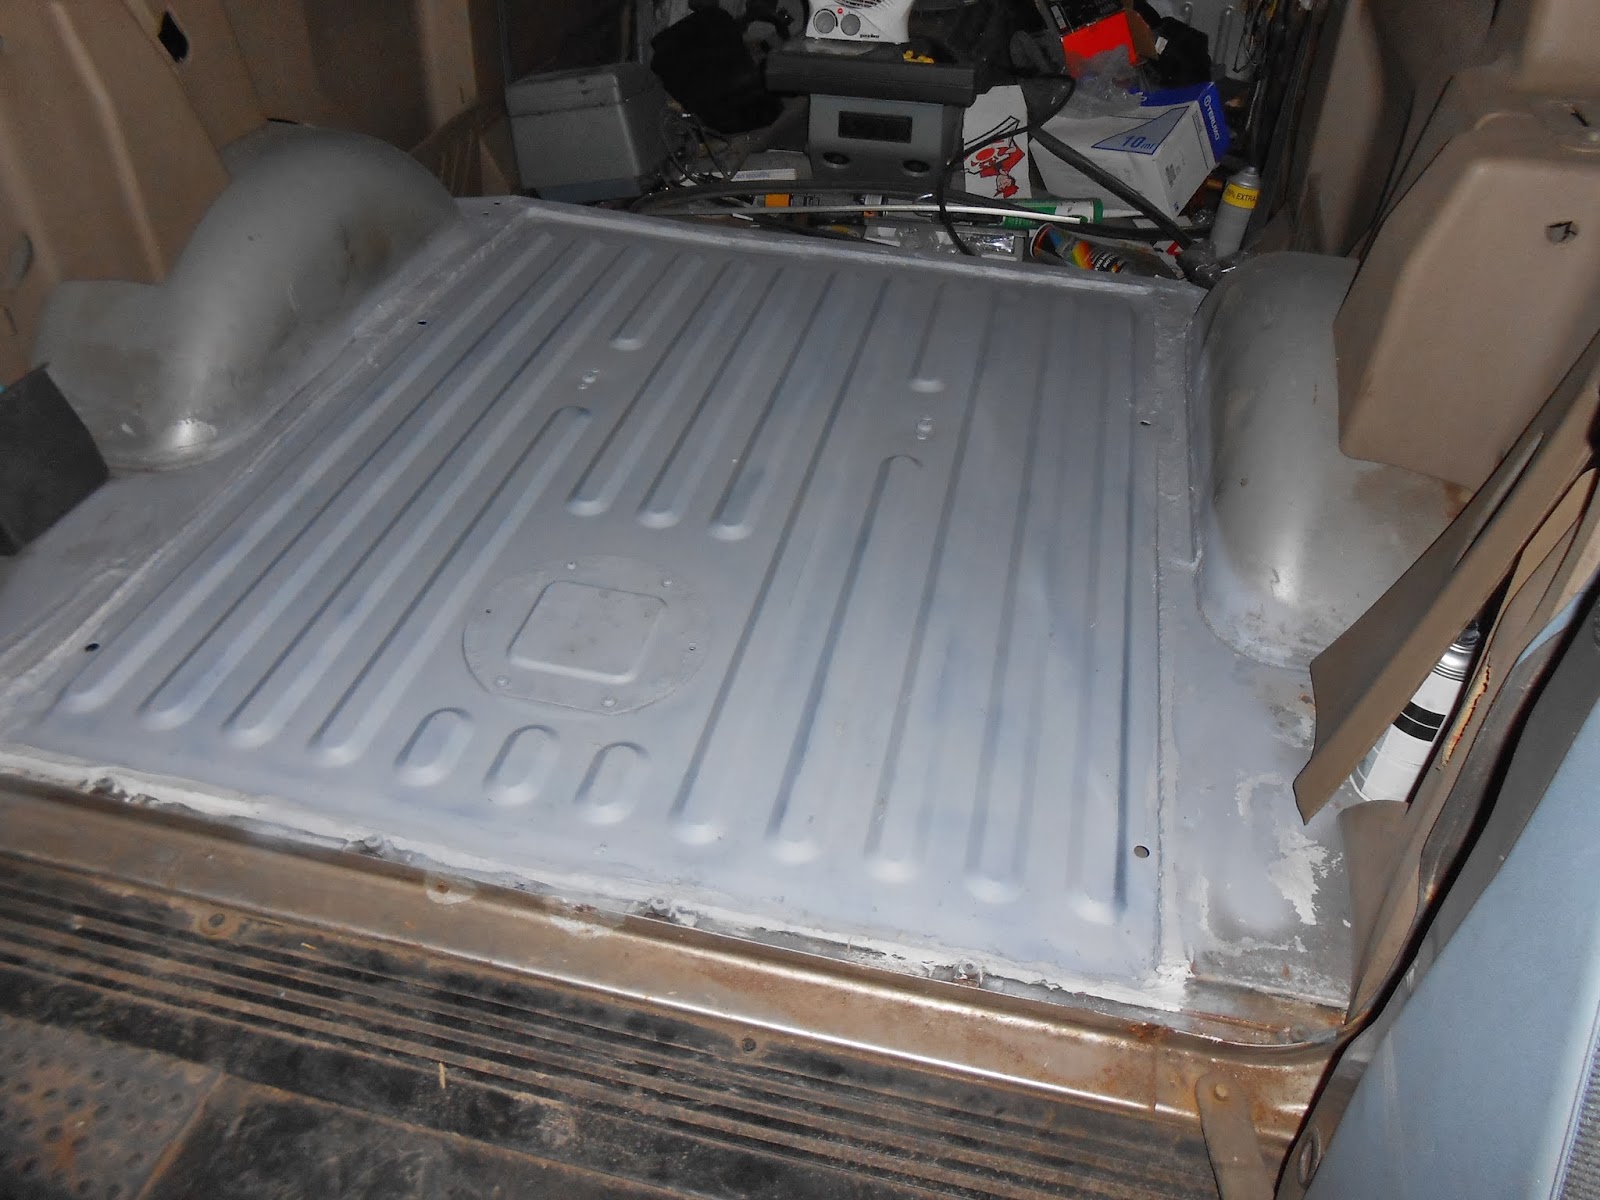
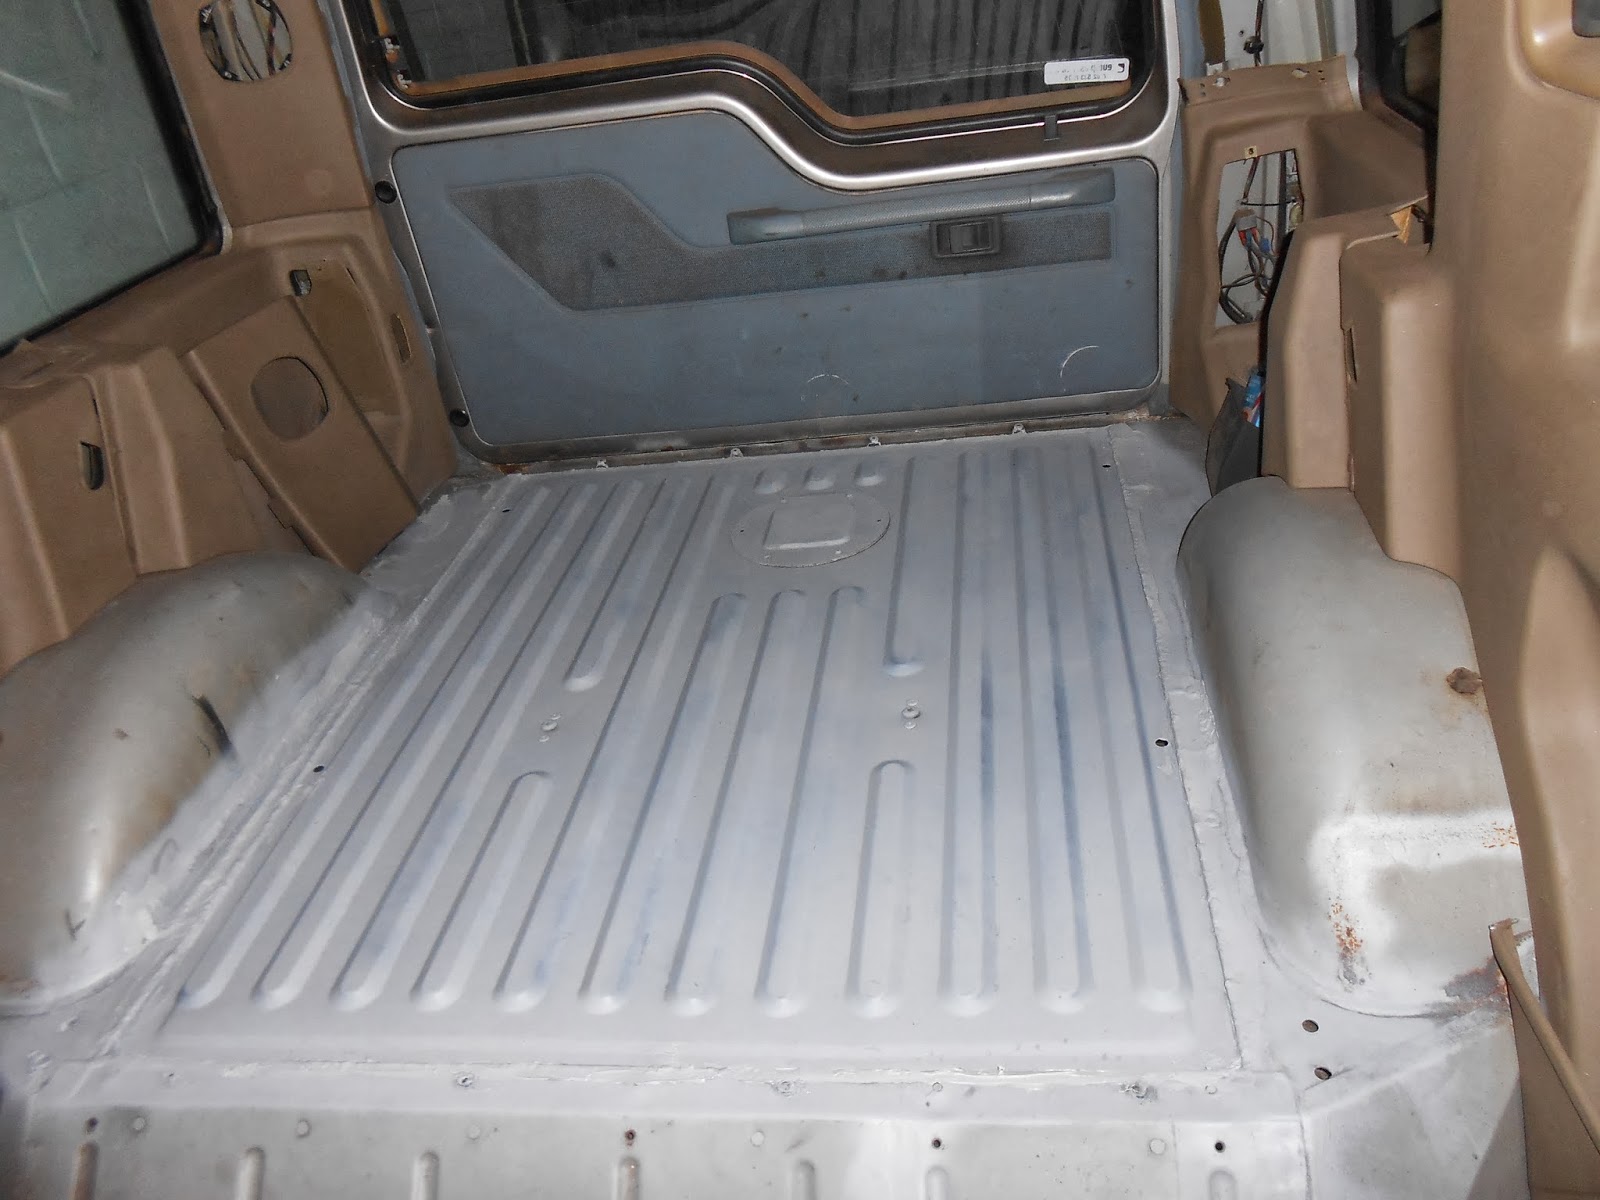
So it went from this...

Rusty+12-12-12+015.JPG


To this.....

Rusty+12-12-12+017.JPG


Then on to this.....

Rusty+13~24.01.13+006.JPG


Rusty+13~24.01.13+005.JPG


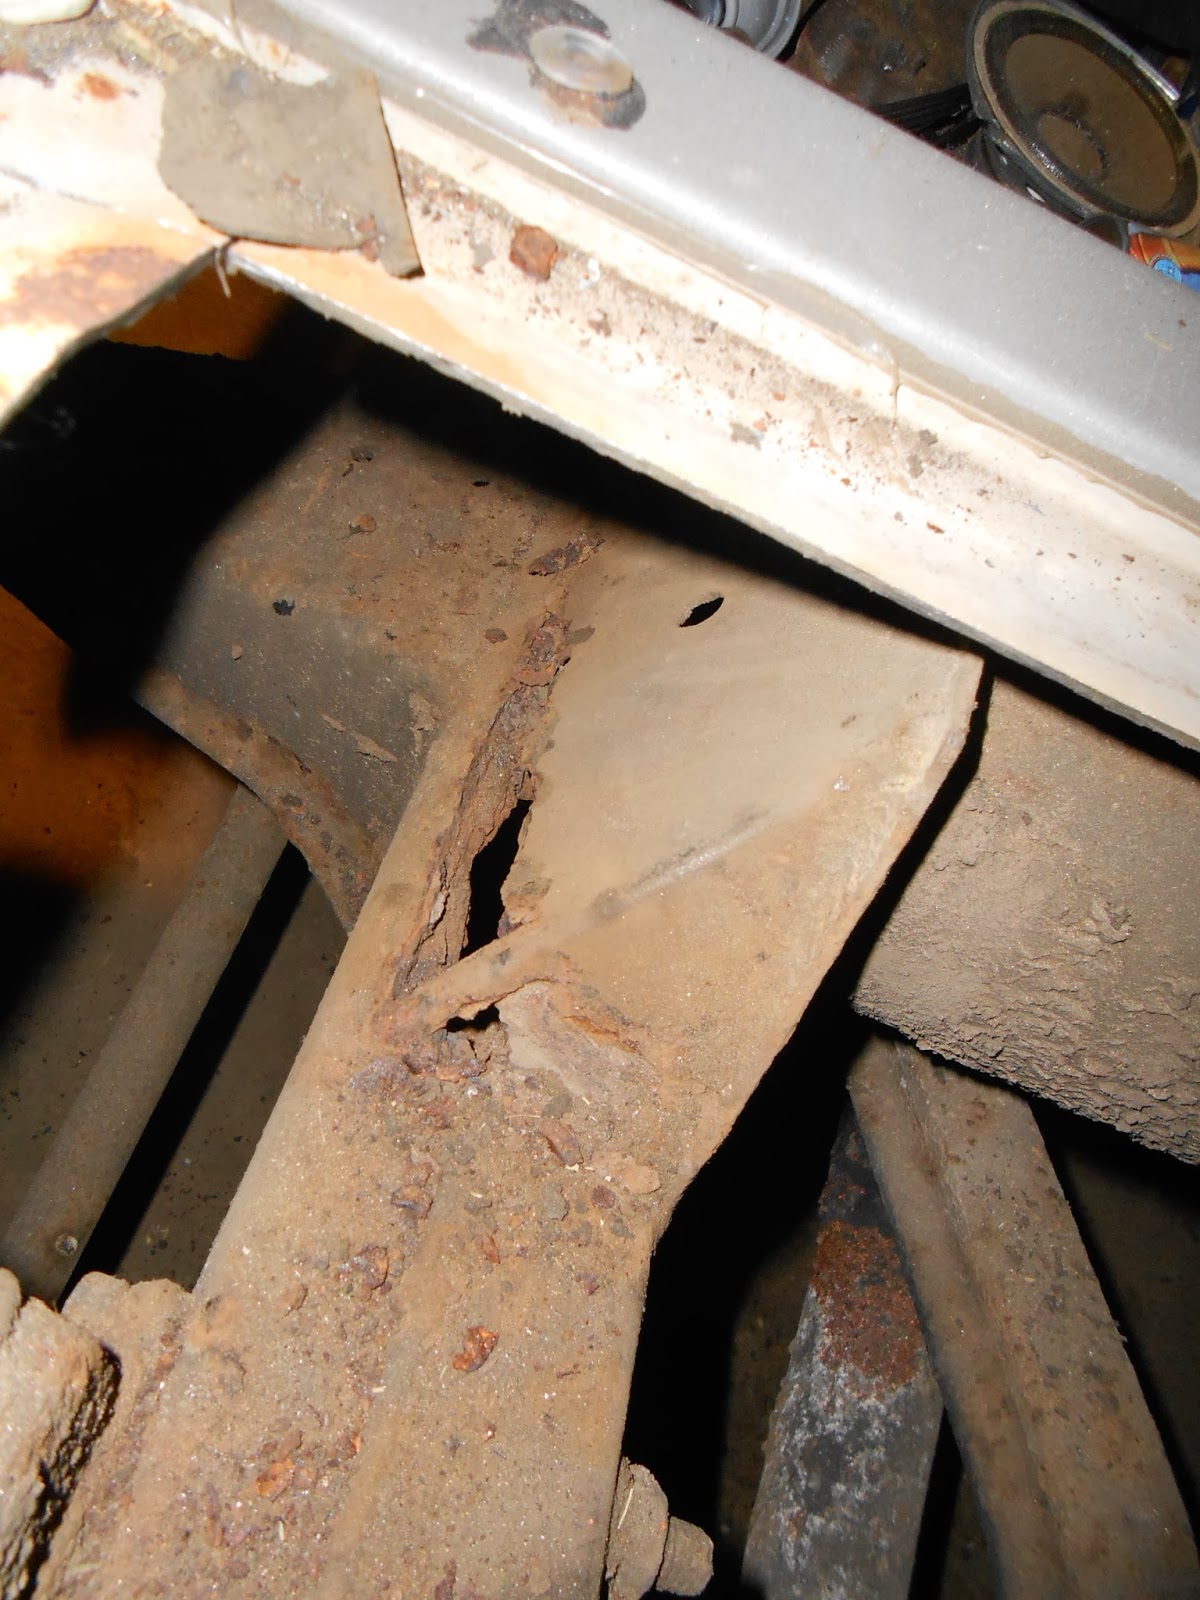
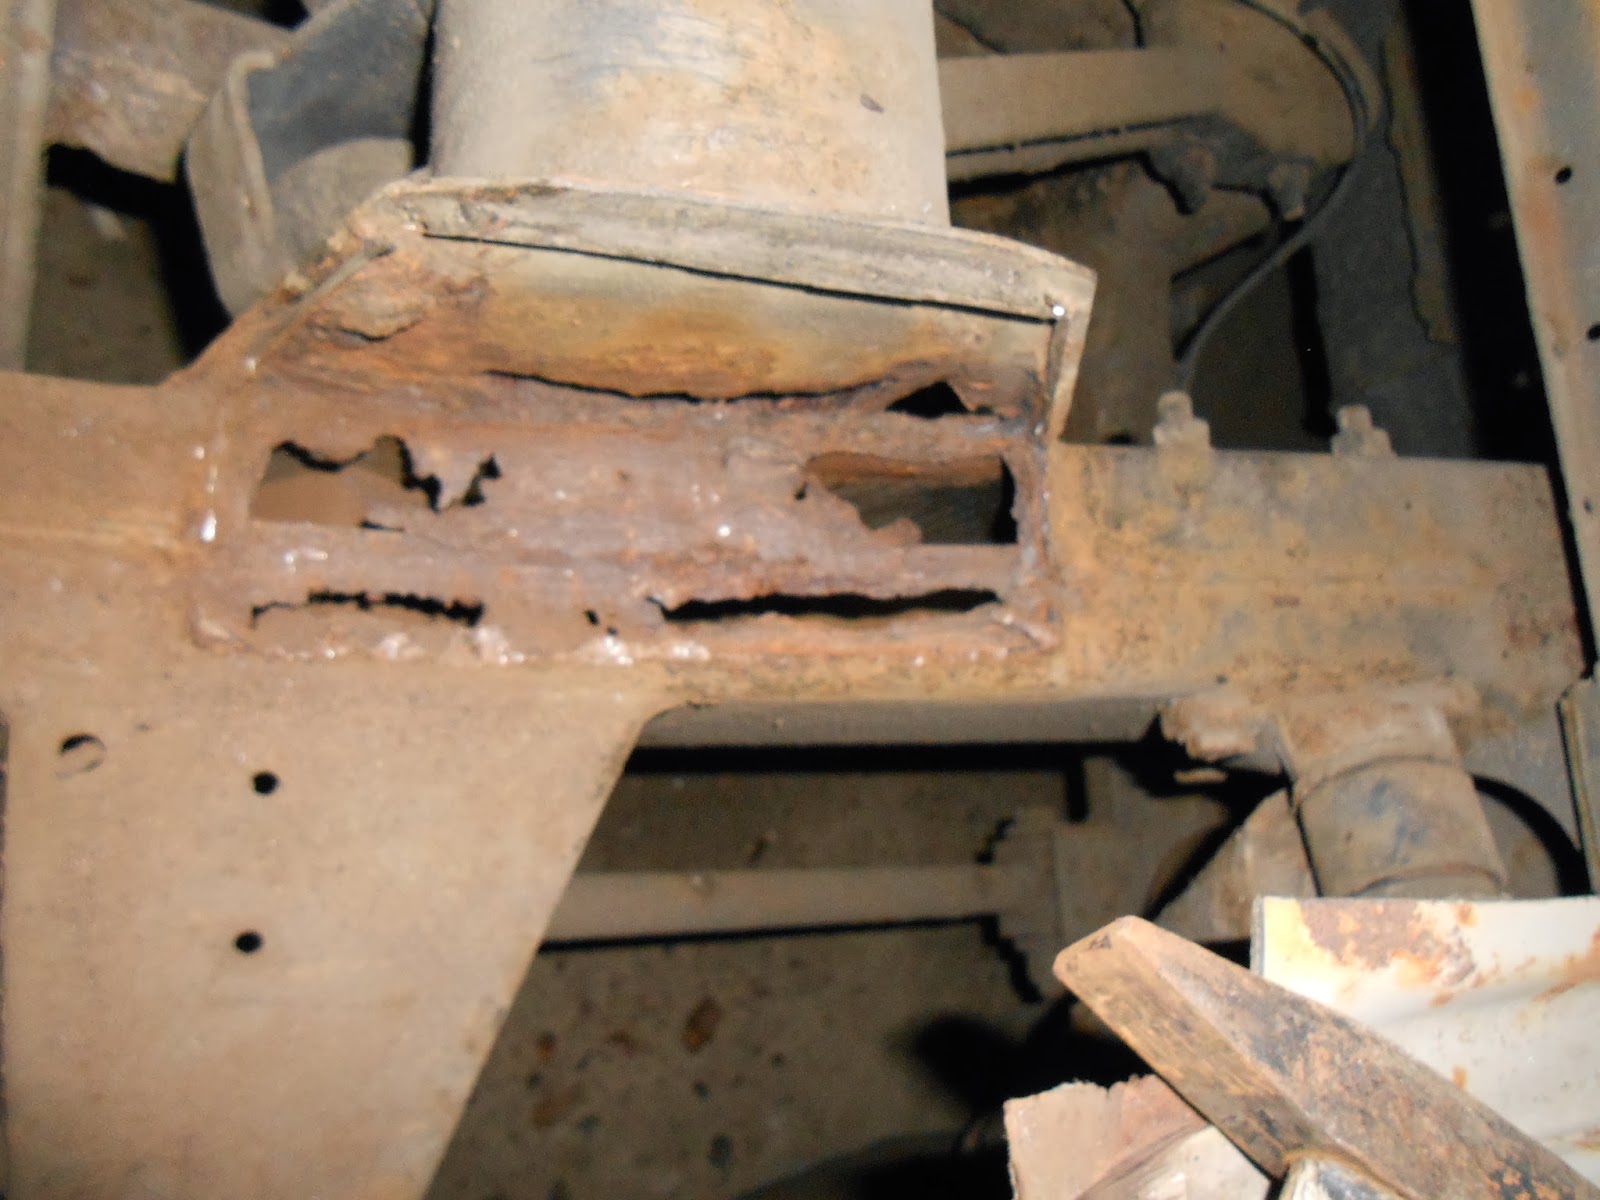
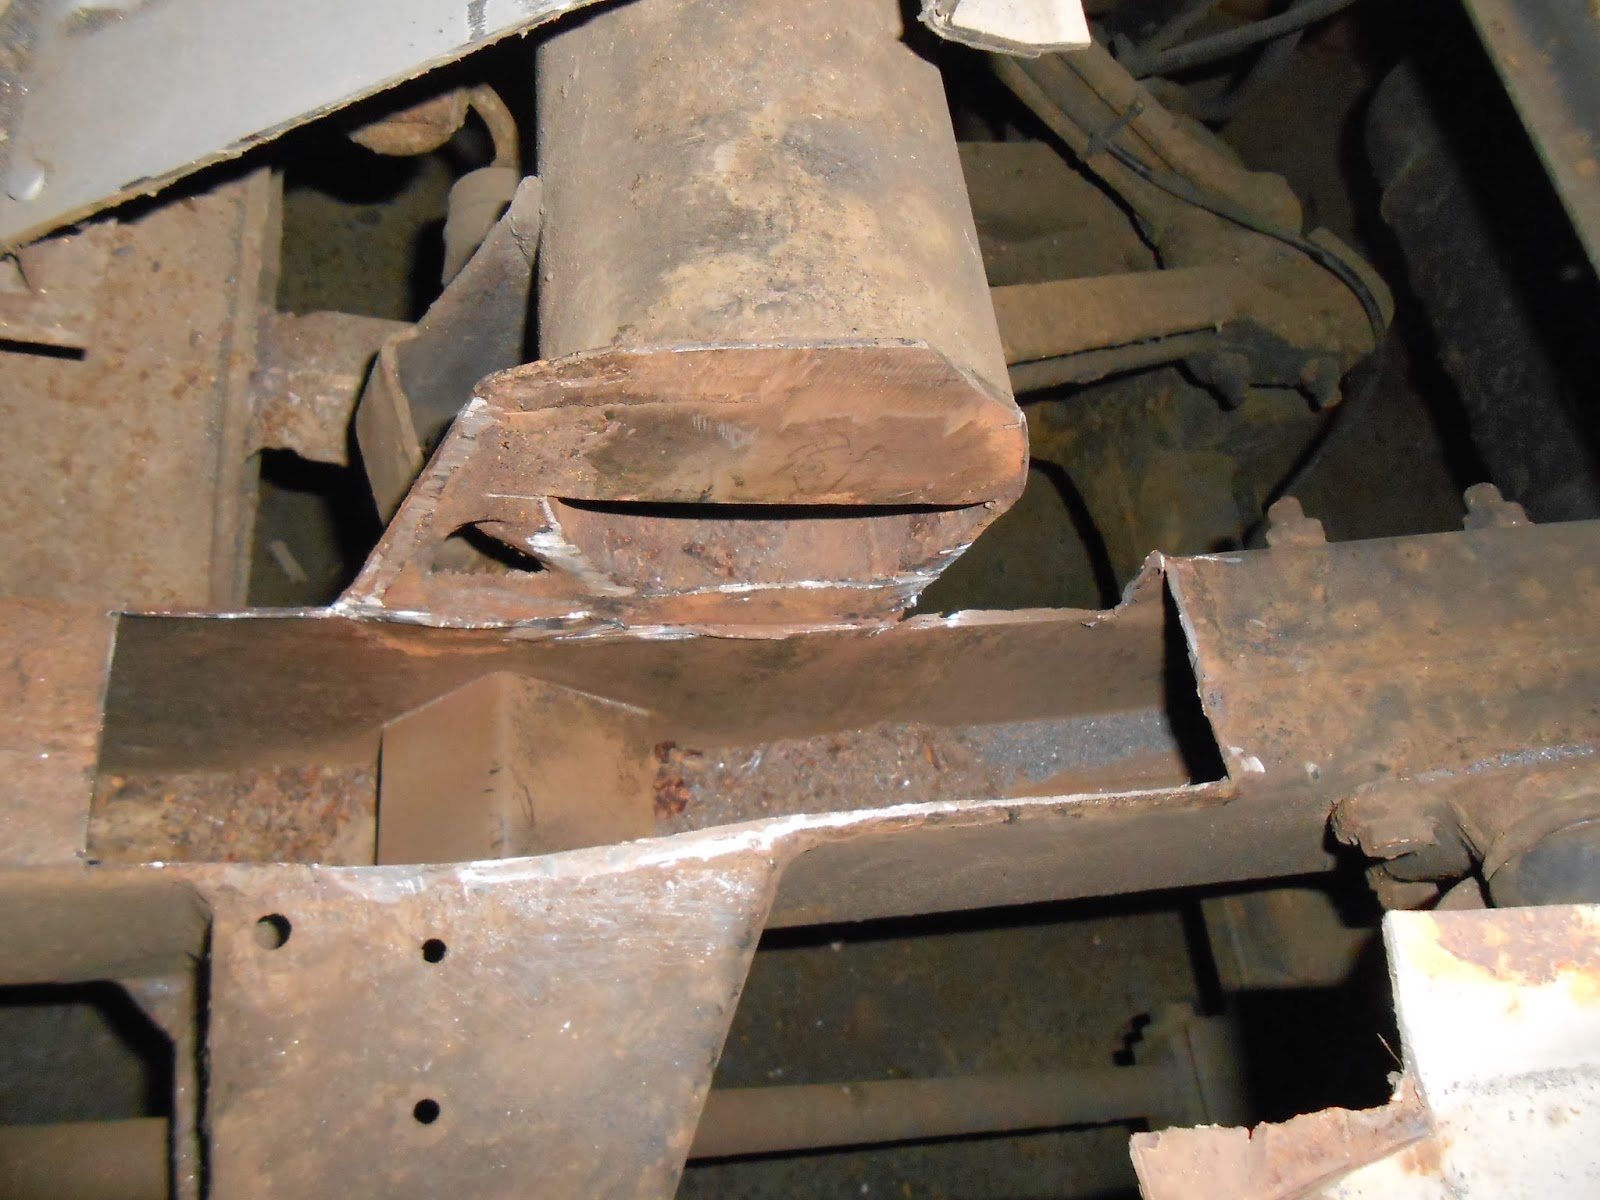
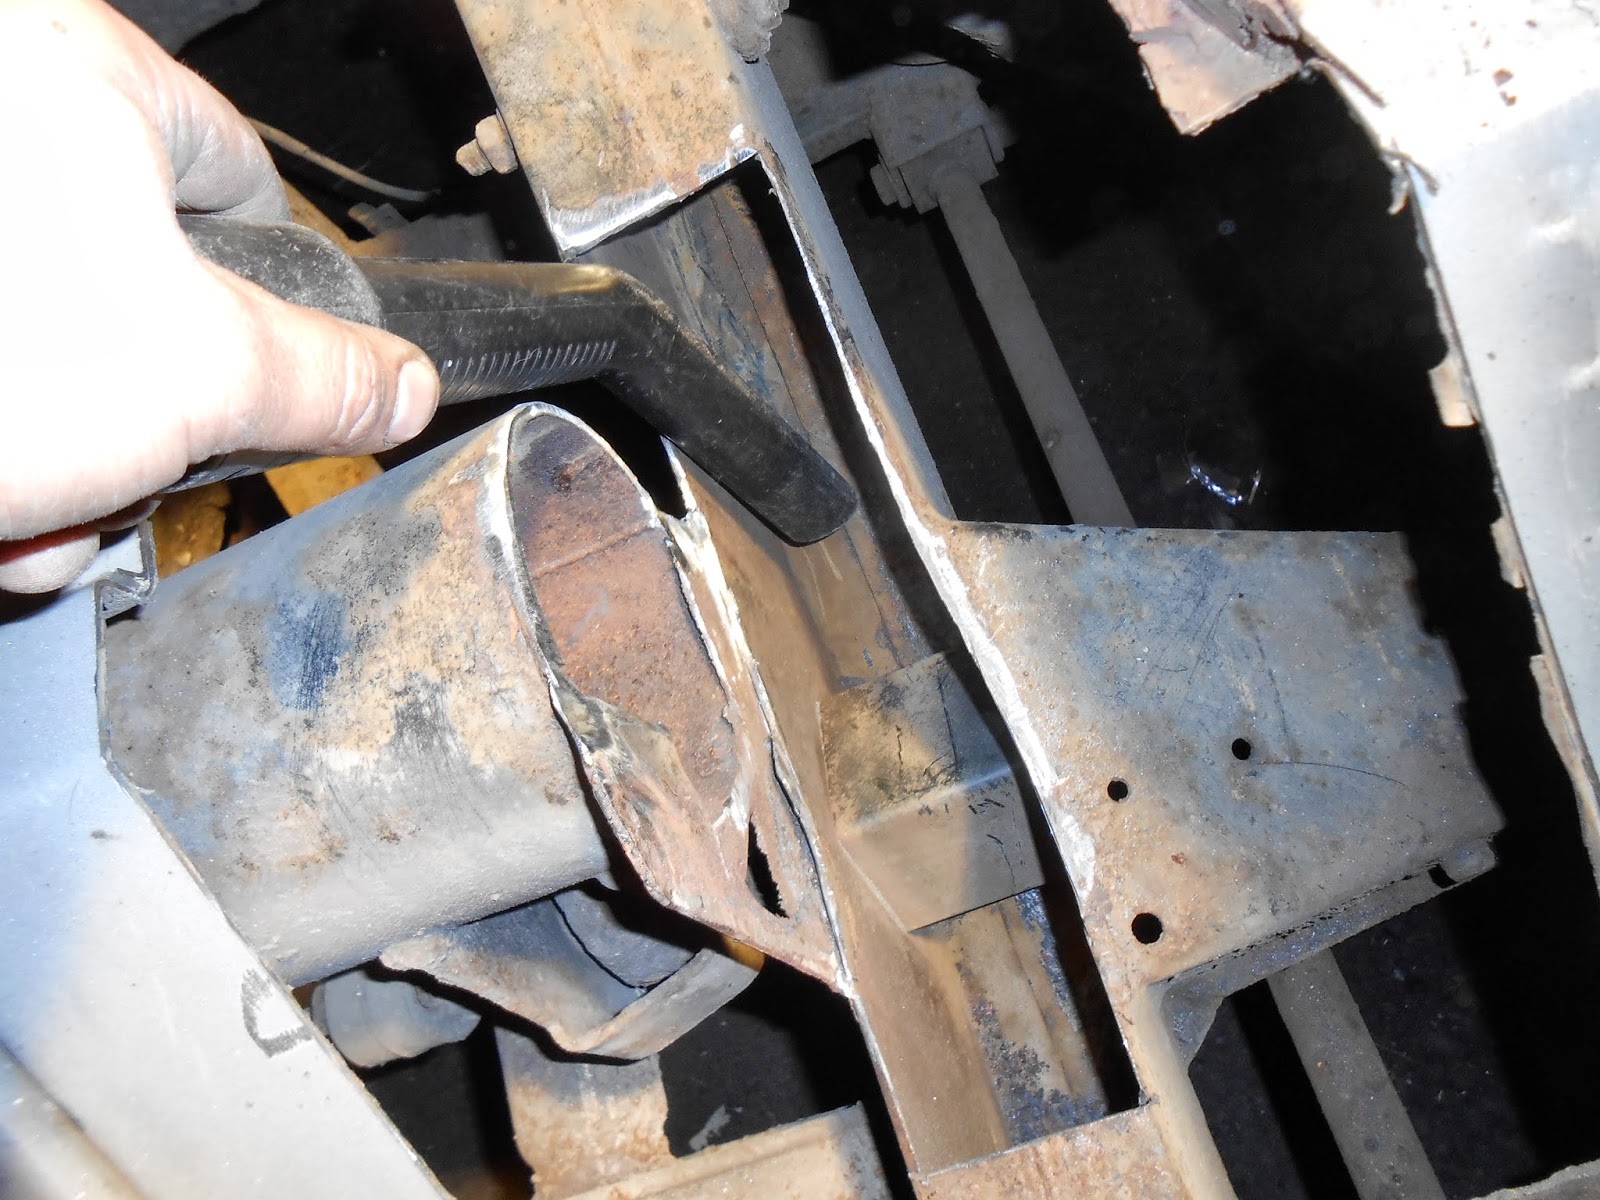
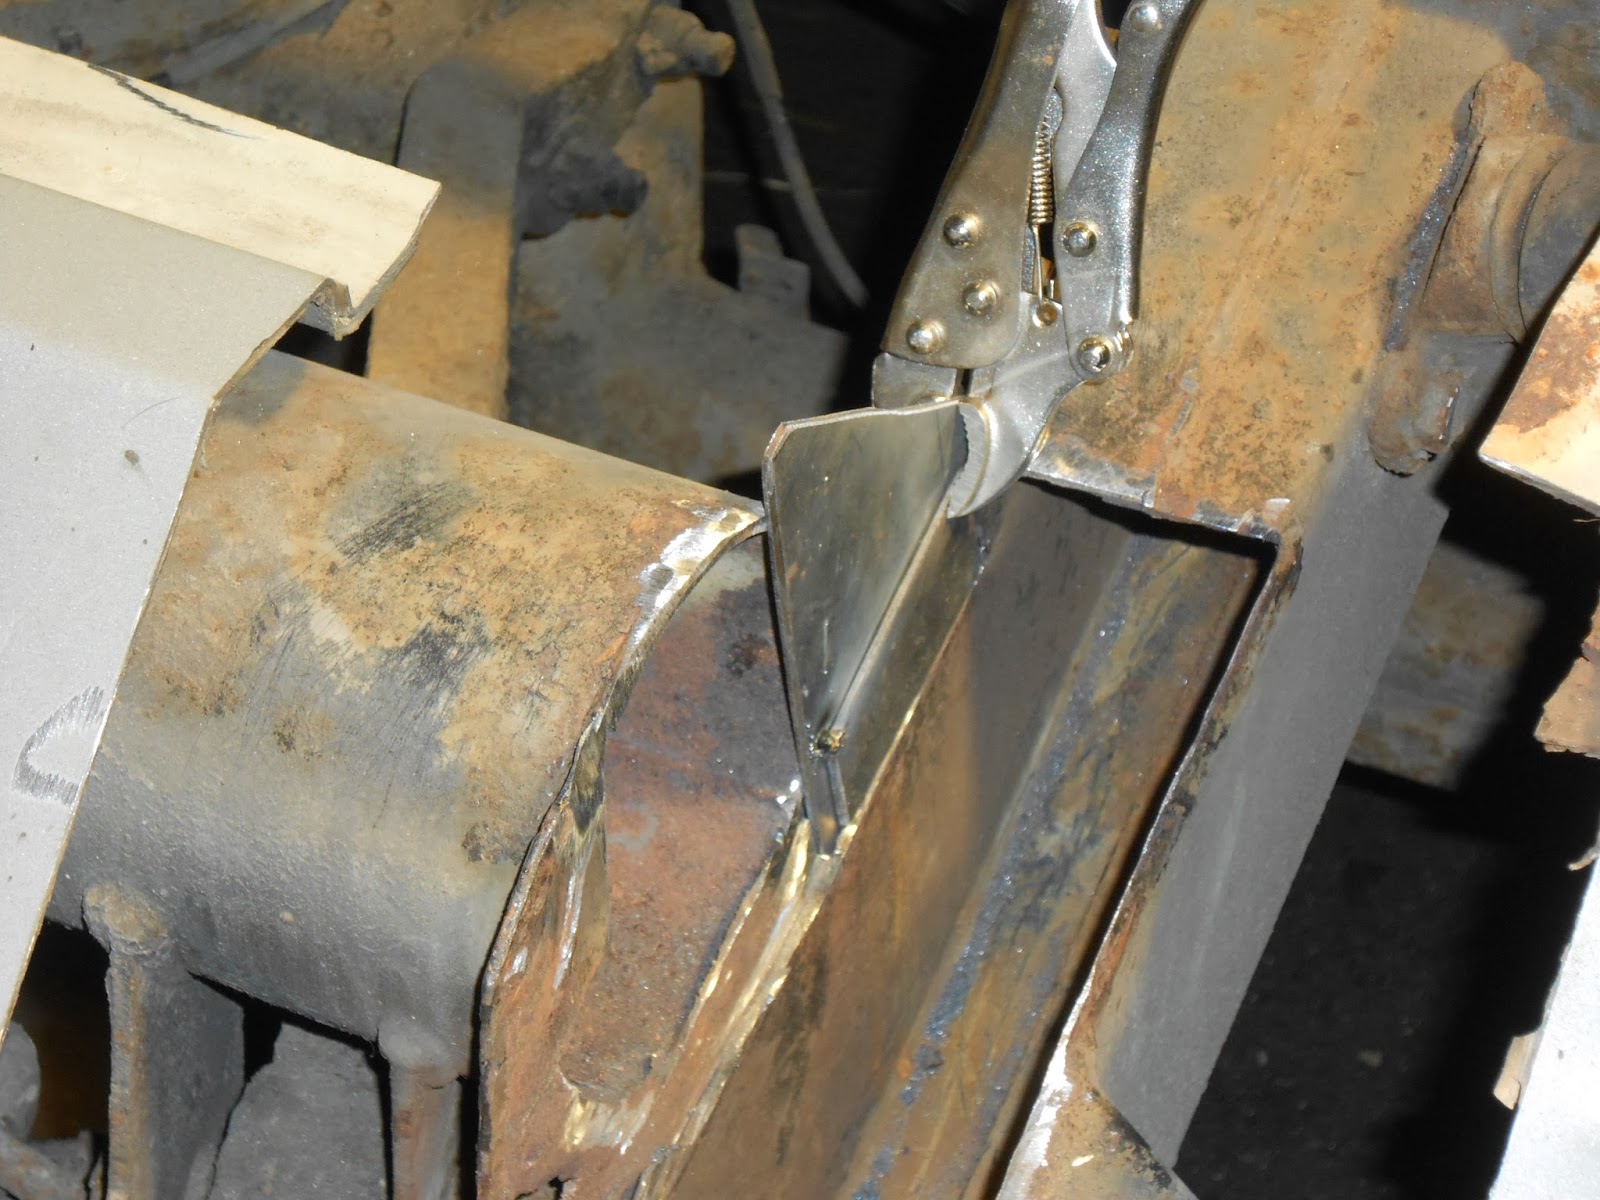
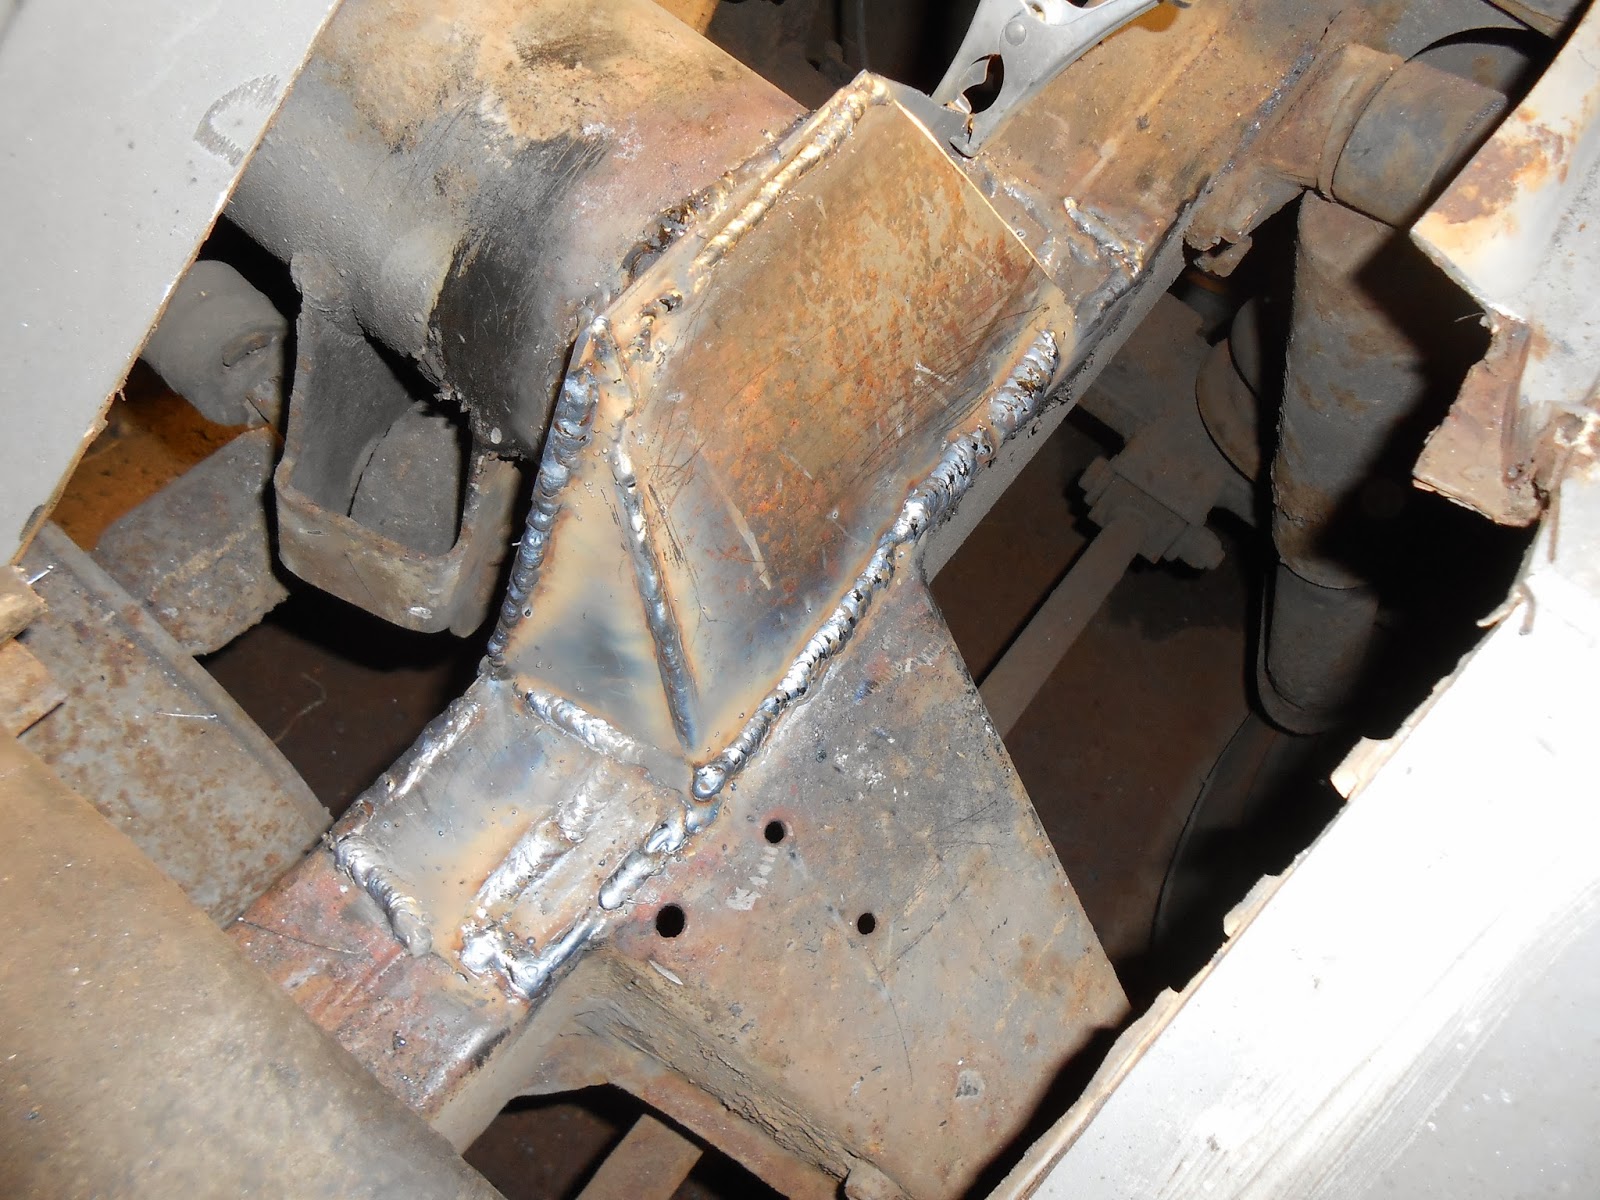
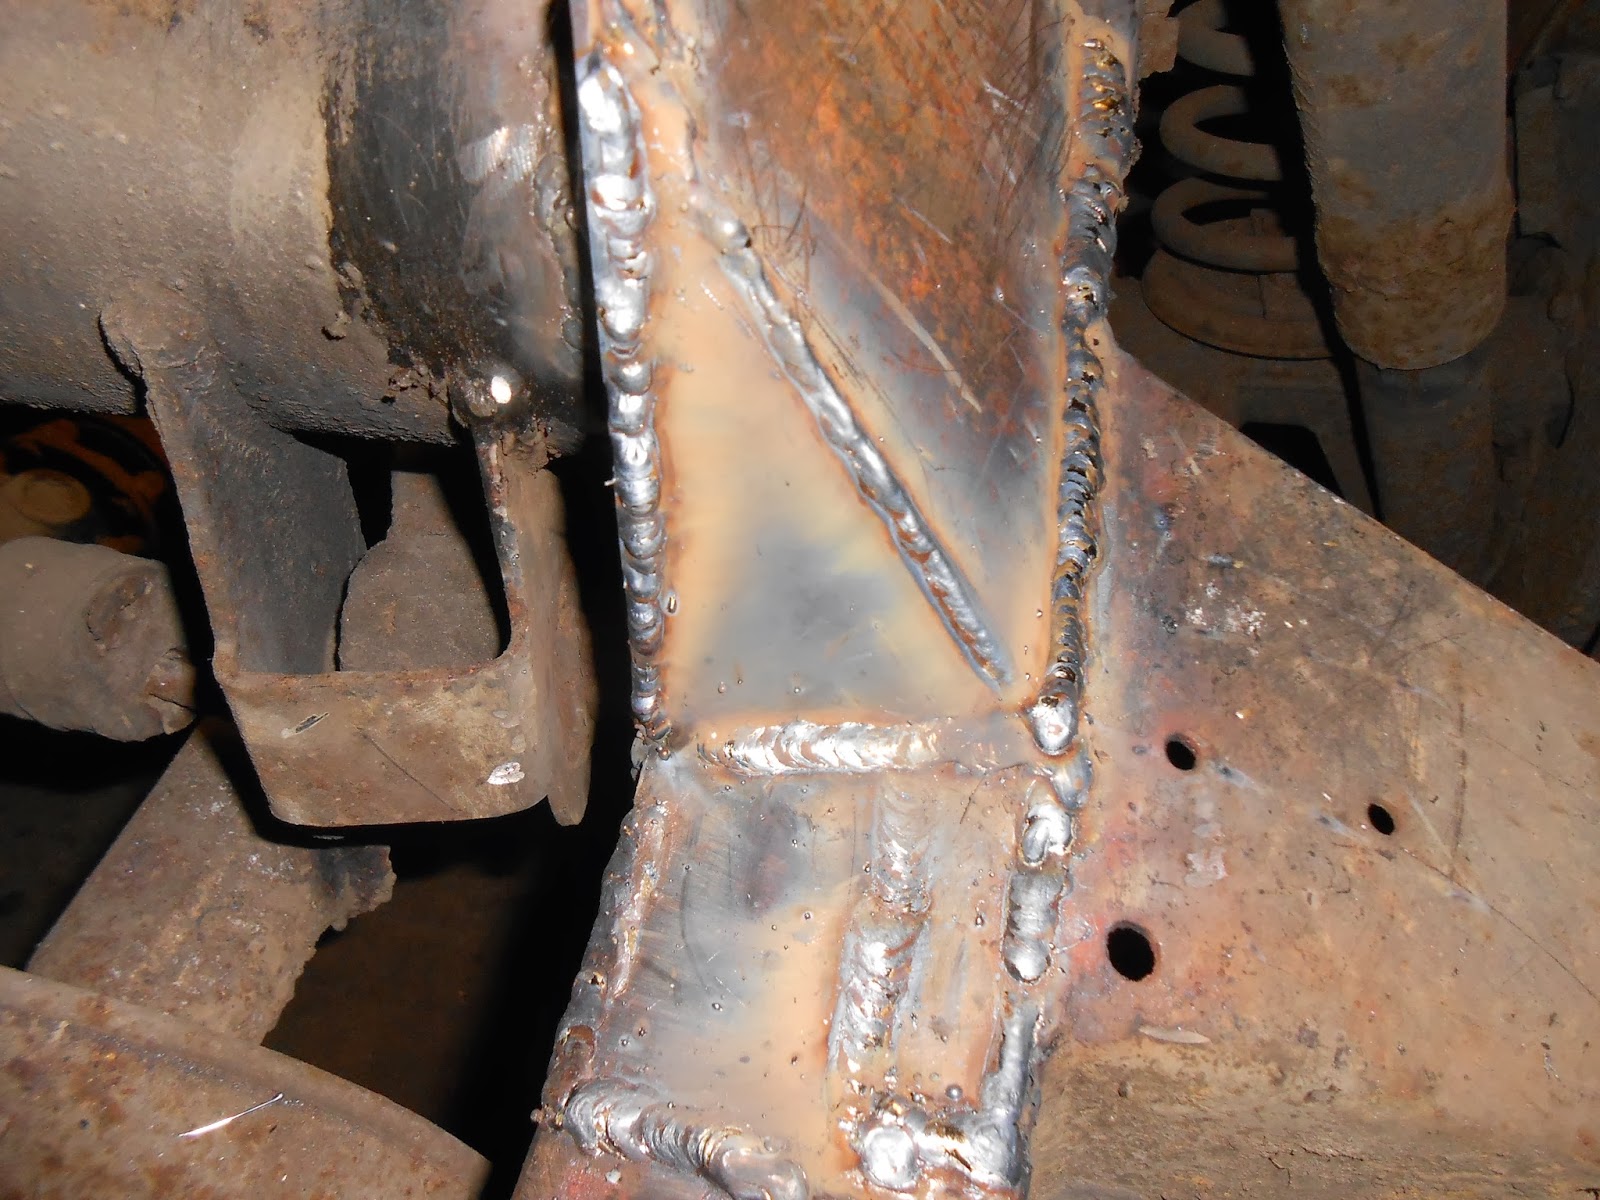
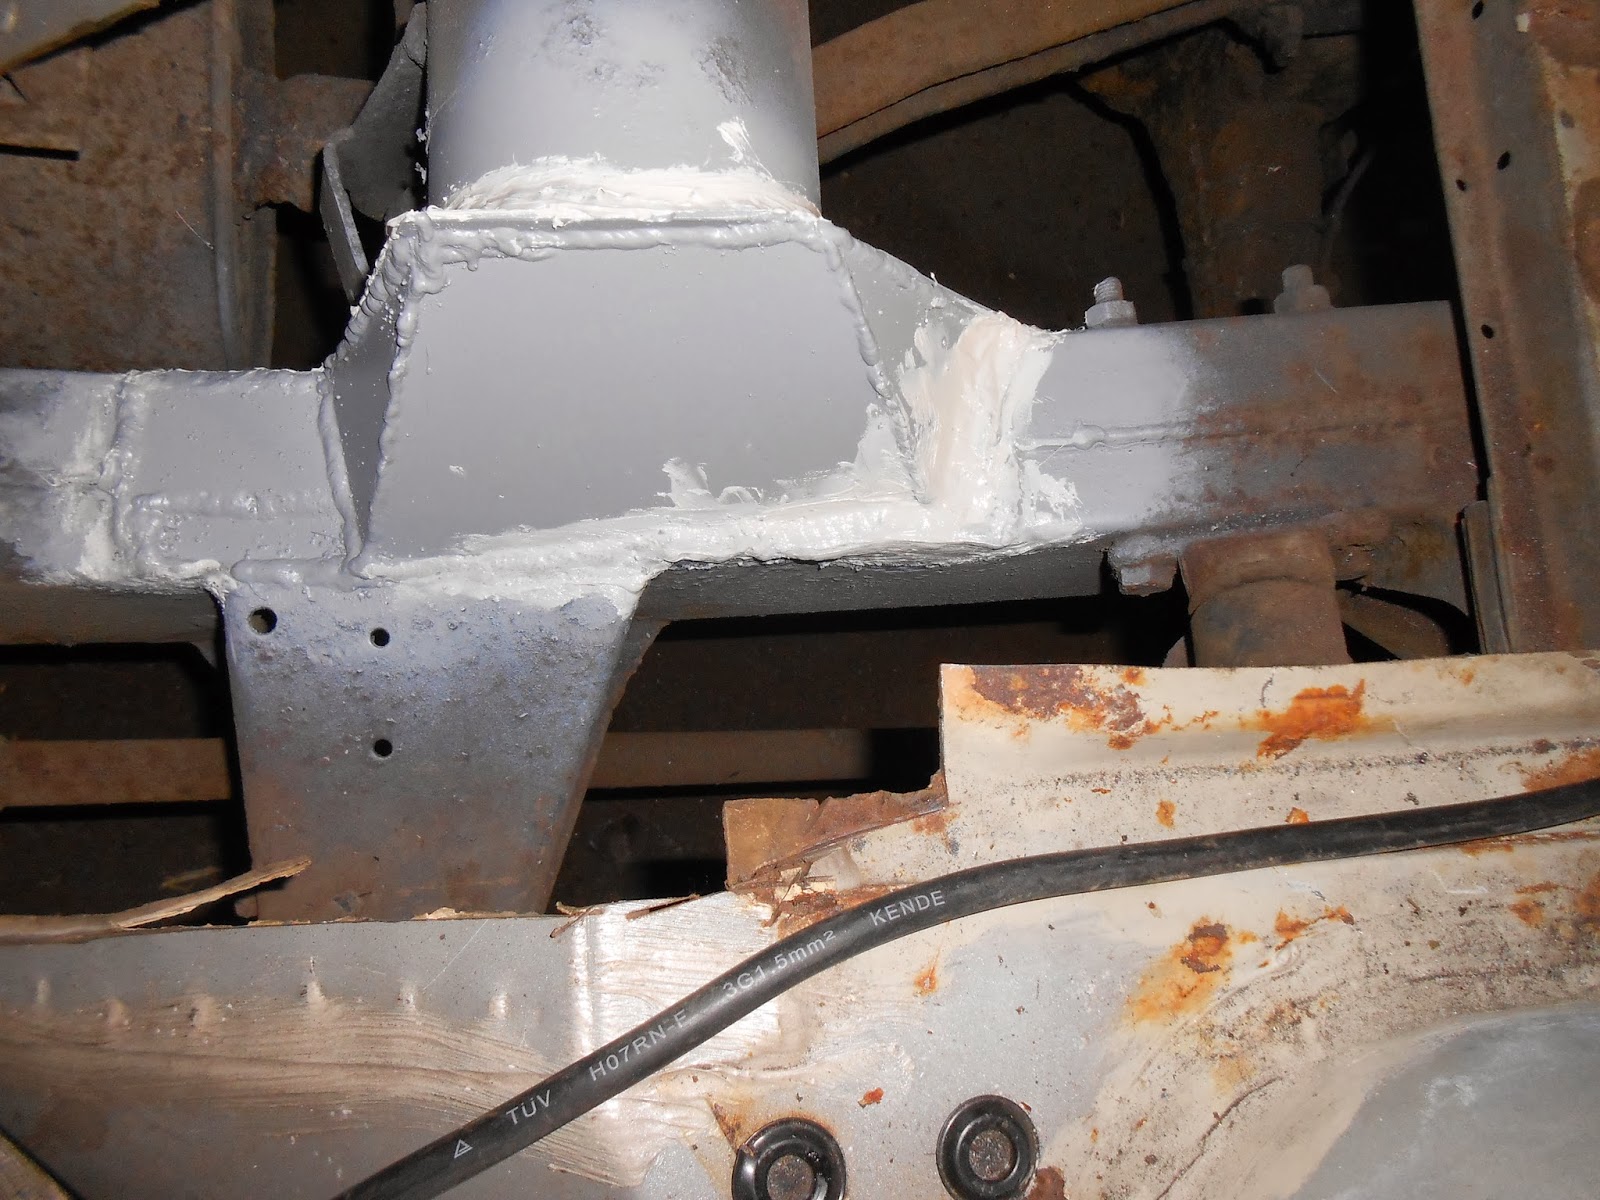
Fully seam welded in with some plating done along the edges to replace rotten metal, I had to replace the floor supports as they were rotten beyond salvage but before the boot floor went in I had to deal with this....

Rusty+12-12-12+022.JPG


Rusty+12-12-12+023.JPG


All cut out well nearly, as I opted to do a two piece repair as to save the suspension geometry as it can and usually does move!!!

Rusty+12-12-12+025.JPG


Rusty+12-12-12+026.JPG


Rusty+12-12-12+027.JPG


Rusty+14-12-12+001.JPG


Rusty+14-12-12+002.JPG


Rusty+14-12-12+003.JPG


Rusty+14-12-12+004.JPG


Rusty+14-12-12+005.JPG


Rusty+14-12-12+008.JPG


Rusty+14-12-12+010.JPG


Rusty+14-12-12+012.JPG


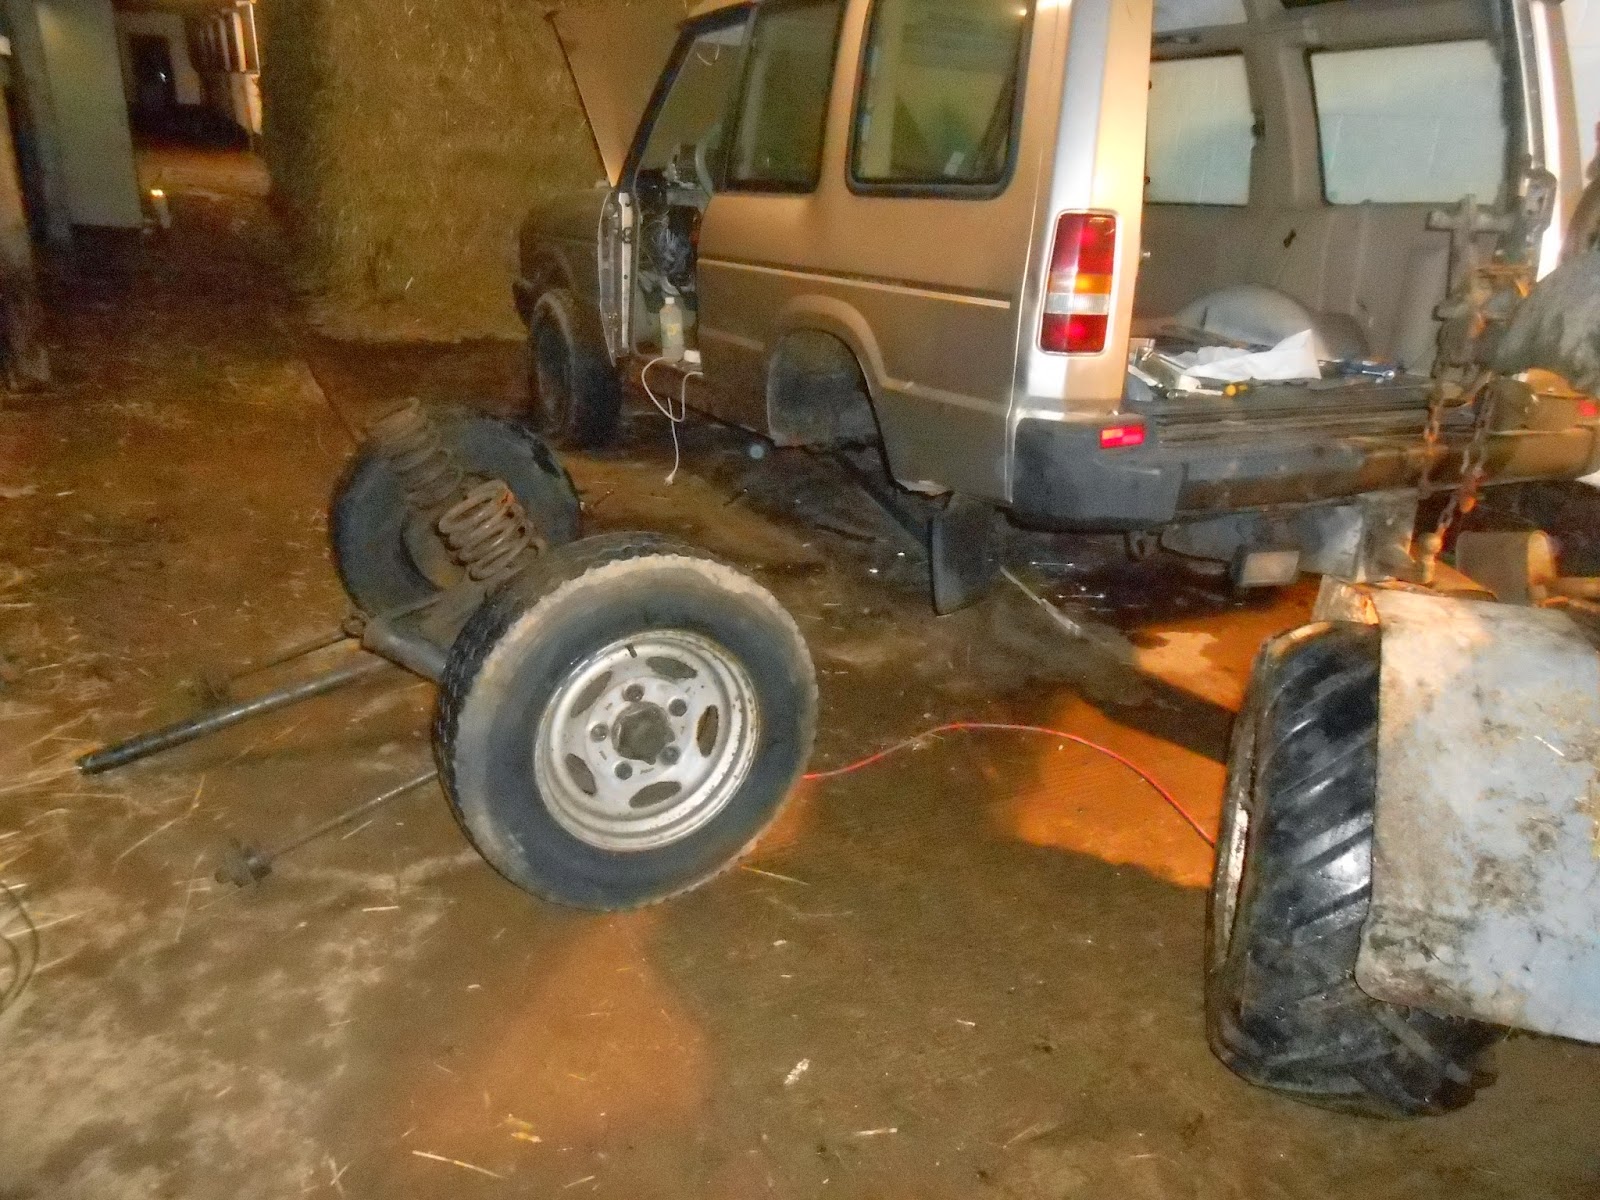
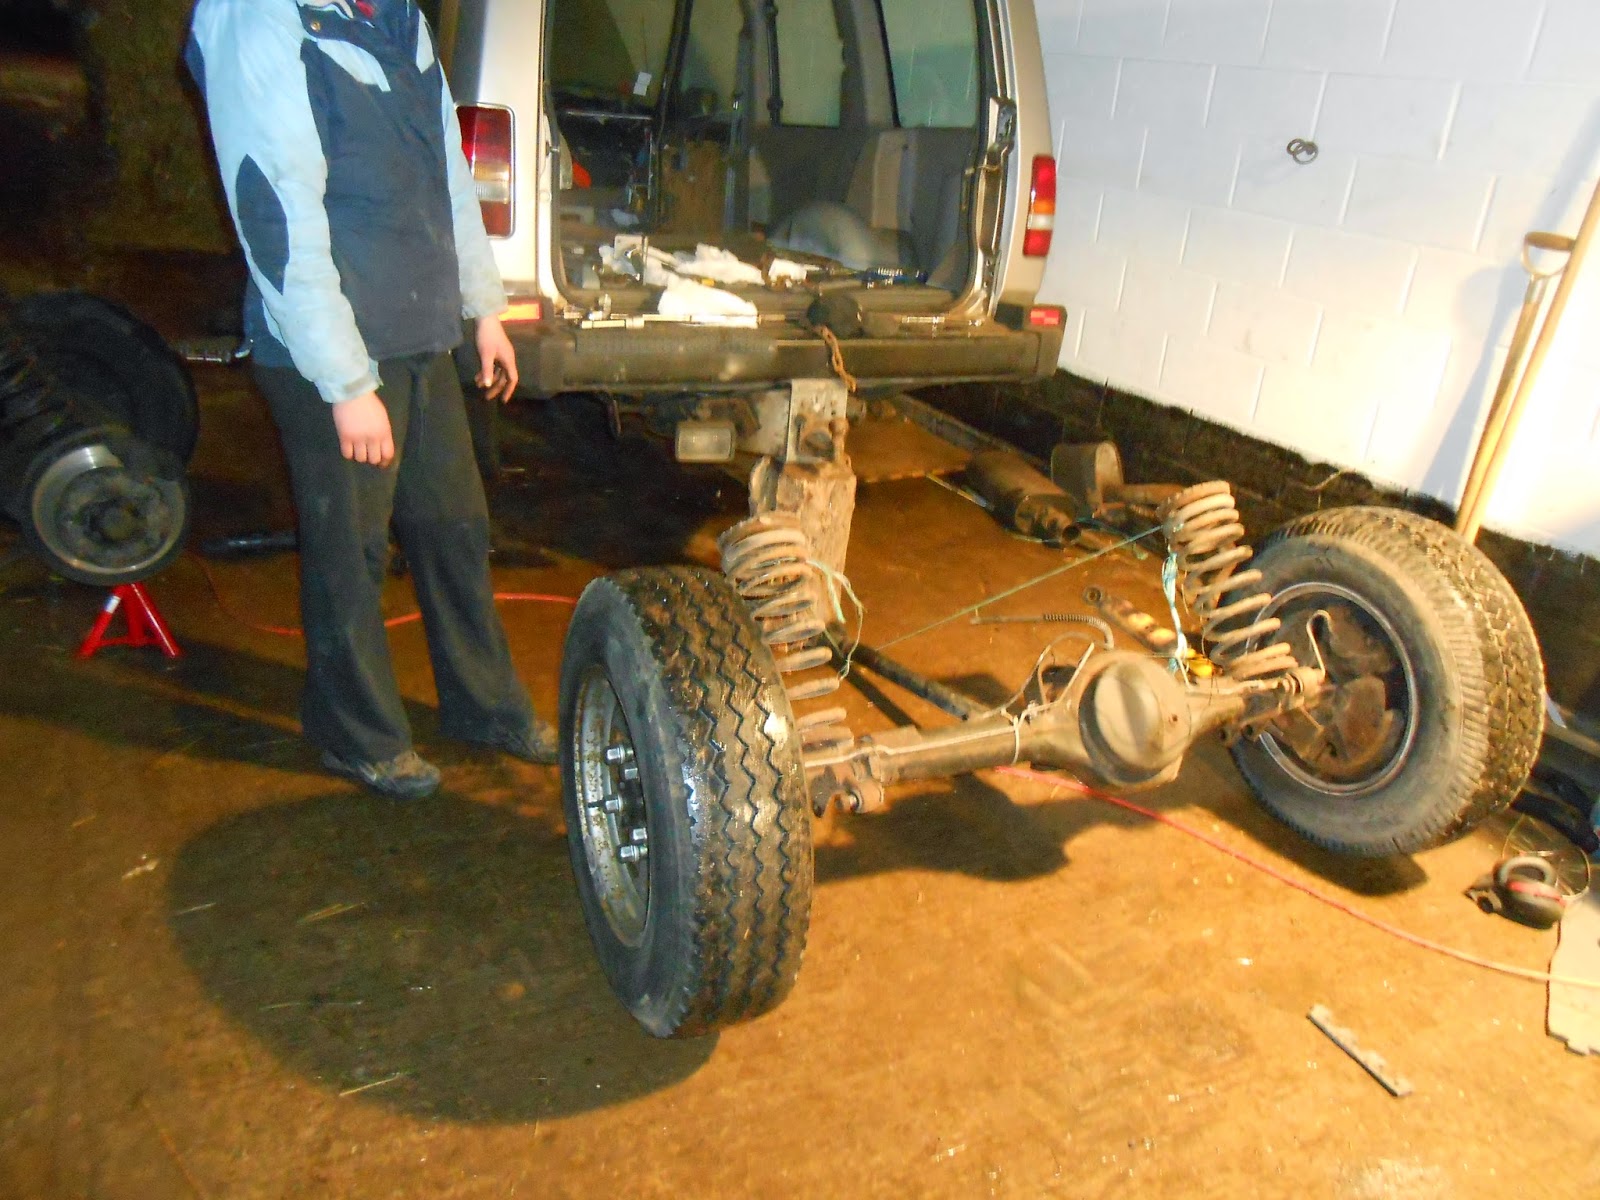
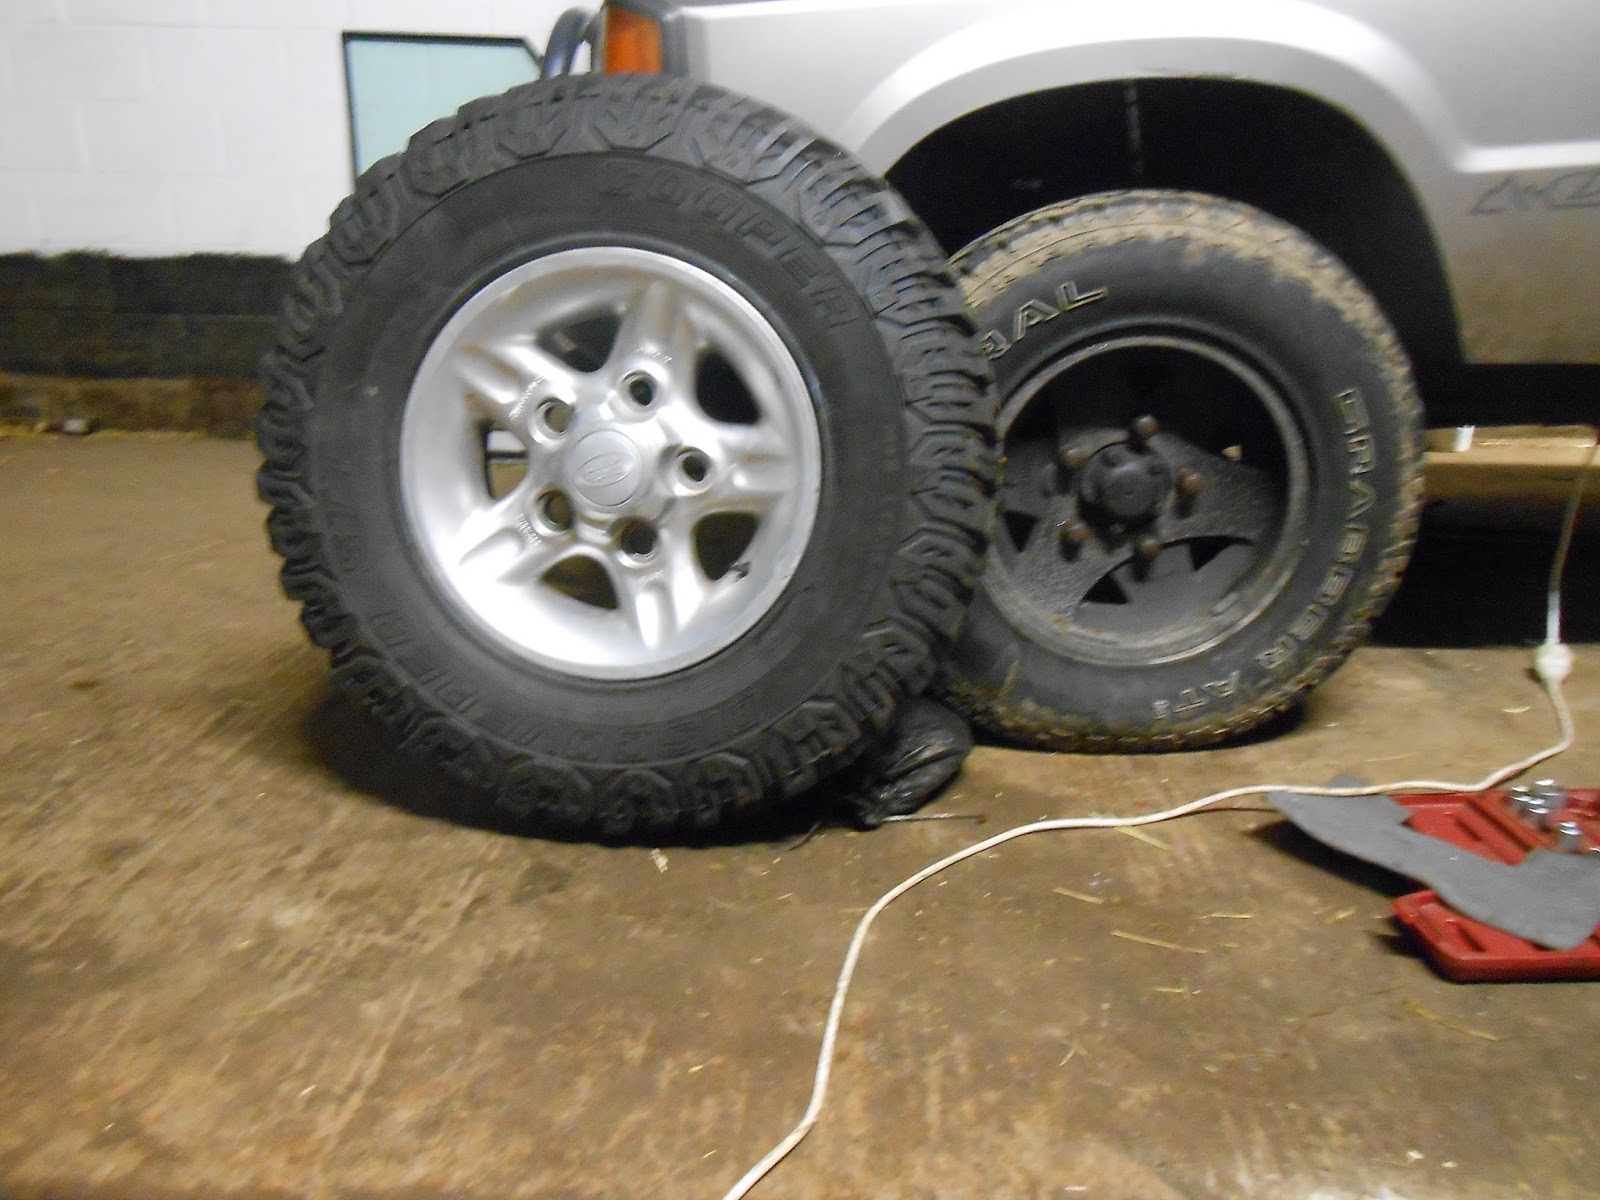
Now I stumbled upon a problem, I needed two more matching 235/75 15" General Grabber for the back axle to replace the racing slicks it came with and the thing is they don't make them anymore and finding them in that size was not to be done so I devised a new plan and wanting to fit taller tyres to give a little diff clearance I decided to fit the 24 spline axles from my old V8 Disco to enable me to use the nice silver deep dish alloys in 16", and well Cooper STT look splendid on them!! This is swapping the back axle and the new tyres....

Rusty+13~24.01.13+016.JPG


And new one going in..

Rusty+13~24.01.13+019.JPG


And these are the new tyres against the old ones!!

Rusty+13%257E24.01.13+012.JPG


So I still have a million things left to do but the front axle is now top of my list as the old compomotive alloys are sold to another forum member.

Watch this space for more updates.
I'm trying to repair my Landrover Discovery, but know nothing, so I need to learn. Could you help me please? You've cut out and made a repair to the chassis. What gauge of steel did you use and where would one go to get it?
 
Last edited:
I'm trying to repair my Landrover Discovery, but know nothing, so I need to learn. Could you help me please? You've cut out and made a repair to the chassis. What gauge of steel did you use and where would one go to get it?

Hi, I use 2mm steel plate, no need to go thicker as the chassis base metal is only 2mm.

I like to get my steel from work if I can, it's either free or very very cheap, but I also use https://www.themetalstore.co.uk/ great shop and really fast delivery, prices are super too.
 
Thanks very much. One more question arising out of this afternoon's battle with the beast, is there a recommended way of removing the bolts which hold the back bumper in place when they're severely rusted?
 
Thanks very much. One more question arising out of this afternoon's battle with the beast, is there a recommended way of removing the bolts which hold the back bumper in place when they're severely rusted?

You have two options, one is the two M12 bolts that locate the bumper to the chassis via two mounts or by the four M10 bolts that hold the bumper to the mounting brackets. All will be rusted solid and be a complete pain in the arze to free off, I will say that a nut splitter will help as it is an awkward space to wield a hammer and cold chisel with any precision, belt the nuts off and it should pop off.

You have to remember that the bumper is steel and if you need to, slice and dice it and weld it up again after/replace it.

Thanks again. It had occurred to me that I might drill a reasonably large hole in the bumper and try and cut the end off the bolt through it, then put a blind grommet in the hole, but I wanted to seek advice before attempting that trick.
 
Thanks again. It had occurred to me that I might drill a reasonably large hole in the bumper and try and cut the end off the bolt through it, then put a blind grommet in the hole, but I wanted to seek advice before attempting that trick.

I just remembered that the mounting bracket has a captive nut on the back of it, can't think why I hadn't remembered that earlier :oops:

I will say though that you could cut the bottom off the bumper edge to enable you to grind off the M10 bolt heads that hold the bumper to the mounting bracket if they don't come loose?
 
I've managed to get the plastic end cap off one end of the bumper, so I've gained access to the two bolts inside the bumper. This allows me to put WD40 onto them. Hopefully I'll be able to get them to turn when I come back and try on Thursday.
 
I've managed to get the plastic end cap off one end of the bumper, so I've gained access to the two bolts inside the bumper. This allows me to put WD40 onto them. Hopefully I'll be able to get them to turn when I come back and try on Thursday.
Thursday's here and now I've spent a happy half hour rounding the heads of the bolts, but they've not moved. The back box of the bodywork is seriously rusted and will have to be replaced anyway, so I think it's going to be a case of cutting it away to get the angle grinder in to take the heads of those bolts. Thanks for your advice, I've appreciated it.
 
It's blowing a gale and lashing with rain out there today so I think I will be enjoying the comfort of my arm chair today, the extra wide sealing fin has arrived as has the mastic sealing strips for the outer wing to go back on but first I have got to weld it all up :oops:

Hope tomorrow is fair weather and then I can get on and attack it.

Rubbish weather here too. Doombar is order of the day
 
Back
Top