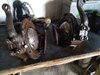
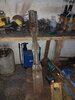
The acid stuff you bought looks ok , mines a different brand so old label wore off. It would be worth getting oil and grease off first as this might stop,acid working , also keep your liquid cleaner, I guess you can keep on using it.
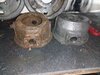
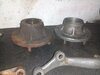
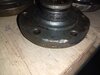
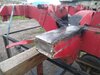
I found there could be hard scale on , that after acid bath would need hitting with centre punch to get scale off then out back in ,
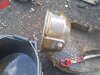
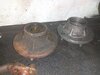
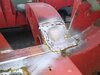
DONT leave too long certainly not overnight as you will find it starts to eat clean metal and leave a pitted surface , not big issue on the housings apart from the gasket face , by careful placing/ submersion you can prevent some delicate areas getting the treatment
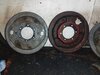
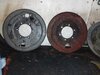
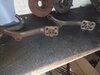
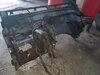
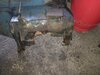
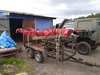
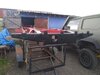
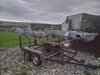
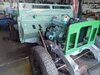
The electrolysis method good for bigger parts as v cheap but does take overnight , I’m away at the mo when I get bad I’ll see if I can find some epics of when I did the axle