My 110 rebuild

This site contains affiliate links for which LandyZone may be compensated if you make a purchase.
Heres one recent photo of the engine almost finished. All that's left, is to finish off the exhaust, heater linkages and power steering. I will add a snorkel once all the diff done.
2013-03-20174637_zps89010206.jpg
 
Last edited:
Ok so i have been a little busy of late and not had much of a chance to post. However I have managed to get a little done on the front end of the vehicle. We are currently in the middle of winter so it has been slow going when it comes to being able to paint items.
I pulled the front diff out and descaled it of all the rust. It had pitted and leaking axle spheres so they were replaced. I have lift the suspension 2 inches fitted cellular dynamic shocks (only ones they allow to air freight to this part of the world it seems). All the bushes have been replaced. New brake lines and the calipers are in the process of being rebuilt too. I replaced the wheel bearings and the diff head looks like it had a previous rebuild done not that long ago.
Once the brakes have been finished I will move onto the steering. Does anybody know the size pipe fitting that goes onto the power steering box? its a 4 bolt box off a Disco. They would appear to be m14 and m16? anybody know for sure?
I am stuck with having to have them made, finding them at a reasonable price seem a challenge.
Anyway some photos for you.


Last edited:
The list of mechanical items to carry out on the vehicle has reduced. Once the front diff is finished there will only really be small items and body work left to go. I managed to find some alloy wheels and will look at having them re powder coated.
Winter is a pain though as it slow progress with the reduced hours of sunlight after work. However I am aiming to have it on the road for next summer.
 
Last edited:
Are you a mechanic by profession? had much experience did you have when you started? I have a similar project i want to do. I am handy with tools, and can figure things out but i dont have much experience taking apart and working with land rovers. i was wondering if i could do some of this on my own.
 
I am an ex mechanic. I use to work for Mitsubishi, then Ford and Mazda. I have been off the tools since 05 though. Land Rovers have not changed much over the years and are easy to work on, just time consuming compared to a modern vehicle. Main reason being everything is nut and bolt unlike modern vehicles that have captive nuts behind everything. Workshop manuals are a good place to start along with forums. If your mechanically minded there is no reason why you can't rebuild one yourself. Items that could be a challenge for someone without experience would included major repairs to engine, gearbox, diffs and power steering. Not so much the stripping and putting back together, but measuring and identifying signs of wear. The rest is really is as easy as it gets.
 
Last edited:
Thanks Mark,
Anyway bit on an update. I have complete the front diff and finished installing power steering. This had me stumped for awhile as I was struggling to find power steer hoses for it. I went down the path initially of making up braided lines using aeroquip fittings, however with the pressures that the power steering system operates felt these would one day blow apart. After a long while I found someone wrecking a Range Rover v8. The steel lines and pump/box fittings were in the exact same position.
So to confirm for anyone else, Ranger rover v8 pipes will fit without modification on a v8 defender.
Anyway here are some more photos


After the diff was finished I moved onto a little electrical and installed the Mud Uk switches into the Mud console. I have enough room leftover for a coms radio etc.


Added some black checker plate to the guard tops


I have built up a new exhaust system. I really enjoyed making this. The local v8 performance shops sells all the bends and pipe. I have built the system at 2.5 inch diameter with one power flow muffler. Its rather loud and I may end up adding a resonator just to take some of the rasp off.


From here I have moved onto the wheels. I picked some wheels up second hand that were scratched up from off road use. I debated with having them powder coated but in the end I have painted them in the same paint as the body. I am currently just waiting on the wheel spaces to arrive from the UK so the rims can be fitted.

original condition


sanded


primed


base coat clear coat


I will get a photo later on once the spaces arrive.
 
Last edited:
Ok got some photos tonight after fitting the front wheels. They just sit inside the guards with 30mm spaces, tyres are 235/ 85R16.
Oh and also here is a link to a quick video of what the engine sounds like since adding a resonator to the exhaust system. Apologies for the poor quality, it has been recorded on my cellphone
Land Rover 110 v8 exhaust - YouTube


The rev gauge was bought locally off an auction website. Made by VDO and can be set between 4,6 and 8 cylinders. They are often fitted to light aircraft so you may find a local store that sells them.
The roof has been removed while i was working on the rear chassis. I am uncertain that i will refit the full station wagon body. I was thinking of just using the pick up cab and putting a roll cage in the rear.
 
Over the past few days I revisited the rear tray. The sides have all been coated in Raptor liner or tough deck liner. This is a heavy textured epoxy that with stands impacts etc.
Anyway for the floor I wanted something different and have install black rubber checker plate. I put down a layer of 4mm foam followed by the rubber matting. On the edges it has been held down by strips of aluminium extrusion. I replaced the old galvanized steel strips with some aluminium. It has come up looking nice and neat and way pictures are worth more than words..


Ok, I have some more photos of my progress.
I have painted the rear cab section and installed new window channels. I will be giving this section to the glass guys we use through work to tint and install the corner windows.
I just need to find/buy some lower mounting points so i can bolt this section down

 
Now for something a little bit different.
I intended to fill the rear compartment with a small fridge, 240v inverter and aux sockets.
For obvious reasons it will need to be sealed and water tight.
The fridge is large enough to fit two 6 packs in it. Almost as essential as a tow rope :)
The fridge works by thermo electric as opposed to gas.
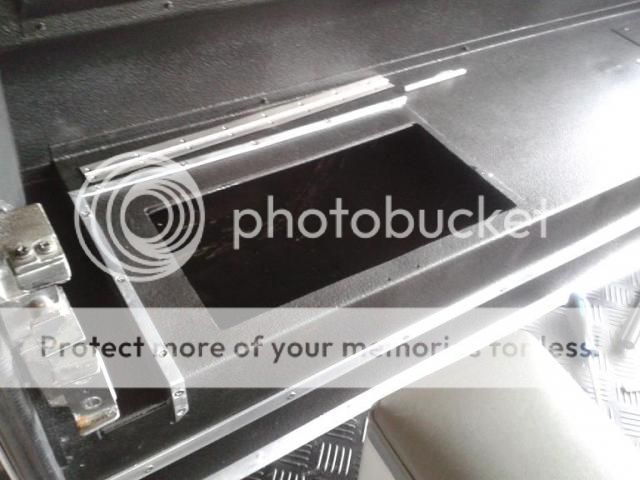
So far i have started to build the out edge of the contact surface of the cover.

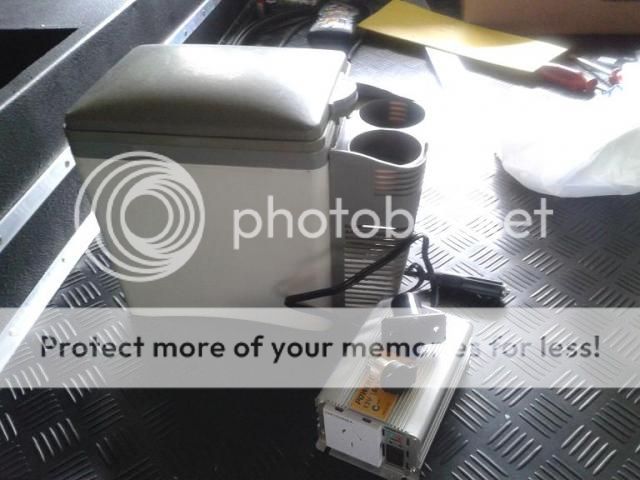
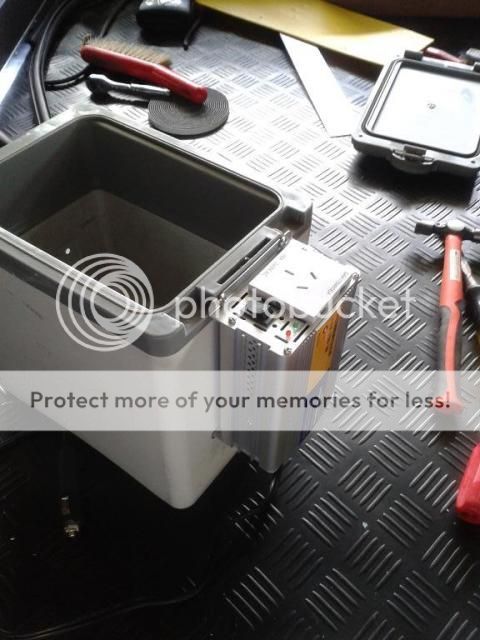
This photo shows the items i will be fitting into the compartment

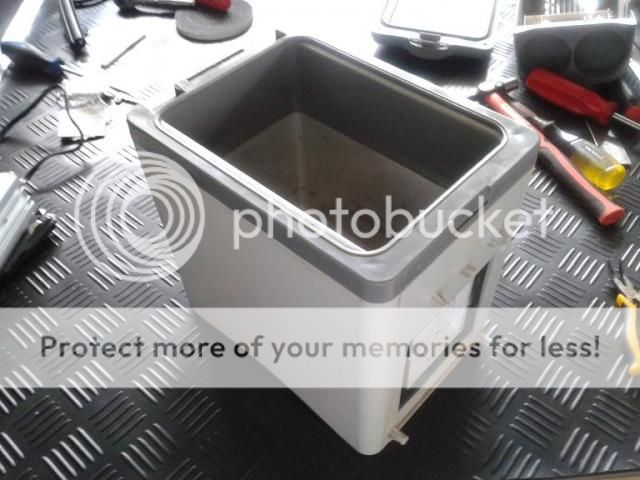
First task was to strip down the fridge so that it can fit into the space. The front cover, lid and tie down loop have all been removed.

I have screwed the power converter to the side of the fridge.

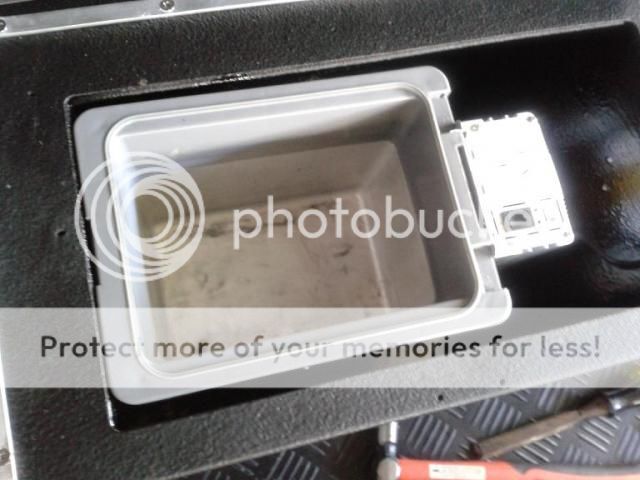
This photo shows the remaining space in the compartment. As luck would have it the fridge is around only 2mm away from being flush with the height i require.

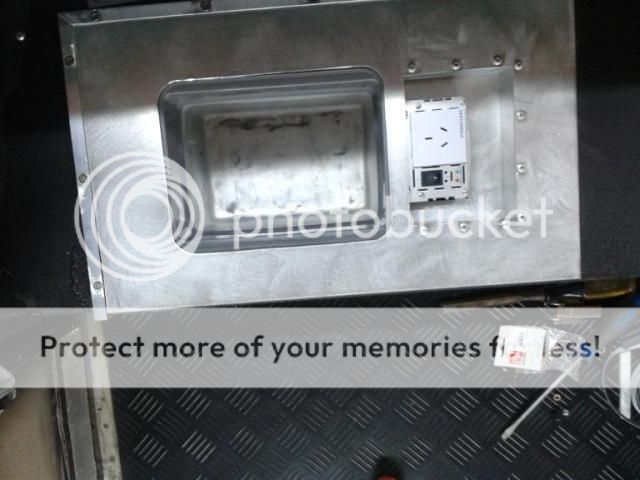
Next job was to make an inner cover to keep things looking neat. I have run out of time this weekend to fit the 12v power sockets and fridge controls. I want to complete all drilling before spraying it.


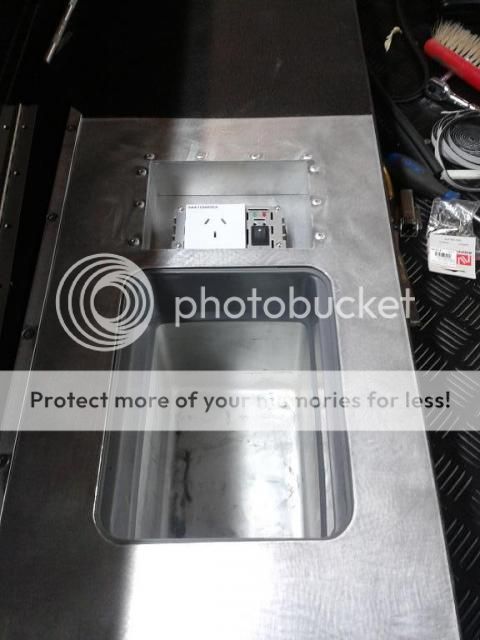
Anyway i will post more photos once complete, however it gives you an idea on how it will all sit. It makes a nice change to have fun building something a little different.
 
Last edited:
Back
Top