My 110 rebuild

This site contains affiliate links for which LandyZone may be compensated if you make a purchase.
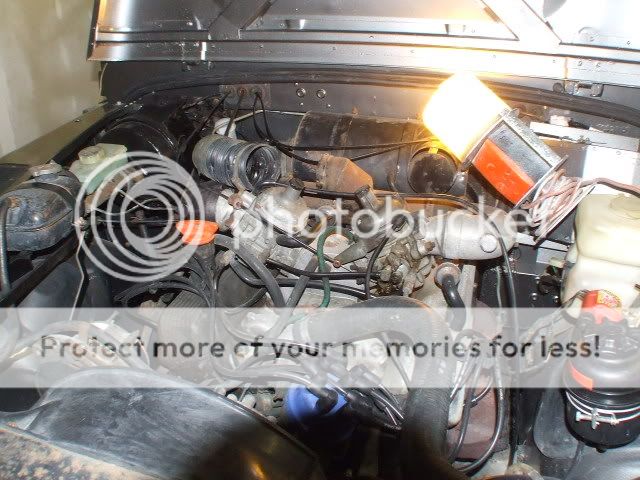
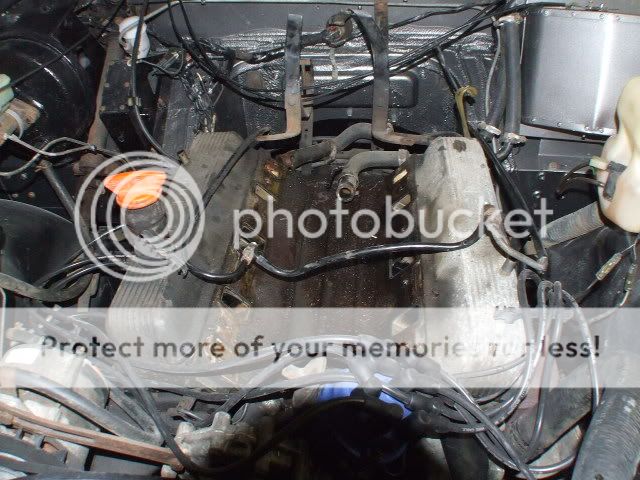
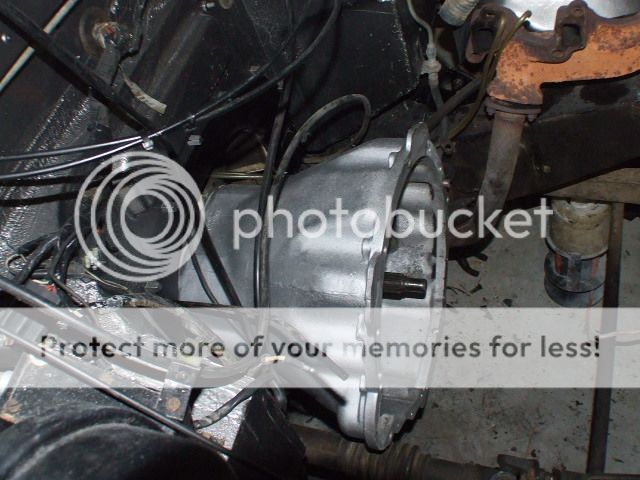
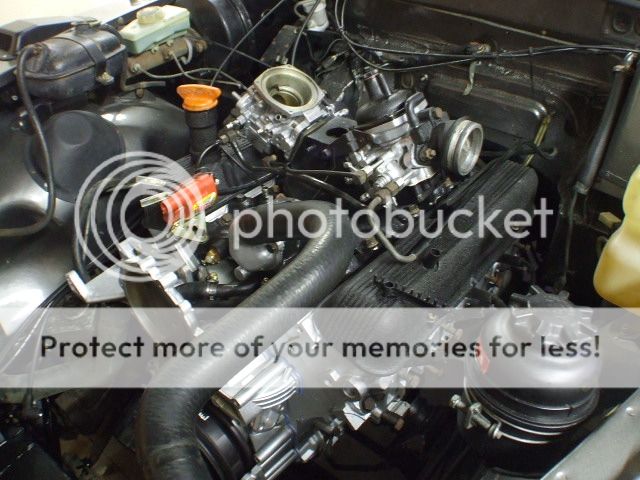
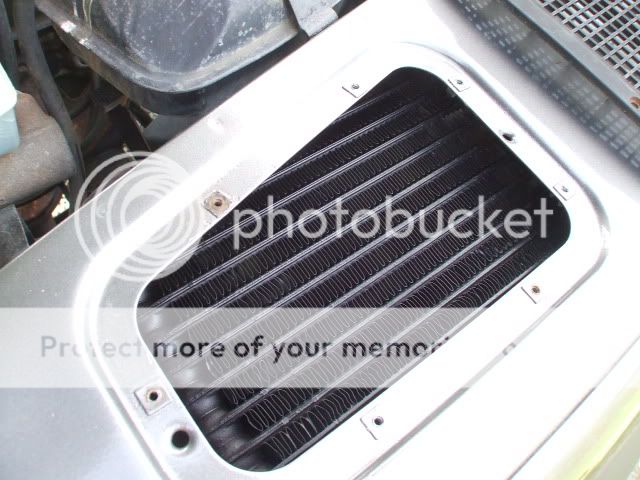
Alright while your all been sleeping i have fitted an oil cooler.
This is to cool the power steering fluid. After talking to our power steering specialist we use through work and the common failure rate of the steering box I thought it wise to do as much as possible to avoid the situation.
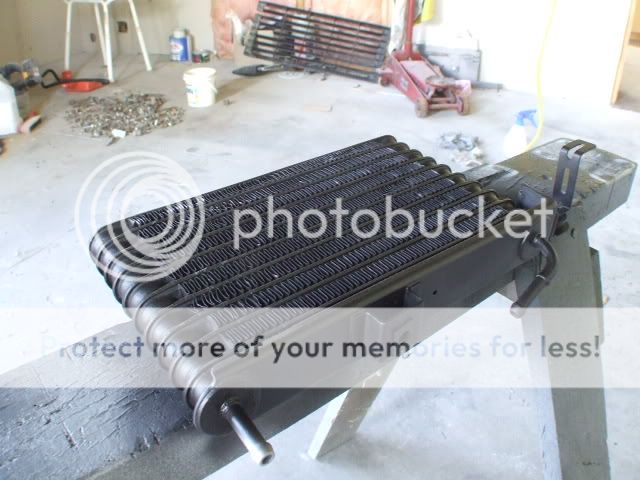
The cooler has come off a Hyundai that was written off in an accident. Seems the perfect size and with a little modification was an easy fit. The only part required to make was a bracket at the rear of the cooler.
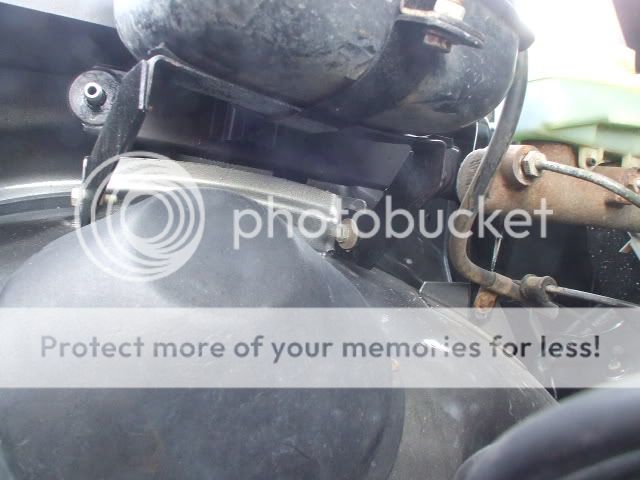
Rather happy with how it turned out and the almost made to measure fitment of it.
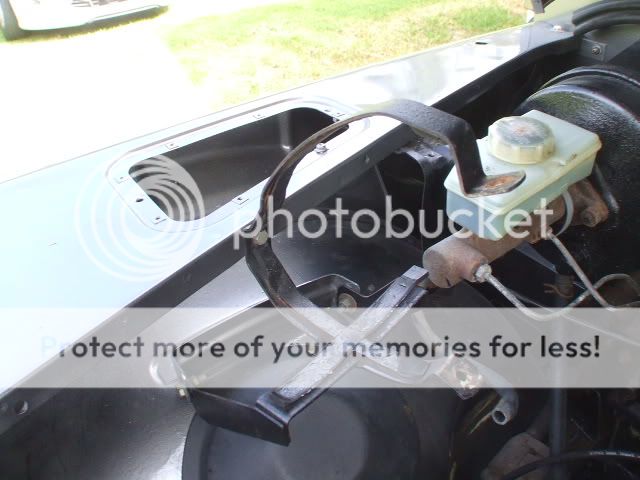
DSCF3535.jpg

DSCF3536.jpg

DSCF3538.jpg

DSCF3537.jpg
 
Last edited:
Alright enough of all the boring paint stuff.
Time to get on with some spanner turning which I far more enjoy.
This evening I made a start on pulling the engine out. I am currently waiting on a engine stand to arrive so I can mount the engine.
In the end I have decided to stick with the 3.5 over a 4.4 p76 engine offered by a friend due to the fact the 3.5 revs better and there are so many options when it comes to after market parts.
The goal in the end will be to convert to injection, however as there are so many other things I need to spend my money on with this land rover I will keep with the carbs for now.
DSCF3540.jpg

before the madness begins
DSCF3545.jpg

with the plenum off you can start to see the extend of the oil leaks. Being a mechanic I hate oil leaks (kinda like a leaking tap to a plumber)
DSCF3549.jpg

DSCF3548.jpg

watch this space and the before and after photos. The first parts are in the dish washer. I want to get all the brackets zinc coated and will probably look at getting the plenum powder coated.
 
Last edited:
Today I removed the rest of the engine from the vehicle.
Totally stripped it down and making a start on cleaning it up. The engine use to run well and no signs of blue smoke, knocks or lifter noise. Was kind of surprised to find the bearings worn through the silver layer and the oil rings on the pistons clogged up.
Engine has a lot of carbon build up inside. I will be busy cleaning and ordering new parts by the looks of things.
DSCF3550.jpg

DSCF3552.jpg
 
Last edited:
So far it needs:
new big end bearings
main bearings
rings
camshaft
cam and crank shaft pulleys
tappets
new water pump without the snout
The cylinder bores look ok, so i might just give them a quick hone
 
Having to replace all the other bits on the engine I would get the bores checked for wear. It would be a shame to mess up all your hard work for the sake of a proper check. V8's are amazing for the amount of abuse they can take and still run. I have rebuilt a couple and they both needed the parts you are going to replace yet they still ran well. They ran a lot better after are build though :D
 
Yes I was amazed at how well it was running. I have the next couple of days off work and will take the block to the engine rebuilder to get cleaned up and the cam bearings replaced. The bores appear ok, but the x hatch is starting to fade.
I look forward to what it will go like after.
I am getting a custom cam shaft made for it, that will be more suitable for low down torque (more off road orientated) will be interesting.
 
Last edited:
Well the engine dropped off at the engineers for its new cam bearings etc. On closer inspection there were a couple vertical marks in the bore, so may require re-bore.
Anyway while that's away i made a start cleaning up the remaining parts.
I stripped down and cleaned up the starter. It must have been rebuild at some point as the brushes look fairly new.
Here is a before and after
DSCF3556.jpg

DSCF3558.jpg
 
Been awhile since an update.
I have since received my engine back from the engineers. They have fitted new cam bearings and honed the bores.
All the other parts arrived from the UK so i can reassemble the engine.
So far i have fitted the crank pistons and one cylinder head. I am just waiting on a new cam shaft to arrive so i can reassemble the front of the engine.
DSCF3559.jpg


While the engine was out i also fixed some oil leaks around the bell housing and bearing plate. looking nice and clean now
DSCF3560.jpg
 
New high torque cam arrived today. Fresh cut yesterday. Really looking forward to seeing how it goes. check out the wear of the old one on the left against the new one on the right
DSCF3564.jpg
 
Installed the new cam over the weekend and all the timing gear.
The front covers back on as well as the sump. Next will be to rebuild the other head
and install. The engine parts are slowly reducing ;) water pump is going to be replaced
just using it to make sure the housing bolts fit
DSCF3571.jpg
 
Last edited:
I also painted the rocker covers this weekend. VHT sell a wrinkle paint which leaves a good texture to the surface. They turned out well and have a factory look to them
DSCF3570.jpg
 
Last edited:
well got the engine back in and bolted up. I am just finishing off rebuilding the carbs then it is onto the dizzy. Next job will be to create a new wiring loom due to the state of the old one.
DSCF3577.jpg
 
Yeah all looks ok until this morning i was reading about an expected fuel consumption rate.
Now i am not so keen on the engine:eek:
 
Funny thing you should mention the Flowmaster. One of my mates just gave me a brand new one to use.
I would like to get some extractors for the engine and then make the rest of the system. I am stuck with one issue however. I want the exhaust to exit the side of the vehicle, just in front of the rear wheels however stupid laws over here prevent you from having a side exit on the passenger side of the vehicle. I would have to exit it on the drivers side but the fuel lines run along the top of the chassis. I am going to need to give it some thought.
 
Have the exit from the headers using a header muffler straight out the bonnet :D

If the fuel lines are on the top of the chassis I wouldn't have thought it'd be a problem as the exhaust heat wont transfer that far I reckon……my disco exhaust comes out the drivers side just behind the front wheel
 
Back
Top