My 110 rebuild

This site contains affiliate links for which LandyZone may be compensated if you make a purchase.
That must be a real short exhaust on your Disco:eek: Any mufflers or just the turbo to silence things:D
I was thinking i may have been able to make a heat shield to go over the fuel lines.
being a Land Rover no doubt it would spring a fuel leak right near the exhaust
 
Its too short by my reckoning :eek: fecking deaf after me greenlaning today!

Gonna put a 12" cherrybomb in there to remove the high pitched noise and leave me with a nice rumble, hopefully the cherrybomb shouldn't take the smoke away either as I like being able to take off from the lights leaving a black cloud behind for others :D
 
I was wondering about the noise levels when people put a stack exhaust up the back like you were going to do on your s111. Things are loud enough in the cab with the standard exhaust exiting the rear
 
Last edited:
Good job with the rebuild it's looking good.
If your stuck for ideas with the exhaust I made mine exit at the drivers side behind the wheel,it runs down the middle all the way to the rear and then comes out of the rear corner so it's well away from any fuel lines.

IMG_0177.jpg


fcdf1cc6.jpg
 
Love your rebuilt. I wanna do the same on my ex mod 90. Question. Your paint job. It is. Prime sand them colour base and sand down then clear lacquer on or was it one spray job and polish up ? I want to do mine in black gloss and they tell me no need to sand down just polish up after spray it that correct
 
Is it? Oh yeah it's a 110 :doh:

Not used the these modern motors you see :D

Haha yeah the fuel tank is in the way. The way the standard exhaust twists over the top of the rear diff puts me off trying to refit to the existing exit point.
 
Last edited:
Love your rebuilt. I wanna do the same on my ex mod 90. Question. Your paint job. It is. Prime sand them colour base and sand down then clear lacquer on or was it one spray job and polish up ? I want to do mine in black gloss and they tell me no need to sand down just polish up after spray it that correct

First sand down the panel so it is nice and smooth. Also so the paint has something to bite into. Next you need to etch prime any exposed alloy (etch primer fairly potent stuff) once that's dried then put down the primer. Sand the primer back so it removes any orange peel and grain that may exist. Thats why people normally give it a dusting of black paint so they can tell where they need to sand some more.
From here you can go which ever way you please with the paints out there. In my experience using a base coat clear coat is the way to go over 2k colours.
2K paints dry to a gloss and used a lot on lorries. I had a s3 i painted in the past in this type of paint gloss black. It is less work to use but be warned if you intend off roading and scratch it, it is very hard to remove the scratches and a respray is the only real way to fix.
This time I used base coat clear coat so the paint will last longer and look better. Once you apply the primer you then apply the base coat which really thin. The paint itself is thinned 1 to1. You give it a couple coats of the base colour. It dries fairly fast and there is no need to sand it.
Once the colour is down and set, normally within about an hour or two I then clear coat. If you leave for longer than 24 hours you have to respray the base coat again.
Overall its harder work (and sh!t loads more expensive) with base coat clear coat but the finish is worth it and any imperfections you make in the clear coat can normally be fixed with some elbow grease.
In my opinion and experience i would avoid using black on a series or defender . The way the panels are designed every dent will stick out like dogs balls and you might be disappointed with what shows up. My favorite colour is the dark metalic green used on the late model defenders but even that would be dark enough to show the dents off. I suggest having a good think about colours before you spray and work out how you are going to be using your land rover.
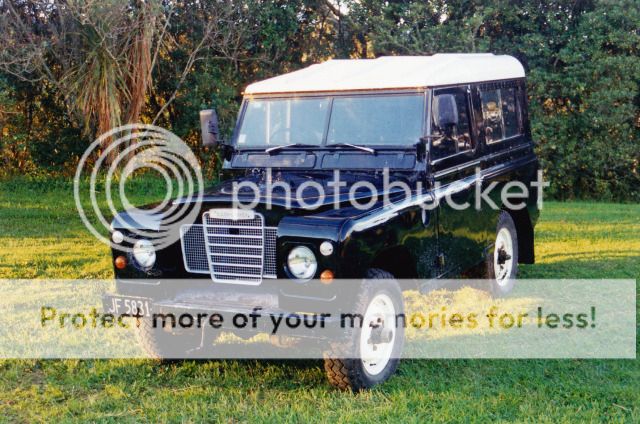
Here is an image of my first car i ever owned. I sprayed it in gloss black and found out why you don't spray old land rovers gloss black.
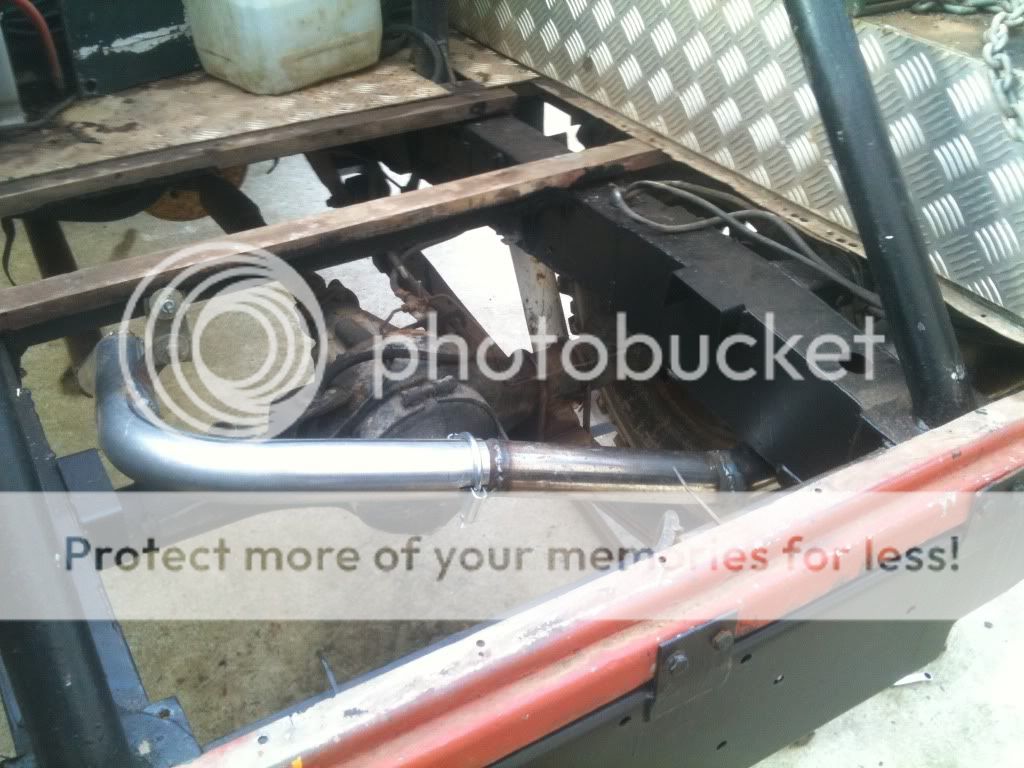
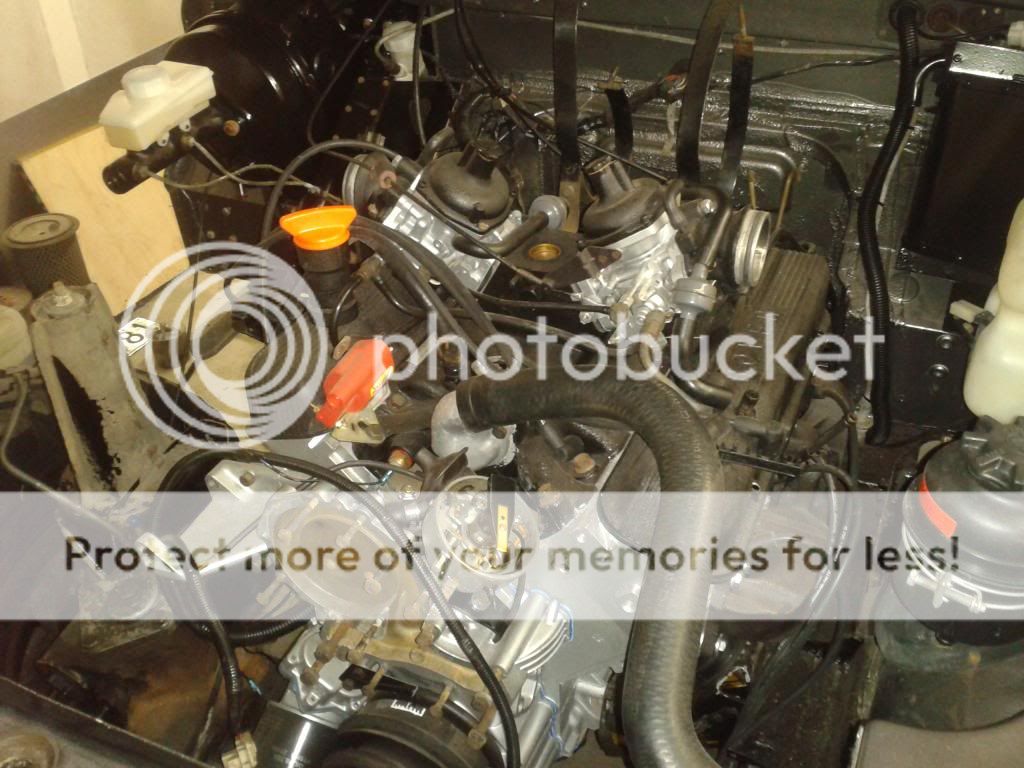
IMG_NEW.jpg
 
Its been a long time since a post on here, so I thought an update was in order.
I have been busy ticking away at the 110. I thought i would focus working on a section at a time, rather than doing bits here and there on it. So the vehicle has been split into two work sections (forward of the firewall and rear) I have pulled it all back down to the chassis and fixed the wiring loom to the rear lights which was in a fairly bad state. I have gone through replacing the following

A frame ball joint
All the rear bushes
Lower arms now changed to the kinked type to allow a 2 inch lift
Rear springs 2 inch lift
Roof and rear sides removed
Tub sprayed with tray linner
Rear door cut down to allow for soft top
Seat base sprayed in tray linner
Forward firwall retrimmed in checker plate rubber
Heater matrix, brake master cylinder all replaced
Foam replaced in lower dash heater flaps
door seals replaced
all steering wheel cluster switches being replaced
Amplifier and speakers added
New battery wiring made
Checker plate floor in cab
Checker plate door trims being made
Checker plate body protection being added

Items left to be done on rear of vehicle

Badges
Seat retrims
New steering wheel
larger wheels and tyres
This list will never end


As you can see I am making progress and hopefully aiming to have the vehicle complete in 9 or so months, ready for the warm weather.
All this work comes at a cost. It is fair to say my now ex wife does not enjoy my love for Land Rovers and disliked the amount of time I spend working on it rather than with her.
Upside being i now have more money to spend on the 110
Photos will be sure to follow
 
Last edited:
My final order of engine parts are set to arrive so I can finish the engine over the next couple weeks. I built a new wiring loom for the engine as the old one was getting very stiff. I need to drill a broken stud out of the drivers side exhaust manifold and replace. I would like to think these will be biffed one day and be replaced with headers
2013-02-05203151_zpsaa2b3cc7.jpg

I stripped down and repainted the rusty old brake, clutch and heater boxes, Fitted new heater core and brake master cylinder
2013-02-05203206_zpsb71139dd.jpg

The seat base and interior have been done in a mixture of finishes. The seat box has been painted in Tuff deck paint. The firewall in rubber checker plate and the floor in the real stuff. The trans tunnel still requires some painting.
2013-02-05203253_zpsd2b25d69.jpg

2013-02-05203352_zpsa683dc42.jpg


Foot wells have led lighting added, nice and easy to hide with their slim profile. These light the foot well white for entry and exit.
2013-02-05203522_zpsbb744685.jpg

One buy that i am not very fond of was a center Britpart seat foam and trim kit. None of it fitted very well. The seat dowels don't even line up. Hopefully these are not made on behalf by Exmoore. I want to retrim the main seats but if this is the quality I would rather pay the money and get bucket seats
2013-02-05203416_zpsf95a4cf6.jpg

Last but not least undercoating and filling underway on various pulleys and engine parts before spraying black
2013-02-05203657_zps8b2fa3be.jpg
 
Last edited:
After one year I have fired the engine up for the first time. I was unable to run it for long as I still need to fit a new alternator to allow the water pump to turn.
Things sound good though and it has oil pressure which is a good start. I have welded up a Power flow muffler and increased the exhaust to 2 3/4 inch diameter. It has a real deep throb when it is running now. I have added a video of it before the battery on my phone went flat.. I will get a better video in time

https://www.youtube.com/watch?v=Ci89cvjNHnc
 
Last edited:
That sounds immense. :D

Glad your back on the thread and updating it, i like this build alot.

Keep up the good work. :)
 
Excellent work! I'm restoring the same model as yours at the moment ( NZ made - your rear side windows are bigger and better ) and looking forward to seeing your completed dream-machine. I'm waiting for a couple of front-facing seats to be retro fitted into the back of mine for the kids ... damned expensive proceedure but safety first right. What part of the country are you in? I'm in Auckland.
 
Hi there,
Im in Auckland, up past Long Bay.
You can have the sides and windows if you wish i am not going to use them anymore. The sides were the standard ones that came from South Africa and not a perfect height wise fit. They need to be spaced about 5mm.

I should have more updates coming soon. I pulled out the front diff this weekend and will be replacing the springs, shocks, and all the hub seals as one of the chrome balls is pitted. Photos will follow next weekend if i get the chance.
 
Back
Top