My 110 rebuild

This site contains affiliate links for which LandyZone may be compensated if you make a purchase.

rappy1

Active Member
Posts
730
Location
New Zealand
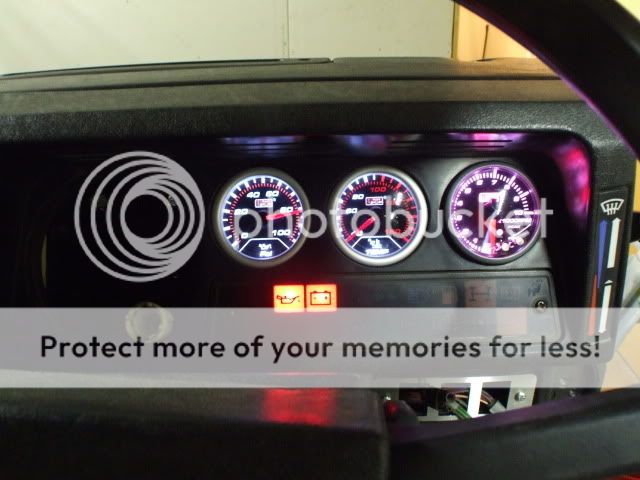
I thought I would do a photo log on my 110 rebuild.
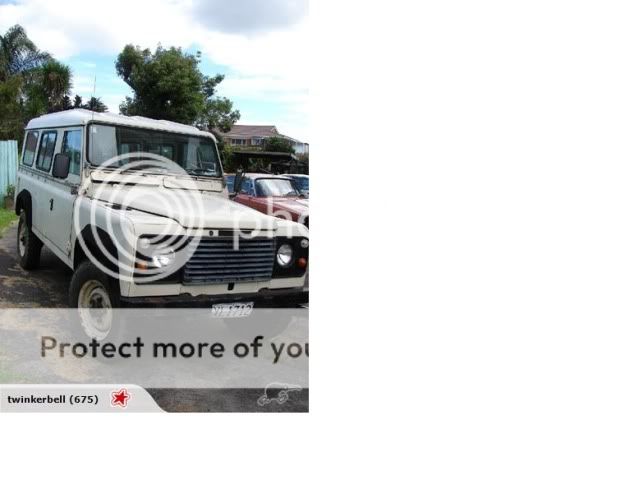
A little about the vehicle, it is a 1984 LR 110 v8 3.5 South Africa built vehicle, so has some small differences it from the UK built (not major though)
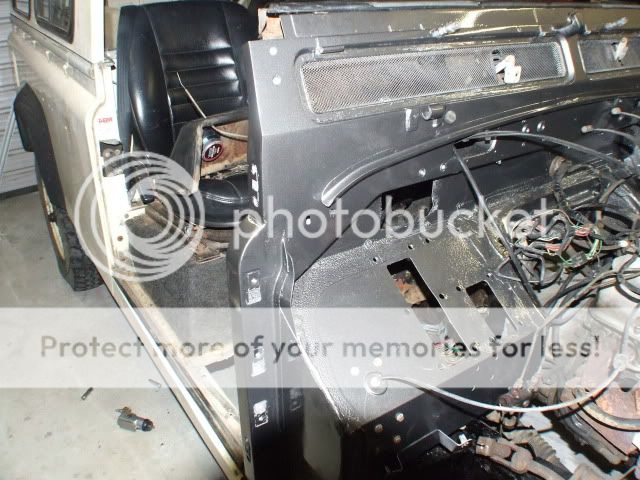
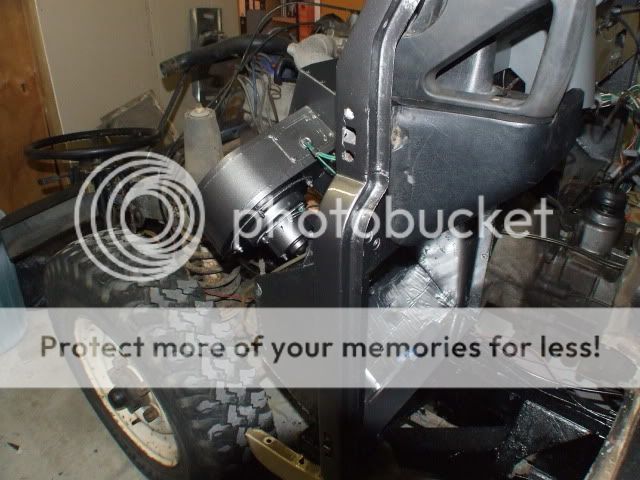
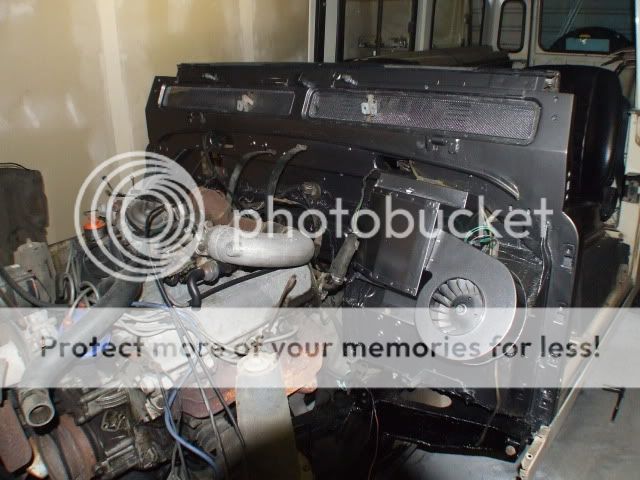
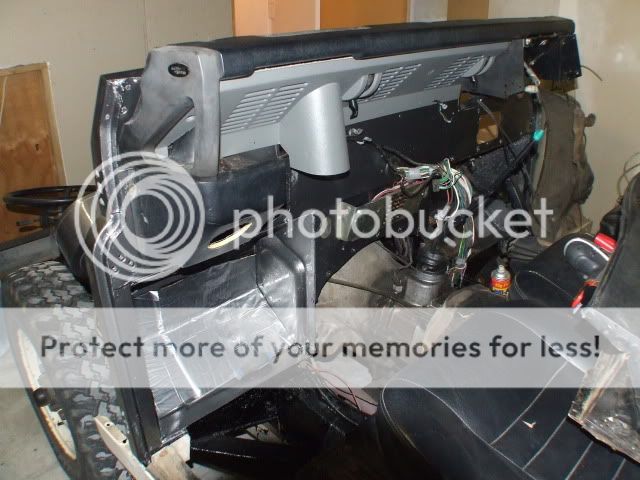
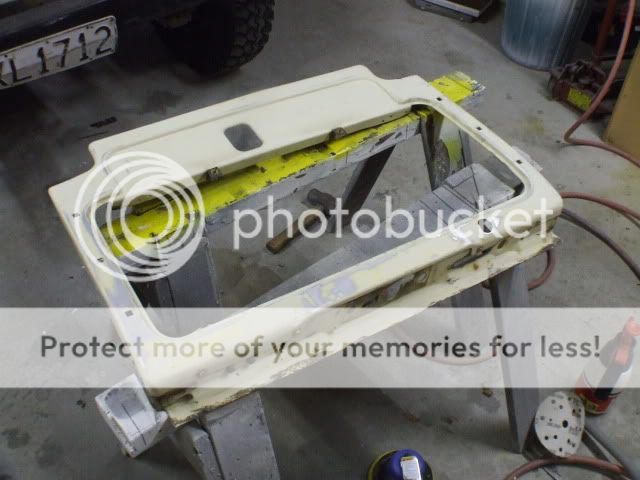
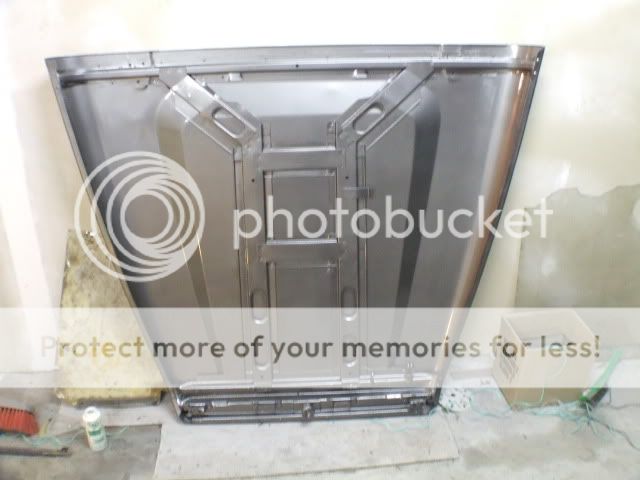
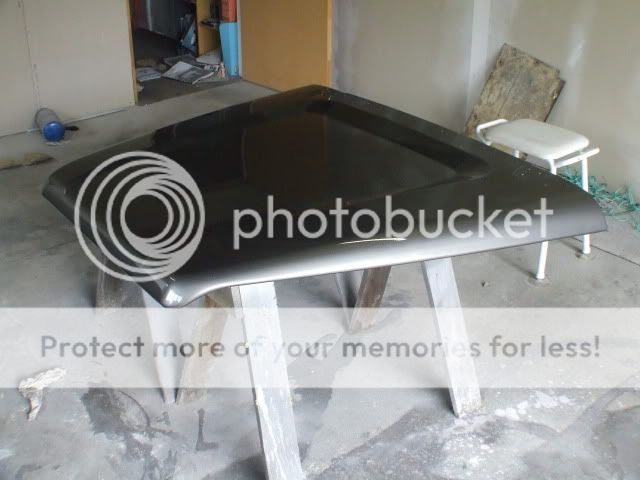
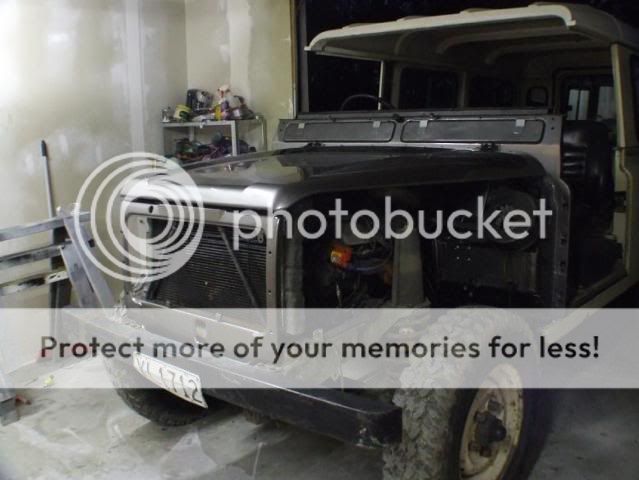
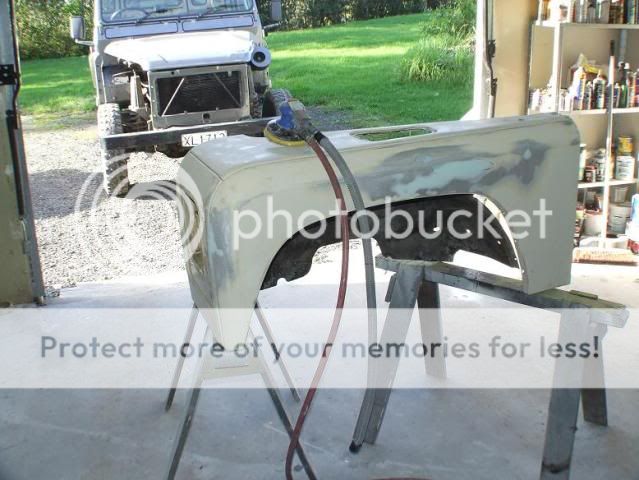
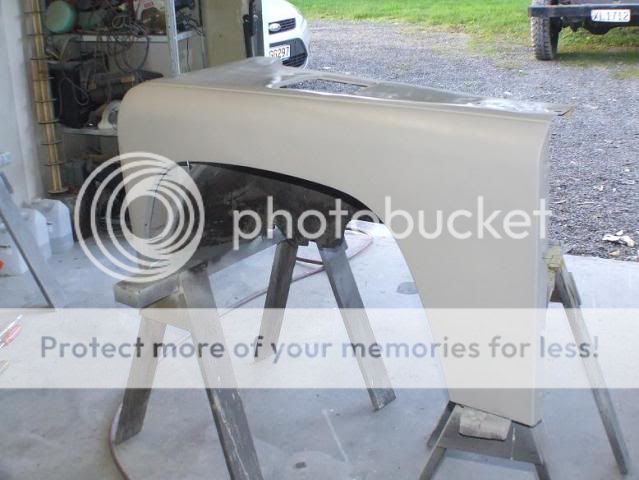
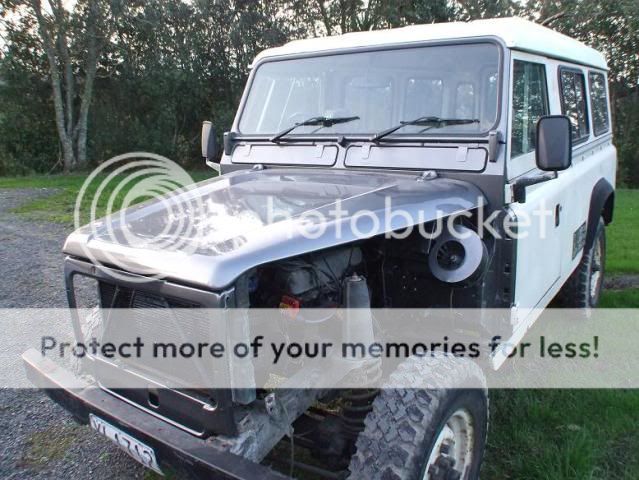
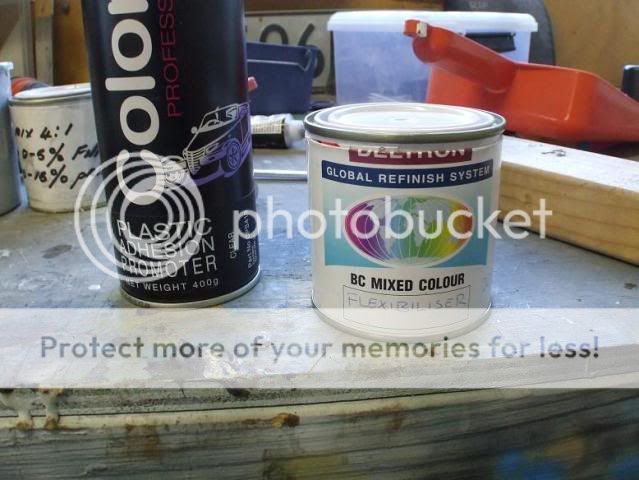
I purchased it the week before Easter and spent the weekend getting back driving a real vehicle again. The following weekend I started to strip her down, starting at the front so repairing the passengers foot well due to rust damage. To my surprise the firewall was the only section that needed repair and the chassis was free from rust. Over the last couple weekends I have, repaired the firewall, painted and in the process of finishing firewall forward at the moment.
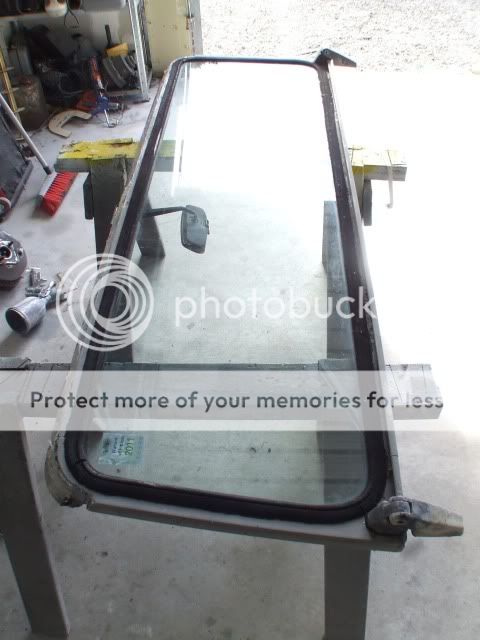
To follow are the photos I have so far. I will try adding more often as progress is made
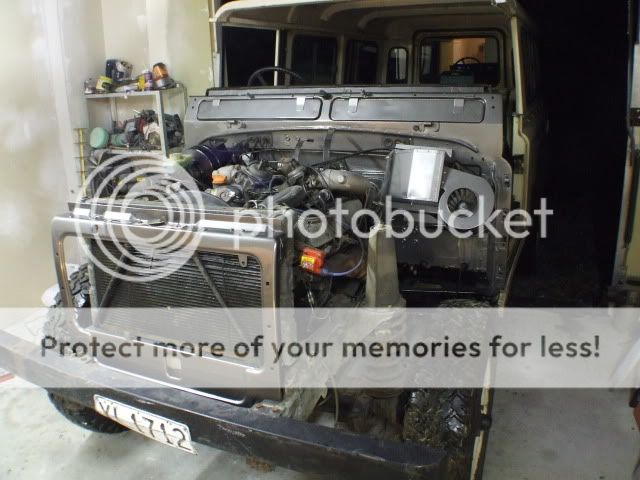
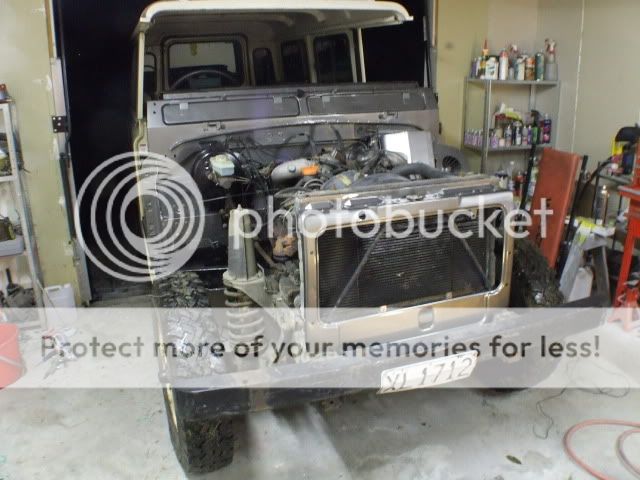
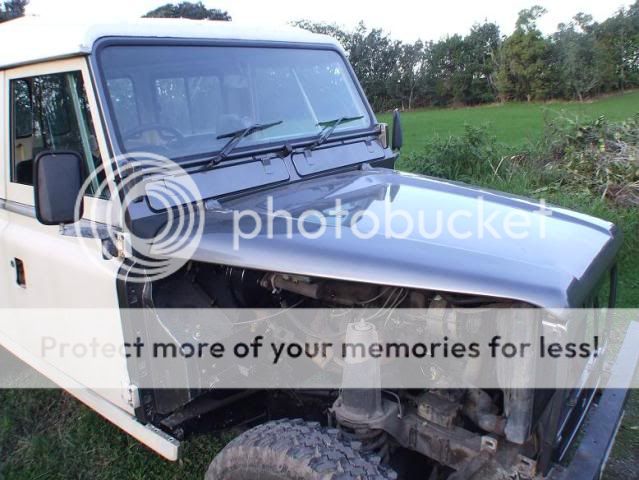
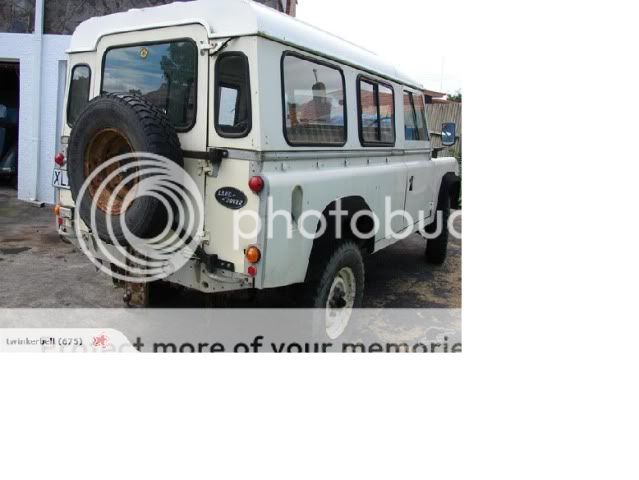
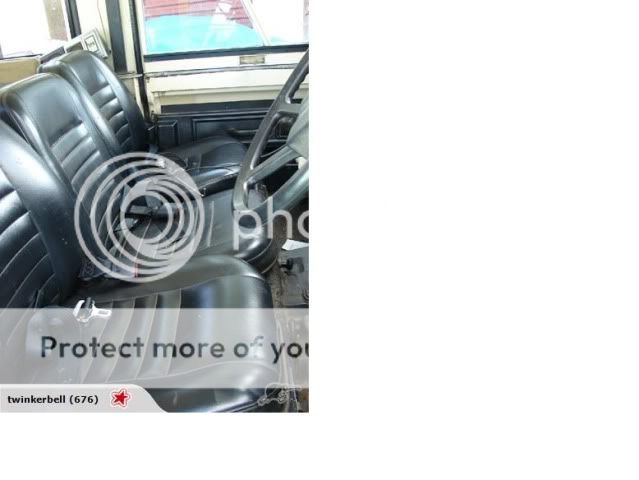
Looking fairly old and tired, not for much longer though
l3.jpg

l2.jpg

l9.jpg

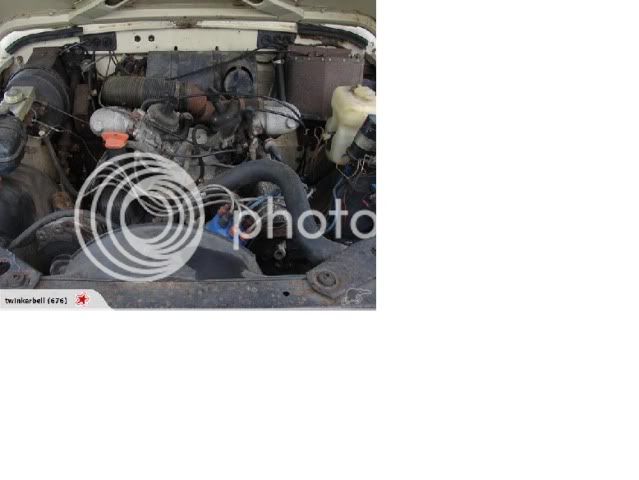
still trying to think what I will do with the engine, rebuild or upgrade
l6.jpg
 
Last edited:
Some more photos of the firewall after painting and refiting. I have painted it Stornoway Grey which is the same colour as the Range Rover Sport. I just focused on getting the body and interior fixed up first and will later do all the mechanical items. It is in ok mechanical order at the present time.
DSCF3443.jpg

DSCF3442.jpg

DSCF3440.jpg

DSCF3441.jpg
 
Last edited:
Have almost finished carrying out the work on the dash. Added new gauges today and also the mud center console. I will take photos of the center console in the morning when there is light. The speedo is missing in the photo, I am currently making a new face for it to match the other gauges and adding led back lighting

DSCF3448.jpg


This is an example of the paint colour the 110 is being painted in
DSCF3445.jpg
 
Last edited:
Keep it going Rappy.... thats a nice colour as well. I am tempted but my BT grey will do just fine... plus I want to be able to scrape mine and not burst into tears :) You have bought a keeper... a real classic. Can you convert what you paid for it into GB£? Are they crazy expensive in NZ?
 
The gauges are by a crowd called Auto Gauage. They have a good selection of different gauges. Unfortunately they no longer had stock of the tacho in the same style as the water and oil pressure, so i had to get a different series. The tacho however you can change between 7 different colours for the back lighting and set the red line so the gauge lights red when the engine revs too high. Price wise they were not too bad. They would work out to be around 27pound for the oil and water gauge and 45pound for tacho. This website shows you the specs and probably your local dealer
Home
The land rover defenders 90 and 110 are expensive here for their age and would be one of the best vehicles for holding their price. I bought the cheapest one I have ever seen at just over 1500 pound. A defender like yours MrJC would cost around 10000pound still. Parts for the 110 and 90 can be an issue here. s1 s2 s3 disco and range rover are in huge numbers here so parts easy to get for them. I did an order to the UK the other week for my parts and it still worked out cheaper with the huge cost of freight than it would to buy two of the items locally.
As for the paint I don't know how long I would of spent trying to think what colour to paint it. My fav colours are the dark blue and green they come out in, but was thinking it might show off too much of its past life's dents. It came down in the end between the colour thats going onto it now or Nato green
 
Last edited:
Got a little more done on the 110 today. Not much to show for the work. I removed the windscreen from the frame, sand and prepped it so i can primer next week. Also did the same to the radiator panel, firewall vents and starting on the bonnet.
DSCF3449.jpg

DSCF3450.jpg
 
Last edited:
Anybody know if there is meant to be a spacer or washers between the bulkhead and the outrigger. My bulkhead appears to be sitting too far forward.
Can't seem to find any photos of the mounting.
 
Last edited:
sometimes ,depends on door fittment back tub has little movement ,so most is made up with bulkhead which needs to be set before wings etc are fitted,some need no washers some as much as 1/2 inch
 
Got more done on the 110 this evening.
I borrowed from one of my work mates his air powered brake bleeder and got the brakes and clutch feeling very good after refitting master cylinder.
Last weekend I did some more painting (under bonnet, rad panel, number of hinges, vent flaps, windscreen frame etc. All is looking good and I am glad to be putting it back together. This weekend I have to sand back the primer coat on the bonnet then start work on the front guards. They have multiple dents that will take some work to put right.
DSCF3454.jpg

DSCF3453.jpg

DSCF3451.jpg
 
Last edited:
Not much done this weekend other than fitting brake servo/master cylinder. Bleeding all systems. painting bonnet and connecting hinges, fitting vent flaps and seals.
Started to strip front guards so I can clean them up and repaint. The base coat clear coat paint really shows off if you spend the time to go back and sand the primer smooth.
I finished off sanding the primer with 600 grit before 3 coats of base coat and the same number for clear. My lungs will even be colour coded to the vehicle once all done. :D
1-1.jpg
 
Last edited:
I went and bought another $500 worth of paint for the 110 today. I have been working on the wings over the last few days. They are fairly bad on top as people must of walked on them in the past. It is a lot more hard work than I can be bothered to repair so I have got them back to fairly close to even and will just paint and then cover with checker plate.
I spent a bit more time on the side guard and front headlight area.
I just finished putting the primer down and that will be enough for today. In the morning will sand back and start applying colour. Photos to come
t1.jpg

t3.jpg

t4.jpg
 
Last edited:
I also had to get a new screen as the old one had an unexpected crack put in it. I painted the frame and fitted the new glass. Fitting the glass was not much fun but got there in the end. Repainted the wiper blades and fitted new seals to screen and firewall
t7.jpg

t8.jpg
 
Last edited:
After taling to the guy in the paint shop they were able to supply an additive that makes it possible to paint the wheel arch flares. You use a plastic primer then base coat. The additive is then added in the place of thinner when mixing the clear only about 20% is added to the clear.
t5.jpg
 
Last edited:
just a photo of the mud panel i fitted, I still need to get the rest of the switches for the panel. Just a tip to others i went to fit my stereo to the upper slot of the vertical panel and found out too late that the stereo was about 4mm too long. Unless you have a shallow stereo don't fit there. I had a sheet of carbon fiber off cut from another hobby that I was able to cut own to fit in the gap.
t9.jpg
 
Last edited:
Just refitted the passenger side wing back on the vehicle and in the process noticed wiring damage from what looks like rats. Don't know why they would be interested, does not smell of cheese :).
I have peeled back the wrapping but will need to cut most of that wiring and replace it
DSCF3486.jpg
 
Last edited:
Back
Top