Looks like I've done it again, Doh!!!

This site contains affiliate links for which LandyZone may be compensated if you make a purchase.
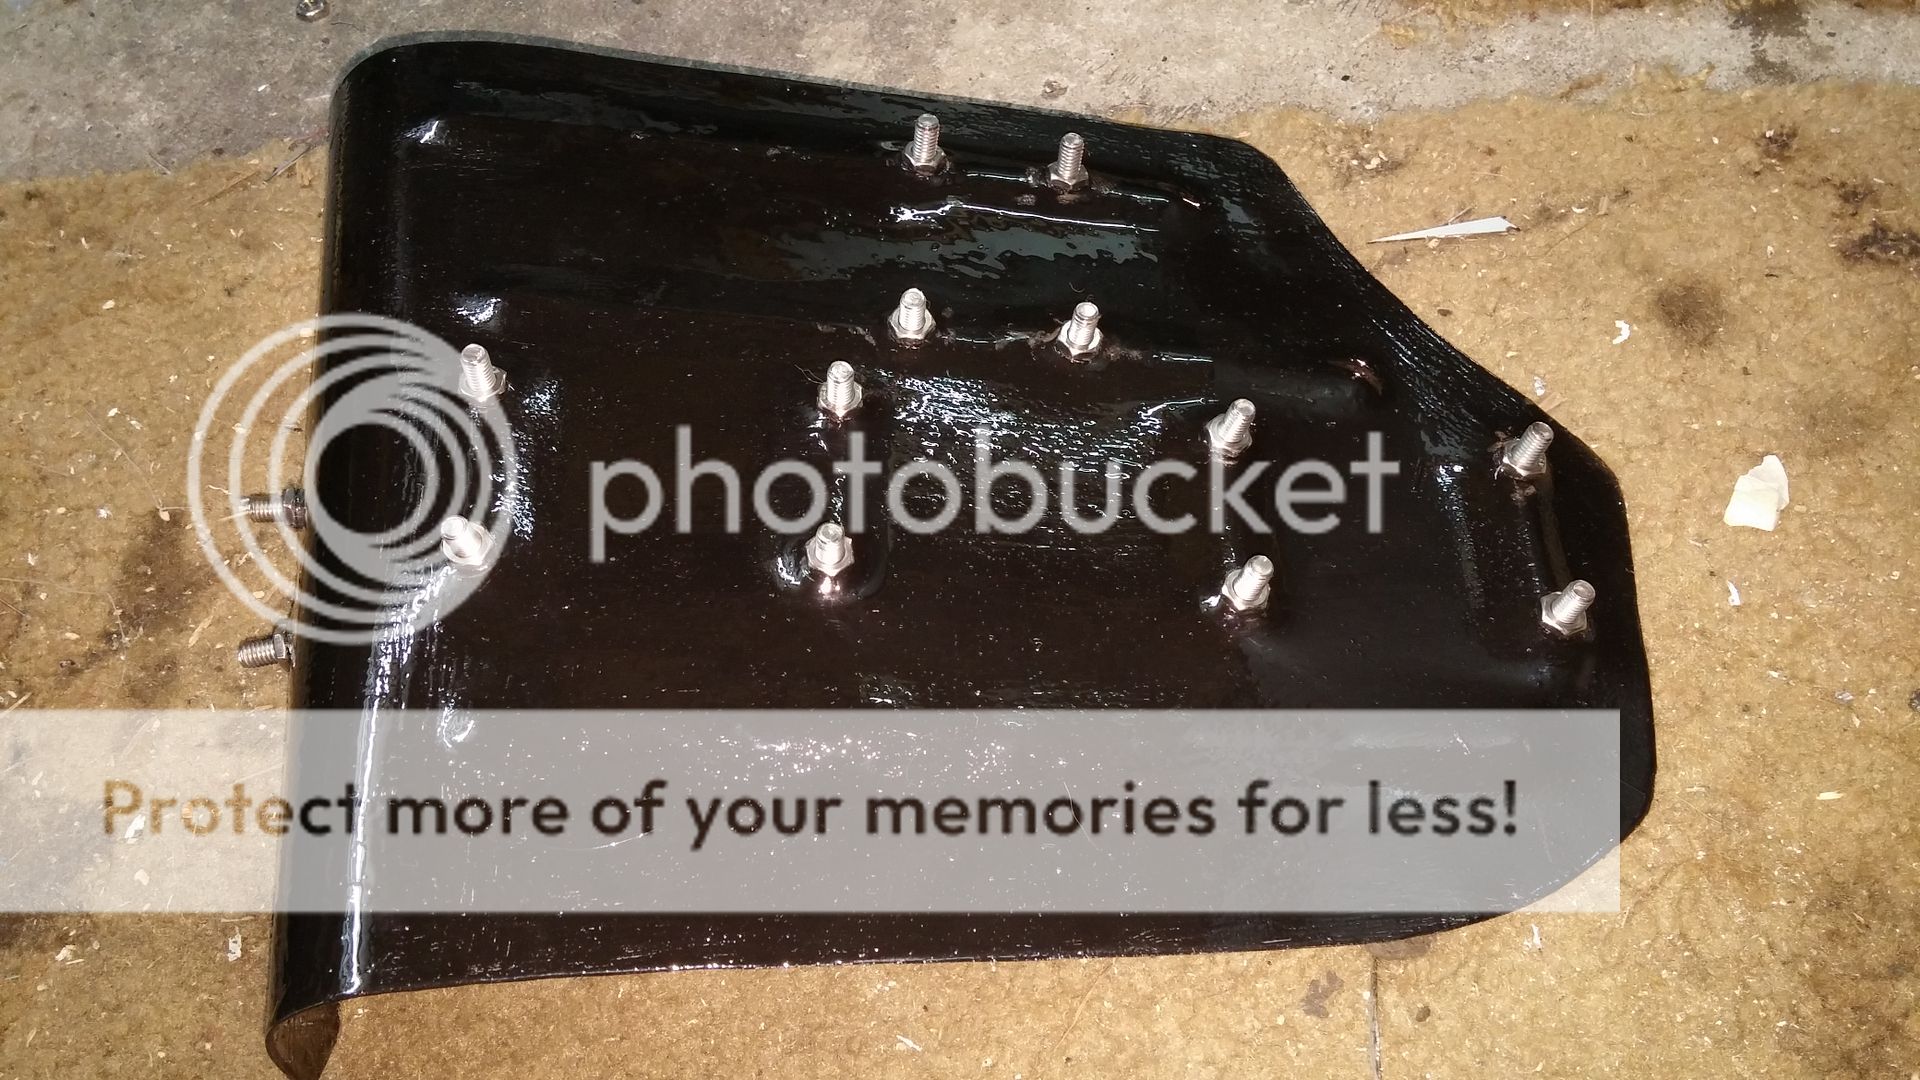
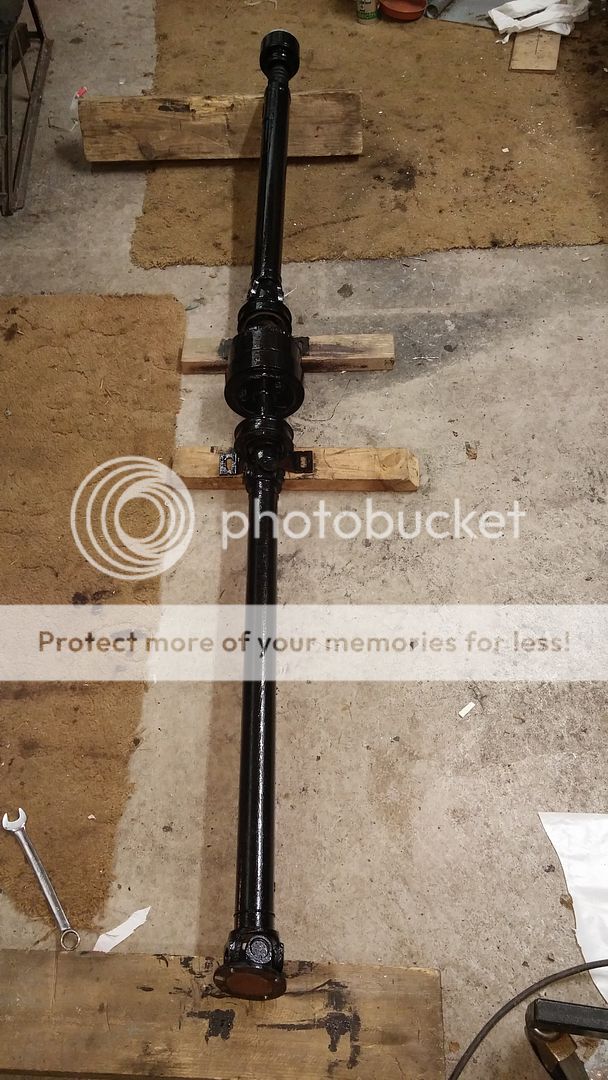
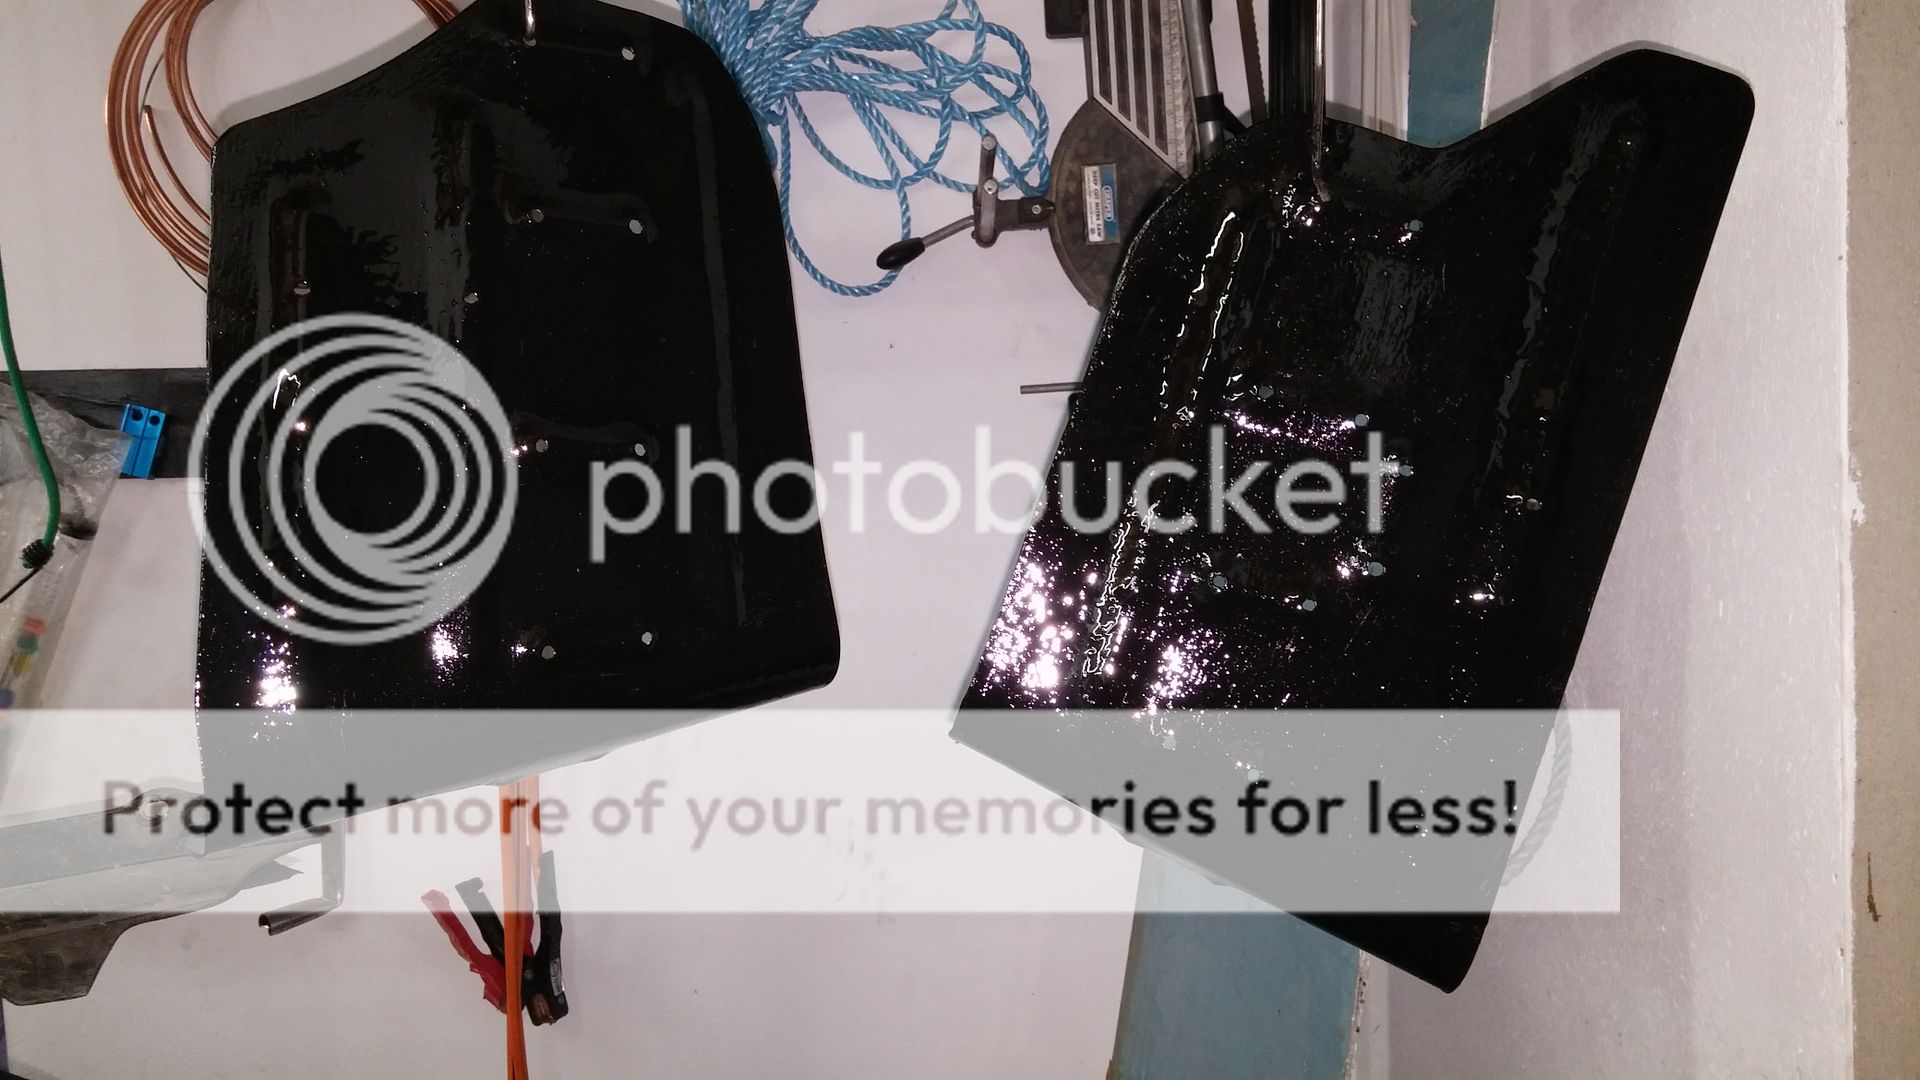
Haven't got much done recently with Crimbo and work but had a few hours yesterday and today and managed to get the cradle and support bars painted and ready to bolt together, just waiting for the bolts and saddles to arrive.

I thought it would look better painted even though they are alloy and anyway alloy corrodes too.
20151231_181717_zpsmm3d4qpr.jpg


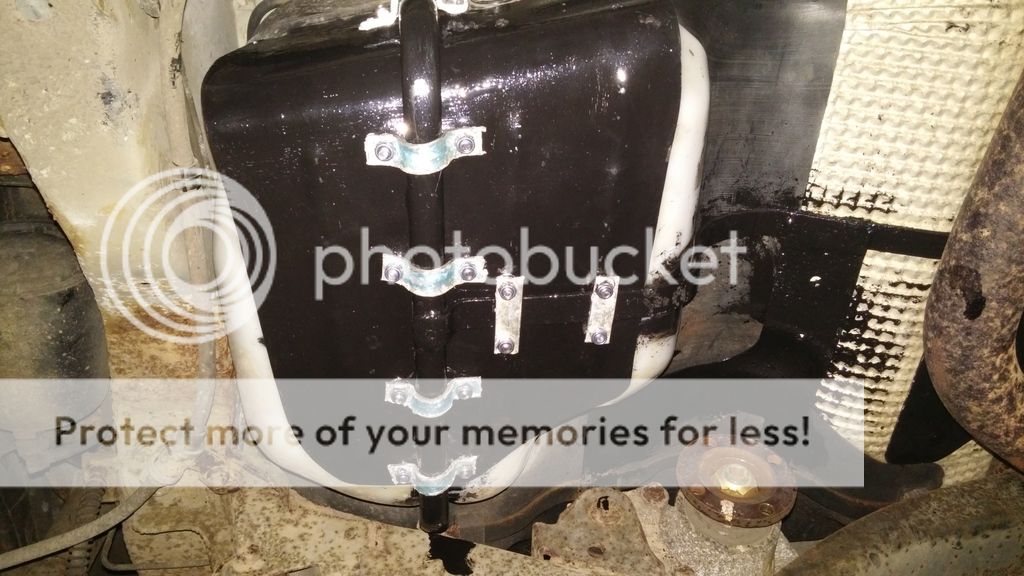
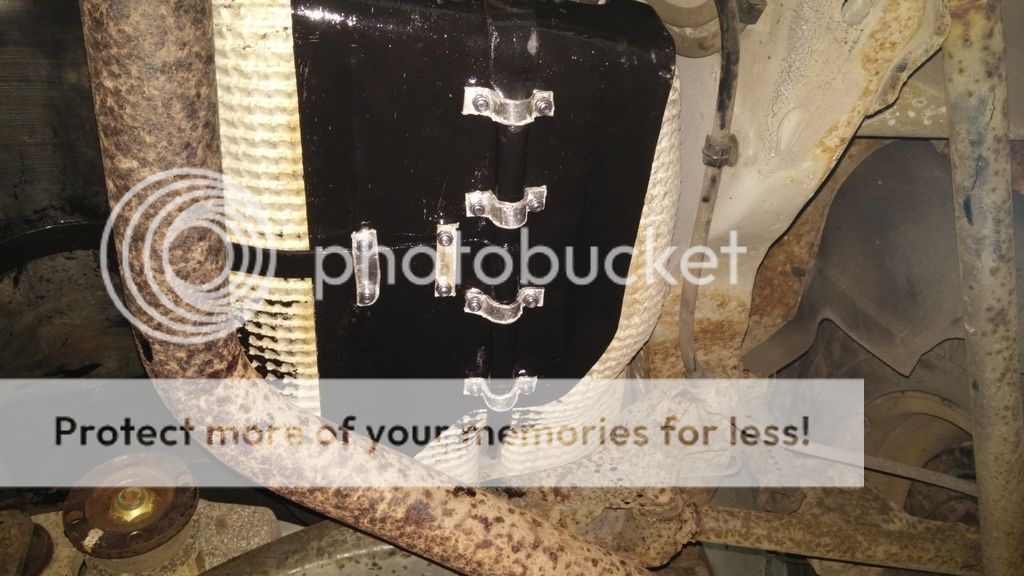
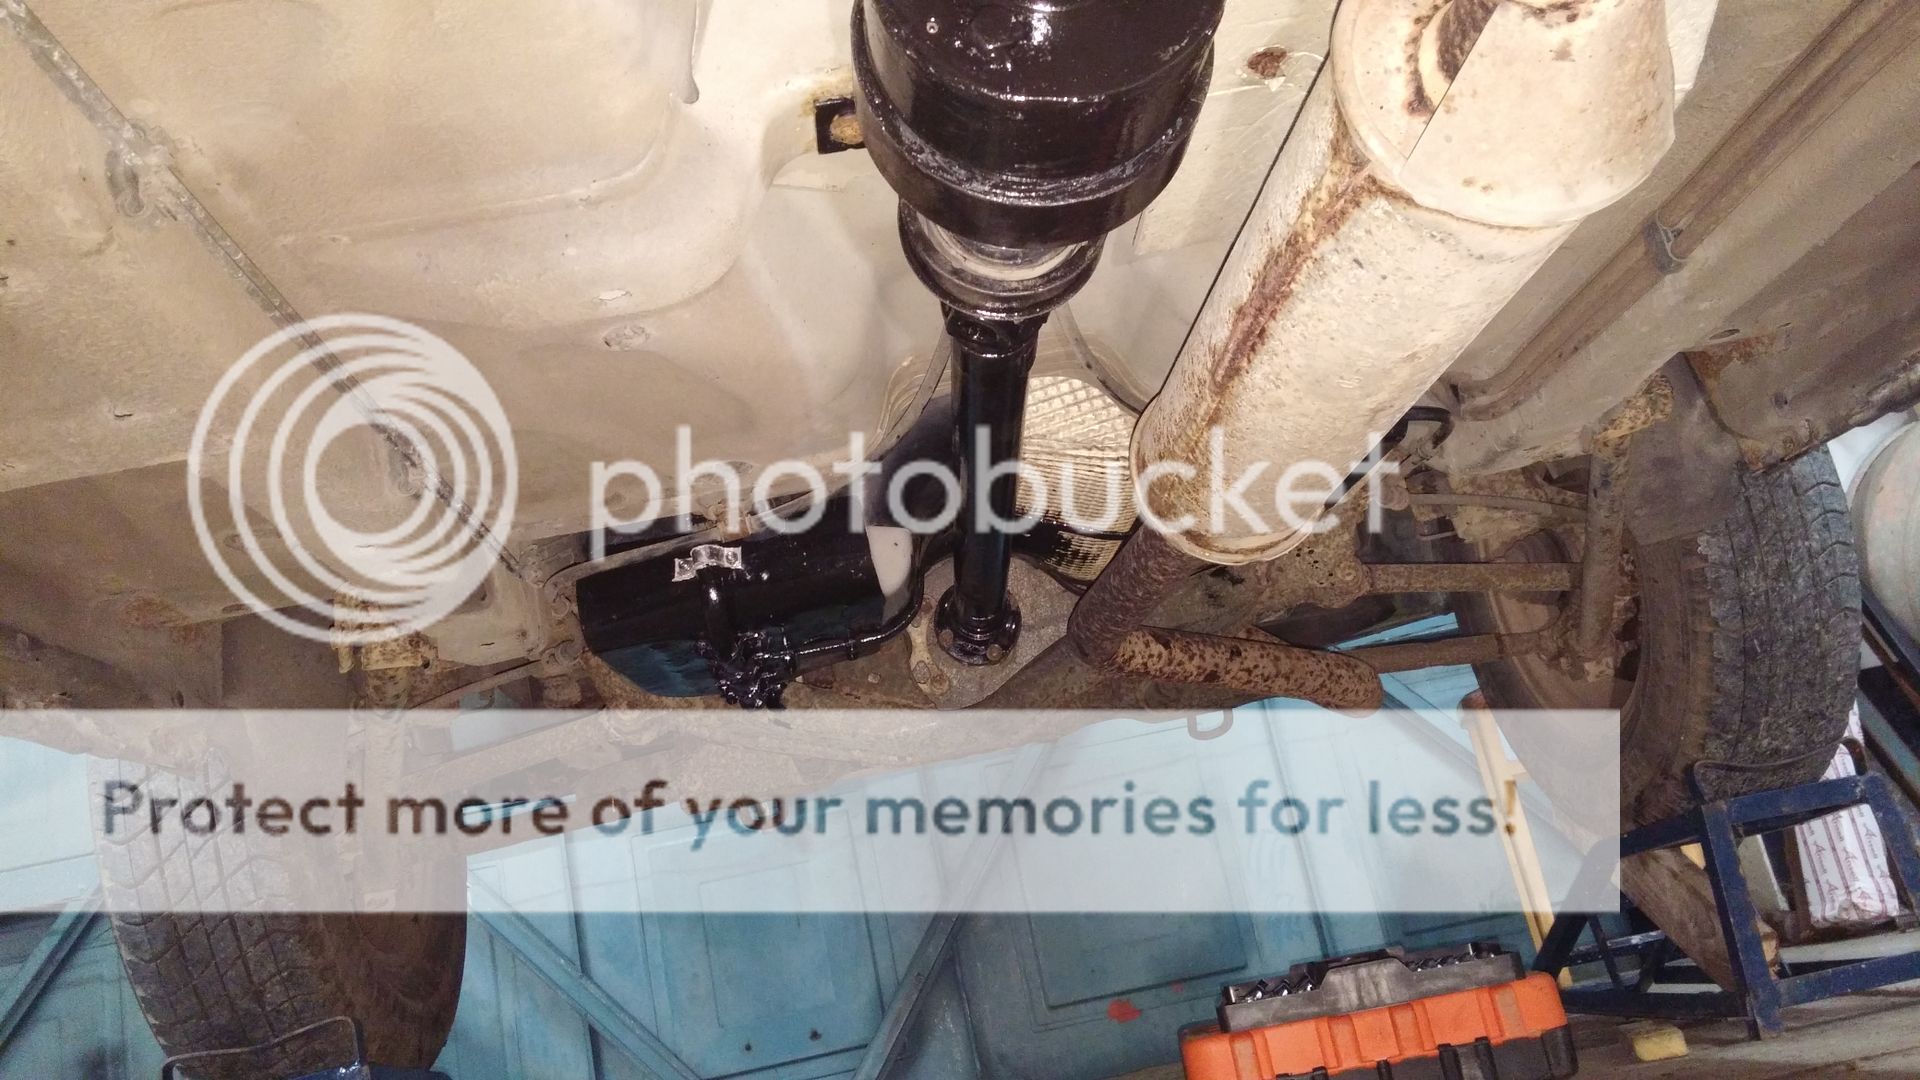
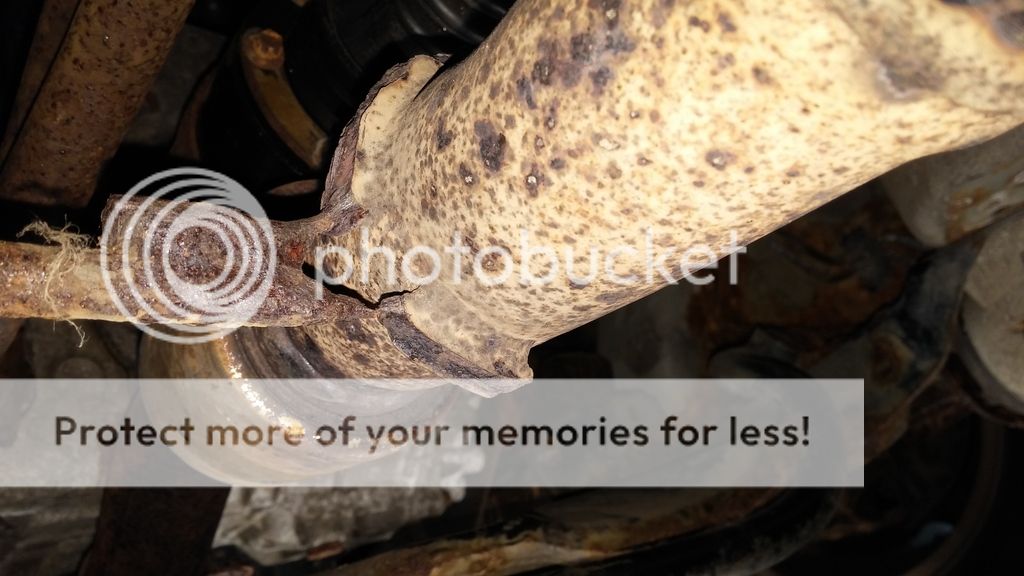
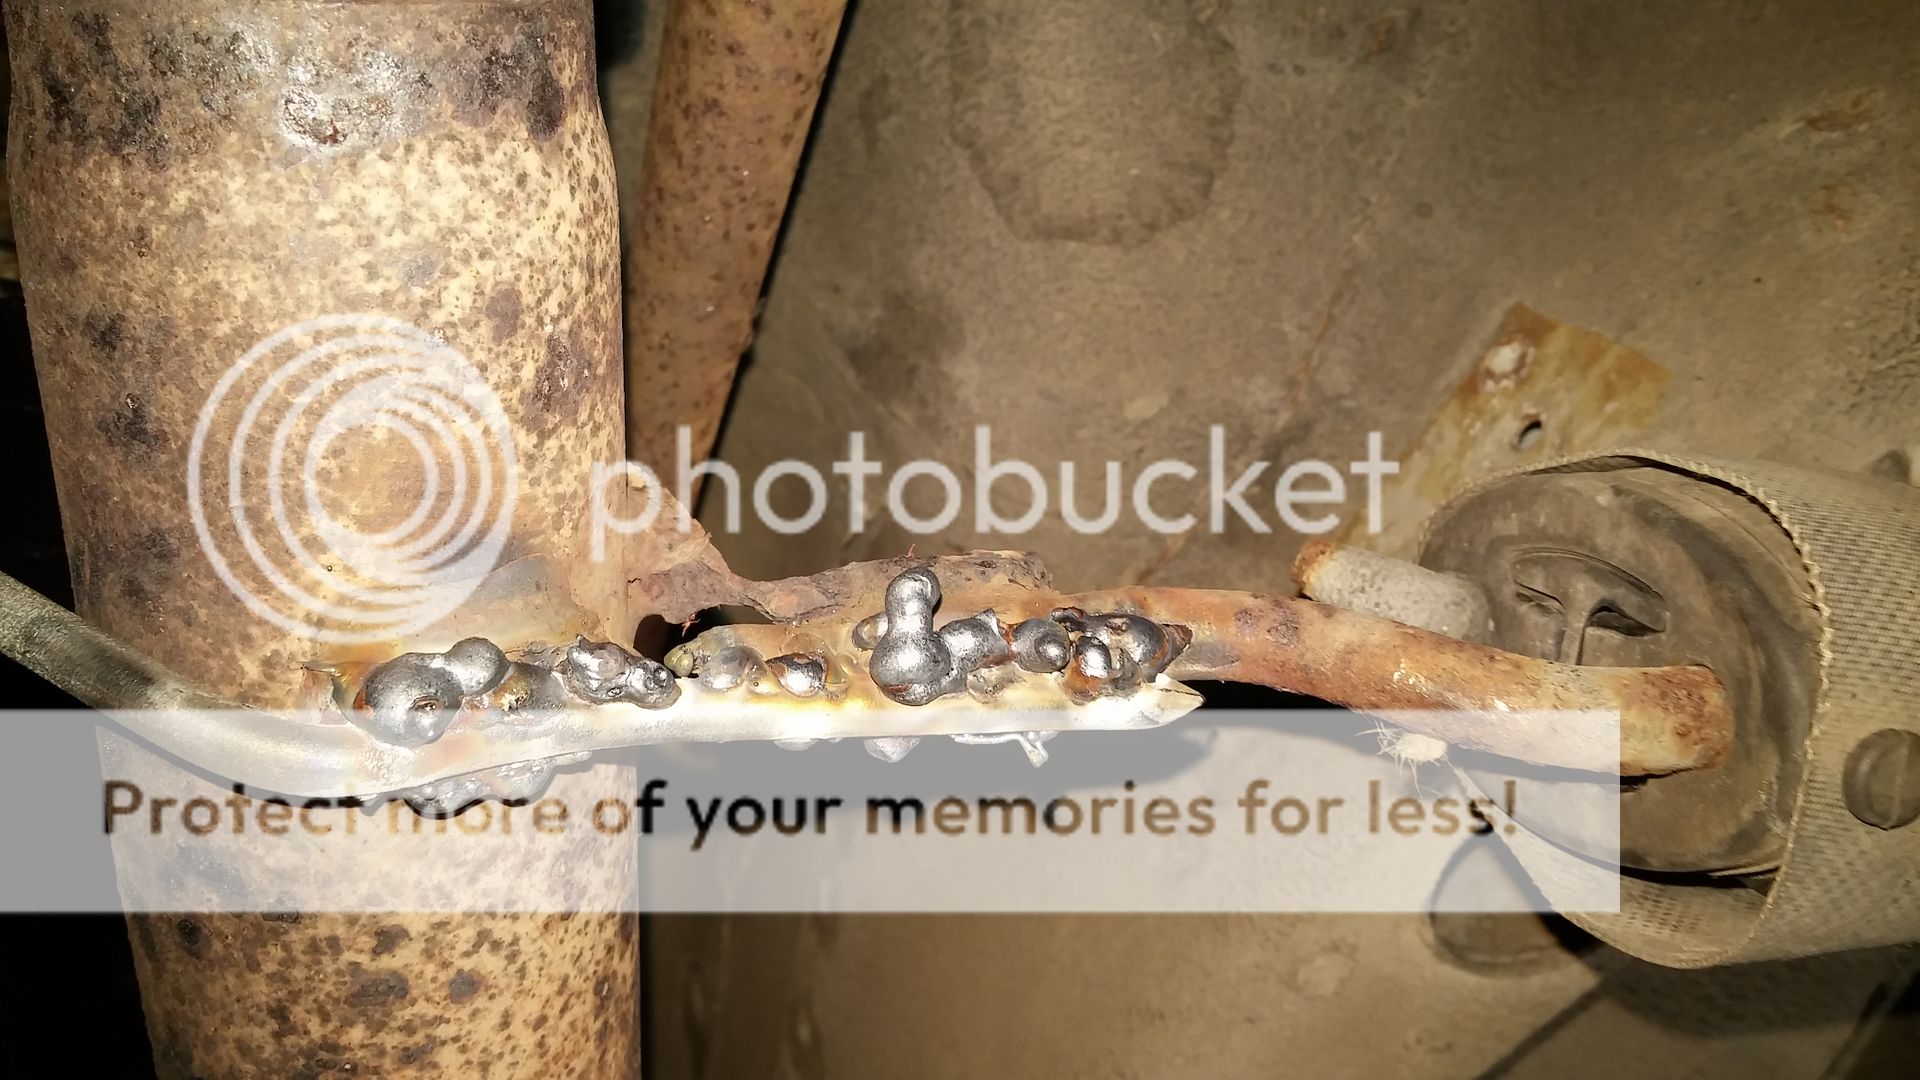
Also finished filling the VCU and got it in the vice with the welded end down. I was expecting a few leaks but so far only two so will leave it overnight to see if any more show up and will reweld the dodgy bits tomorrow.
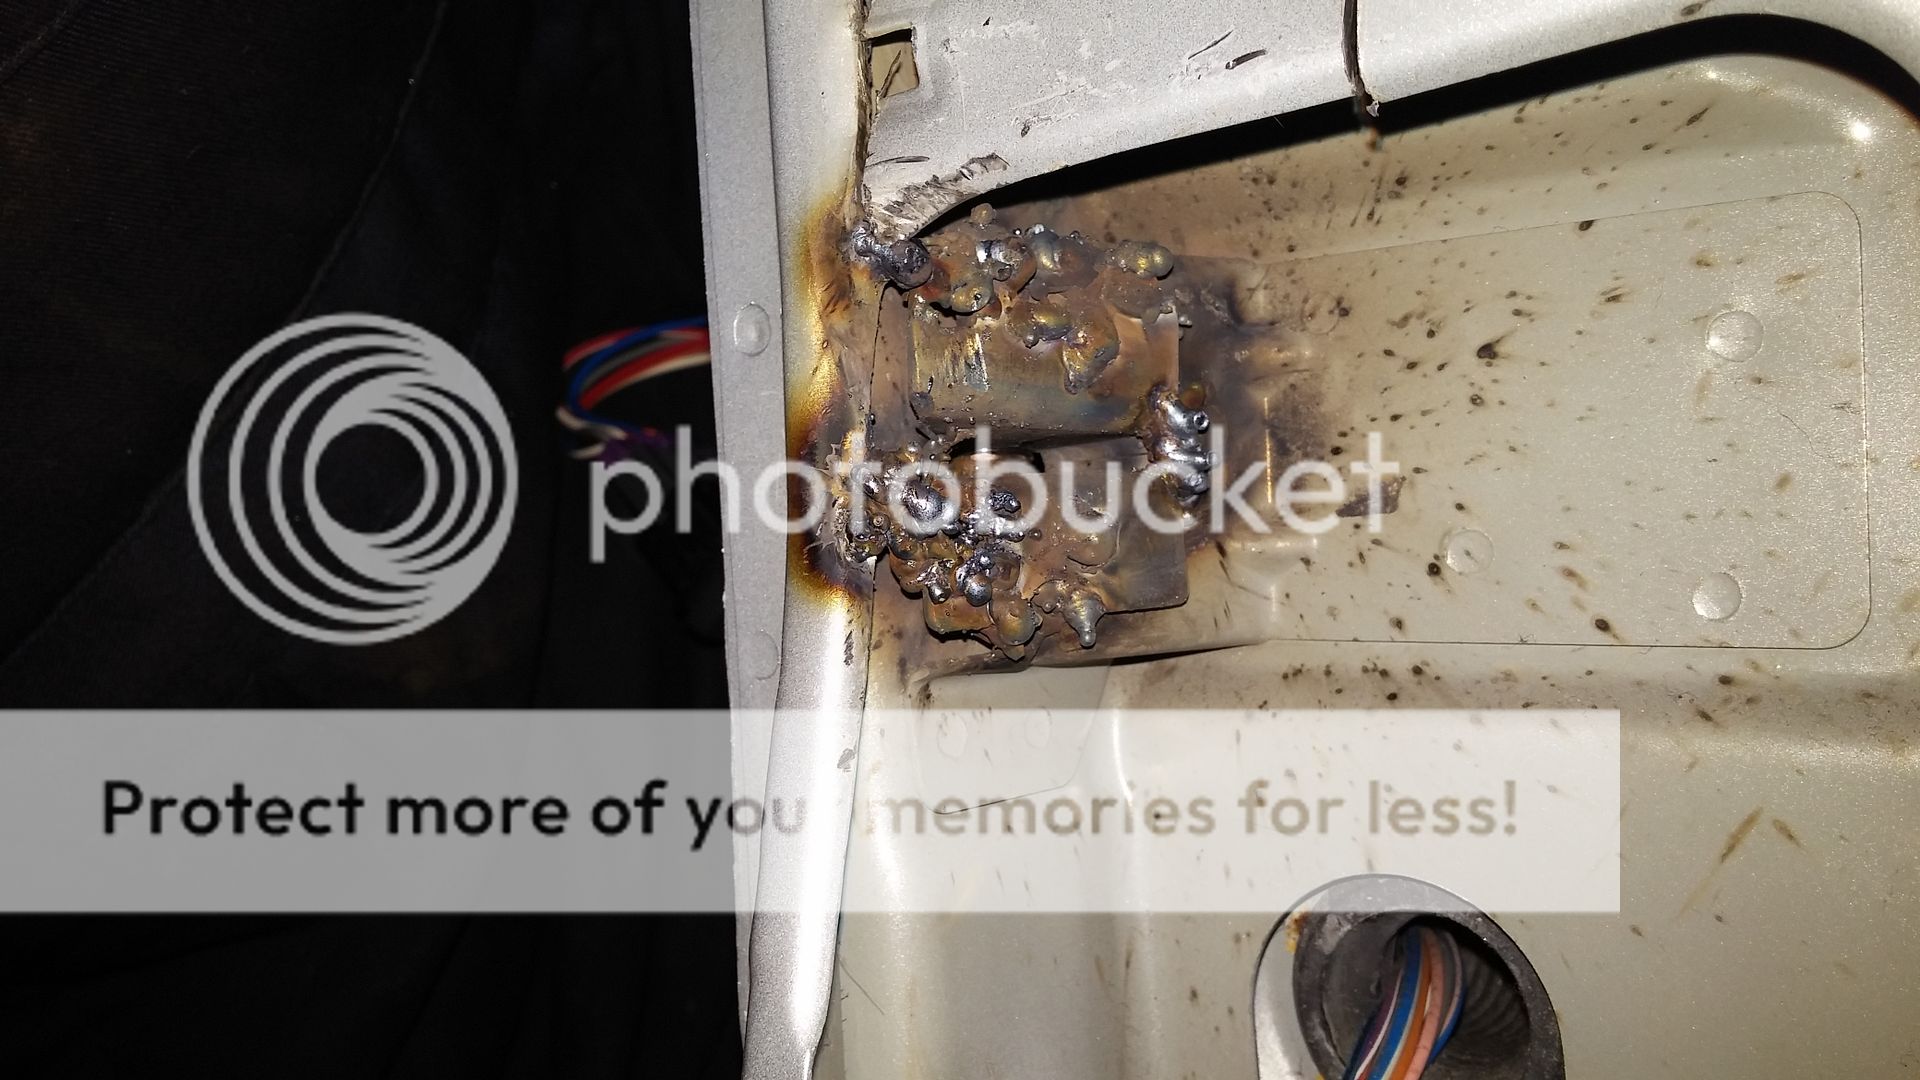
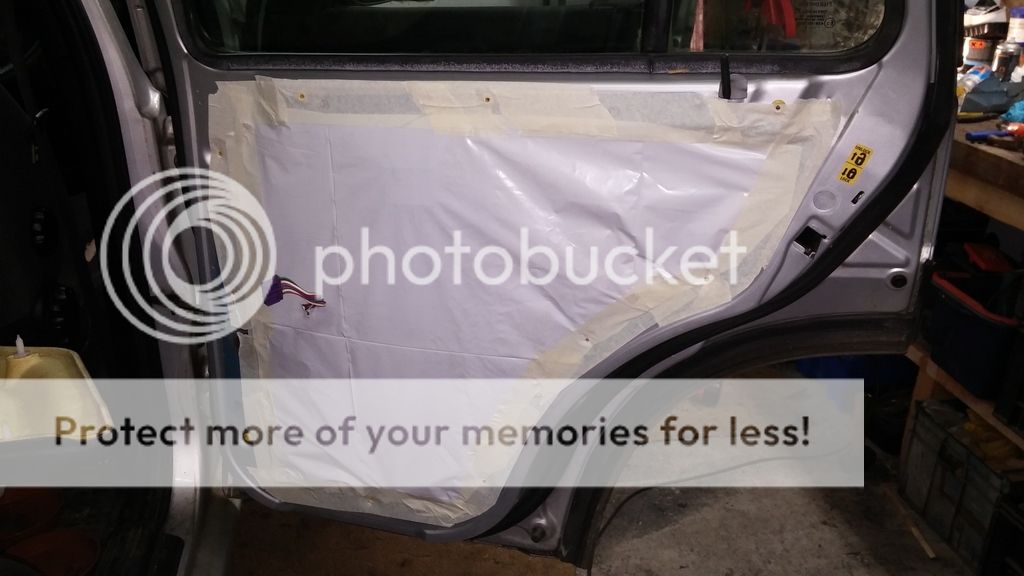
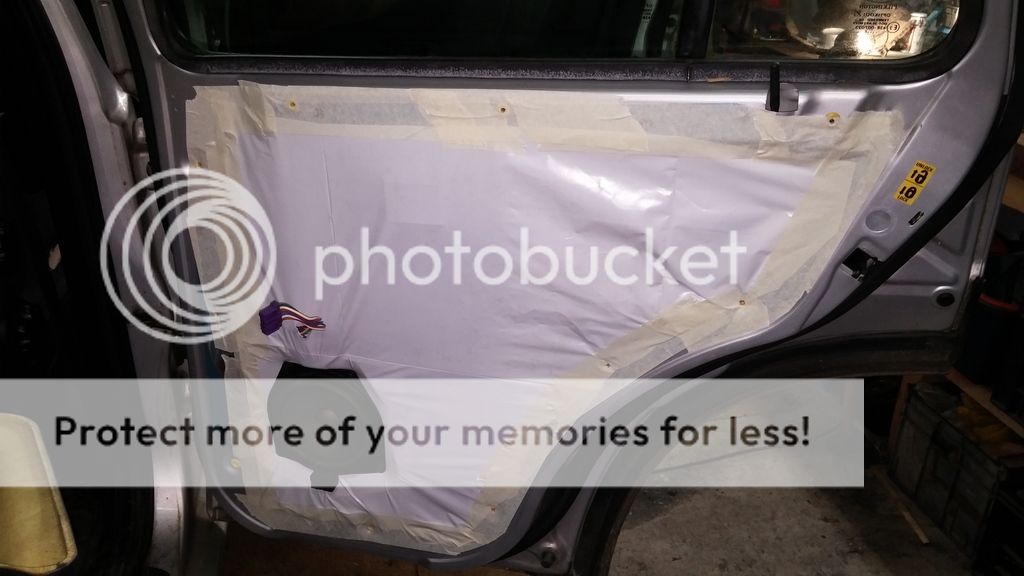
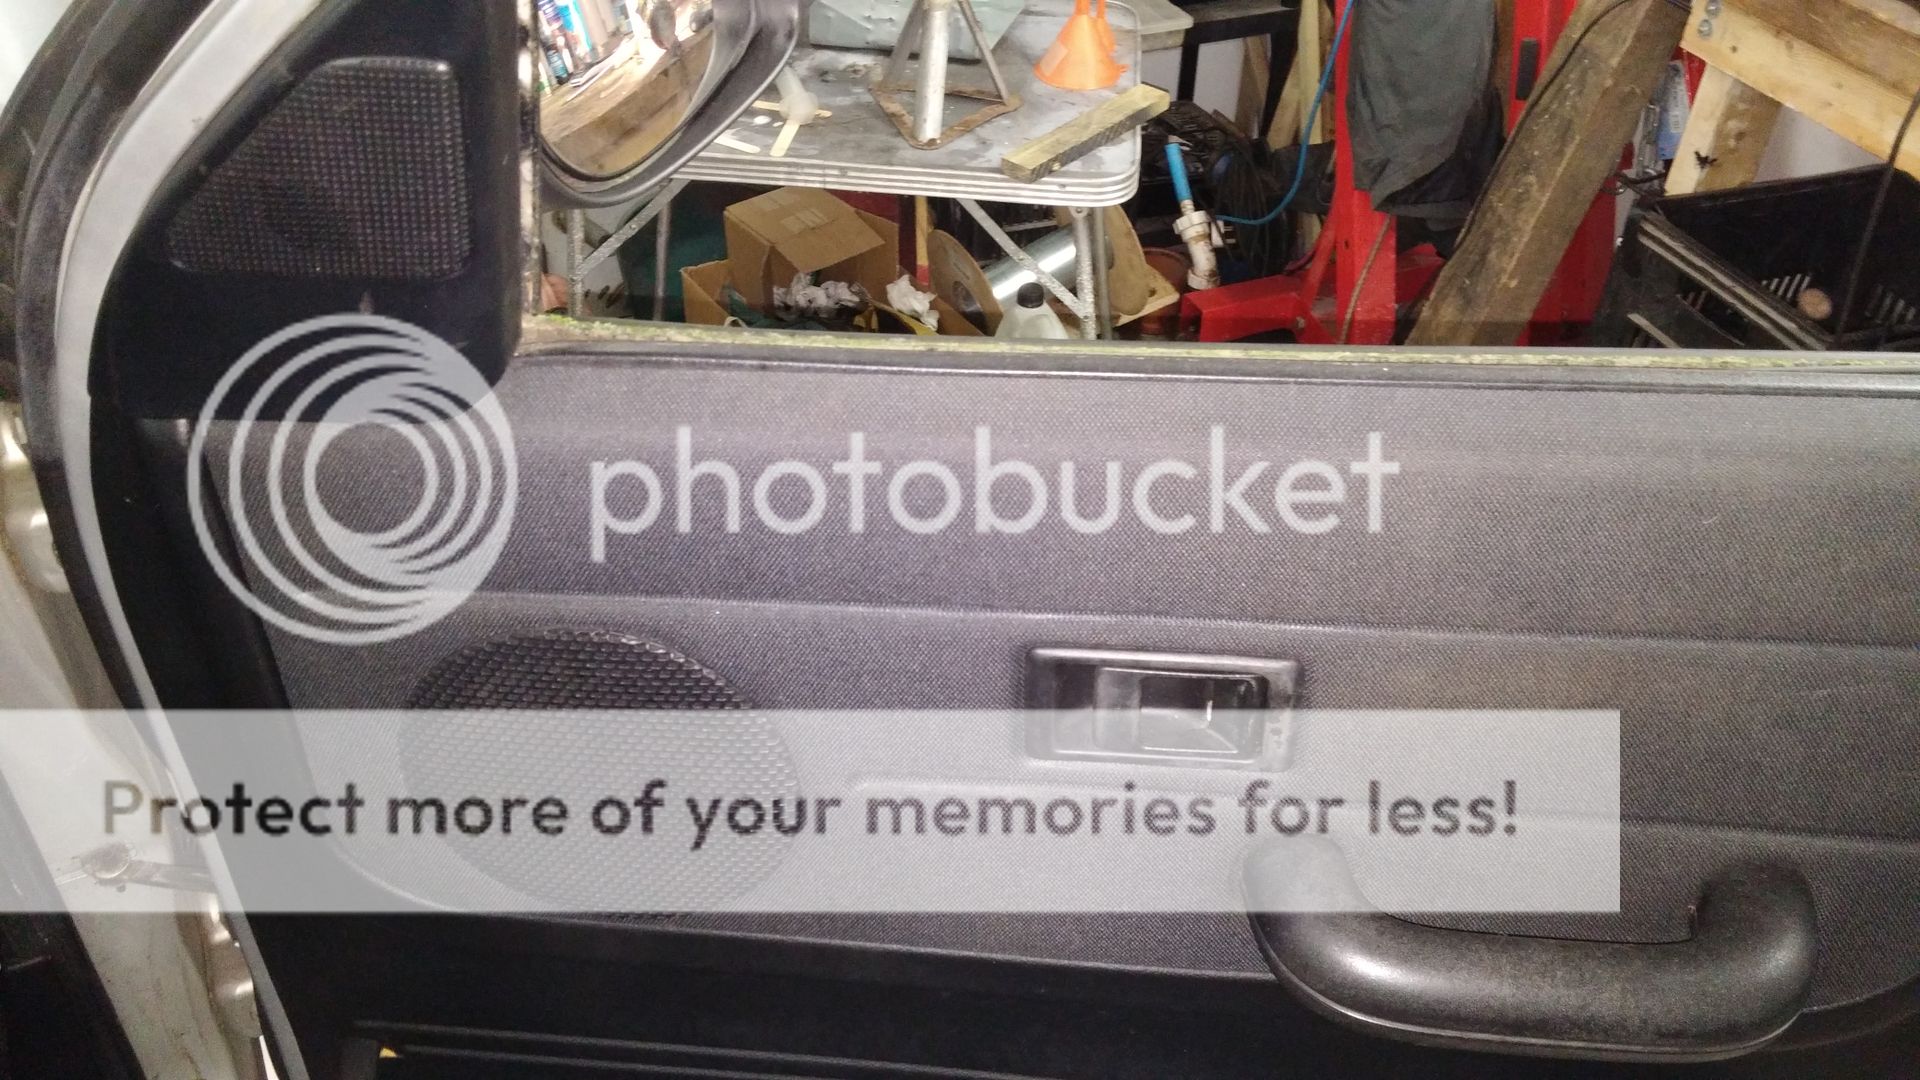
I also managed to refit the door cards on the two front doors. I just used masking tape to stick some old plastic sheet over the door so will see how long that lasts. Didn't get any pics of that but was happy to also fix and refit the tweeter on the drivers door.
I had broken the mounting pillar yesterday while fitting the door card so used my hot glue gun to fix it. Hot glue gun is a brilliant bit of kit, much stronger than you might think and sets in seconds. For just a few pounds it's probably the best value tool you can buy.

20151231_175923_zps8lg2hffl.jpg


20151231_180112_zpsigy1iqlu.jpg
 
Last edited:
Hmm havent checked the vcu yet! but i bet cannot get the liwuid here anyway, however when im in uk it may well be advisable to get some,as i can weld lol nice concise informative thread, maynthe gods be with you in hitting the target , keep the updates coming!
 
Hmm havent checked the vcu yet! but i bet cannot get the liwuid here anyway, however when im in uk it may well be advisable to get some,as i can weld lol nice concise informative thread, maynthe gods be with you in hitting the target , keep the updates coming!
Cheers mate, I'm having a blast doing it so hopefully will see a few more photos tomorrow.
I think the fluid is commonly used in VW's and others so should be available everywhere. I guess you just need to know where to look
 
Got a few more wee bits done over last couple days.

Brackets painted and bolts fitted.
20160102_164009_zpsydyj29zm.jpg


Fitted and will probably paint the saddles and bolts when painting the VCU.
BTW the copper saddles didn't arrive in time and if I'm honest they probably wouldn't have fitted anyway so I made saddles from alloy, cut into strips, drilled and bent around a pipe.
I think next time I will go back to plan A and use cable ties as doing this was a faff and probably massive overkill.
20160103_134746_zpsc9qztfgl.jpg

20160103_134757_zpsojy80sq8.jpg


I'd mentioned before the rear N/S door pin was broken. Well this is it fixed and very pleased how good it looks from the outside.
20160102_230639_zpscbmvycko.jpg


This is how the welding looks on the inside of the door frame.
20160102_230659_zpsihxf1kd5.jpg


Not a pretty sight but in my defence it was in a very awkward place to get at and anyway it is covered by the plastic trim so will never be seen.
 
Last edited:
quick tip!
if you weld somewhere like that, whilst its still hot but not extremely lol spray the weld with wd40 or 3 in 1 or duck oil have even used engine oil!
the oil will soak into the weld and surrounding area,next time you look no rust! it just stay the same as it is now,ive done this on all sorts of welds even on exhausts and it just doesent rust,
oil quenching - or "blueing" of steel.

tends to harden the outside surface , but can cause stress cracks.
 
Mine was an eBay special, but adjustable head and adjustable speed

Very useful when I swapped some inner wings on an Astra van
 
I usually wait until I need a tool before buying it. So far I haven't needed a power file but if I do any more bodywork welding it'll be bought.
 
Only got bits and pieces done the last few nights due to working OT but here are a few pics of the progress.

Id got the other two door cards on already without pics but this is how I resealed them, not sure how long the masking tape will last but it'll have to do for now. If it falls off causing a draught or dampness I'll do it again with the hot glue gun.
20160103_214847_zpstaq5y52e.jpg


I then put a couple of cuts in the hole for the speaker and pushed it in.
20160103_215419_zpshwhjqjsw.jpg


Over the last few nights I have been rewelding the leaky bits of my VCU but have at last got it fluid tight. Had I done the job properly before filling it I would have saved myself a lot of hassle as every time I tried welding the leaks the fluid spurted out ruining the weld. Anyway it's sorted now so last night I bolted the propshaft back together and gave it a lick of paint.
20160106_220512_zpspmrlqvon.jpg


Tonight I fitted it.
20160107_220137_zpsnlpfskdk.jpg


Then noticed the exhaust hangers were almost rusted through. It's hard to see from this photo but the bottom part was right through and the top part was thinning.
20160107_220156_zpsv8x6fn93.jpg


So a six inch nail and some very dodgy welding later.
20160107_225021_zpsepo4rljv.jpg

My excuse was I was upside down with limited space. That's my excuse and I'm sticking to it!
Anyway, dodgy or not it is still a hell of a lot stronger than it was. Just wish I had remembered to spray it with WD40 like Rangerover toy suggested but suspect the weld will still last the life of the exhaust.
 
Last edited:
I see that you fitted the propshafts as 1 piece. I always fit them split into 2 sections. Front section and VCU are fitted together, rear prop fitted last. I find it's much easier when laying on your back under the car trying to juggle a long wobbly assembly.
You are making nice progress so far.
 
lol long as the welds are strong! function over beauty as i often tell the wife!!

looks like you dont clean the surface to be welded? just start welding,it always pays to get some clean metal to weld to,makes it a lot neater
 
I see that you fitted the propshafts as 1 piece. I always fit them split into 2 sections. Front section and VCU are fitted together, rear prop fitted last. I find it's much easier when laying on your back under the car trying to juggle a long wobbly assembly.
You are making nice progress so far.
I was thinking about that but had already bolted it together. I just set the VCU on a crate so it was almost the right height and bolted both ends on, then it was an easy job to lift the VCU into position.

lol long as the welds are strong! function over beauty as i often tell the wife!!

looks like you dont clean the surface to be welded? just start welding,it always pays to get some clean metal to weld to,makes it a lot neater
LOl, actually I did clean the surfaces, It's just I put so much weld on it kinda covered the clean surface and then crept over the rough stuff. I cleaned it up with a wire brush attachment on my grinder after taking the first photo.
 
Yesterday I did the timing belt etc and an oil change. No serious issues so we're getting close to MOT time now. Still to do the brakes first so that will be this weeks job.

A couple of pics taken while doing the timing belt.
Clothes pegs are very handy for holding the belt in position while fitting it around the cam pulleys and tensioner.
20160109_140605_zps4oj43pbo.jpg

20160109_134426_zpsw95wiycd.jpg
 
Last edited:
Well done for all your efforts posting, nice to see someone having a dam good go. hope you make the £500 budget.
 
Well done for all your efforts posting, nice to see someone having a dam good go. hope you make the £500 budget.
Thanks mate, have to say it's been a labour of love as I've enjoyed every moment. Not sure I will achieve the £500 though as just realised I haven't ordered the brake discs yet and had to replace the battery. Not too bothered though as I should still achieve the original goal of £600, so long as the HG is OK.
 
Didn't have a lot of time today but managed to get one of the annoying issues sorted. When I bought the car the horn worked but was a bit iffy, since then it hasn't worked at all so I started by testing for 12V at the horn. Nothing there so then swapped the relay with another one the same and checked the fuse. Still no joy so decided to bite the bullet and go where I thought the problem was from the first place and pulled the steering wheel off. After a bit of testing I discovered one of the connections in the slip ring was duff, at first I thought I might need a new one but then noticed two connections were not used so I cut and soldered the wires in the steering wheel and repositioned the pin in the connector under the dash and hey presto, a working horn.
 
Back
Top