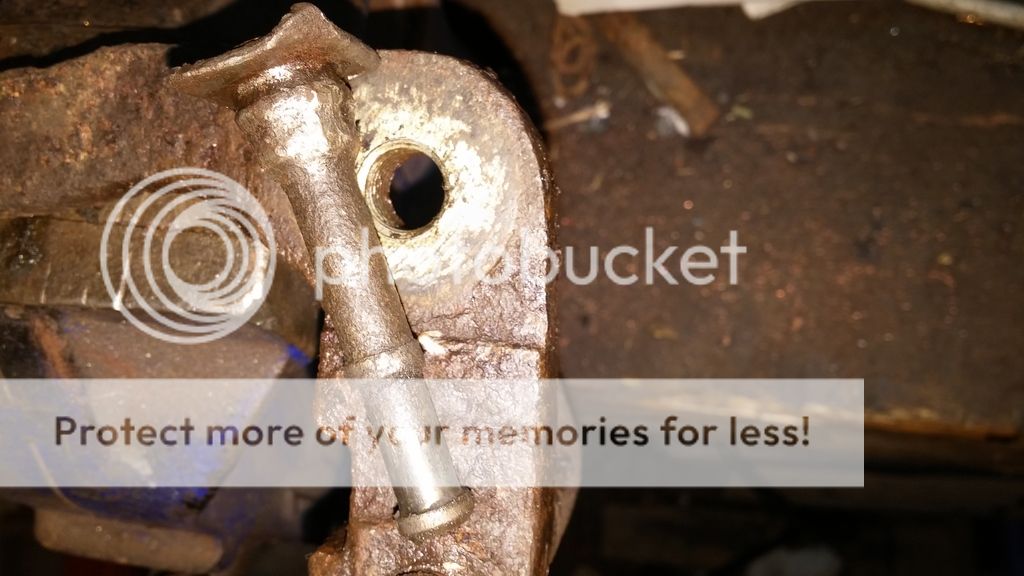
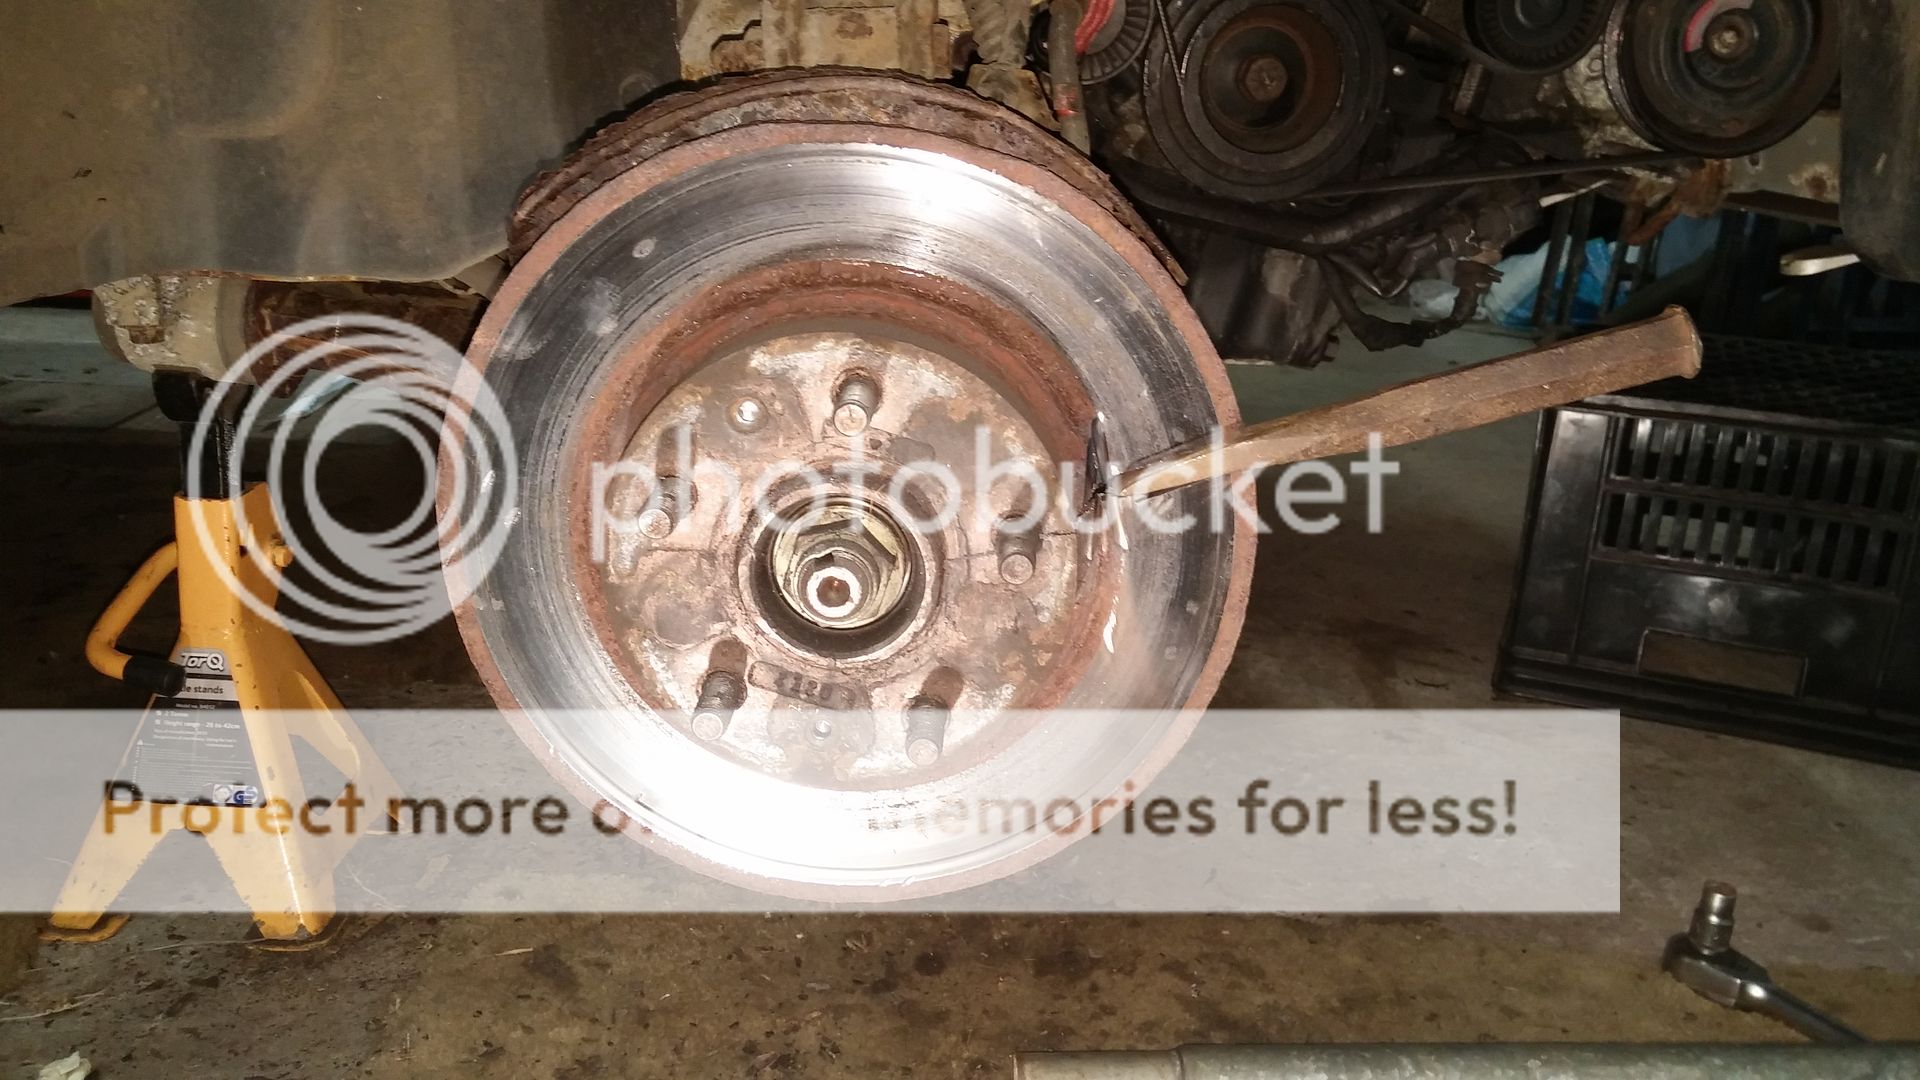
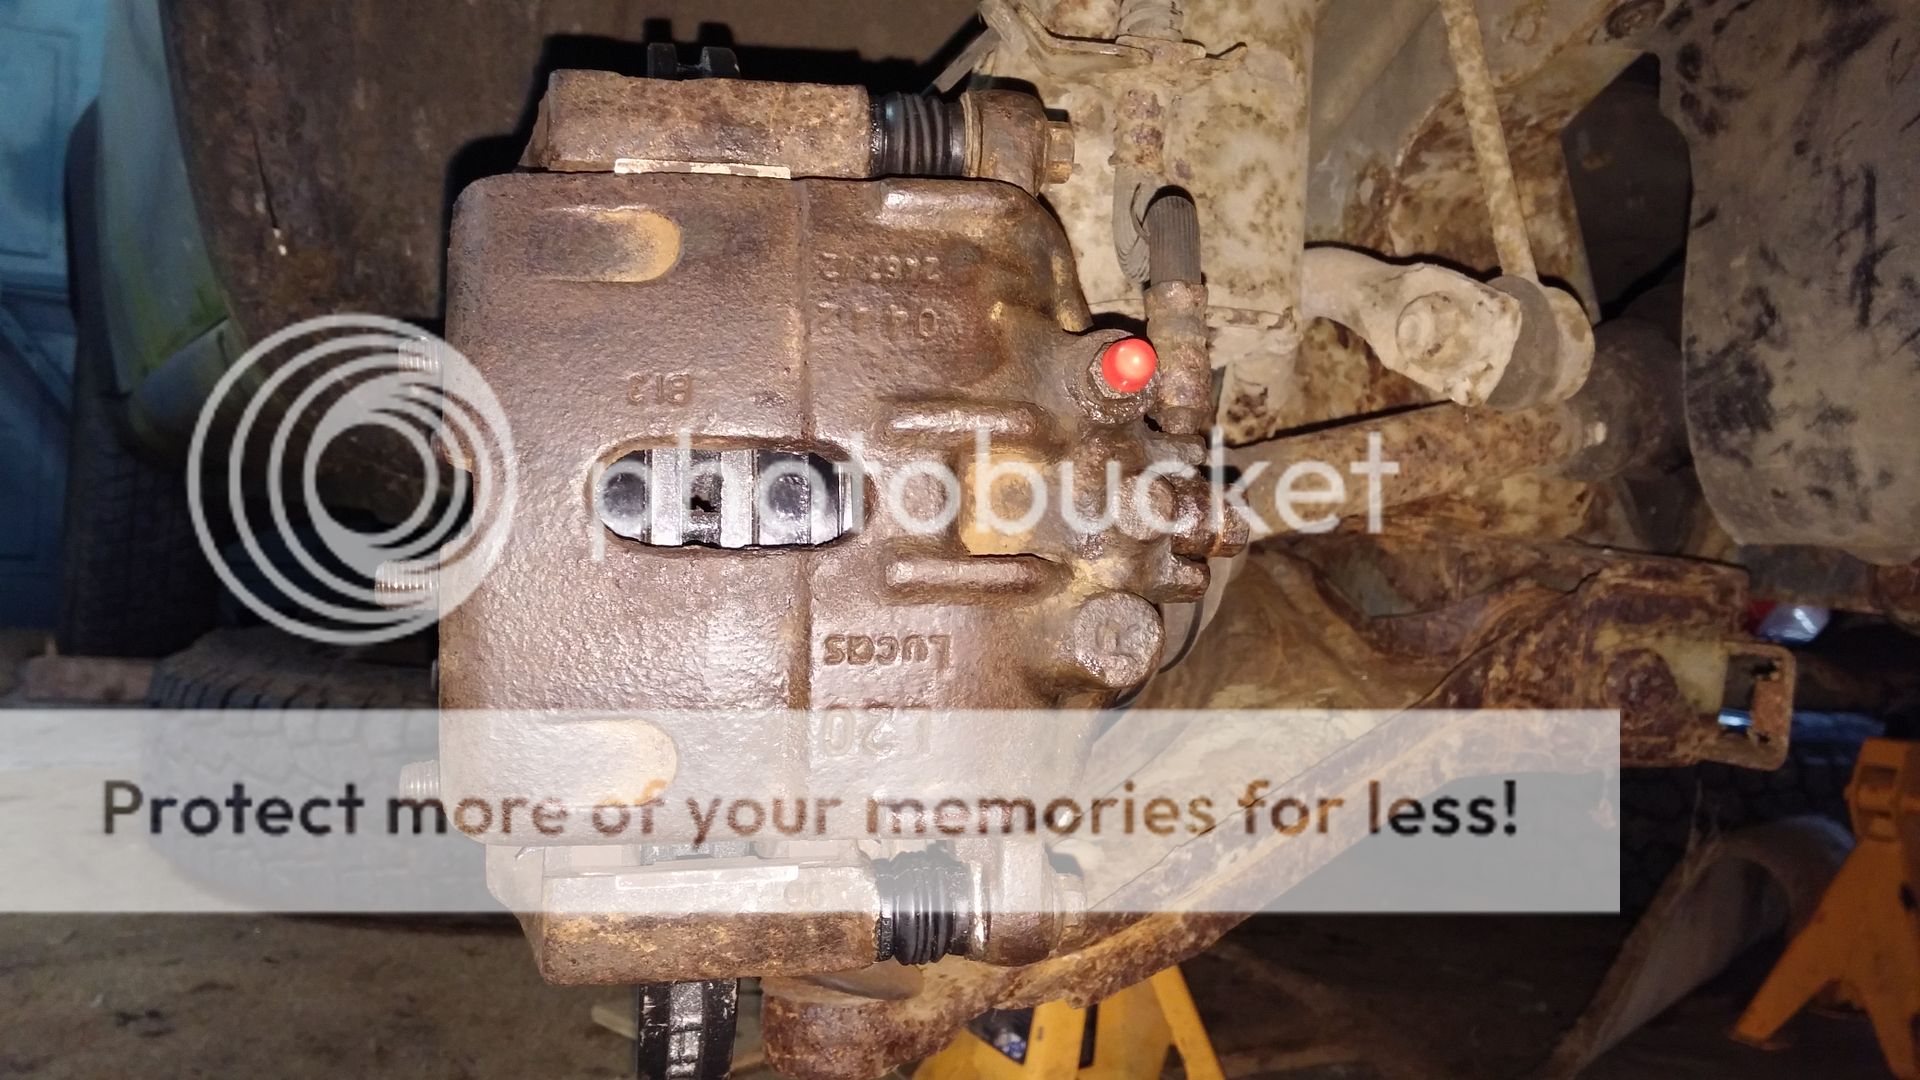
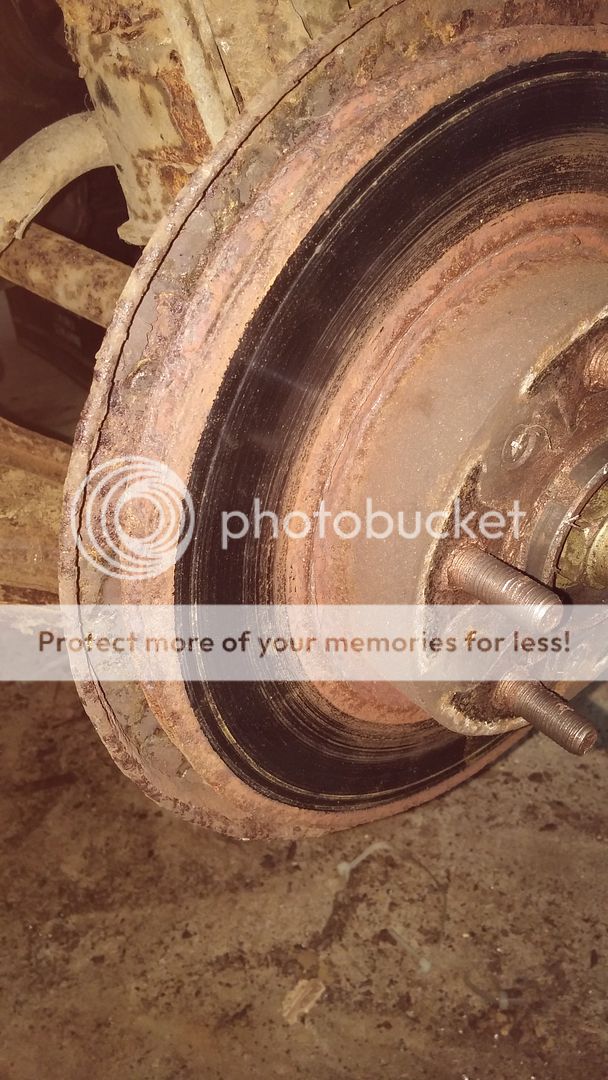
Not a lot done tonight, I had suggested I might have a go at the shoes tonight but the front is already on axle stands and the back of the car is right up to the garage door so I decided to prep the calipers so that when the seal kit comes I will be able to fit them.
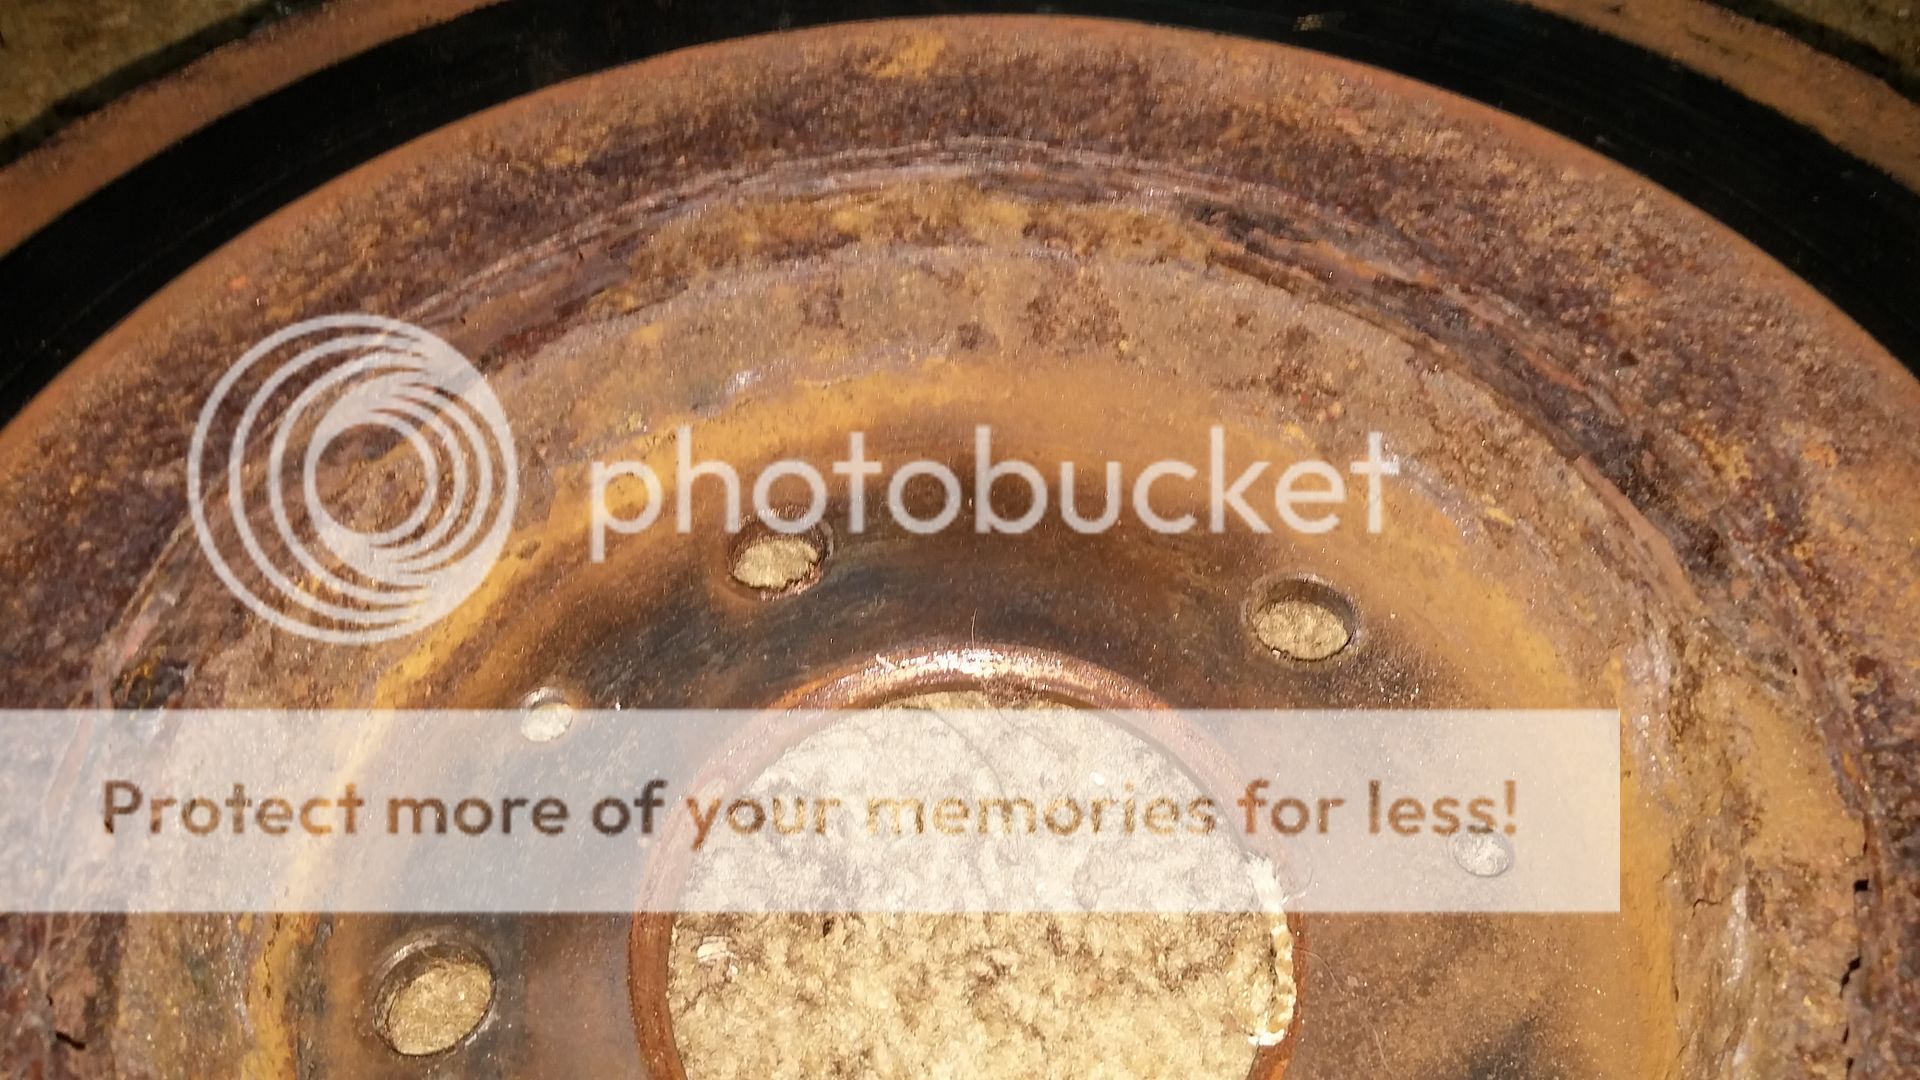
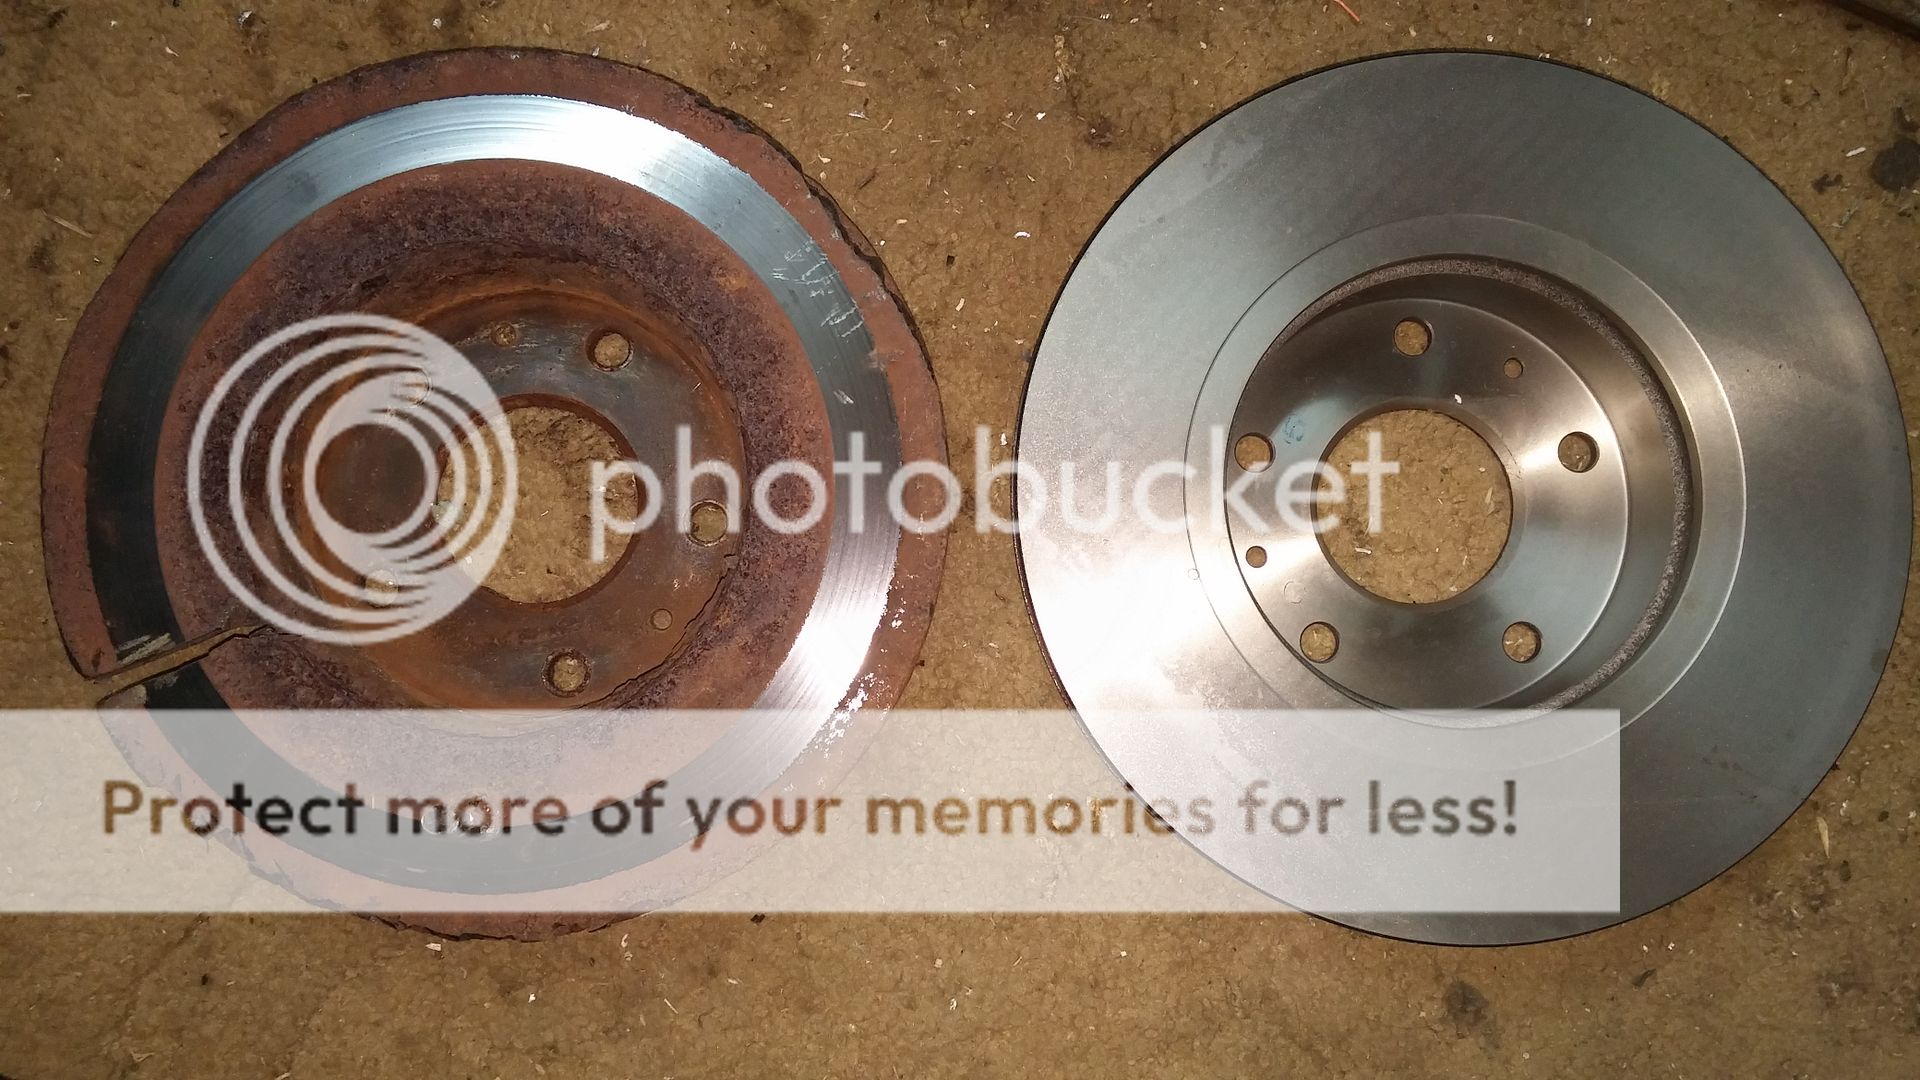
This is how they look now.
If I get a chance I'll call into Halfords and get some red caliper paint, I need some for my MGF anyway. I have to say I was tempted to just buy refurbed calipers but they don't include the carrier so I would have had to sort them out as well anyway.
hi mate
wished to praise u on such a sterling write up
hope u don't mind me saying but I rebuilt my front brakes, with new discs and also rebuilt my front calipers
got the complete kit from Land Rover, which came with new Pistons, seals and pins
bought all genuine parts, including the discs, pads, caliper rebuild kit as I thought as it was the brakes just preferred to buy all oem parts
bought some red grease for the calipers , got that off eBay , use a foot pump to get the seals in , takes some patience to get them sitting in the lip
get some old tyre shreider valves, remove the bleed nipple , screw the vales in there and attach the foot pump and u can slowly get the rubber seals around the Pistons
be very careful as u can easily split them
I also replaced the front brake hoses due to them separating and holding the caliper on, causing them to overheat
hope u get on OK and plse feel free to give me a shout with regards to rebuilding ur calipers, hope that doesn't come as rude or telling u how to suck eggs , just know from experiance of what great fun they can be to rebuild
good luck mate with the rebuild and proposed work
 .
.