Skyblue
Member
- Posts
- 63
- Location
- Wombourne, Wolverhampton
Nice one! raise:
raise:raise:Well done Graham, you're doing really well.
Just a couple of quick notes for your considoration:
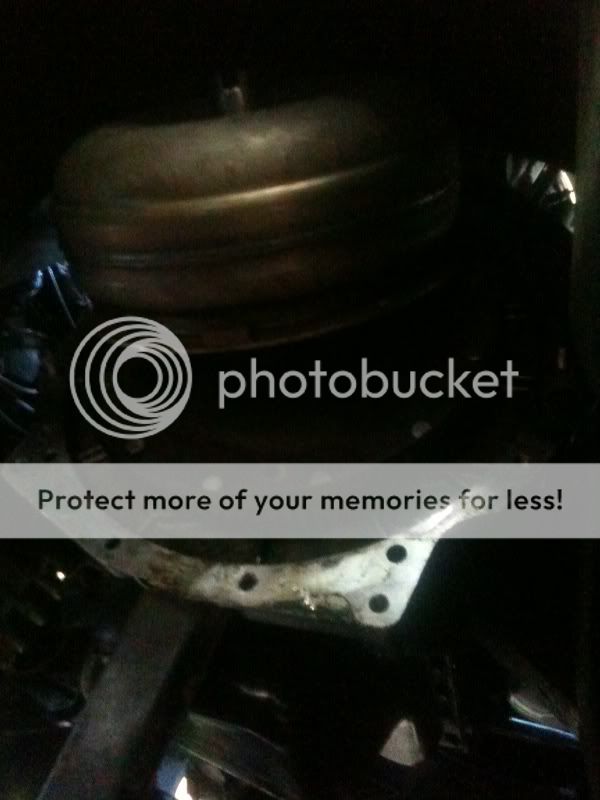
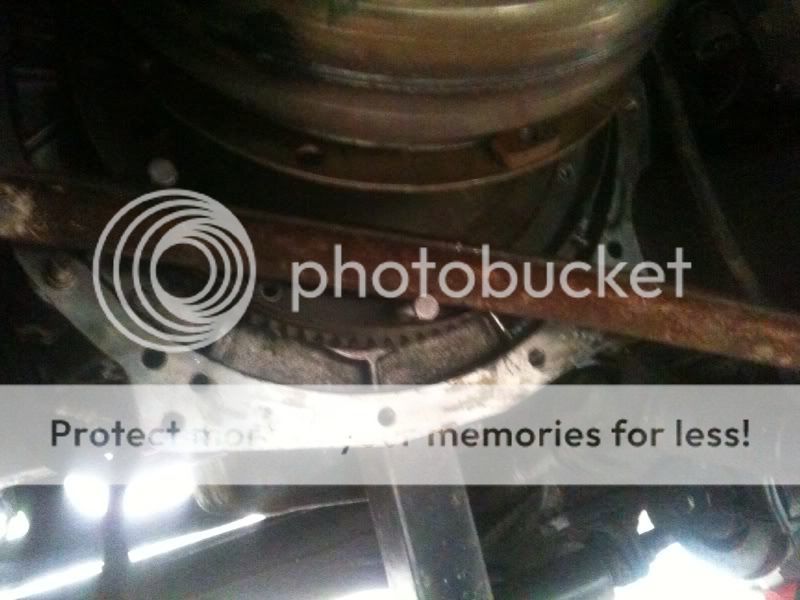
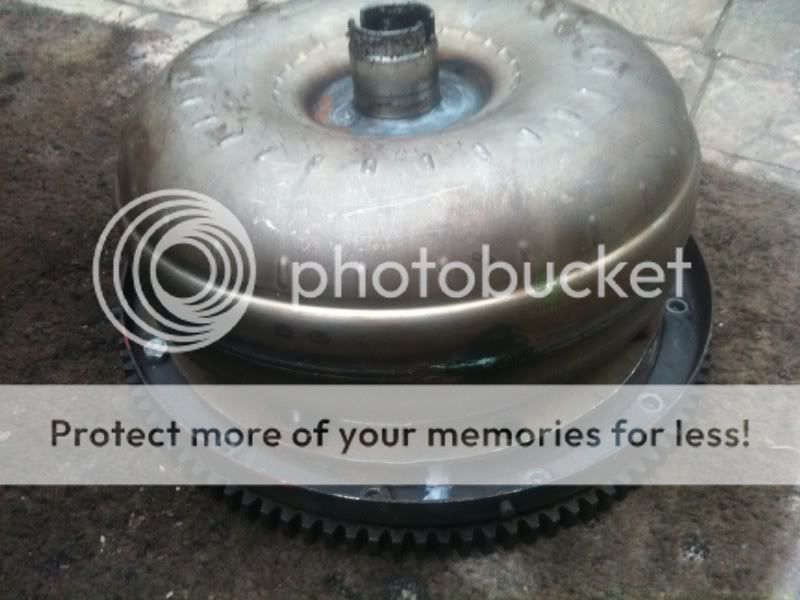
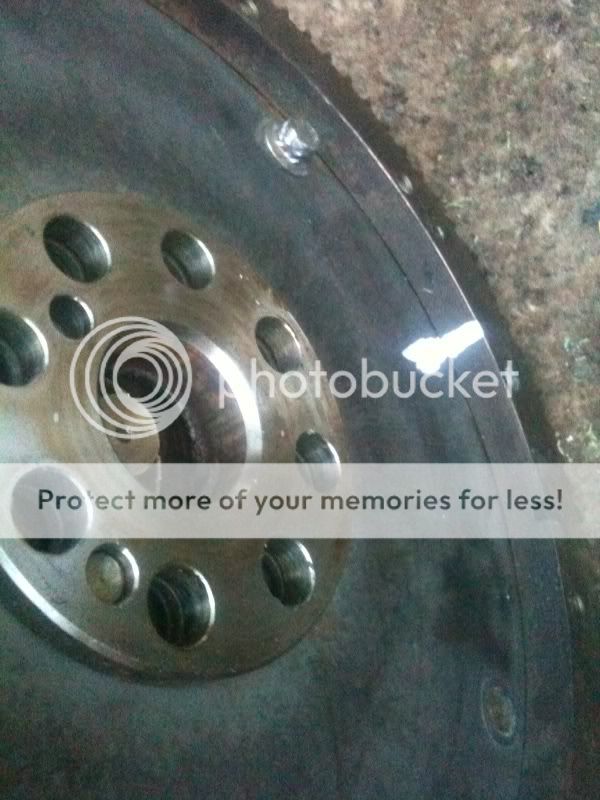
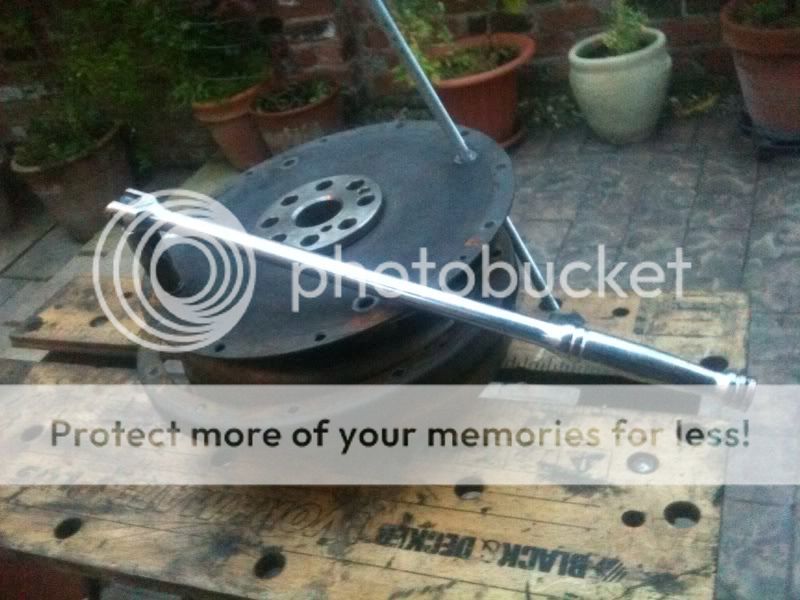
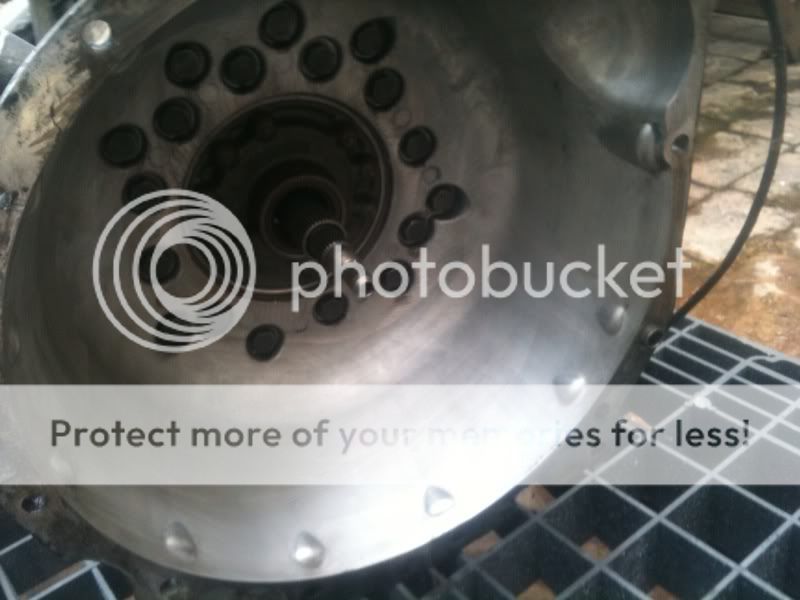
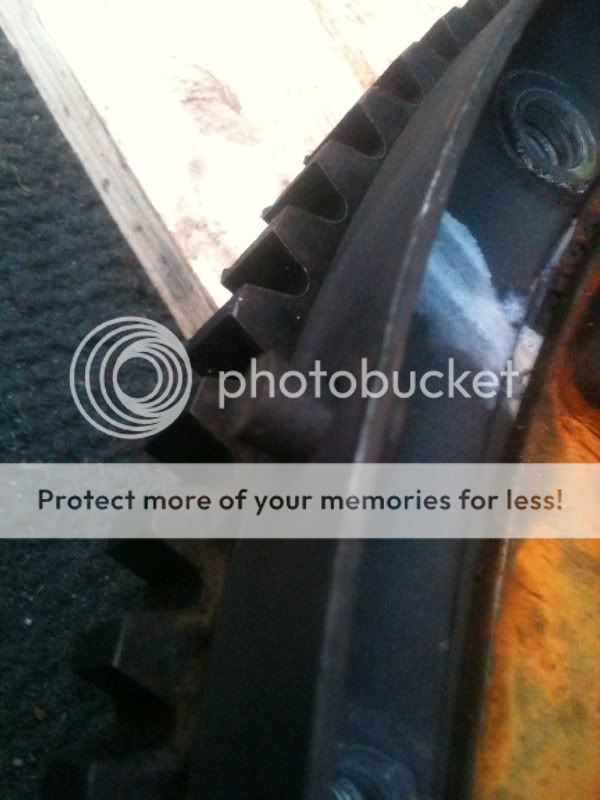
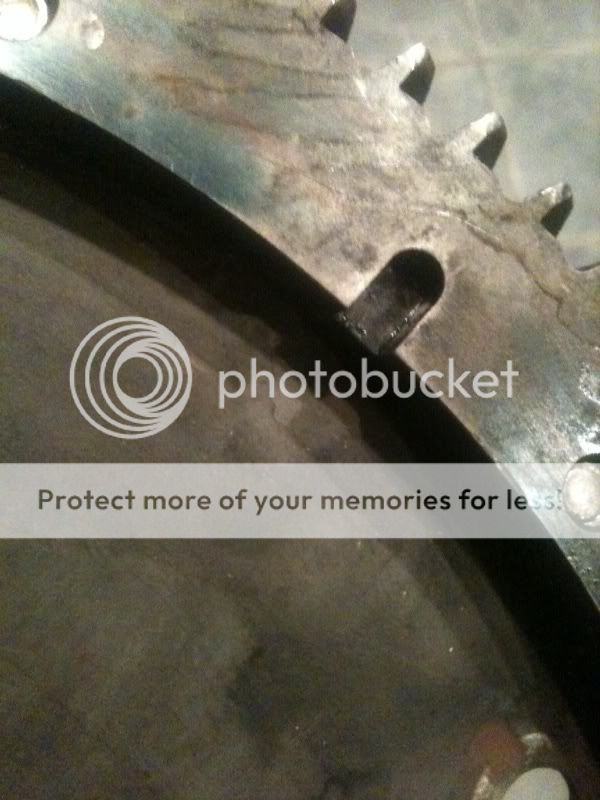
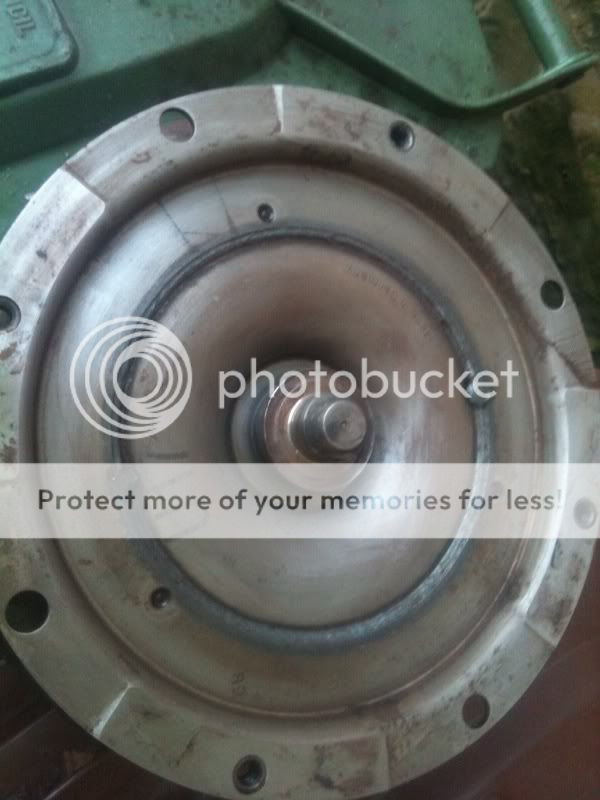
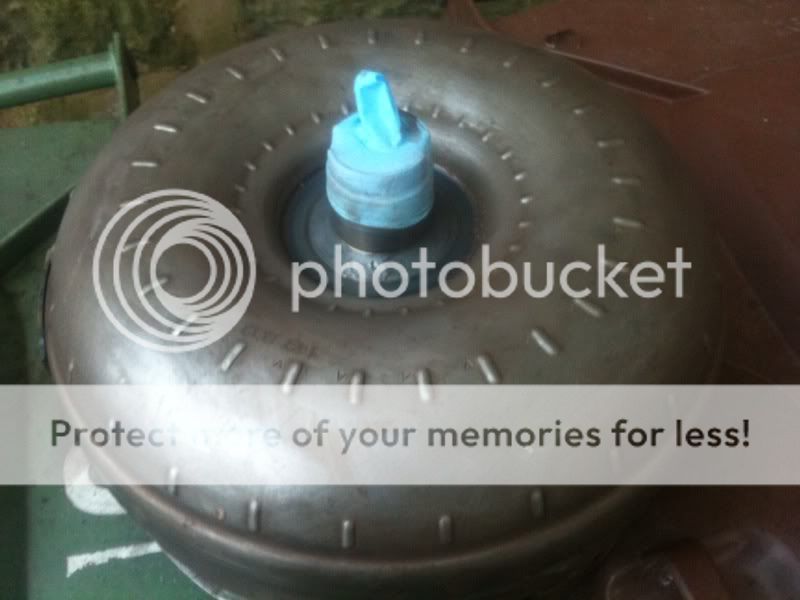
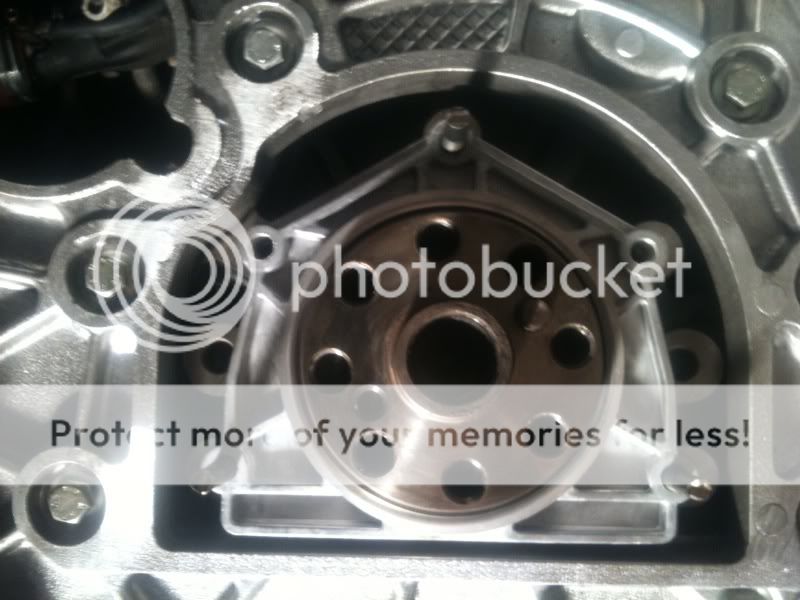
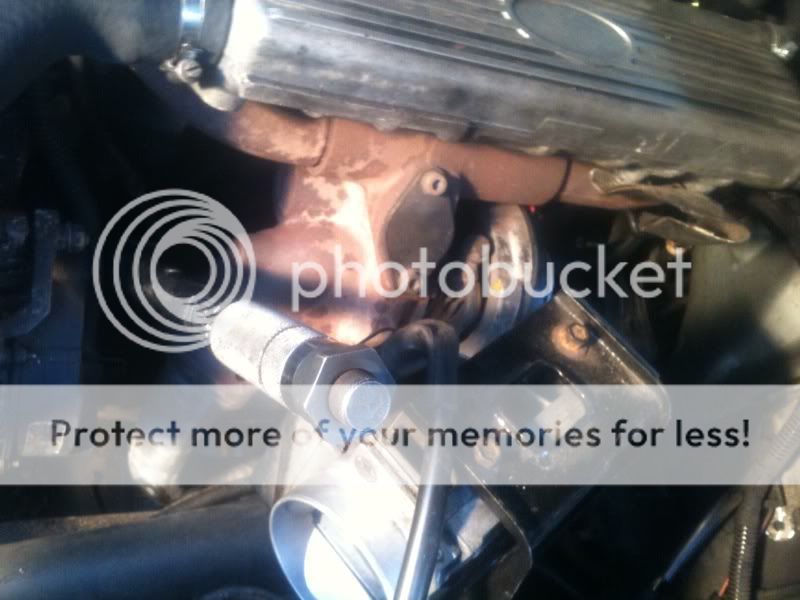
1. This is a good opportunity to check the condition of the Torque Converter flex plate for cracks/damage and wear;
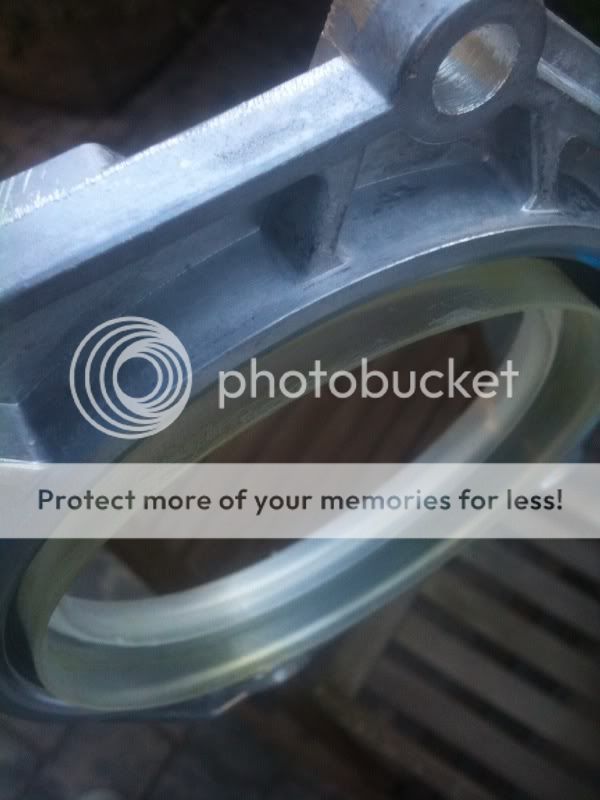
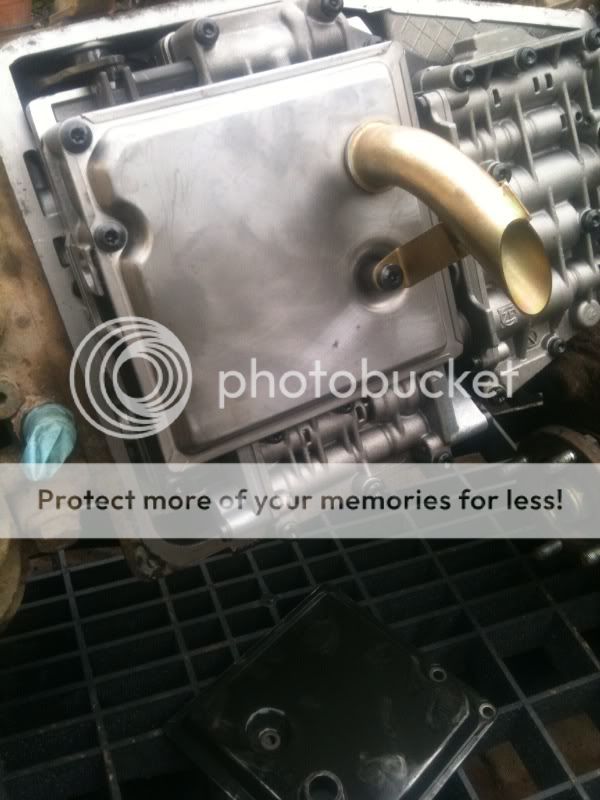
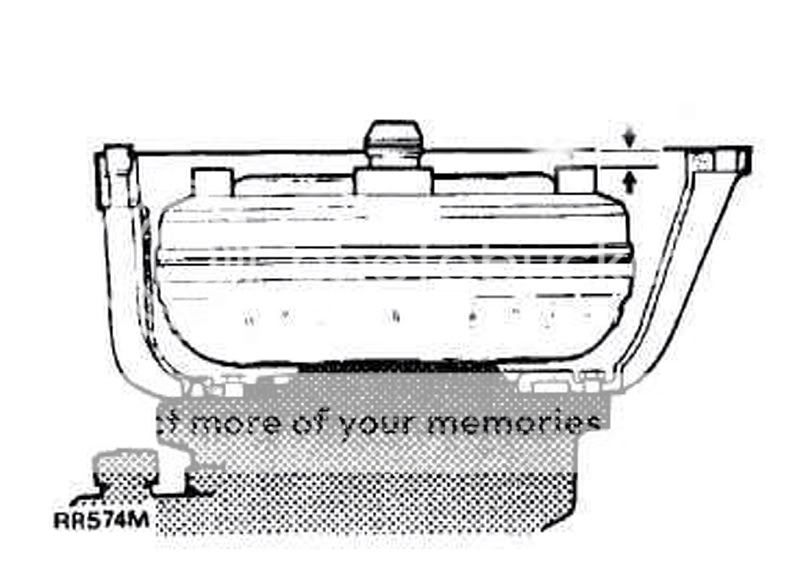
2. On the Ashcrofts site they state that the biggest single reason why their recon boxes fail is due to a bad instalation particularly relating to the oil pump.
The very best of luck to you, I'll be watching you progress eagerly.
Dave
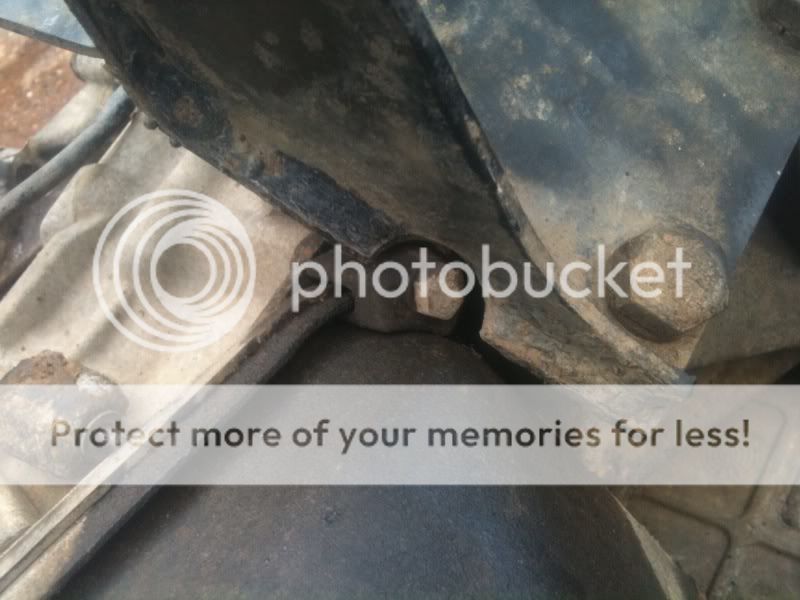
Ps I may have to do this on my TD5 at some stage in the future
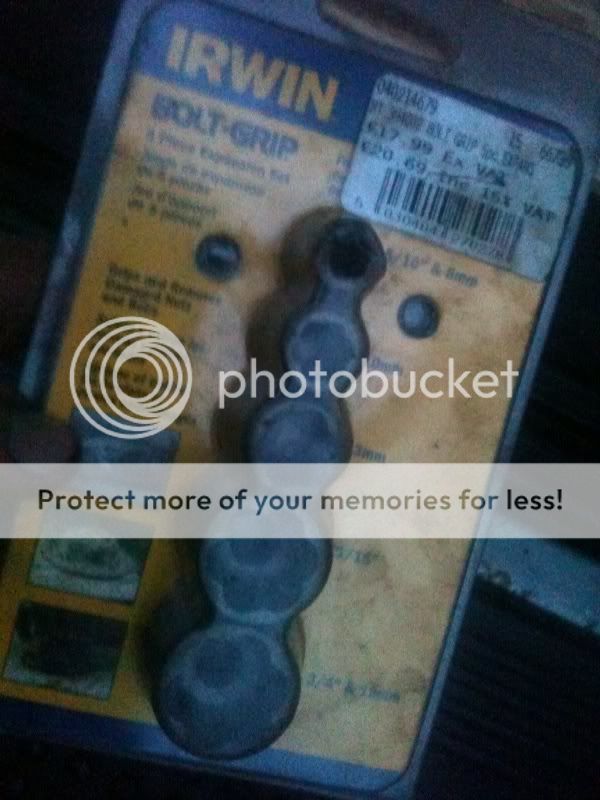
if I can work out how to get the damn rounded bolt off which is holding it to the drive plate.
..you can get tasty little locking wheel nut/rounded bolt head removers, which are basically sockets with blades inside that cut into the offender, allowing it to be undone. Sometimes


 hope it all goes well.
Cant help with the q's graham but im amazed at what uv achieved so far... good luck m8
yo G
good work man!
sorry i cant help either not being an auto man.
however
i take it those are 75mm arches? i have 50s, not sure what i prefer...
also, do you have any recurring issues related to the 10" wheels?
i have to reset my wheels bearings every couple of off road days (i dont do any other mileage in the car) which i can handle, but the other week a swivel ball snapped off when i was offroading, i'm just hoping it was a dodgy part (i had replaced them a few months before) and not something which is gonna happe again.
obviously there are not many people running 10" wheels, just wondering what your thought are?
cheers!

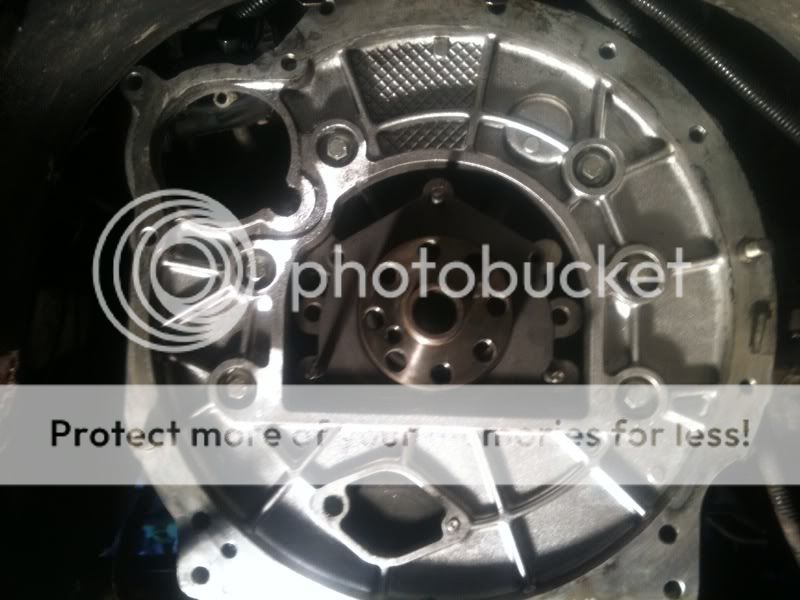
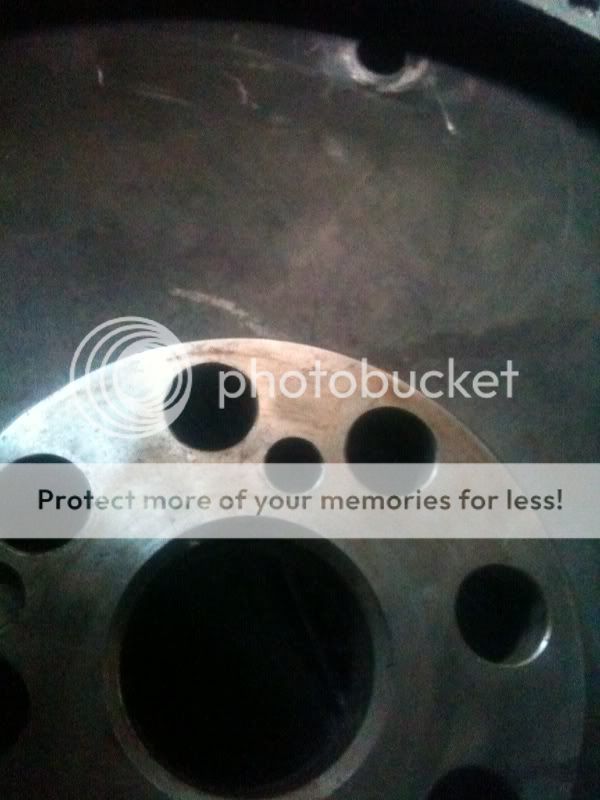
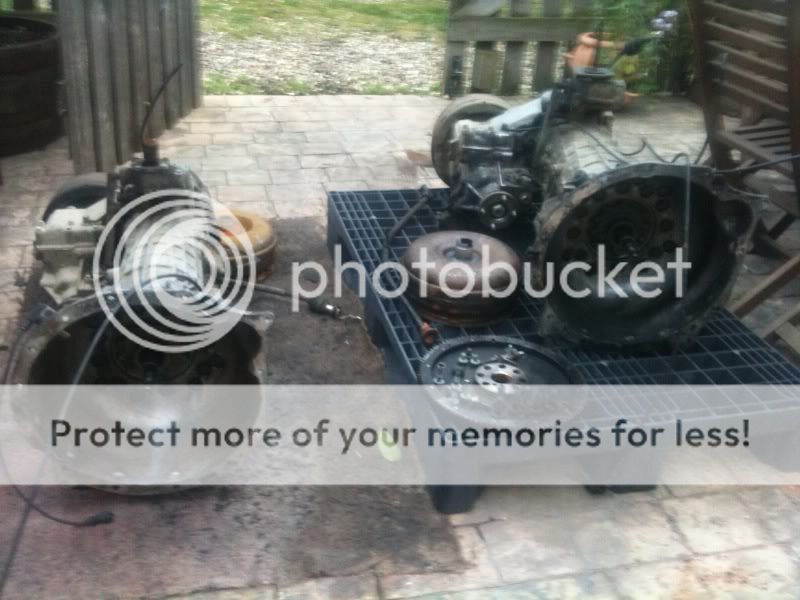
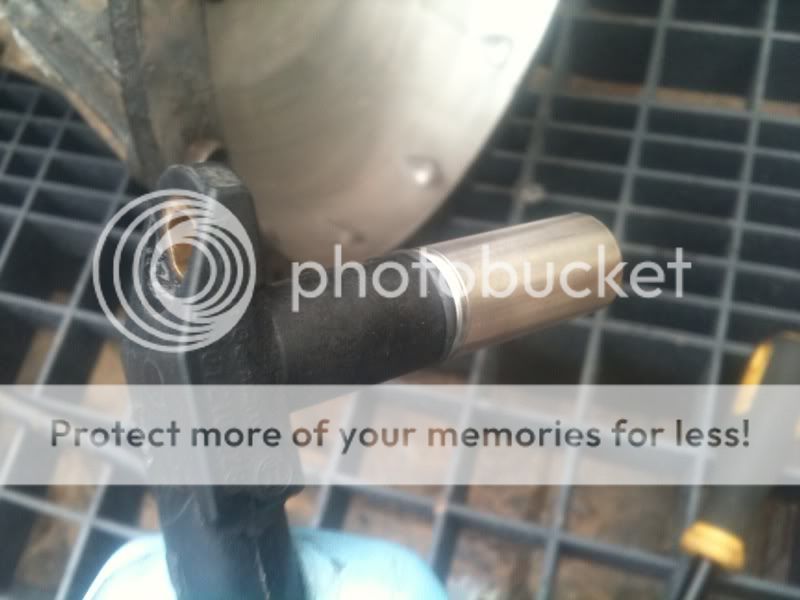
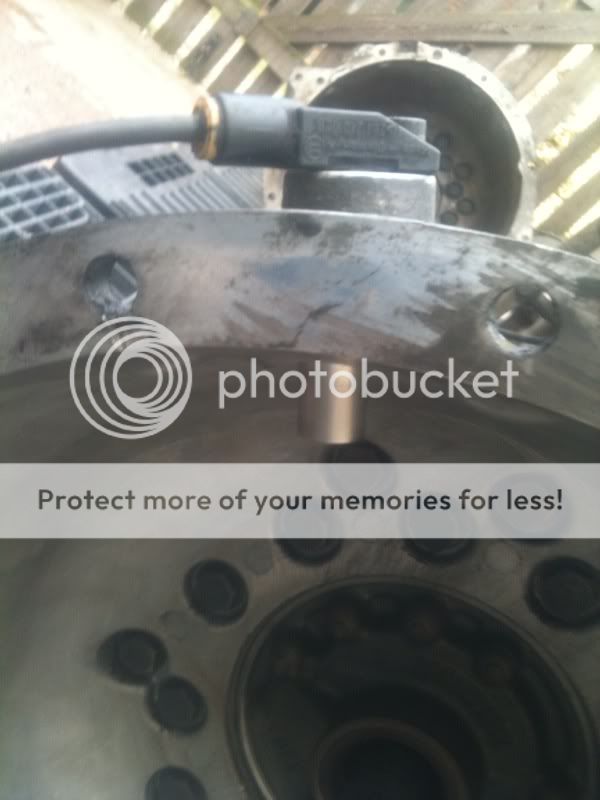
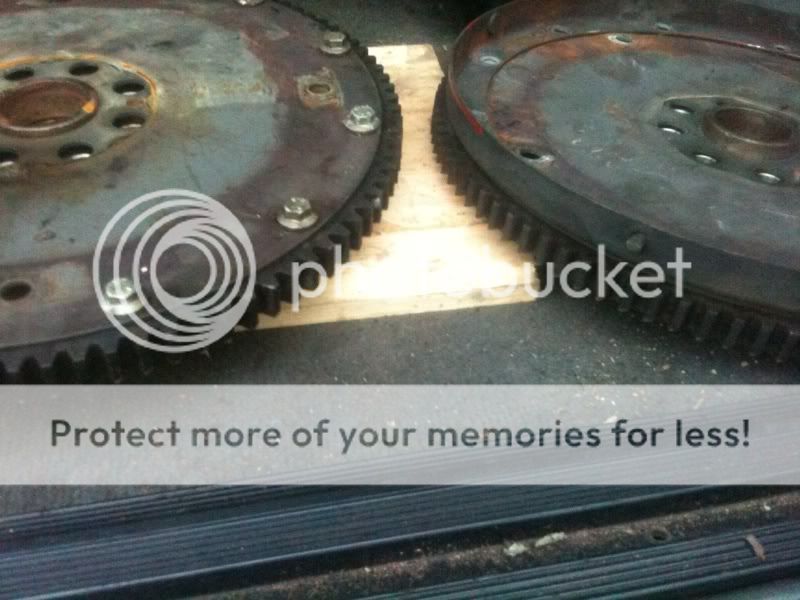
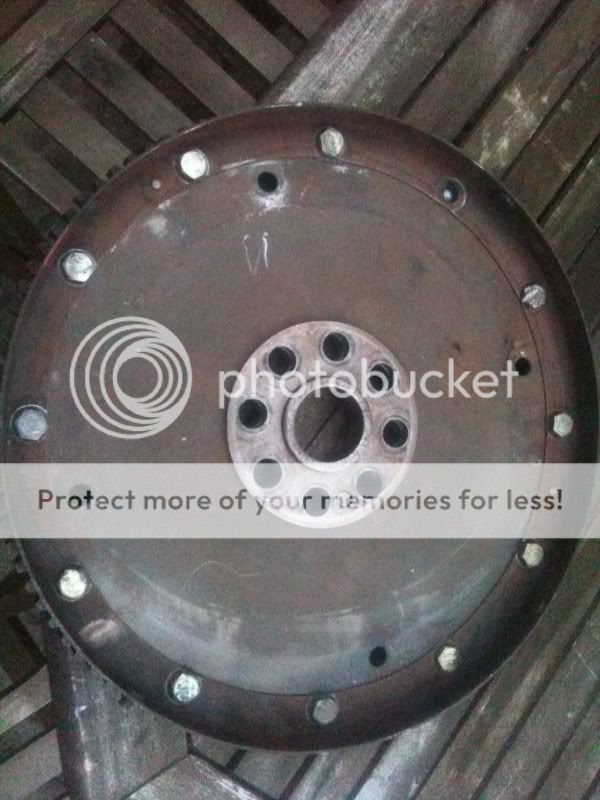
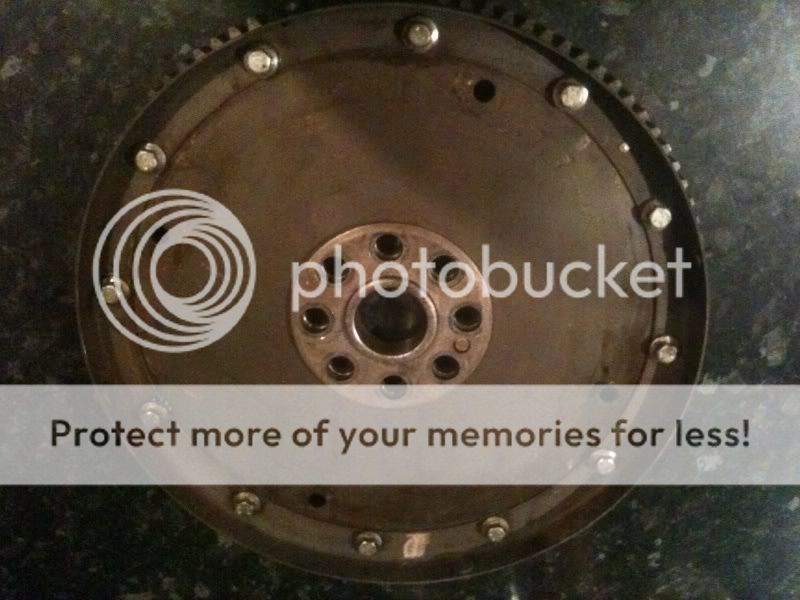
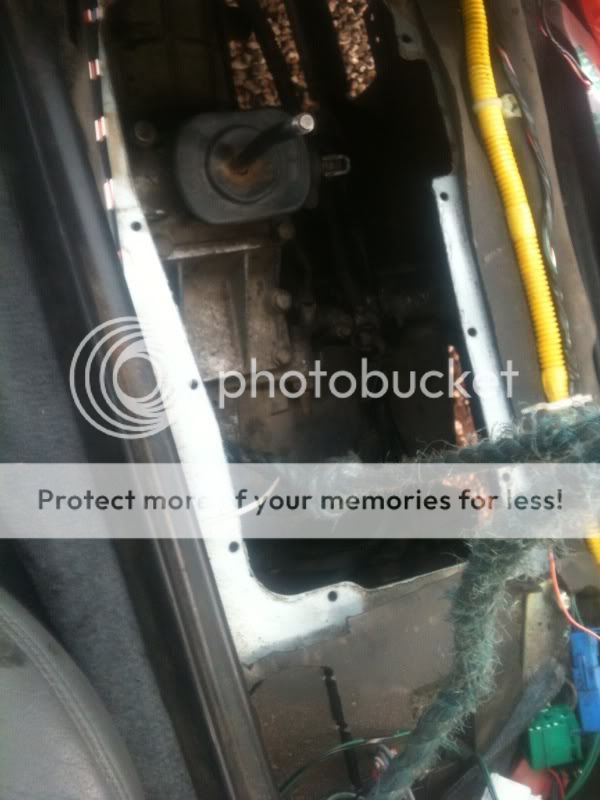
Does the flywheel need to be aligned against the crank? it's now a mongrel of 2 different ones so I don't have re-assembly marks to work with, not sure whether it will effect timing or the EDC sensor??
Thanks


Got everything crossed for ya mate, hope after all your hard work it pays off and you finally get to use the disco.
Welcome To LandyZone, the Land Rover Forums!
Here at LandyZone we have plenty of very knowledgable members so if you have any questions about your Land Rover or just want to connect with other Landy owners, you're in the right place.
Registering is free and easy just click here, we hope to see you on the forums soon!