You are using an out of date browser. It may not display this or other websites correctly.
You should upgrade or use an alternative browser.
You should upgrade or use an alternative browser.
Freelander Project III (Audrey)
- Thread starter Alibro
- Start date
This site contains affiliate links for which LandyZone may be compensated if you make a purchase.
Alibro
Well-Known Member
- Posts
- 7,445
- Location
- Northern Ireland
The new window cable I ordered arrived today so was dually fitted with no issues. it occurred to me the issue with the first one may be the pulley. It wasn't in the bag as it should have been and I was trying to fit it with the old one. I'll contact the supplier and ask them to send the pulley and might use it sometime.@Alibro
I've used many cheap window cables from that auction site without an issue over the years. I changed 3 cables the other weekend. All under £10 each. I think I payed £6.99 for a back door cable. Maybe you got a faulty one to start with.
Last edited:
Alibro
Well-Known Member
- Posts
- 7,445
- Location
- Northern Ireland
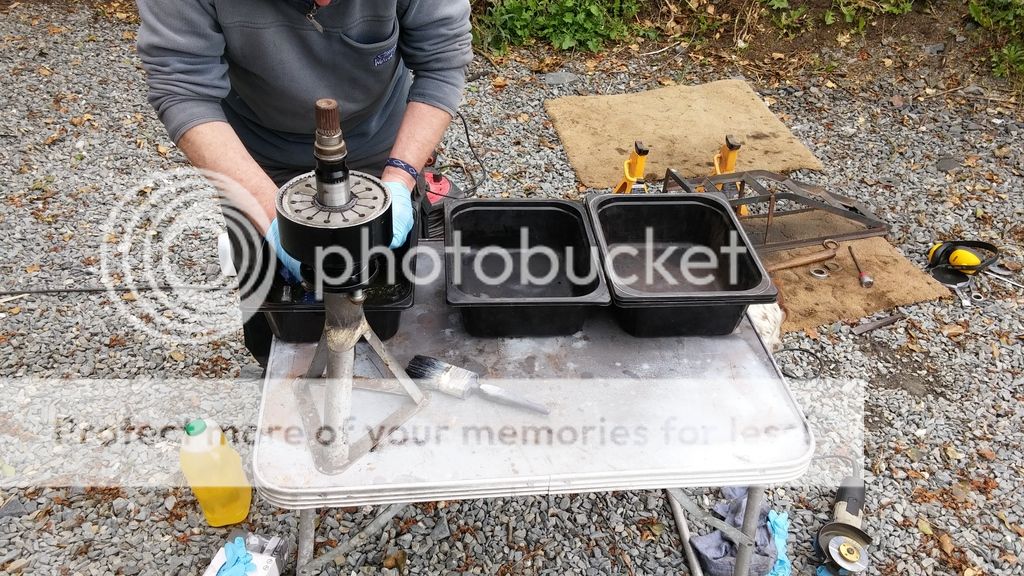
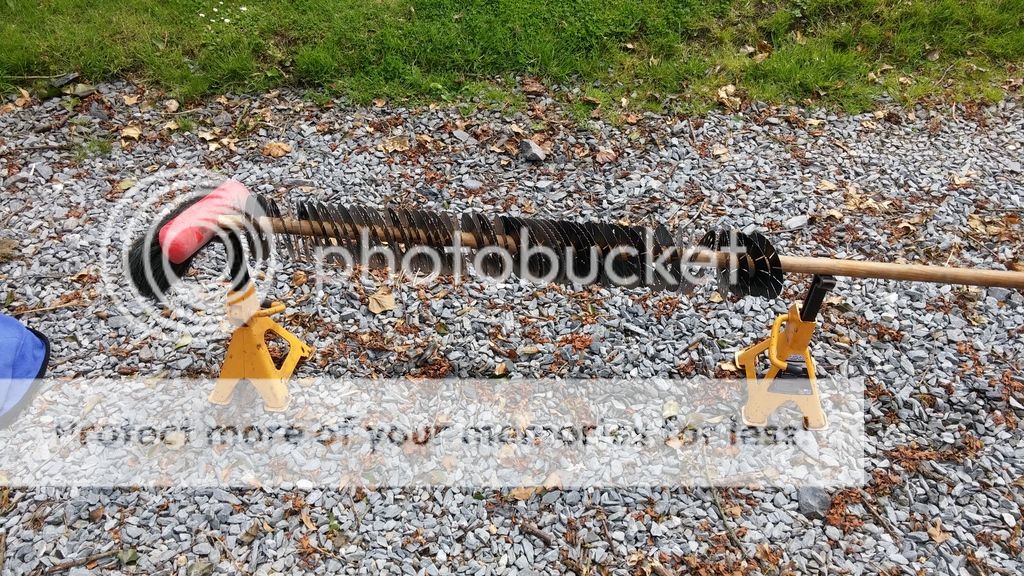
So today I managed (with some help from my mate Gordon who called round for the day) to fit the new window regulator and it is working fine now, then we sealed up the door plastic lining and refitted the door card. Once happy the door was sorted we got stuck into the VCU. Gordon was busting to see how it was done so we cut the end off (top tip, cut to the inside of the weld, not the outside) and after faffing around for a while due to cutting in at the wrong point we got the end off and pulled out the plates. Then we used three baths of kerosene to clean them up.
And hung them out to dry.
After hanging for a while we give them a good wipe with a dry cloth and put them back in. No pics of that but plenty here if interested.
https://www.landyzone.co.uk/land-rover/looks-like-ive-done-it-again-doh.293904/
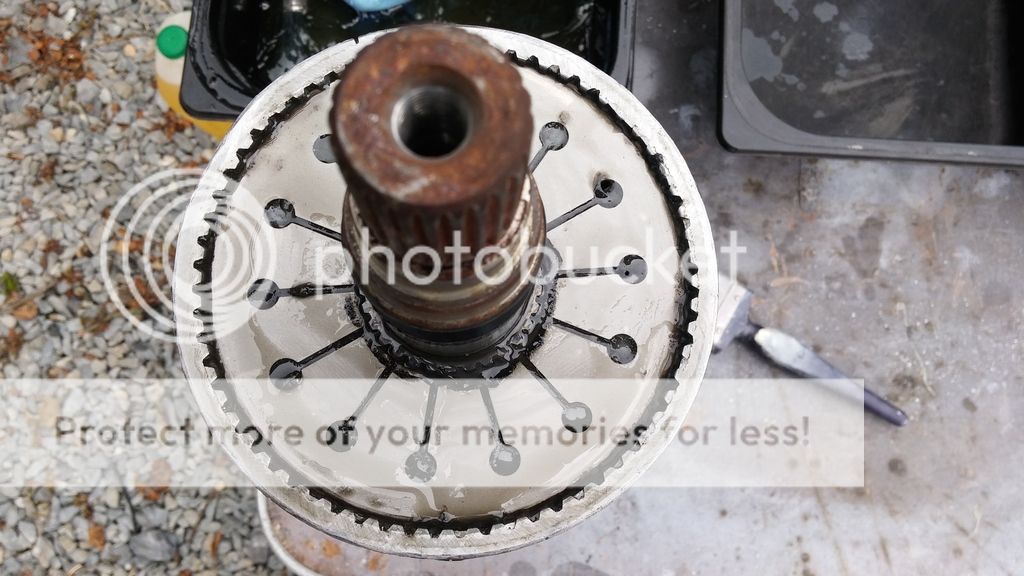
Next I drilled the top and tapped it for a M10 extra fine bolt, as I have a spare bolt left from last time.
Then I welded the top back on and ground back the ugly welds, then welded it again as I don't trust my welding so that hopefully this time it will be leak free. No more done today but very happy with our days work. Maybe tomorrow will get the fluid in and get it ready for refitting.
And hung them out to dry.
After hanging for a while we give them a good wipe with a dry cloth and put them back in. No pics of that but plenty here if interested.
https://www.landyzone.co.uk/land-rover/looks-like-ive-done-it-again-doh.293904/
Next I drilled the top and tapped it for a M10 extra fine bolt, as I have a spare bolt left from last time.
Then I welded the top back on and ground back the ugly welds, then welded it again as I don't trust my welding so that hopefully this time it will be leak free. No more done today but very happy with our days work. Maybe tomorrow will get the fluid in and get it ready for refitting.
Last edited:
Alibro
Well-Known Member
- Posts
- 7,445
- Location
- Northern Ireland
Finished filling the VCU today with 100k fluid and gave it a lick of paint. Hoping to refit tomorrow.
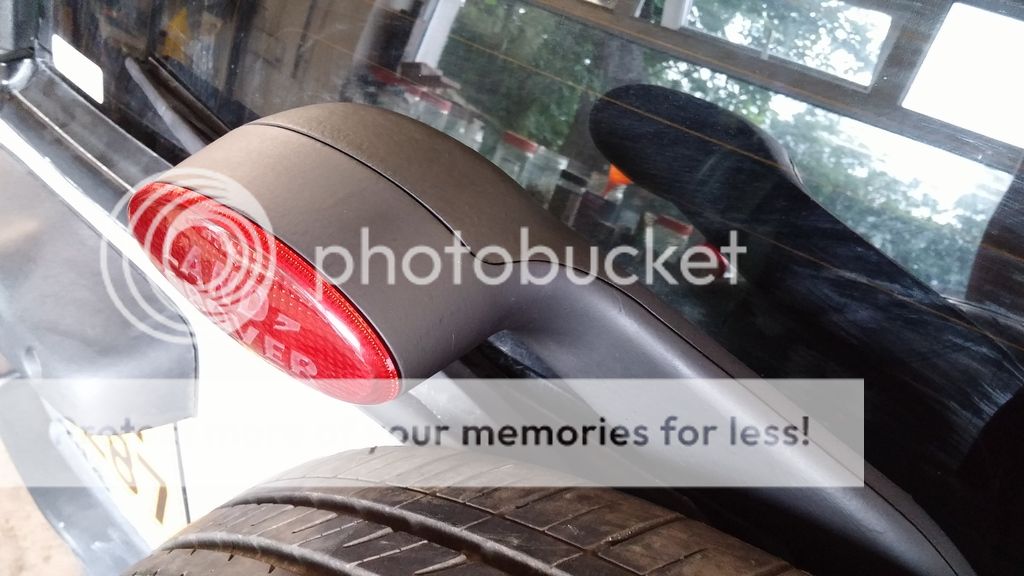
Also finished the spare wheel carrier. I used a wire brush attachment on a drill to take off the flaking paint, then etch primed it and sprayed with filler primer before using stone chip for the finish coat. I wasn't sure how the stone chip would look but very pleased with the result. Mind you I spent ages rubbing down and painting the whole unit then fitted the wheel and now can only see the light holder.
Before
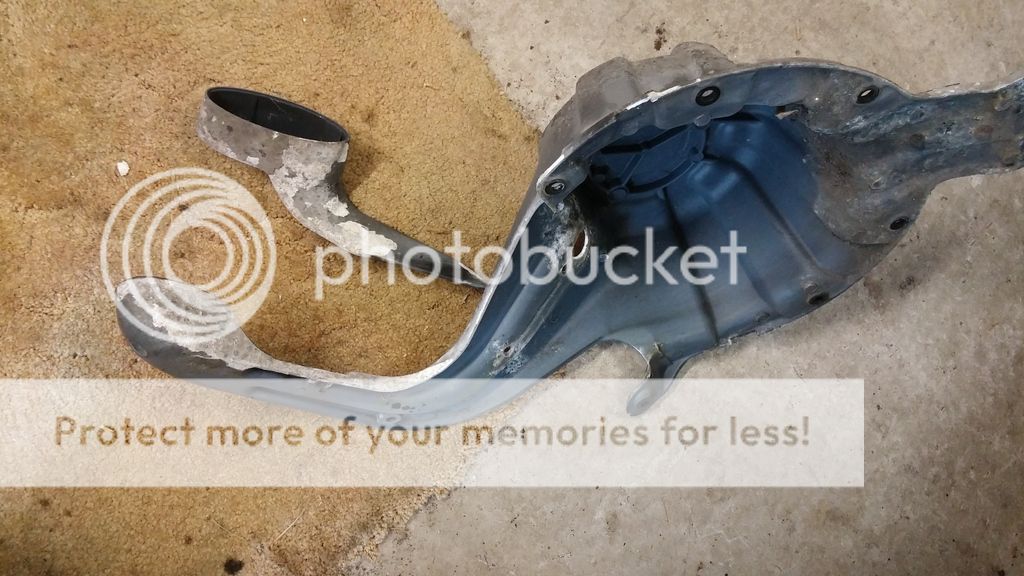
Cleaned up ready for paint.
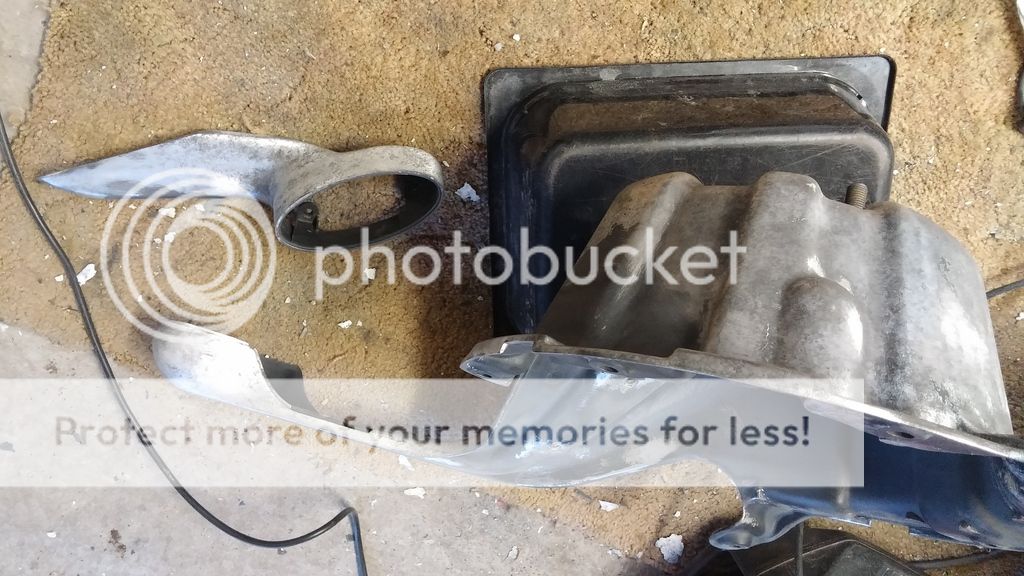
Much better
Also finished the spare wheel carrier. I used a wire brush attachment on a drill to take off the flaking paint, then etch primed it and sprayed with filler primer before using stone chip for the finish coat. I wasn't sure how the stone chip would look but very pleased with the result. Mind you I spent ages rubbing down and painting the whole unit then fitted the wheel and now can only see the light holder.
Before
Cleaned up ready for paint.
Much better
Skinny Mike
Well-Known Member
- Posts
- 2,910
Looks great.
Mike
Mike
That does look good. Mine looks dreadful at the moment. I plan to attack all these little jobs, when I get the time. I yet to paint my recently acquired 17" HSE rims, which I was planning to fit after they get a lick of gloss black.
Also how are you getting the fluid in?
Cheers
Have you tested your VCU in a vise using the Bell's video for reference? If so, how does your 100K VCU compare?Finished filling the VCU today with 100k fluid and gave it a lick of paint. Hoping to refit tomorrow.
Also how are you getting the fluid in?
Cheers
Alibro
Well-Known Member
- Posts
- 7,445
- Location
- Northern Ireland
I'm well chuffed how good the stone chip looks. As good as OEM
Alibro
Well-Known Member
- Posts
- 7,445
- Location
- Northern Ireland
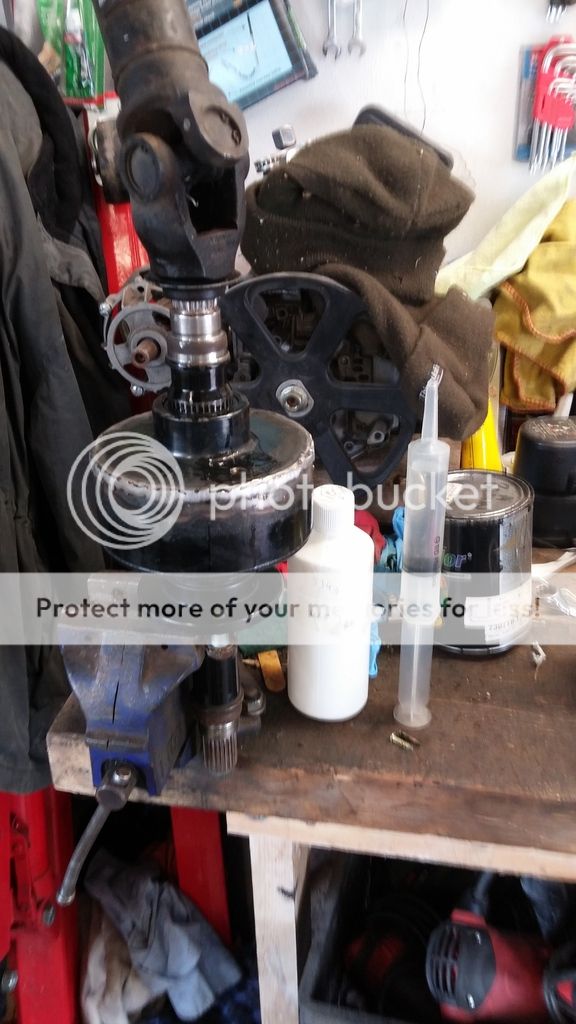
I'm going to put the propshaft back on and do the 1WU test after a few miles driving, but so far so good, it feels pretty much the same as the first two. I used the large syringe in the photo to squirt it in and turned it with the rear propshaft to get the fluid down into the disks. In the photo the VCU is vertical but the fluid goes in better with the VCU at around 45 deg. I also have two holes drilled and tapped but the second isn't necessary for filling, but helps get the first 100g or so in. BTW I put 150g in.That does look good. Mine looks dreadful at the moment. I plan to attack all these little jobs, when I get the time. I yet to paint my recently acquired 17" HSE rims, which I was planning to fit after they get a lick of gloss black.
Have you tested your VCU in a vise using the Bell's video for reference? If so, how does your 100K VCU compare?
Also how are you getting the fluid in?
Cheers
I'm tempted to fill mine with 100K myself, after reading about how you get on. Maybe I can mix 75% 100K and 25% 30K to give me 70K fluid? This would be slightly less stiff then the 100K fill but transfer more torque than a 60K fill.I'm going to put the propshaft back on and do the 1WU test after a few miles driving, but so far so good, it feels pretty much the same as the first two. I used the large syringe in the photo to squirt it in and turned it with the rear propshaft to get the fluid down into the disks. In the photo the VCU is vertical but the fluid goes in better with the VCU at around 45 deg. I also have two holes drilled and tapped but the second isn't necessary for filling, but helps get the first 100g or so in. BTW I put 150g in.
Alibro
Well-Known Member
- Posts
- 7,445
- Location
- Northern Ireland
The 100k seems to be about right for a VCU which has been cleaned out thoroughly. In your case I'd probably go for a thinner fluid as by the time it mixes with the residue of the original glue it may be similar. BTW if you use white spirit to flush the old stuff out it will take several days and lots of turning the VCU to evaporate out.
Alibro
Well-Known Member
- Posts
- 7,445
- Location
- Northern Ireland
Been busy doing other stuff but managed a bit of pottering over the weekend.
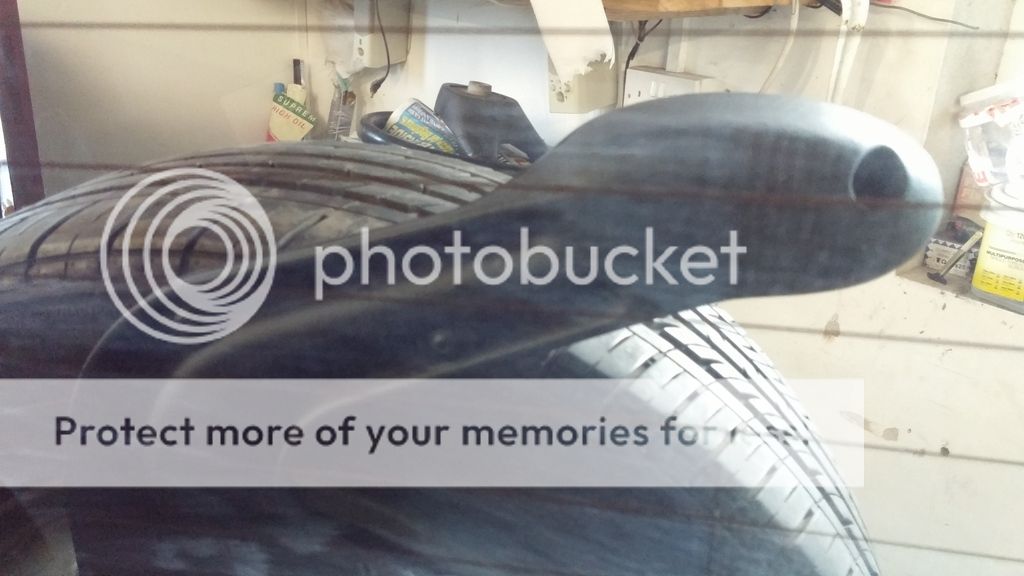
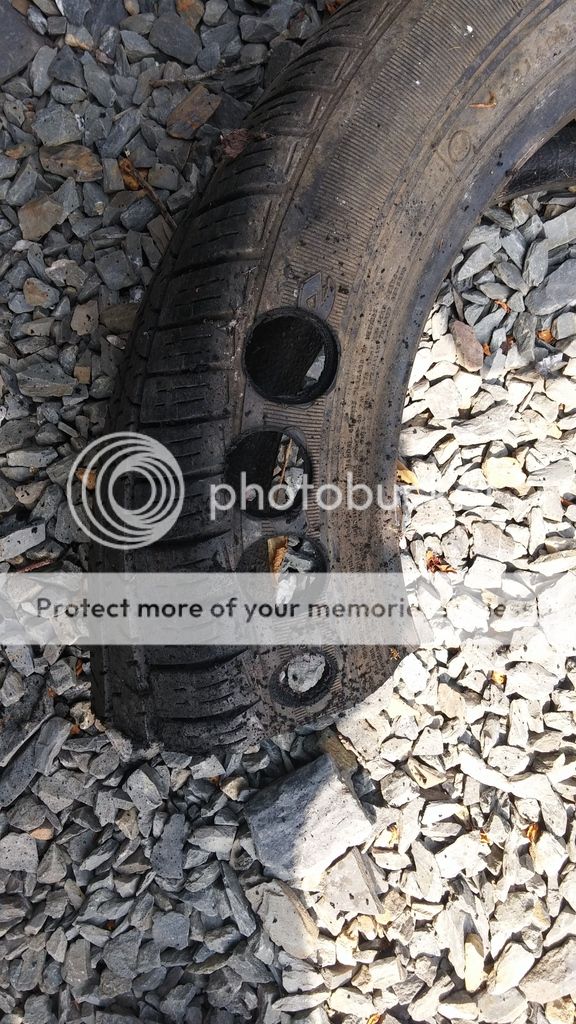
The grommets for the acoustic engine cover were either dozy or missing so was thinking of ordering some then had another idea (who, me, tight? Yip.)
First found an old tyre and got the hole saw out.
I cut out two more of the small holes after this photo was taken.
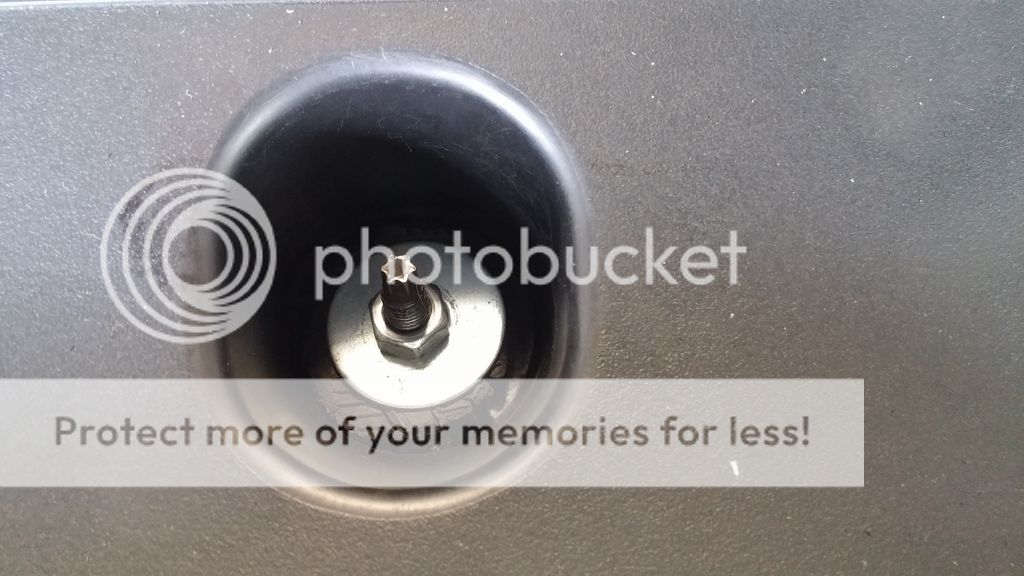
Then pushed the bigger of the rubber disks over the mounts, can't see the third one but after replacing the broken stud I did the same with it.
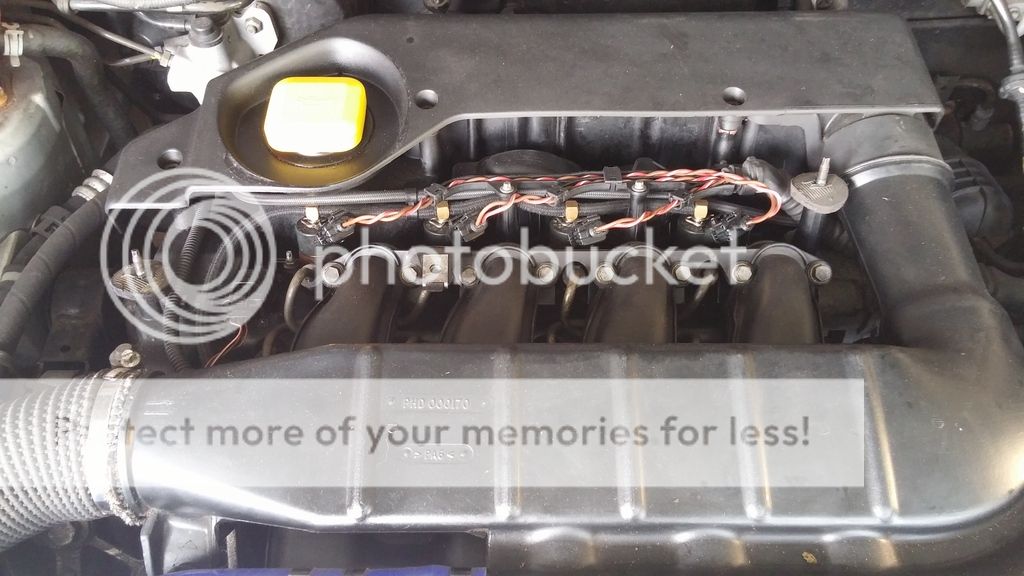
Fitted the cover and pushed the smaller disk over the mounts before securing with washers and nuts.
OK it ain't an injun rebuild but sometimes it's the wee jobs that you do that give pleasure. Specially when they cost nowt.
The grommets for the acoustic engine cover were either dozy or missing so was thinking of ordering some then had another idea (who, me, tight? Yip.
)First found an old tyre and got the hole saw out.
I cut out two more of the small holes after this photo was taken.
Then pushed the bigger of the rubber disks over the mounts, can't see the third one but after replacing the broken stud I did the same with it.
Fitted the cover and pushed the smaller disk over the mounts before securing with washers and nuts.
OK it ain't an injun rebuild but sometimes it's the wee jobs that you do that give pleasure. Specially when they cost nowt.
Alibro
Well-Known Member
- Posts
- 7,445
- Location
- Northern Ireland
Discovered today why there is no sound from the drivers side speaker. It's dead! Metered the cables and all seemed OK so was thinking the aftermarket radio was the problem, then metered the speaker and it is open circuit so looking for new speakers now.
If anyone has any recommendations please let me know.
If anyone has any recommendations please let me know.
Alibro
Well-Known Member
- Posts
- 7,445
- Location
- Northern Ireland
Yeah I checked a few other threads and the consensuses is 6.5" (or 17cm) should fit. Will probably go for a set with separate tweeters as one of them seems to be knackered too.
The factory speakers are a funny size with a unique fixing pattern. This makes a direct change difficult unless you make up some adaptors. I'm assuming the the previous owner has been cranking up the music to distortion point. This is why the speakers fail. Correctly driven speakers seldom fail. But an amplifier driven to clipping will pass DC and burn the coils out.Yeah I checked a few other threads and the consensuses is 6.5" (or 17cm) should fit. Will probably go for a set with separate tweeters as one of them seems to be knackered too.
Alibro
Well-Known Member
- Posts
- 7,445
- Location
- Northern Ireland
They failed at the connector believe it or not, I was able to see approx 4 ohms across the two wires which are crimped to the bottom of the connectors but nothing on the spade connections. I could probably crimp spades onto the wires but couldn't be bothered messing with them as they are pretty beat up anyway.
I'll buy some cheap speakers on ebay or amazon but I want separate tweeters as one of them is knackered too. I don't mind hacking the door if needs be.
I'll buy some cheap speakers on ebay or amazon but I want separate tweeters as one of them is knackered too. I don't mind hacking the door if needs be.
Last edited:
Alibro
Well-Known Member
- Posts
- 7,445
- Location
- Northern Ireland
I just ordered a pair of JBL CS7 Series speakers and tweeters from Amazon for under 50 quid and will report back on fitting and sound quality.
Last edited:
I just ordered these and will report back on fitting and sound quality.
Amazon product
Nice speakers for the money those. I think you're in for a game to fit the mid bass unit though. I decided to leave mine factory because I couldn't be bothered to mess about. Let us know how you get on fitting them.
Alibro
Well-Known Member
- Posts
- 7,445
- Location
- Northern Ireland
LOL, I know but what the hell, I have three angle grinders (115mm, 125mm and 230mm) a dremel, a jig saw and two drills, (batt and leccy). What could possibly go wrong?Nice speakers for the money those. I think you're in for a game to fit the mid bass unit though. I decided to leave mine factory because I couldn't be bothered to mess about. Let us know how you get on fitting them.
Last edited:
Similar threads
- Replies
- 6
- Views
- 1K
- Replies
- 4
- Views
- 2K
- Replies
- 25
- Views
- 2K