Freelander Project III (Audrey)

This site contains affiliate links for which LandyZone may be compensated if you make a purchase.
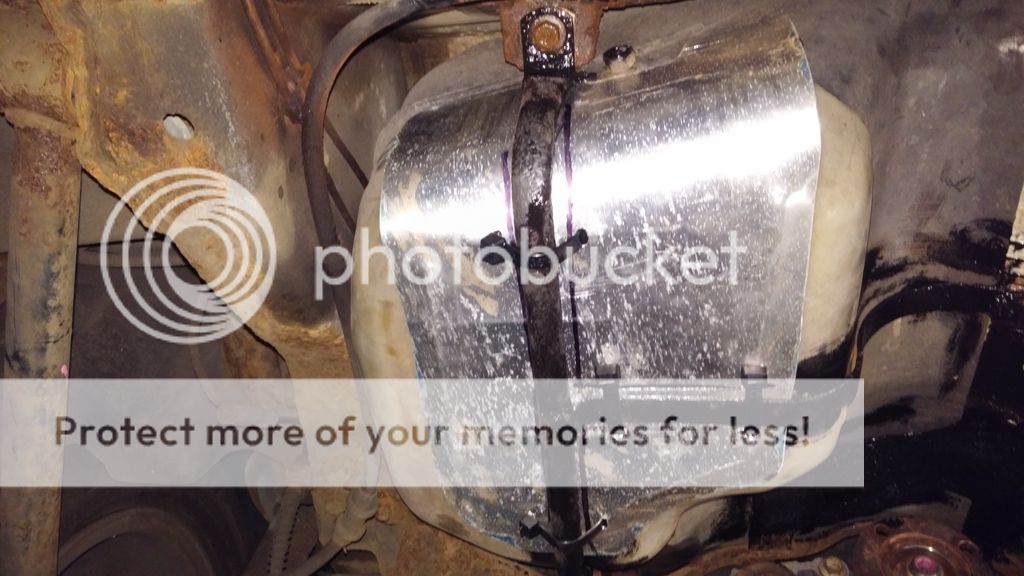
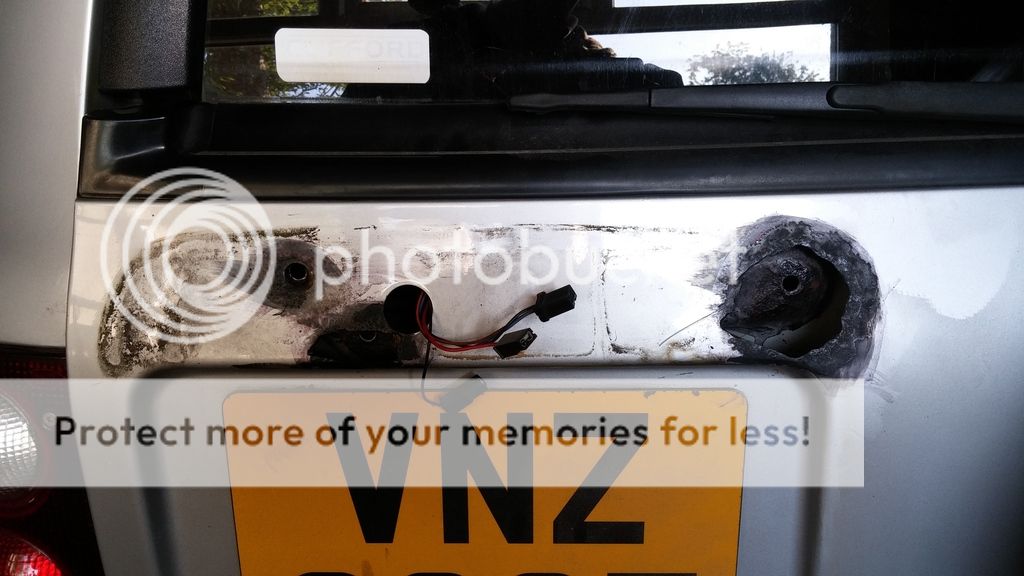
Had great fun pulling out the fuel tank support plates tonight. :cool:
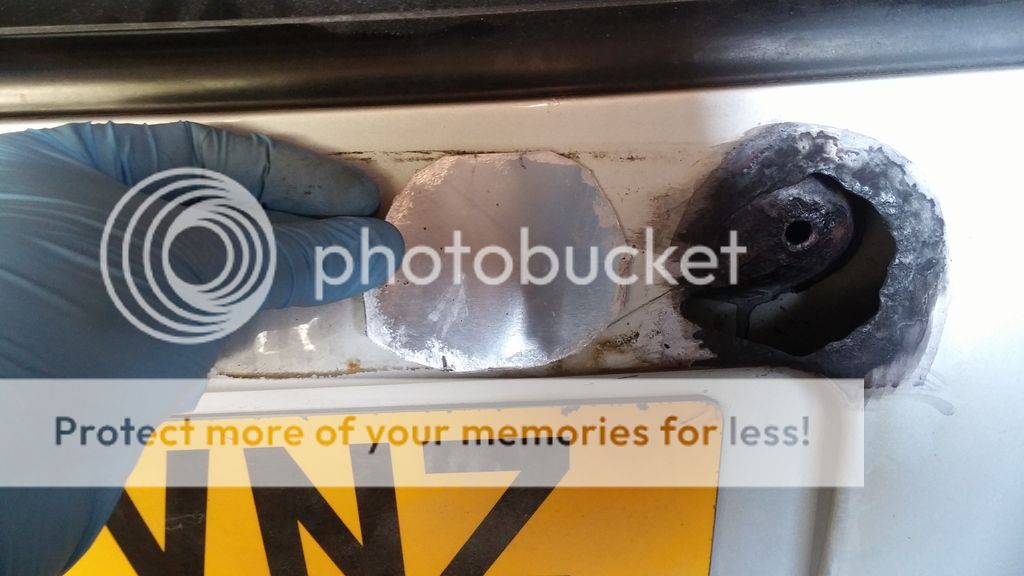
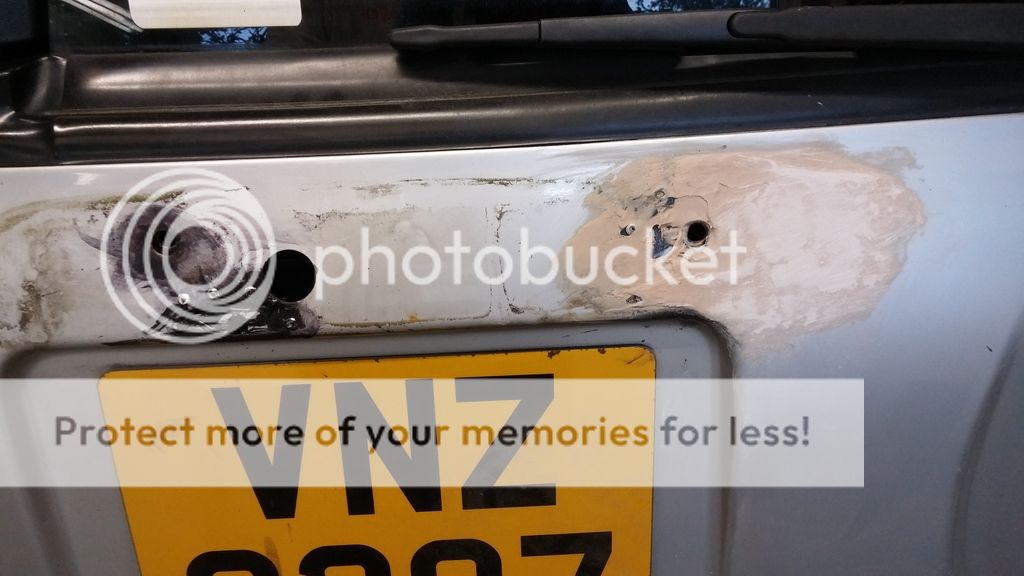
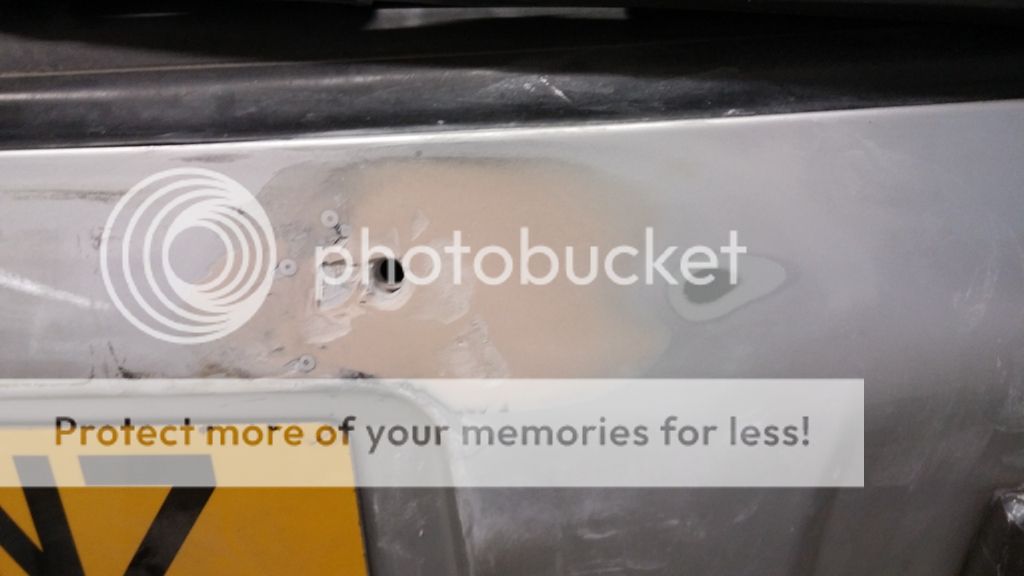
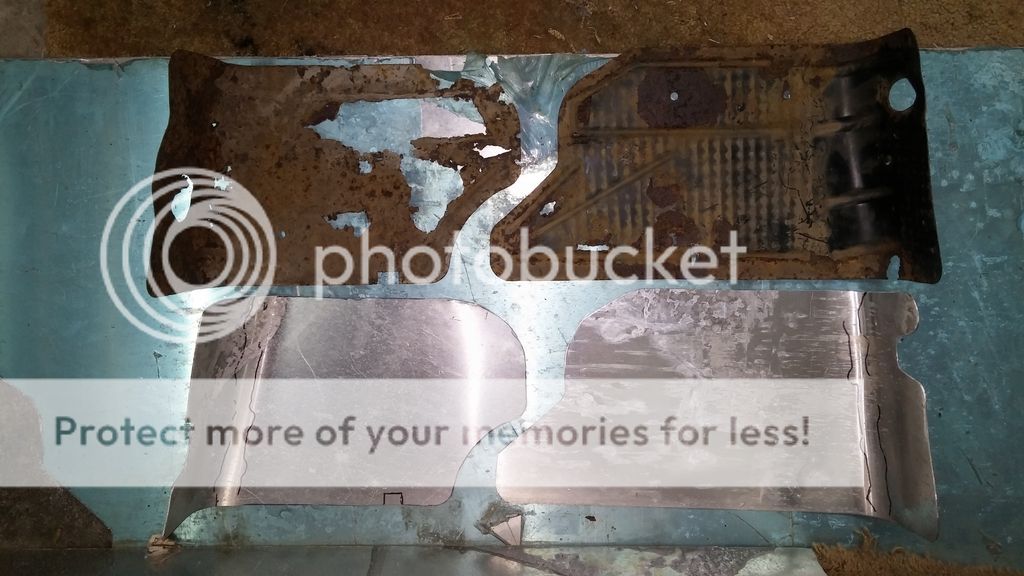
Pig of a job! The N/S one came out more or less in one piece but the O/S one just crumbled into a pile of rust.

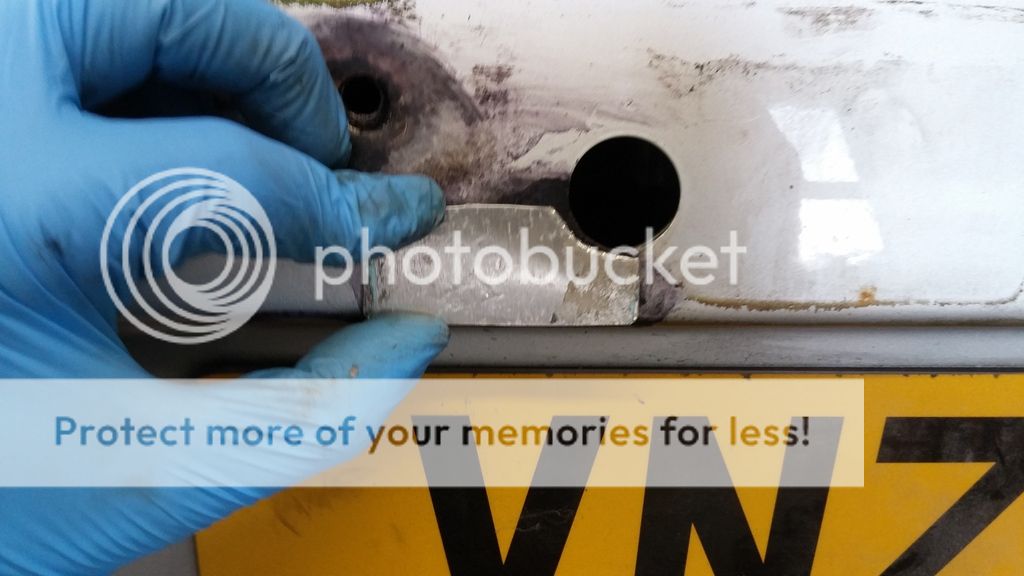
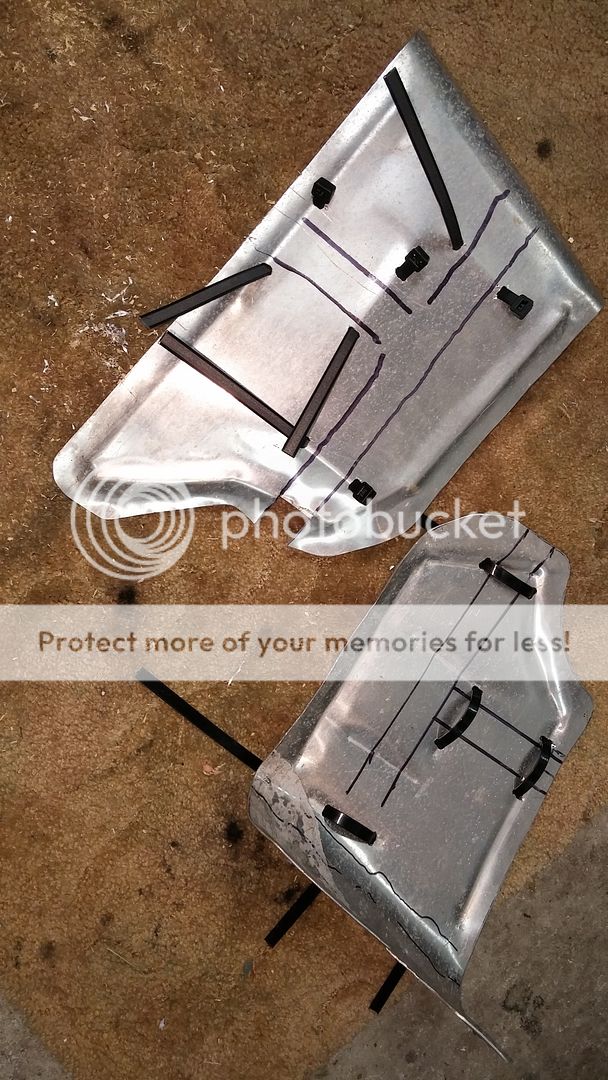
These are the new alloy ones beside my 04 K series originals.
20160502_220227_zpsqb7gxmpf.jpg


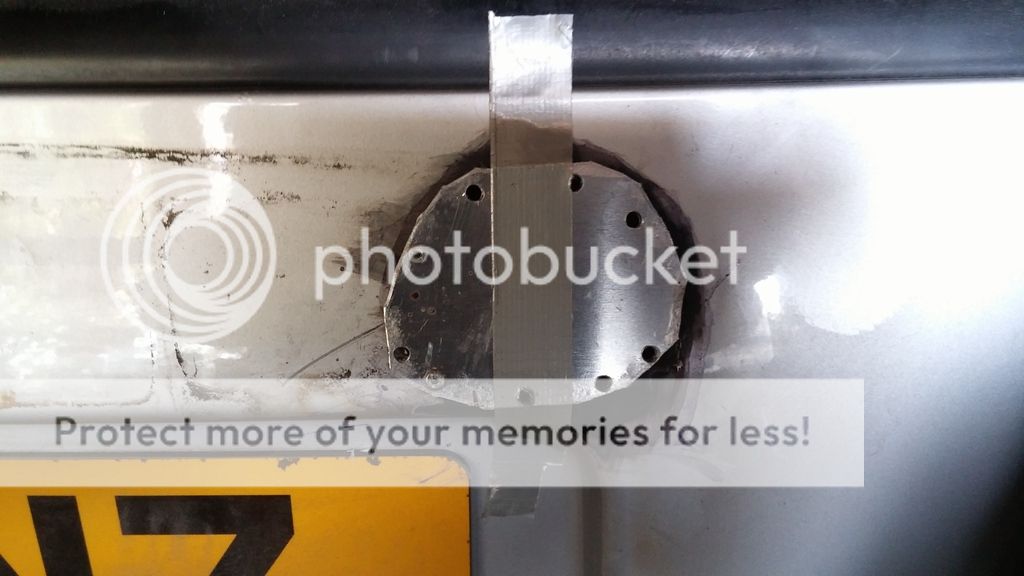
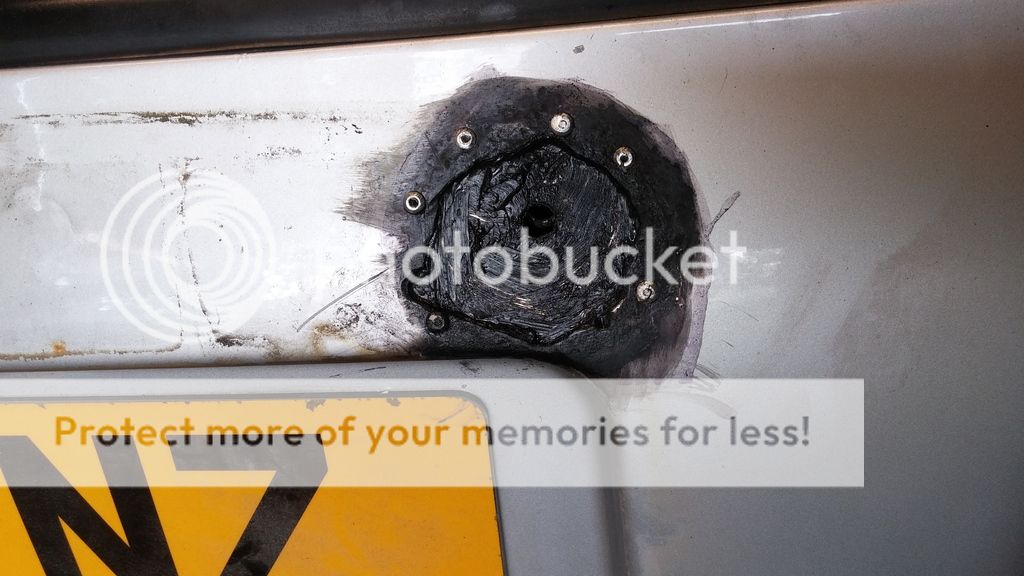
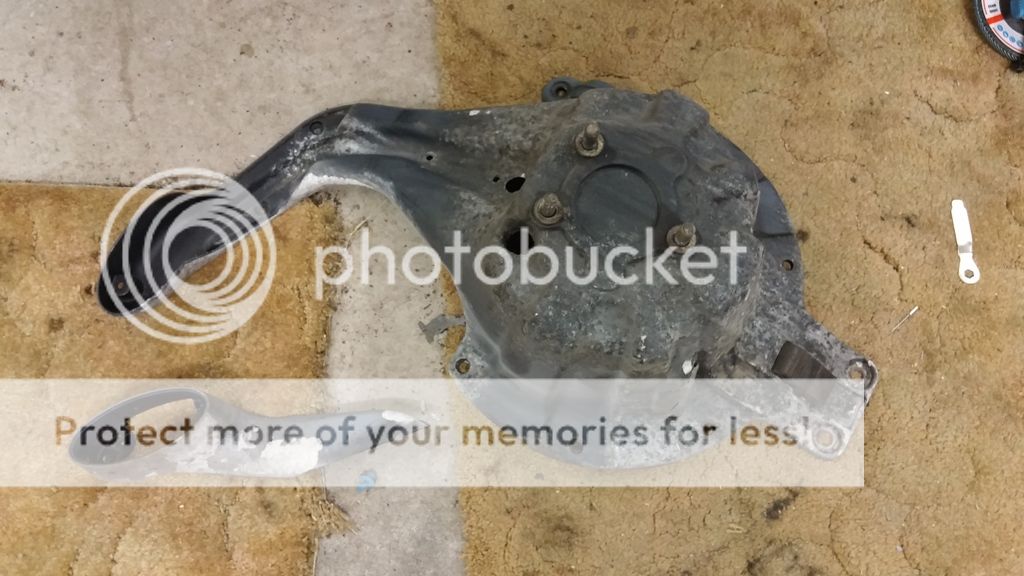
And ready to fit, I need to clean up the cradle bars and paint them before fitting these or they will disintegrate like the plates did and the effort will be a waste of time.
20160511_220906_zpsllscvysk.jpg


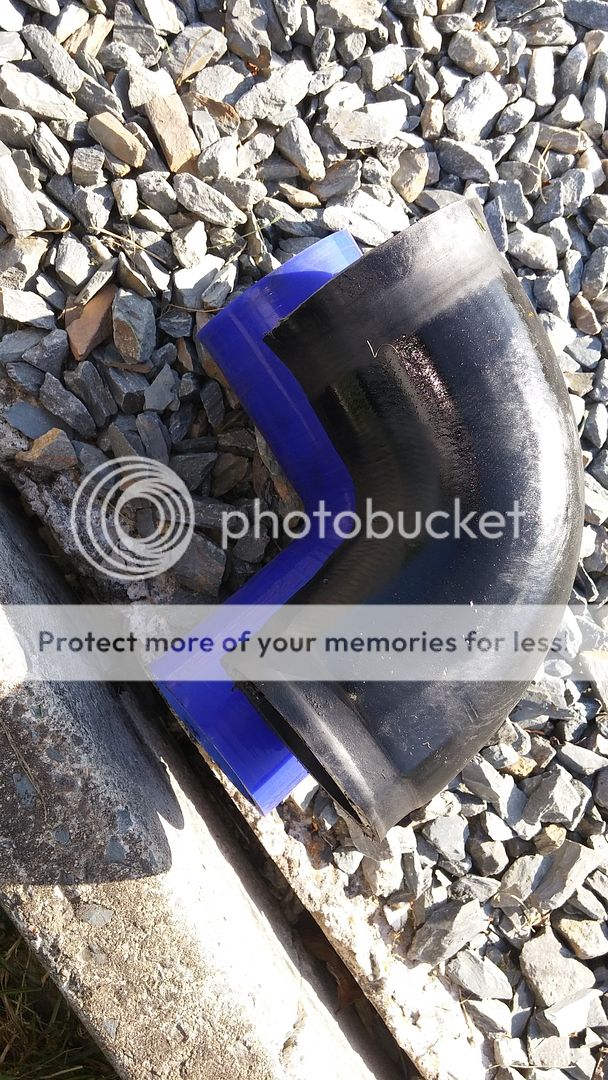
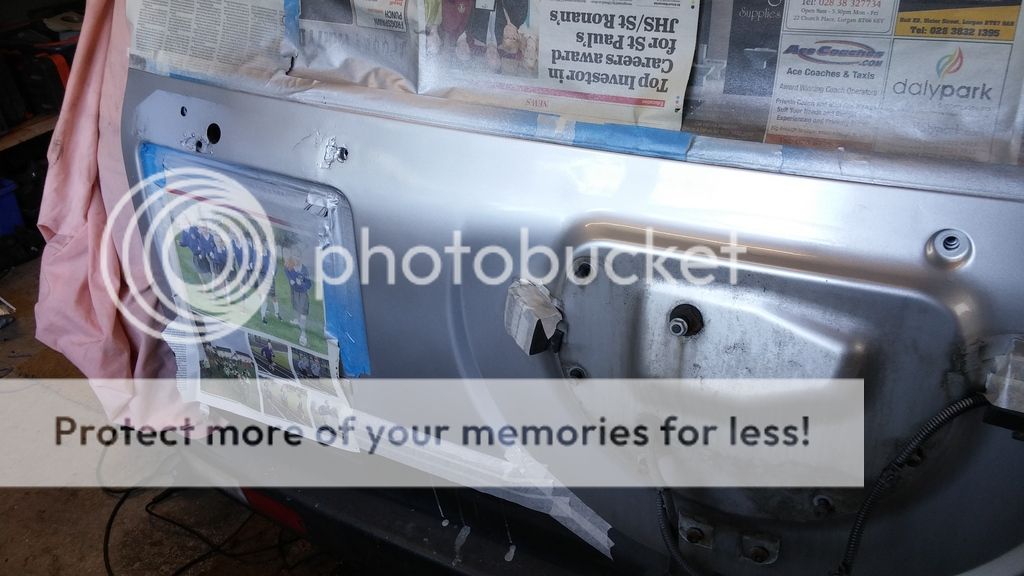
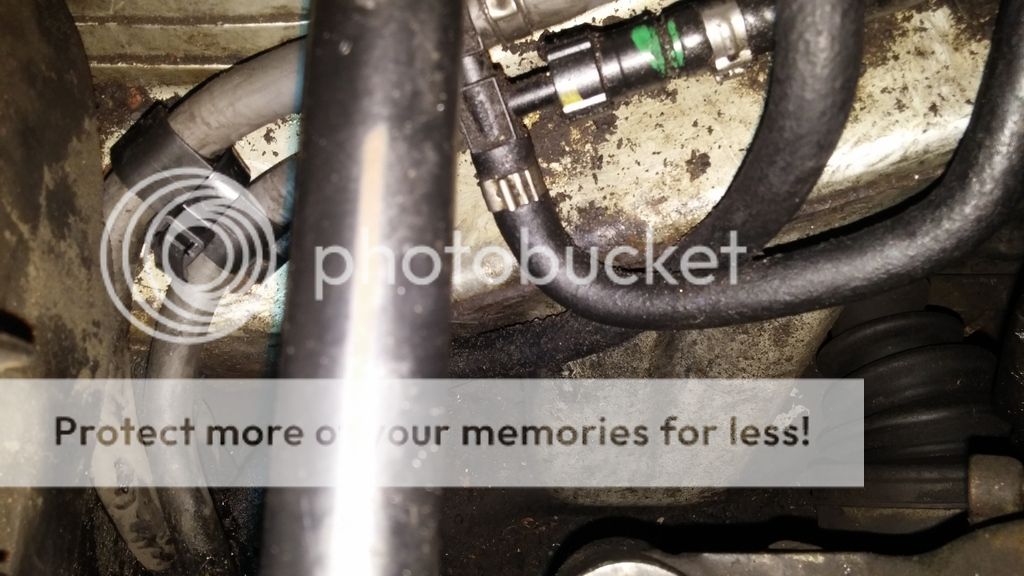
And a photo of the resecured fuel hoses I mentioned earlier. You can see the cable tie on the left.
20160511_232523_zps7vtktgdl.jpg
 
Last edited:
Last night I cleaned up the fuel tank support bars with a wire brush wheel thingy on my 125mm McAllister grinder (which I love) and painted on some rust treatment. After an hour or so I went back to it the rust had turned purple so I slapped some Rustoleum Combicolor on it called it a night. Tonight I fitted the new support plates.
20160513_202442_zpswwrqdib7.jpg

20160513_202357_zpsyczzmevq.jpg

Once that was done I started the engine to warm up the oil then did an oil and filter change. Hopefully I'll get the gearbox and IRD oil changed tomorrow.
 
Not a whole lot done today as my son and I spent several hours cutting down an overgrown hedge which was dumping all kinds of crap on any car parked under it. But hey ho it was a lovely day so it was nice to be doing something out doors and with my big son (6'4")
But as I was cutting down stuff new toys arrived all the way from China.
New Silicone hoses.
20160514_145043_zpsccbn5oyk.jpg

I was really pleased to get these as the car was smoking like a train with the old hoses just pushed on but not secured (couldn't be bothered as car not going anywhere for a while) so when hedge cutting over I started in to fitting the new hoses. All was well with the first one on the right here
20160514_183012_HDR_zps3geevinz.jpg

But when I went to fit the next one which is on the bottom of this pic.
20160514_182954_HDR_zpsmbmk6mz9.jpg

It was way too short. I thought about what to do for a few minutes before deciding to use the small straight piece (I couldn't figure out where it was meant to go anyway) so I found a piece of pipe approx the right diameter and cut a piece about 3" long to use as a connector.
Then I went to fit the elbow on to the EGR and found it was too long so had to cut both ends :mad:. Then when I had it cut I noticed it isn't a proper right angle so kinks a little in the middle.
20160514_181852_zps3sv7r6ja.jpg

So anyway now they are all fitted the smoky running is sorted and she is ticking over nicely, but not overly impressed with the fit of the new hoses, I guess there was a reason they were cheap!
 
Last edited:
The little straight bit is for face lift freebies. They have another sensor on the front bit so you need 2 pipes.
Mike
Ahh, Thanks for that Skinny Mike. I was wondering what it was for. I guess that's why the other hoses don't fit correctly. Pretty stupid then to advertise the kit as suitable for all TD4's from 2000 on. Still it wasn't a major problem problem and the kit was cheaper than the others.
 
I got stuck into the boot door holes issue tonight so lots of photo's of progress so far.
This is it after grinding back the rust and treating with rust converter.
20160516_193210_zps4aylslvw.jpg


This is an alloy plate cut to shape so that it will fit through the hole. I could have tried welding in a new patch but my welding is pretty dodgy at best and hopefully this will be less likely to disintegrate in the next year or two.
20160516_194218_zpskkbbocb1.jpg


Stuck onto the outside so I can drill for pop rivets, I put a couple of rivets in temporary to hold it steady while drilling the rest,
20160516_195150_zpssndcfbti.jpg


Patch riveted in with silicone sealent.
20160516_201601_zpsrcxxsgkc.jpg


Smaller patch for the other hole
20160516_205549_zps5b0fhqzv.jpg


Small patch riveted in and larger hole had silicon cleaned out then filled with isopon.
20160516_211954_zpsai0vxirx.jpg


Smoothed down ready for a second go with isopon
20160516_214601_zpsqx9yc9uv.jpg


And spare wheel holder off ready for rubbing down and respraying. I guess that's another job to add to the list in post #1 of this thread. :confused:
20160516_220517_zpsvpn4e5dv.jpg
 
Last edited:
Finished filling and sanding last night and got it etch primed
20160517_213845_zpsunrbzdjy.jpg


Early this evening I sprayed with high build primer and a few hours later rubbed it down so it's now ready for top coat. When it arrives! Ordered on Monday so should be here soon.
I'm hoping to avoid spraying the whole door cause I'm kinda lazy that way but if it doesn't fade in well I'll re-do the whole thing and will probably use the proper spray gun for the lacquer instead of a rattle can. The cans are very handy and OK for small jobs but for bigger areas they leave a poor finish
20160518_211709_zpsrjlllnfn.jpg


Also had a look at the N/S door lock and leccy window. As expected the a new window regulator repair kit is on the way but also going to order a door lock as it isn't behaving either.
 
Last edited:
You have been busy with this one!

Once I have some spare time next month I'm going to take the rear handle off my 03 TD4 and probably have to do a similar repair. I can see the tell tale signs of black dirt and weeping under the handle.

What sort of state was the rubber gasket in when you took it off? Are you able to reuse your handle or is it beyond that stage?

My spare wheel holder looks in a similar state to yours, so that's going to need attention too. - At least it's not such a bad time of year to be doing these kind of jobs.

Good luck with spraying when it arrives!

Jim
Cheers Jim
The gasket is fine so will be reusing it. and the handle is OK now I've replaced one of the bolts and resecured the other two. Also will replace the spring as the mechanism is a bit floppy.
Oh and the paint arrived today so will be spraying silver tonight.
 
Got the colour and lacquer on last night and am very pleased with the results.
In the photo above I've already rubbed down the filler primer with 1200 grit wet and dry so the finish is pretty good. There are a few pin holes but not enough to worry about. I took away some of the masking so the colour could blend in without sharp edges, then sprayed over the lighter coloured filler primer with grey primer so it wouldn't show through the silver.
20160519_205217_zpsyca3ghfd.jpg


Once dried I rubbed everything back with T Cut to remove over spray and make it all nice and smooth. Then after cleaning with panel cleaner I sprayed the colour two or three times with 20 minutes or so between coats. After that I sprayed with Halfords Paint shop lacquer a couple of times. I was a bit dubious of it being any better than their standard lacquer but now am convinced. I'll not be using any other rattle can lacquer in the future it is that good.
20160520_085113_zpsmgnp807c.jpg

20160520_085127_zpsvzfrfbgf.jpg


And this morning I test fitted the handle and the result is good enough that you would have to be looking for it to see it. I still need to rub back the overspray and make a few adjustments to the handle but hopefully by tonight will have it all back together.
20160520_085443_zpsyqqvoqvh.jpg

20160520_085453_zpskekj8eaf.jpg


This is by no means a professional job and any body repair men out there would cringe at it but it will stop the rot, resecure the handle and is good enough for a car of this age/value.
 
Last edited:
Great photos as ever. And it looks like a successful night's work. Considering you had the challenge of it being silver and the spray cans, it looks a pretty decent job!
 
Want to come over for a bus man's holiday and do mine while your here? ;)
If you don't mind a dodgy cowboy cocking up your motor then I'm in. :p

Looks pretty tidy in the picture.

Great photos as ever. And it looks like a successful night's work. Considering you had the challenge of it being silver and the spray cans, it looks a pretty decent job!

Thanks guys, as ever with these things it looks better in the photo's than in reality, having said that it's good enough.
The prep work is always the most important but recently I discovered sanding by hand is a mugs game. I bought a 240V DA sander and it is the dogs do da's. If I used 400 grit wet and dry it would leave deep scratches that need sanding with 800, 1200 and 1500 to get rid, but with the DA it isn't an issue. Top tip with a DA is I use compressed air to blast the pad clean every few seconds as it clogs quickly.
The other thing I've found is don't use Halfords sand paper for finishing as it's sh1te. Buy good quality stuff from a paint shop supplier and it will make the world of difference.

This is the paint I ordered and it seems to be a great match.
http://www.ebay.co.uk/itm/301023124...48&var=600171223982&ssPageName=STRK:MEBIDX:IT
 
I'll add yet another well done!

You must be very organised (and manage to keep your hands very clean) when you do your work to get these great photo records of your work. When ever I do things (which has nowhere near the regularity of your enthusiasm!) I always want to share the experience with photos but it hardly ever works out that way!

Great putting the links (to paint etc) up as well.

I thought I'd do a Google Image search for a Cowboy Freelander for an amusing image add-on to my post - funnily enough there wasn't anything appropriate that came back. But the 20th line that came back was this LZ link....

https://www.landyzone.co.uk/land-rover/what-have-you-done-to-your-freelander-today.199594/page-294

... to this pic...

Heathrow1.JPG


Which is a pic of yours truly and the kids at Heathrow when we emigrated out here in 2003. So if you want to borrow a hat... :)
 
LOL, organised! Me!!! That's a laugh. I tend to wear gloves a lot of the time so the only issue is laziness taking the gloves off. I also have Photobucket app on my phone so the photo's are uploaded the same day.
As for hats Yes please, if you pay for my flight I'll be happy to borrow it. :p
 
I haven't done much the last few days due to other commitments but last night I spent an hour or so trying to replace the N/S rear window regulator. I spent ages trying to figure out why it was so tight then finally the penny dropped. The original cable hadn't broken but was badly twisted so I secured the ends of old and new in the vice and pulled them out straight. Yip the new one is over an inch shorter. :mad:
I don't know why I did it but I just bought the cheapest one I could find this time which was only a few pounds cheaper than the good one I got before. As soon as I realised the issue I ordered again from the same supplier as last time so when it arrives I'll double check the first new one for length and if I'm right send it back.
 
Back
Top