gummy bear
Active Member
- Posts
- 122
- Location
- Fleet,Hants
Hi All
As the title says its another disco 1 bobtail build
Before i start i would like to say a HUGE thanks to Matt Baxter and the Green Hornet (aka ian).
without there help i wouldnt have even thought about doing this as they are the brains and i just do as im told
Hopefully if any of you have any techy questions either matt or ian will jump in and answer them
Right,story so far.....
Bought my disco 1 some time ago for off roading and must say am really enjoying the whole driving/chatting/fixing and do manage to get through most places the defenders do but at a cost,the usaul big bang as the massive rear over hang hits the deck
Anyway,mot ran out sat night and i new the disco needed some welding etc for mot and after a chat on sunday with Matt we decided were gonna go for the bobtail,i know some of you dont like em,some of you love em but each to their own
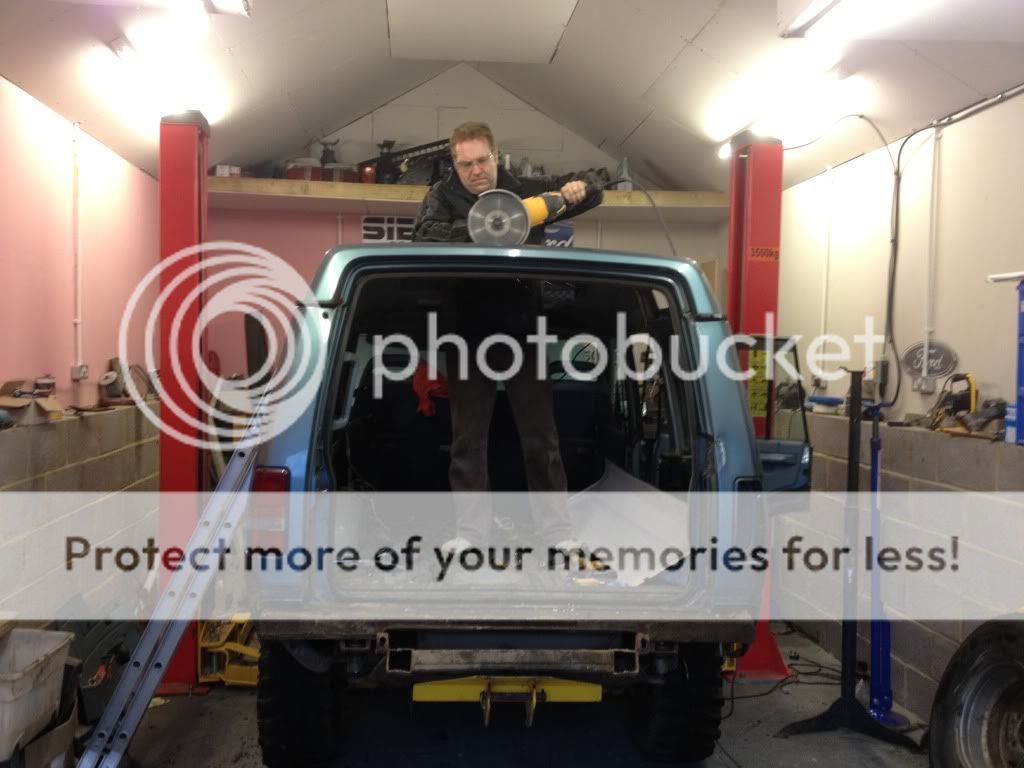
anyway time for some pics,this was started mon night but due to grinder noise we can only use a grinder up until 8pm and as we not hme from work til 6 not alot of time
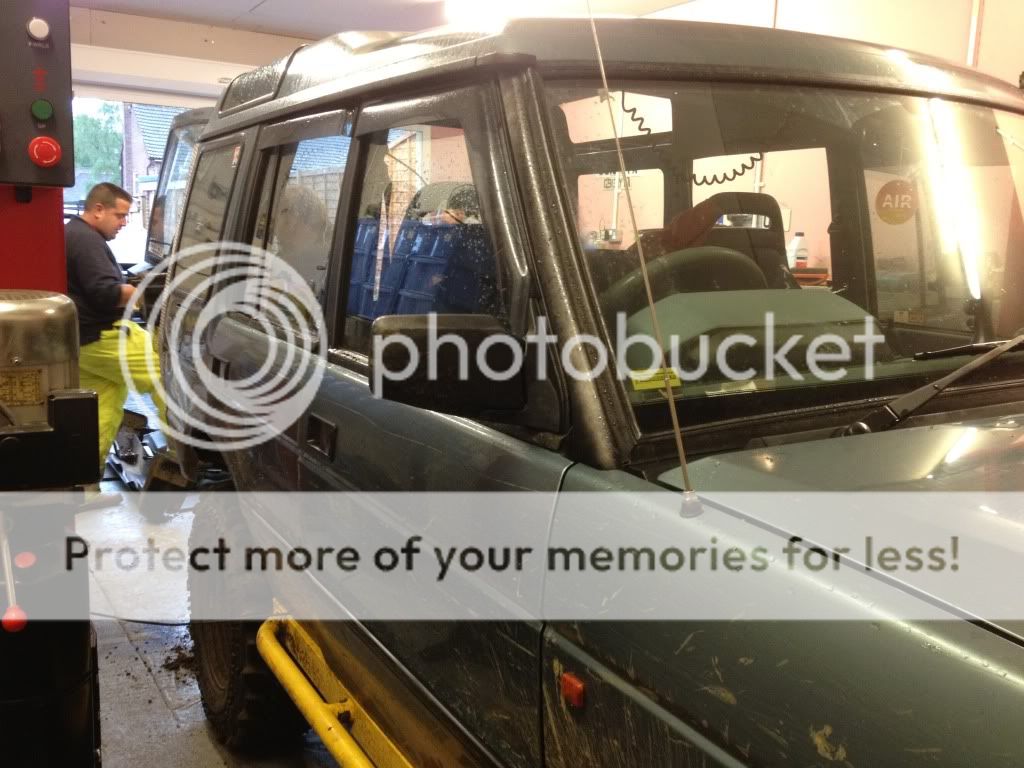
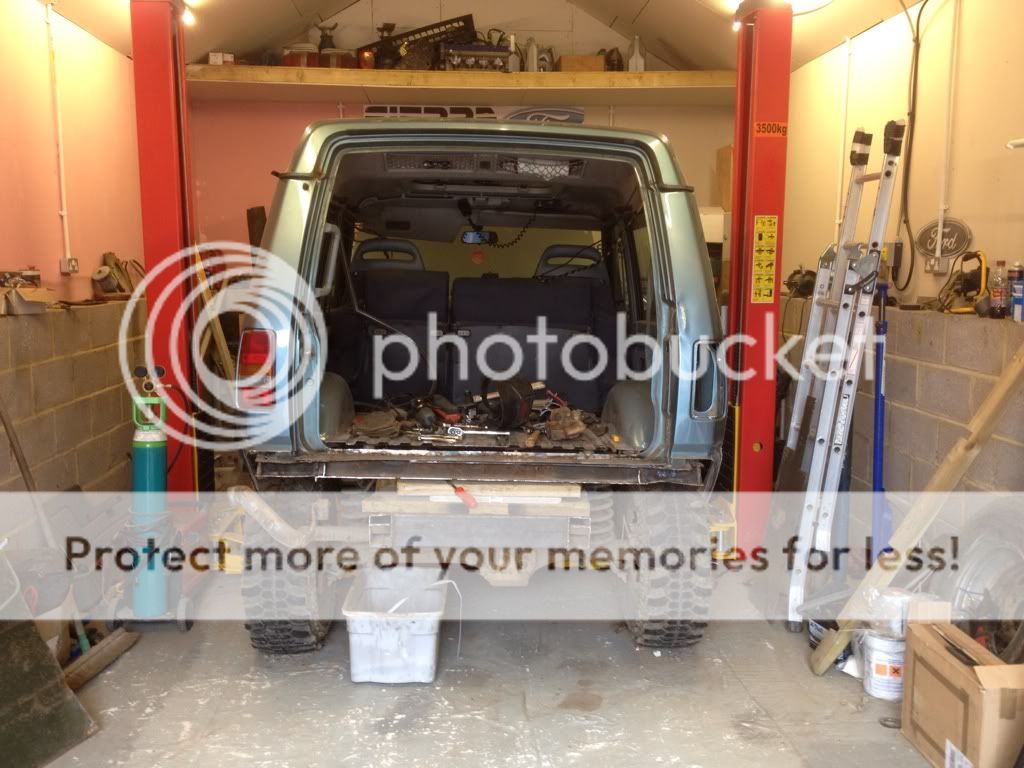
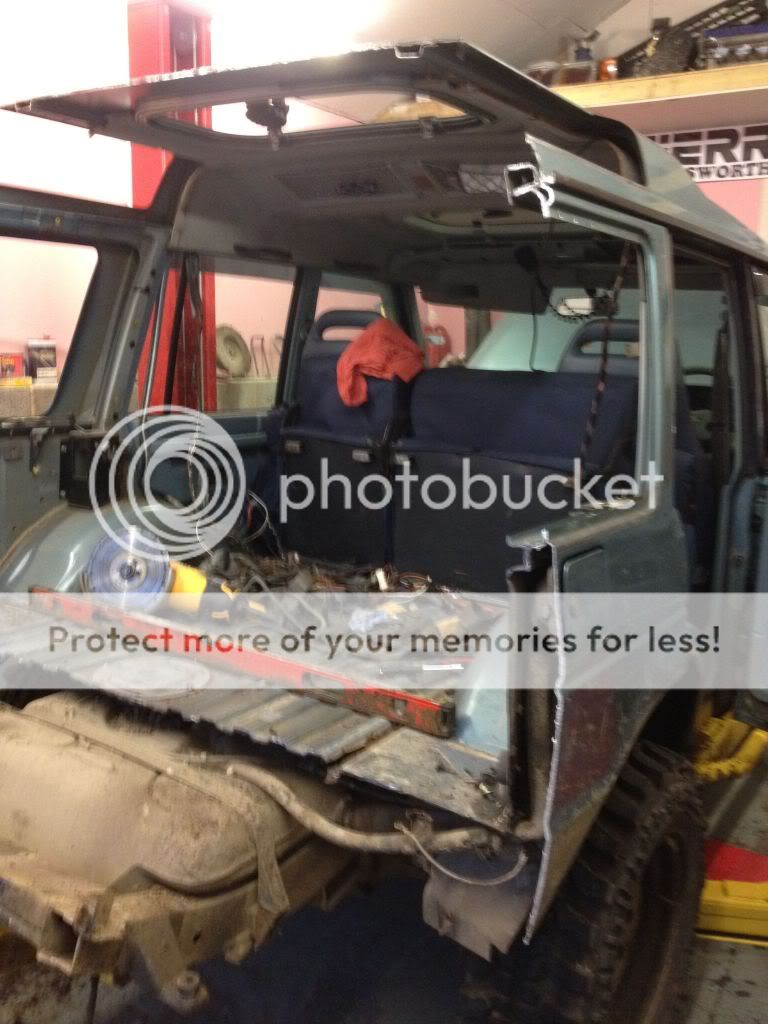
this was the disco at 6pm mon night
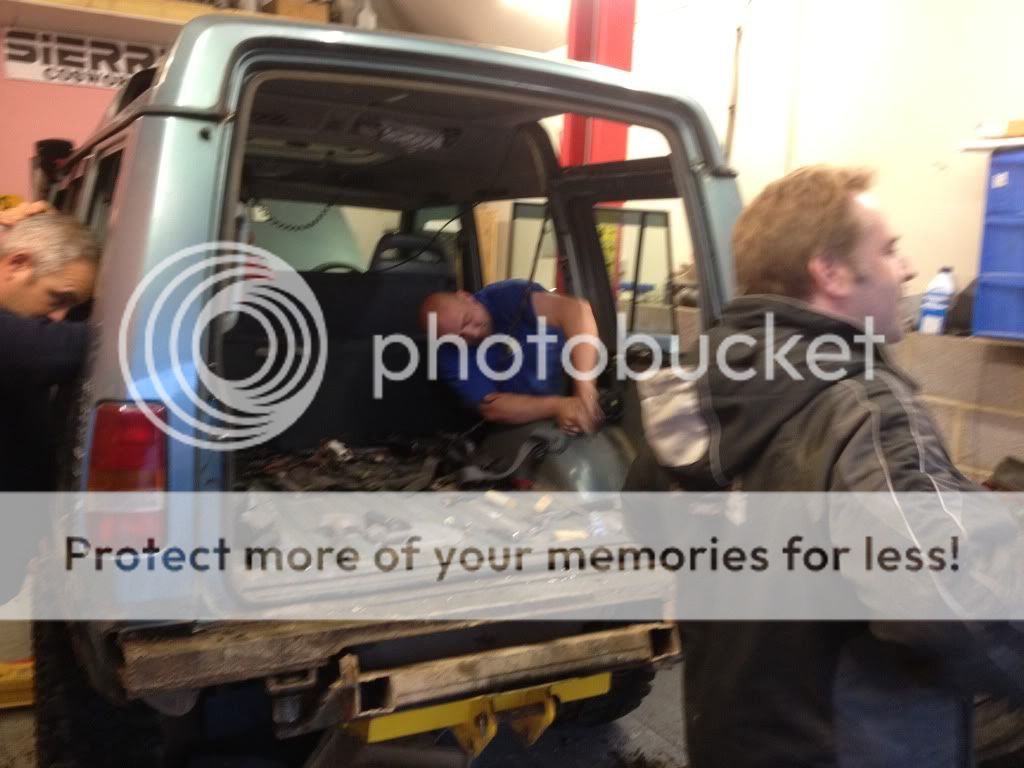
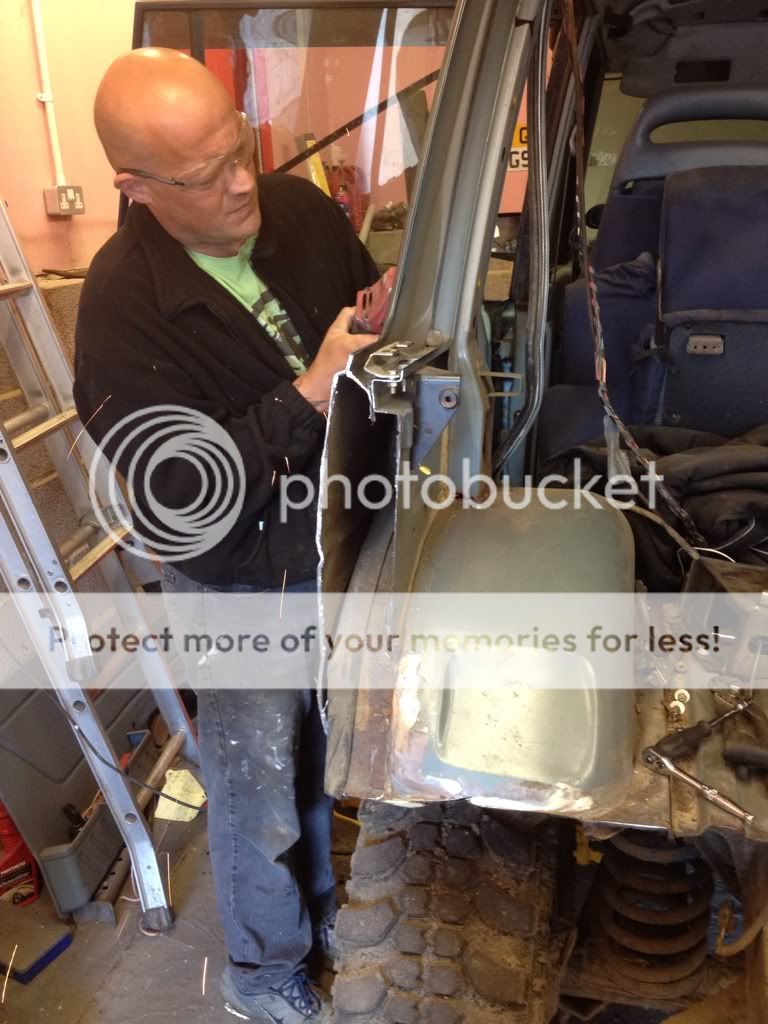
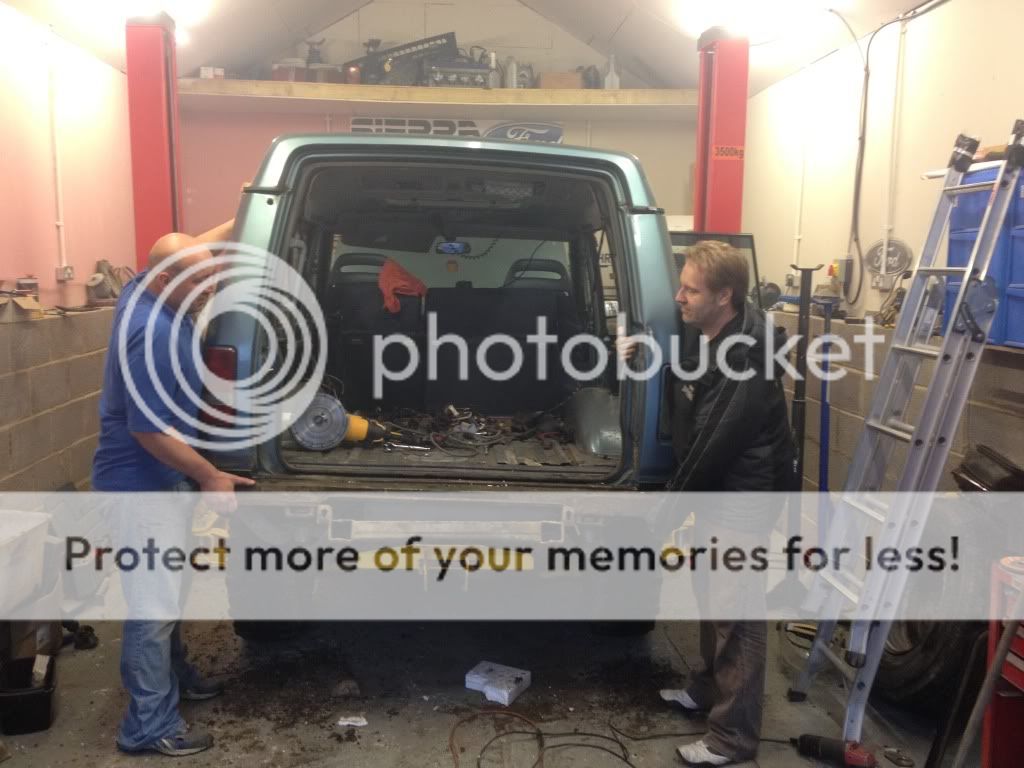
we started by taking rear interior out and folding rear seats forward,thats matt and ian looking busy
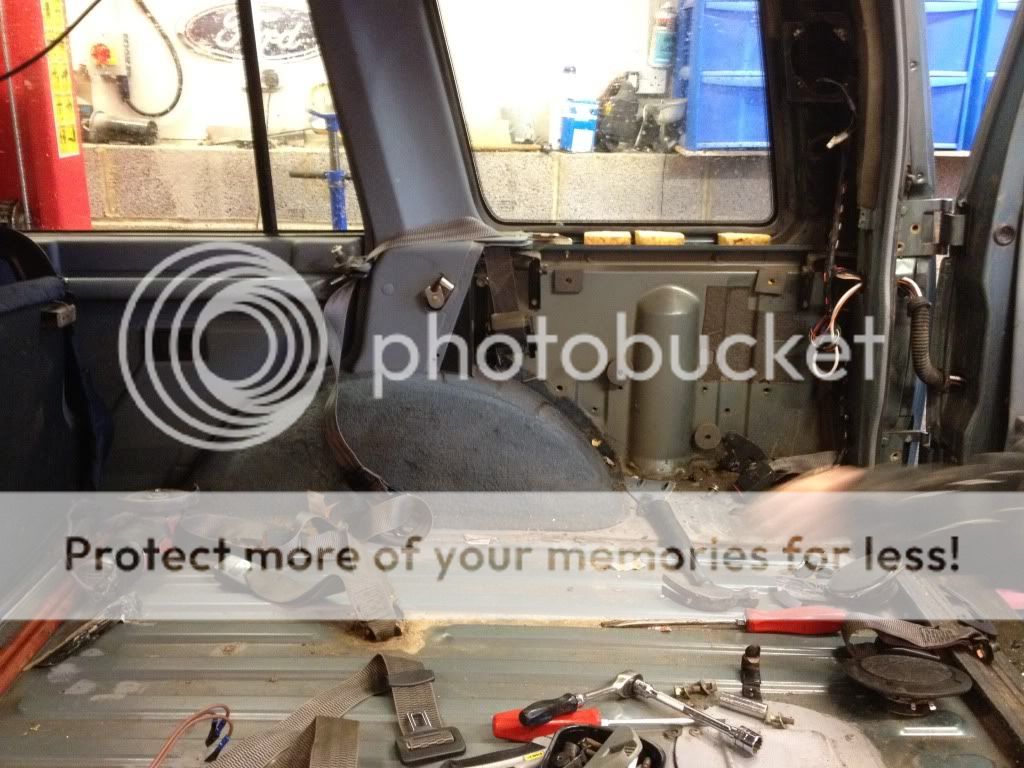
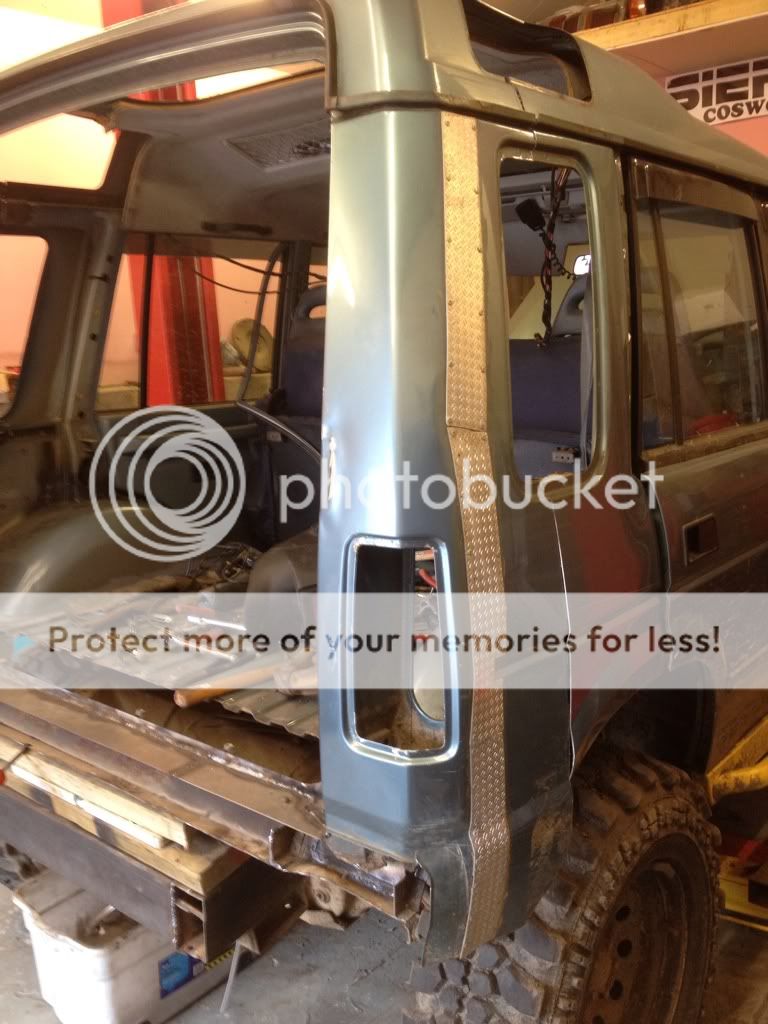
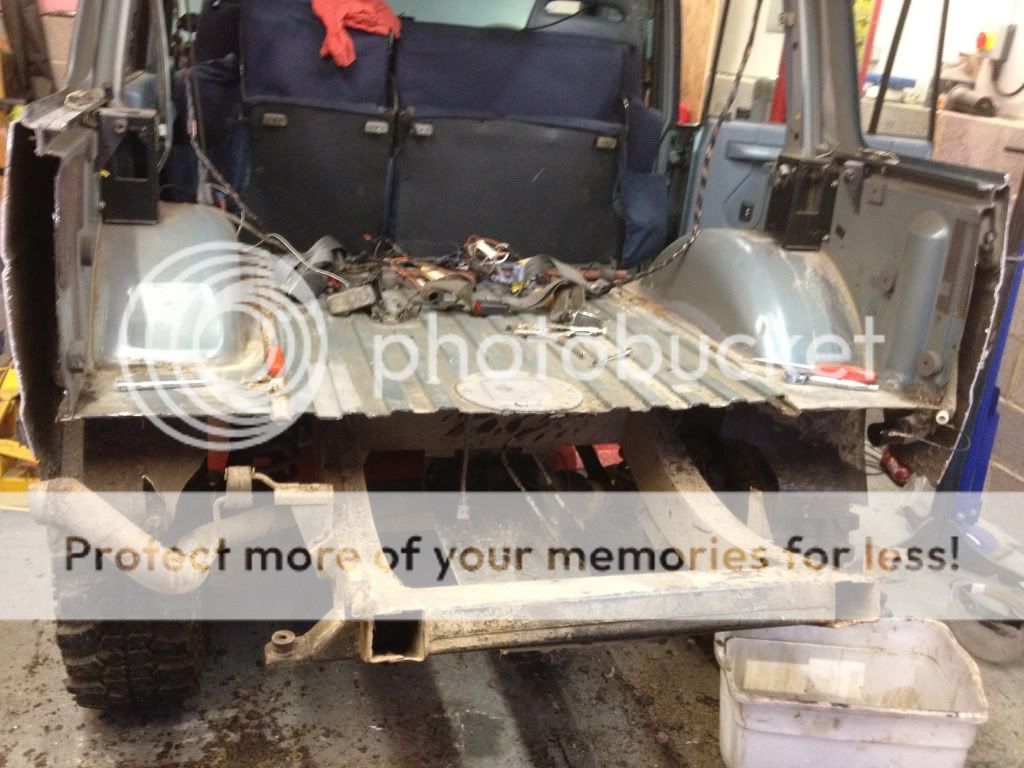
once the interior was removed it was time to start measuring and cutting
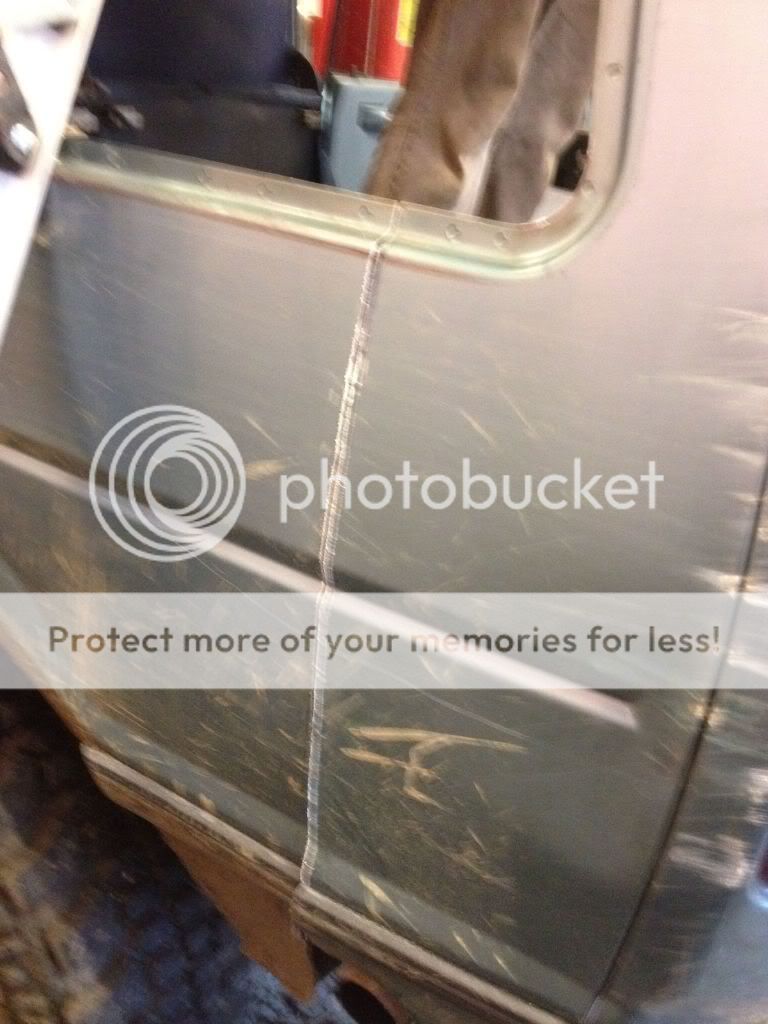
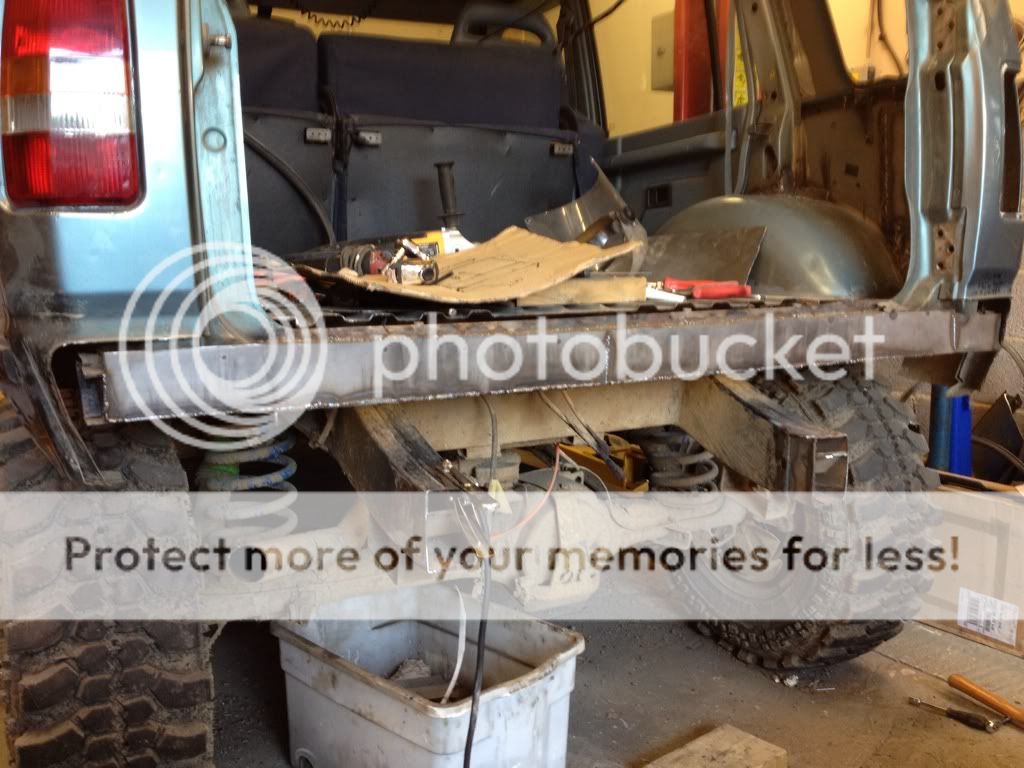
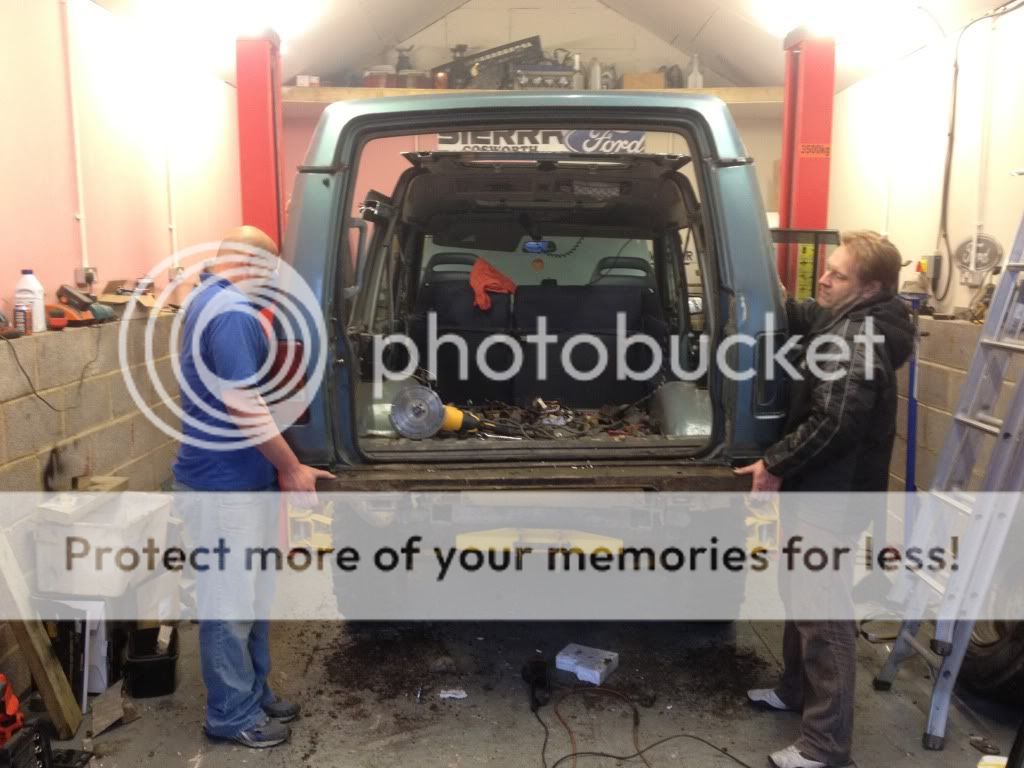
once the intial cuts where done its time to lift the back end off
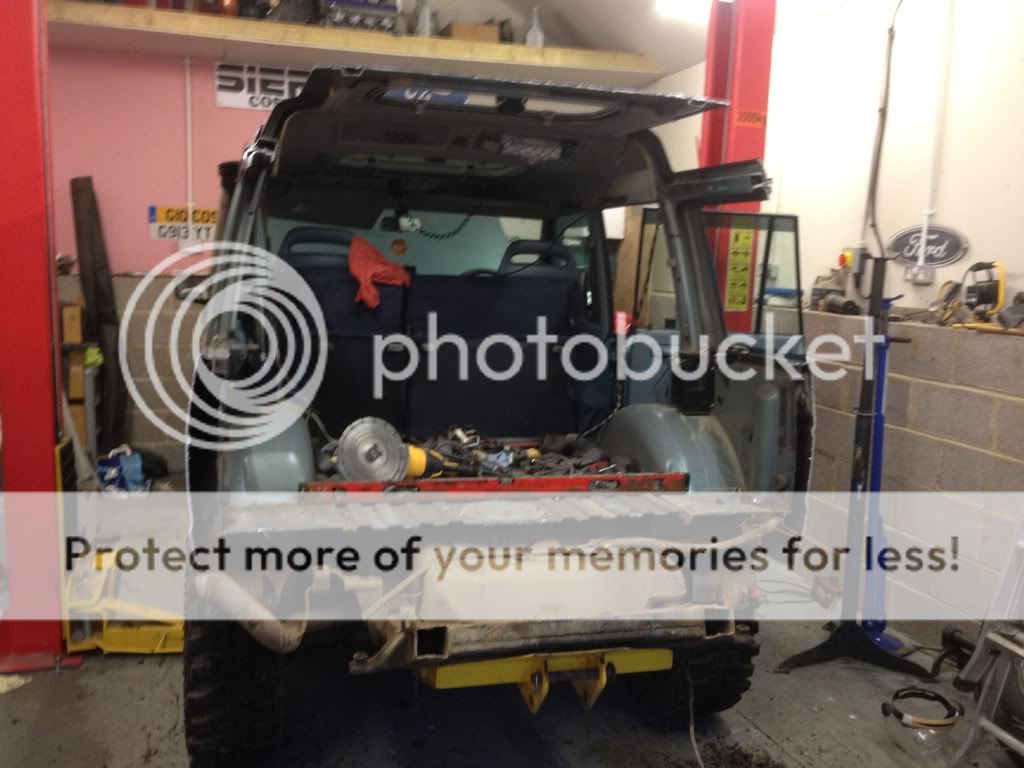
and this is how we left it mon night,remeber tho,only 2 hours with grinder and another 2 hours titting about and scratching our chins
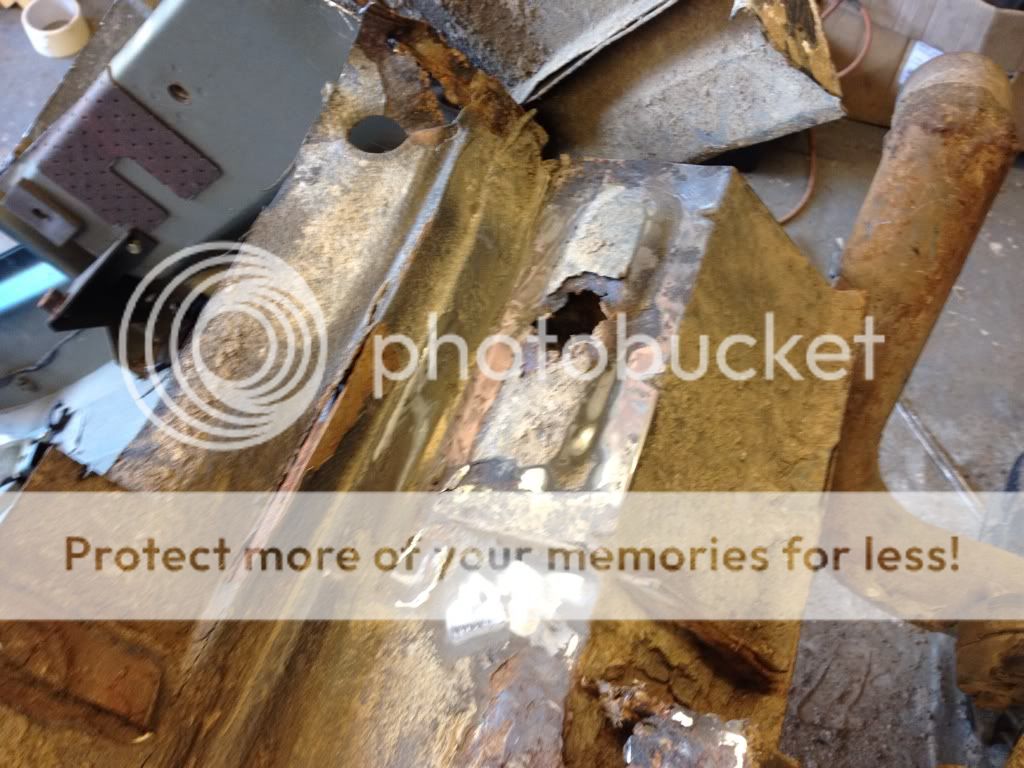
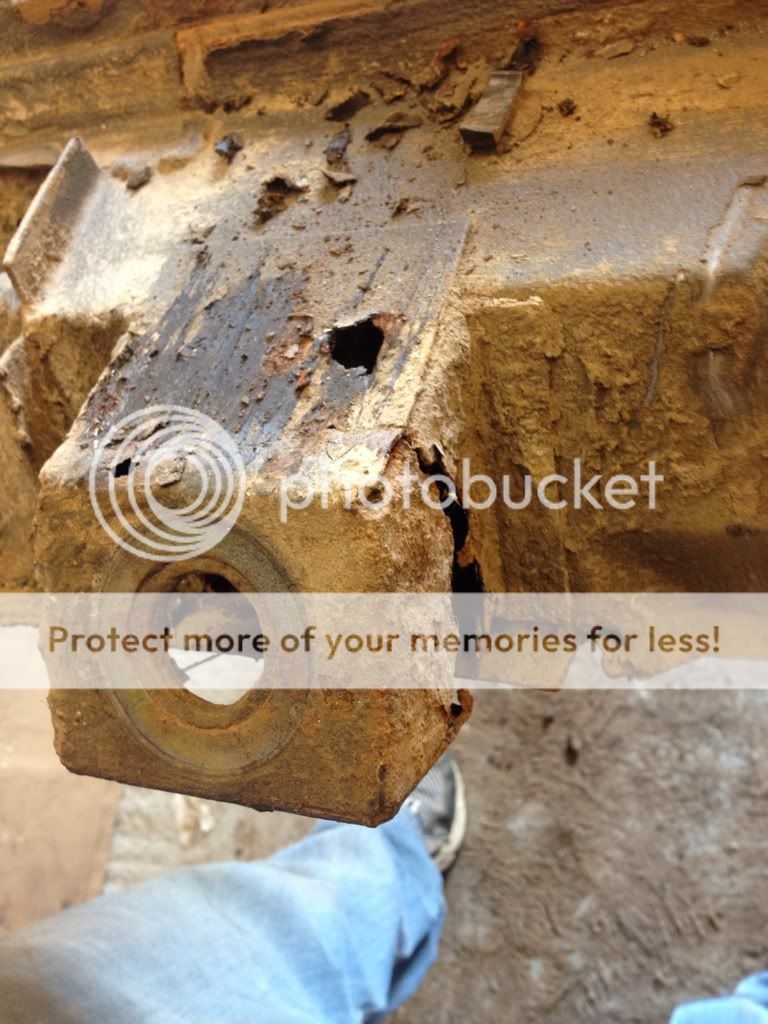
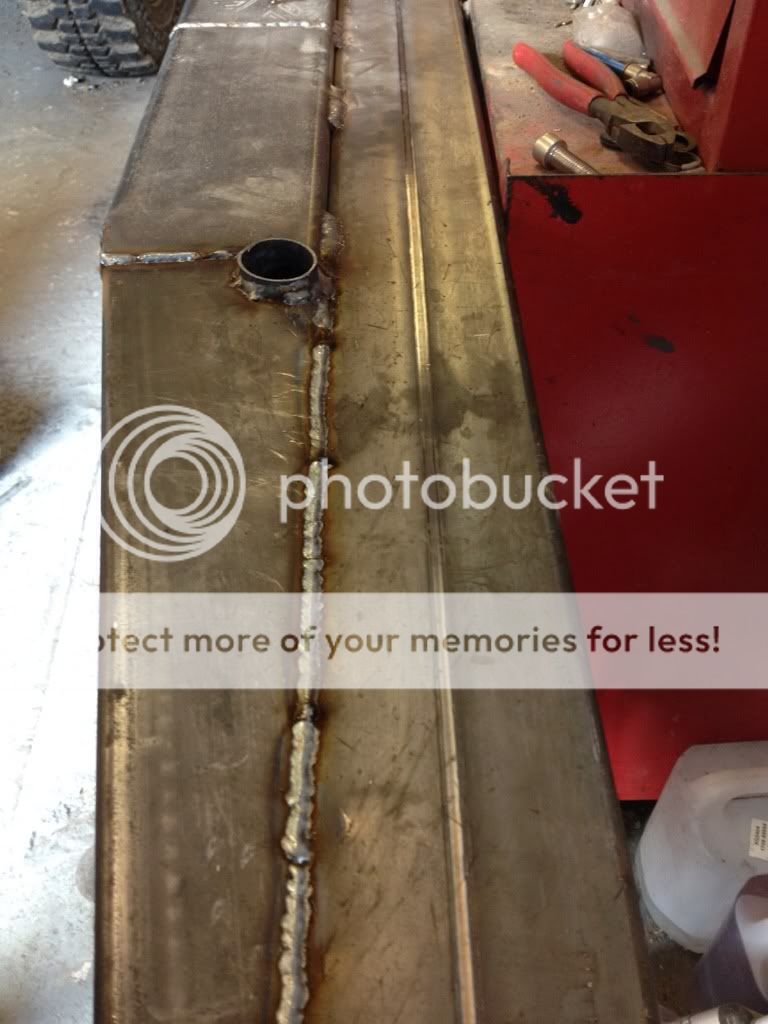
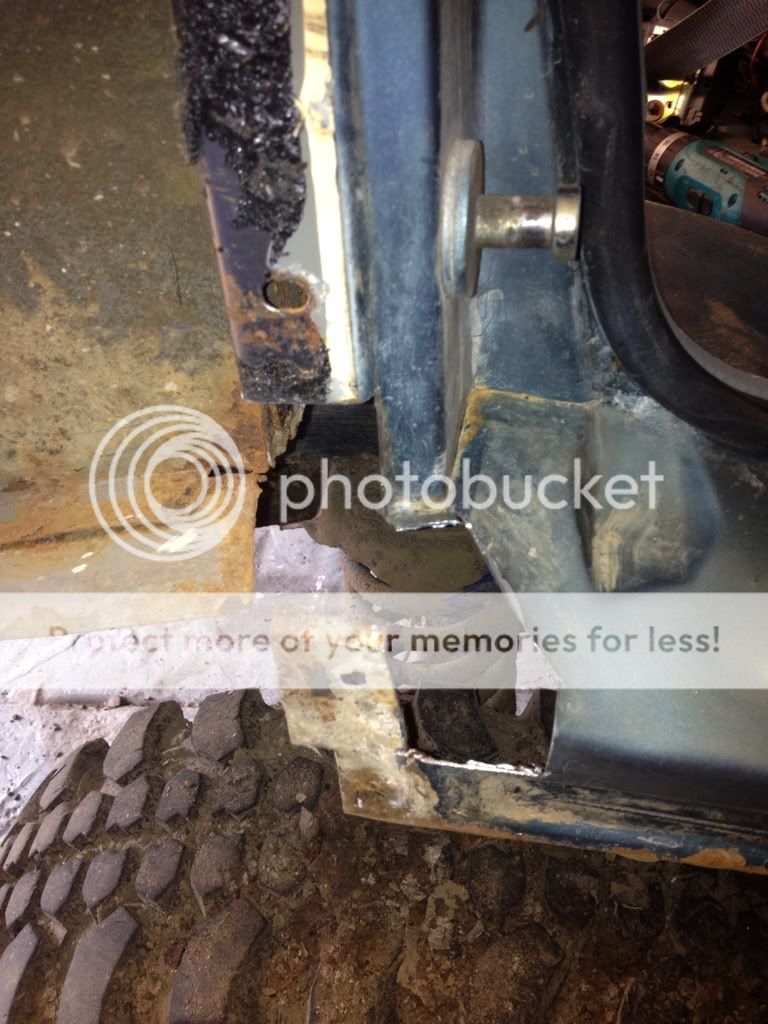
tue and wed night i was unable to work on the disco altho my brother (matt Bax) couldnt resist popping out to his workshop and doing abit of rust remedy for me
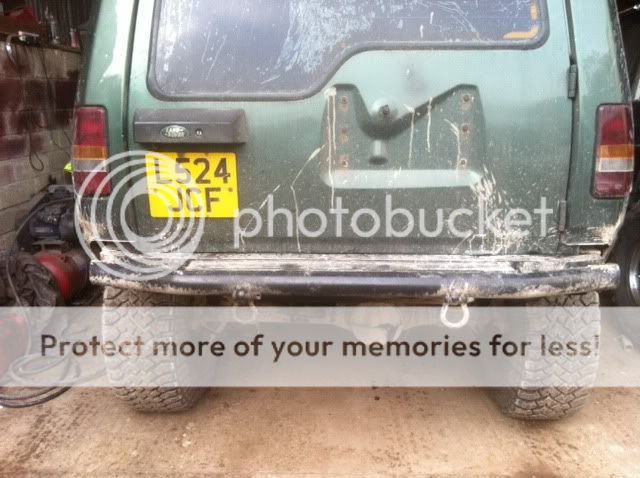
before
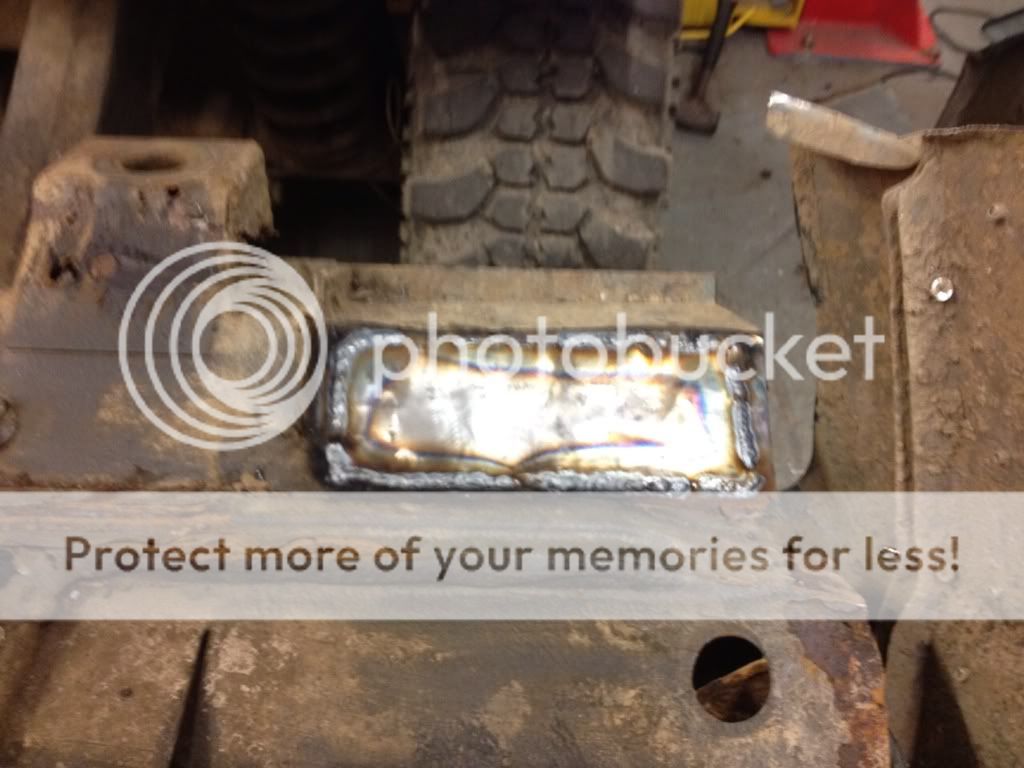
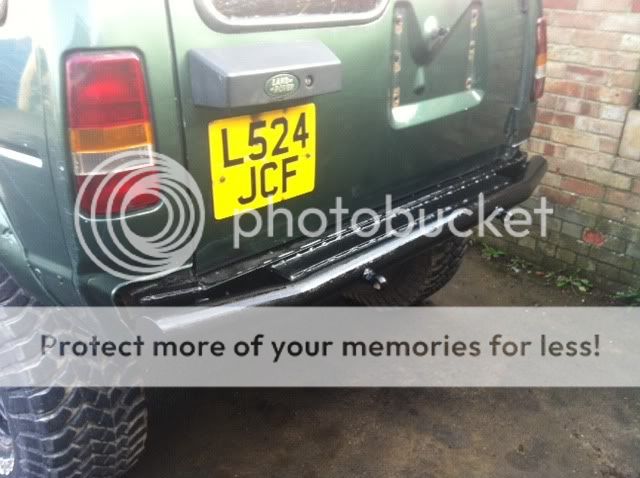
and after
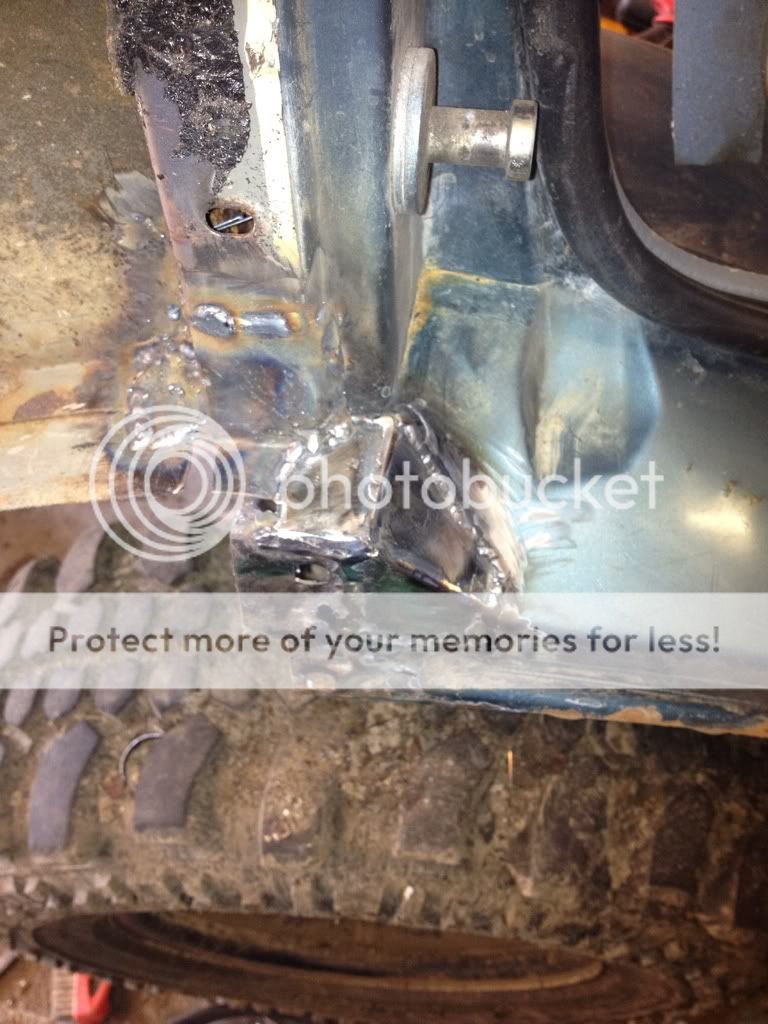
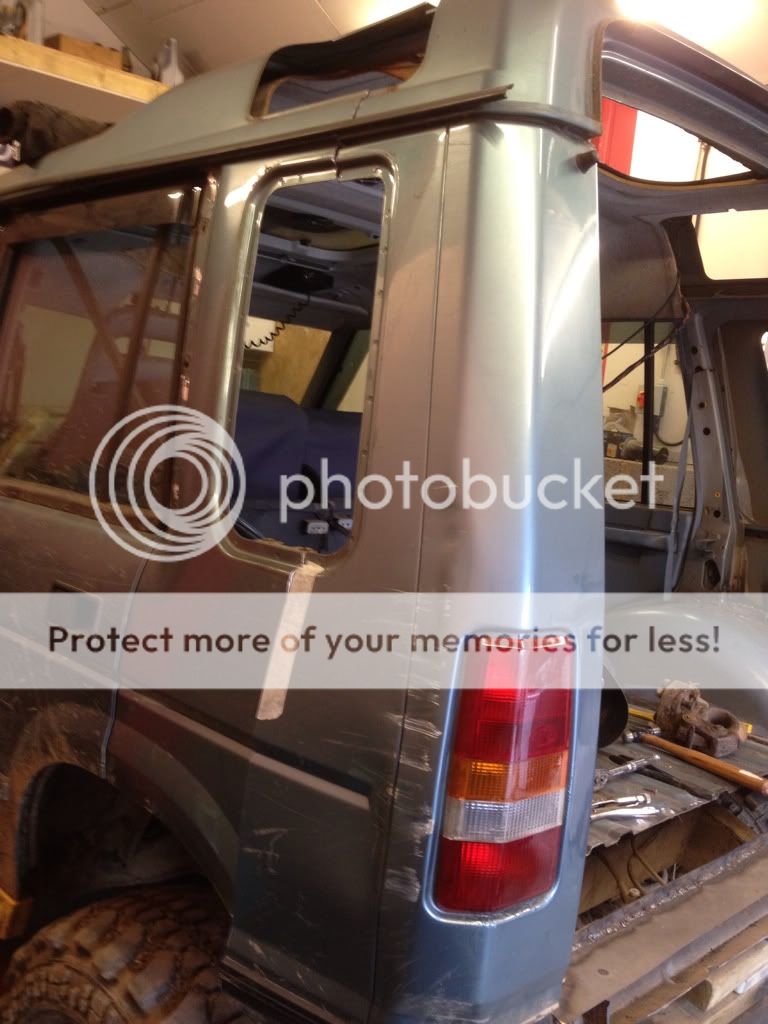
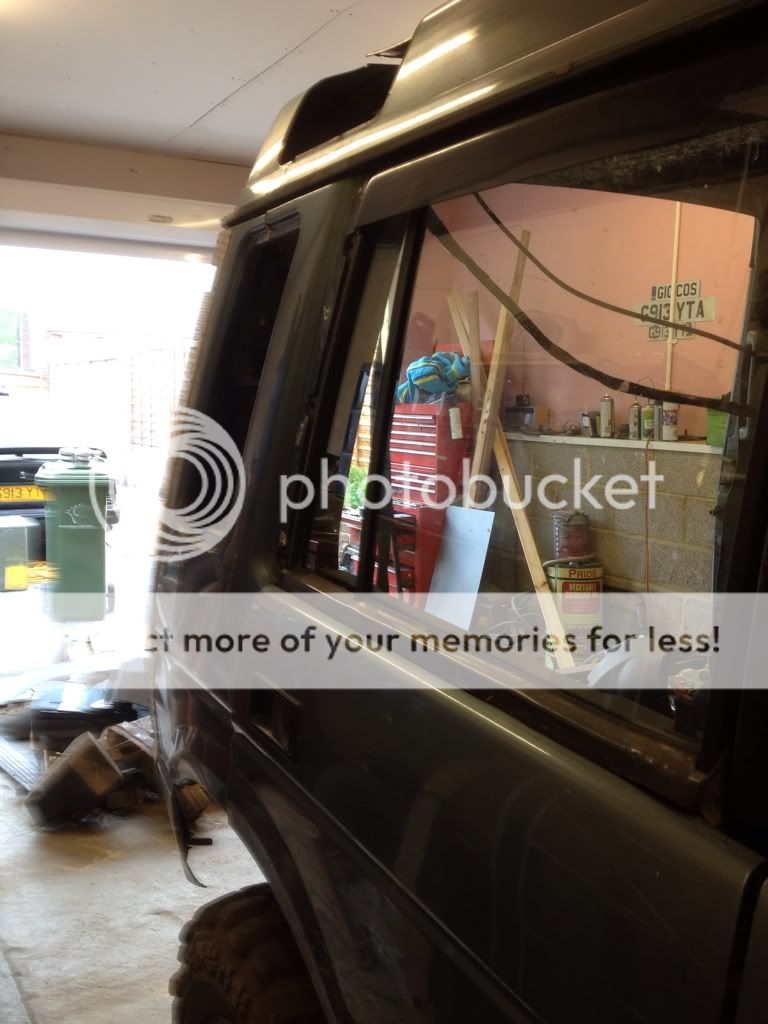
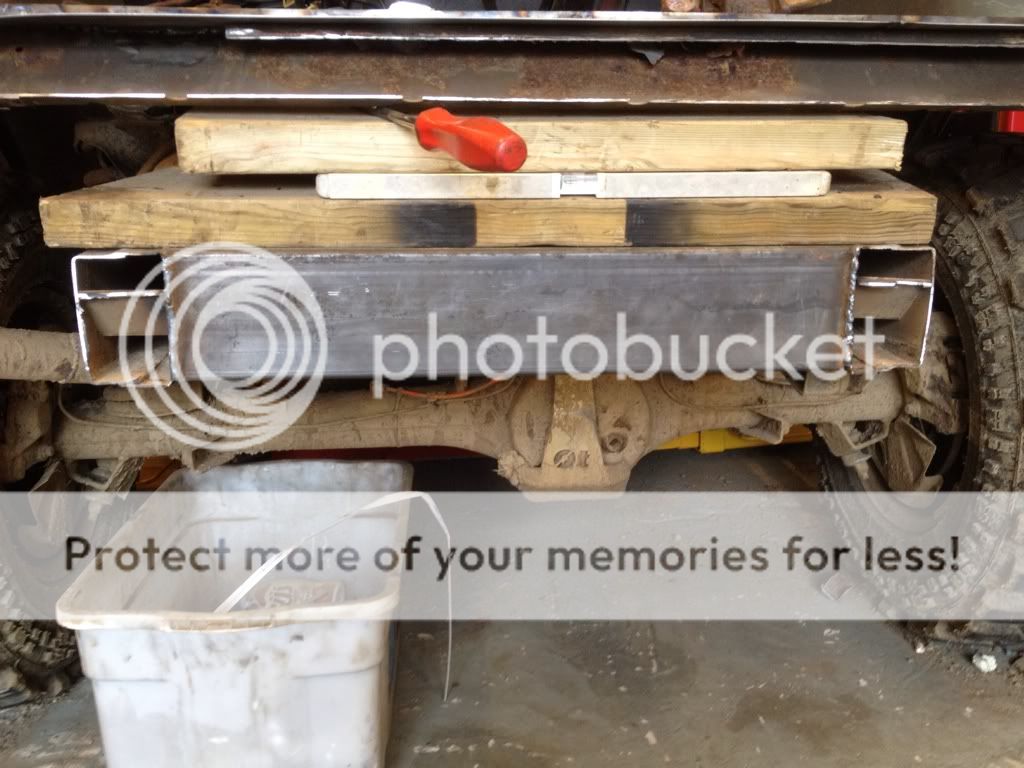
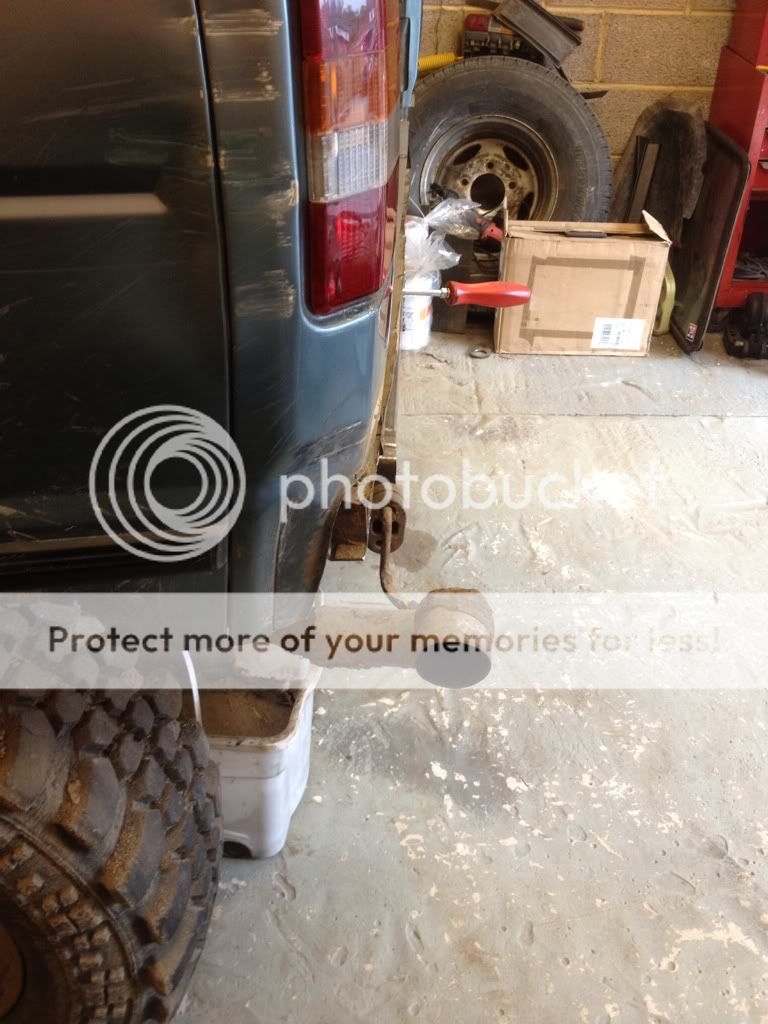
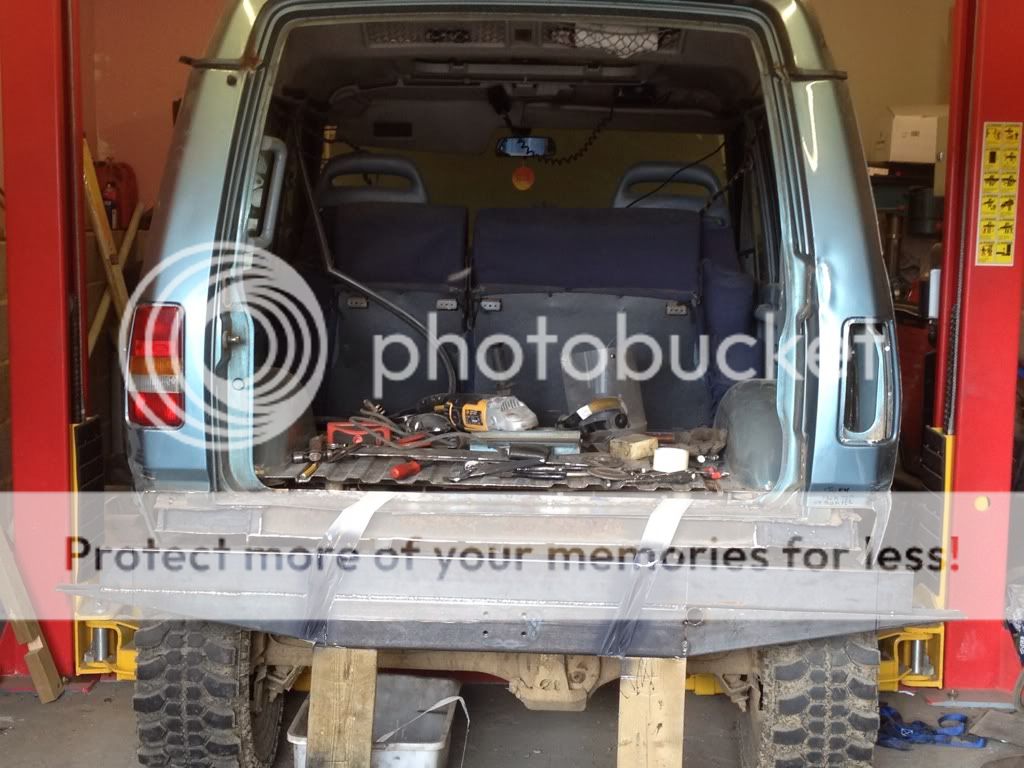
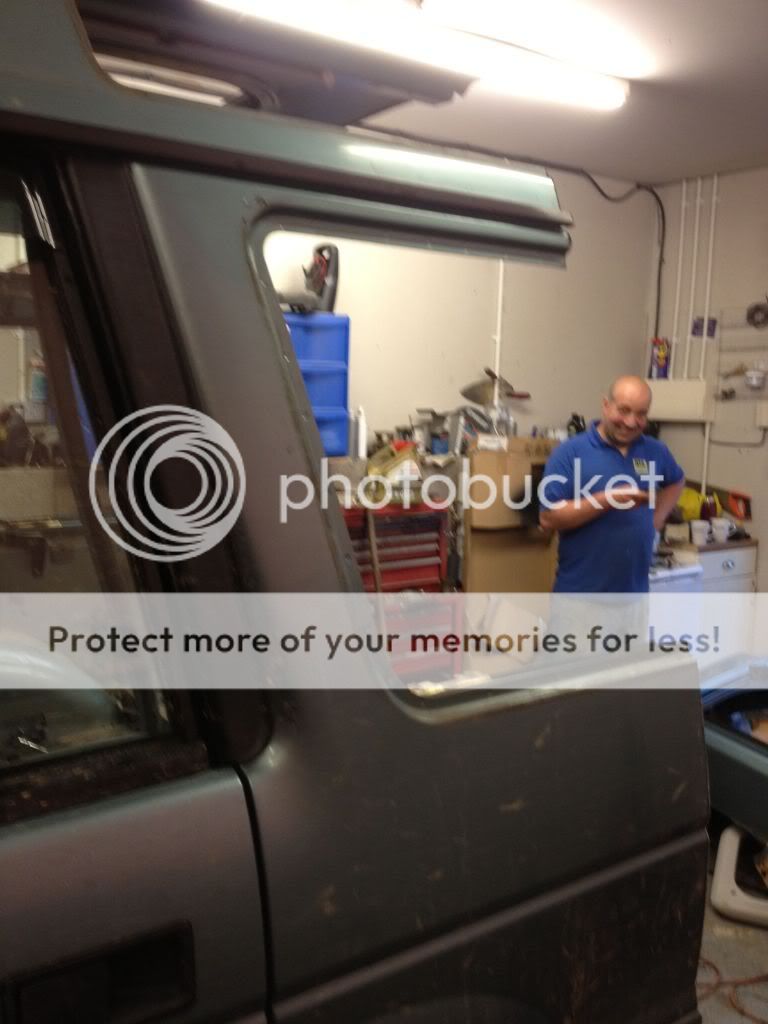
anyway back at it on thur night another couple of hours trimming and cutting and this how we left it
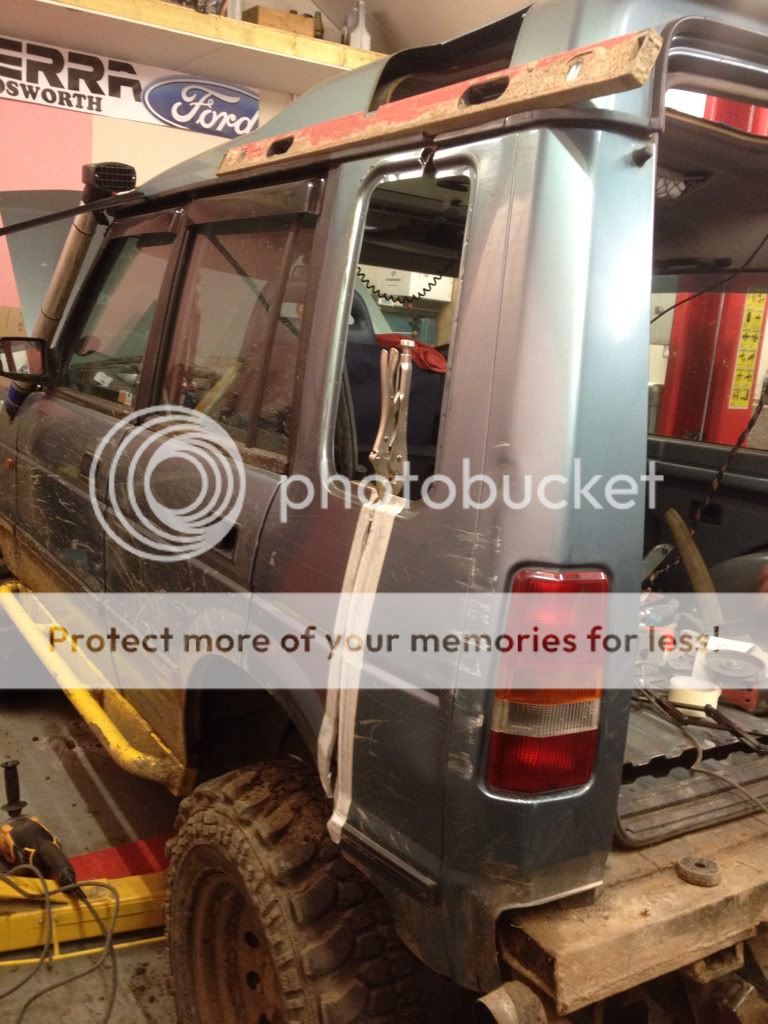
obviously we have more trimming to do before the final fit which hopefully will be finished tonight (fri)
we will then remove back to give access to rear chassis rails etc.
we are still discussing the final configuration of fuel tank,bumper etc as i want to try and avoid having a fuel tank in whats left of the boot and would like to try and keep it under the car.
i will upload pics as we go but am hoping to have removed about 12 inches from the car when weve finished as want to keep a very slight overhang.
am hoping to replace side windows with proper glass altho the alpine windows will be perspex.
As the title says its another disco 1 bobtail build
Before i start i would like to say a HUGE thanks to Matt Baxter and the Green Hornet (aka ian).
without there help i wouldnt have even thought about doing this as they are the brains and i just do as im told
Hopefully if any of you have any techy questions either matt or ian will jump in and answer them
Right,story so far.....
Bought my disco 1 some time ago for off roading and must say am really enjoying the whole driving/chatting/fixing and do manage to get through most places the defenders do but at a cost,the usaul big bang as the massive rear over hang hits the deck
Anyway,mot ran out sat night and i new the disco needed some welding etc for mot and after a chat on sunday with Matt we decided were gonna go for the bobtail,i know some of you dont like em,some of you love em but each to their own
anyway time for some pics,this was started mon night but due to grinder noise we can only use a grinder up until 8pm and as we not hme from work til 6 not alot of time
this was the disco at 6pm mon night
we started by taking rear interior out and folding rear seats forward,thats matt and ian looking busy
once the interior was removed it was time to start measuring and cutting
once the intial cuts where done its time to lift the back end off
and this is how we left it mon night,remeber tho,only 2 hours with grinder and another 2 hours titting about and scratching our chins
tue and wed night i was unable to work on the disco altho my brother (matt Bax) couldnt resist popping out to his workshop and doing abit of rust remedy for me
before
and after
anyway back at it on thur night another couple of hours trimming and cutting and this how we left it
obviously we have more trimming to do before the final fit which hopefully will be finished tonight (fri)
we will then remove back to give access to rear chassis rails etc.
we are still discussing the final configuration of fuel tank,bumper etc as i want to try and avoid having a fuel tank in whats left of the boot and would like to try and keep it under the car.
i will upload pics as we go but am hoping to have removed about 12 inches from the car when weve finished as want to keep a very slight overhang.
am hoping to replace side windows with proper glass altho the alpine windows will be perspex.