Bankz's 110 Double Cab

This site contains affiliate links for which LandyZone may be compensated if you make a purchase.
The time has come to tackle the front soundproofing! and aux fuse box install. A job I've not been looking forward to for various reasons, mainly as I want to get as much done in one go as possible as it is such a pita to remove my passenger seat.

Alas I cracked on! Successfully I might add, best part no nasty surprises, considering the state the back was in I was expecting the worst. This time I went more in depth than I did on my 90, removed everything. Seatbelt fasteners, handbrake, battery/ecu box latches. I was quite surprised, well slightly worried, that my seatbelts are held in by 3 M4 bolts and the fastener with an M10 and an M8 o_O

All stripped out, carpet couldnt be salvaged, just tore as soon as I tried to remove it
20170405_104203_zpshcsuupfo.jpg


Cleaned, degreased and touched up a little galv corrosion, the worst of it was the back of the seatbox under the cubbybox inspection hatch.
20170405_114957_zpsalyqzchb.jpg


While it was all stripped out I did consider trying to change or adjust the difflock switch, but me hands are way too big to get anywhere close, guess I'll just live without the light coming on!

Began laying the Fatmat Megamat
20170405_125447_zps3nvancxd.jpg


Managed to get the whole seatbox done and the drivers footwell - Which was a right pain due to the AC giving such limited access.

Next part is to add some 3mm closed cell foam on the top and front of the seatbox, I found if you add too much thickness on the sides the doors become harder to close :rolleyes:

Will probably get the soundproofing finished today/tonight then onto the leccy bits :confused: Got everything ready to go, just need to drill a few holes and run a fu ck tonne of cable :confused::confused:
 
It's basically a landrover defender day series and military on a country estate but they also have a off road track going thru the estate. They have have lots of landrover to look at and have a chat with the owners and speak to the local clubs too
 
Thats cool! Looks decent!

Continued over the week and weekend, finished the soundproofing, got the aux fuse box in and some of the wiring done! What a pain that was! But did what I think where some nice, neat and almost innovative things!

Cant get any pics up atm as my home internet is ****e!!
 
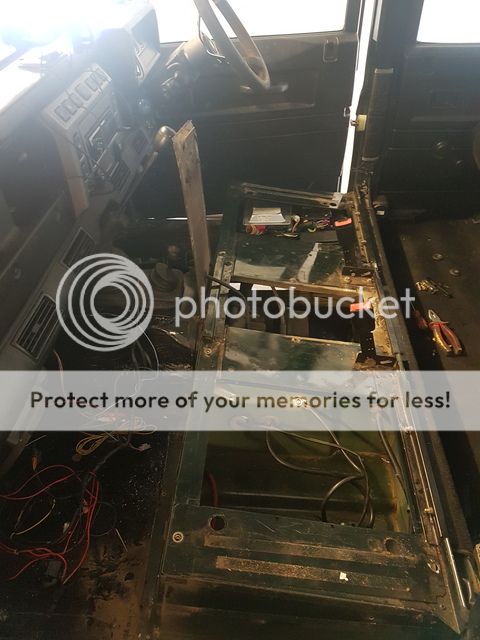
Pretty big update today! Been working hard over the weekend and last week getting all the front soundproofing, new wiring, aux fuse box and new carpet in. Not finished yet but getting close!

3mm Closed Cell Foam fitted, closed cell as it does not hold water, perfect for a landy! I chose not to foam the seatbox ends as I did on my 90 and it made the doors a little tough to close properly.
20170407_111229_zps101iojkr.jpg


Bought a stepped drill bit set to modify the MUD cubby locker easily for what I want and I bloody love it! Cuts through ali like butter and happily cuts through steel!
20170407_161806_zps1i21dexr.jpg


Grommets in and a test fit
20170407_231118_zpsc3ojfuh5.jpg


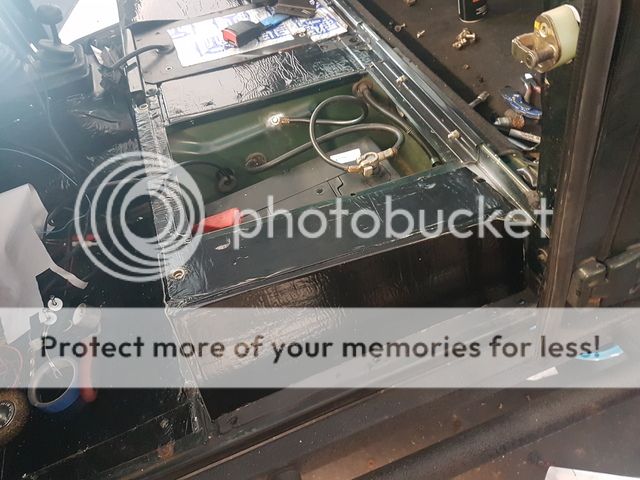
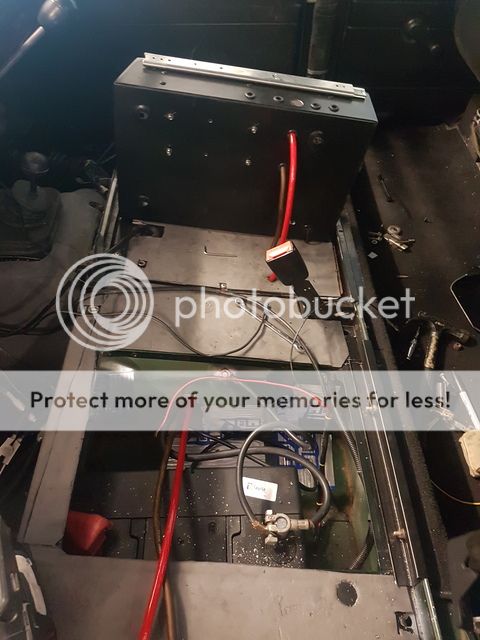
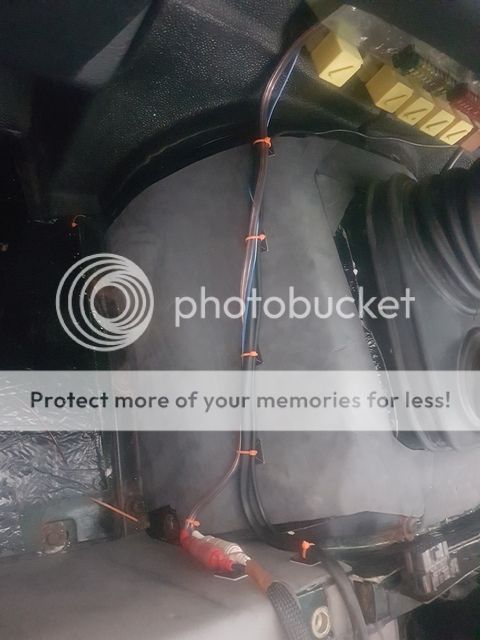
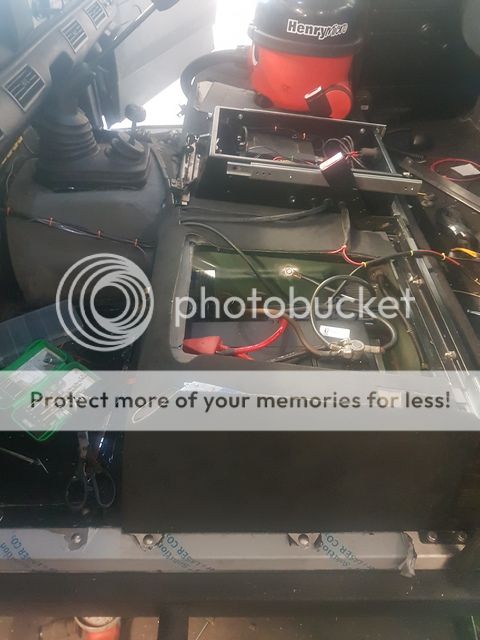
Battery cable run in, from the battery box, underneath and up through the inspection hatch
20170407_172553_zpsg0xqslwb.jpg


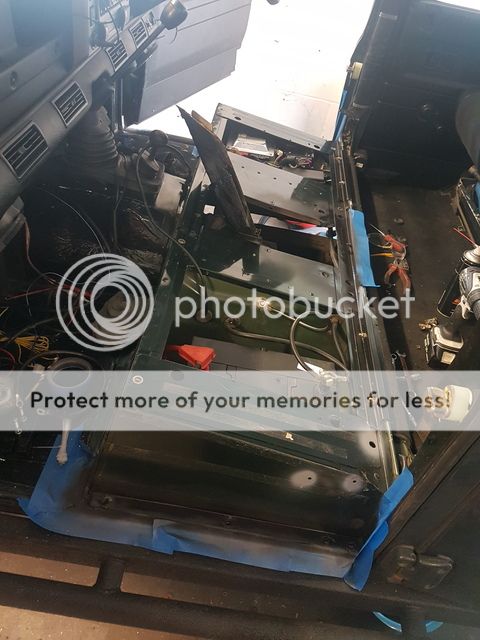
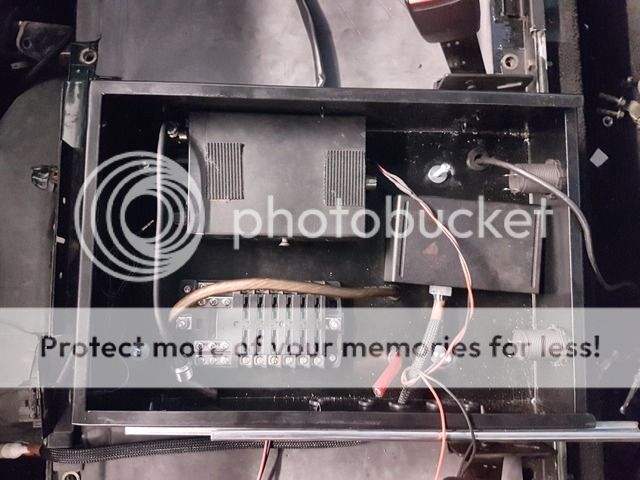
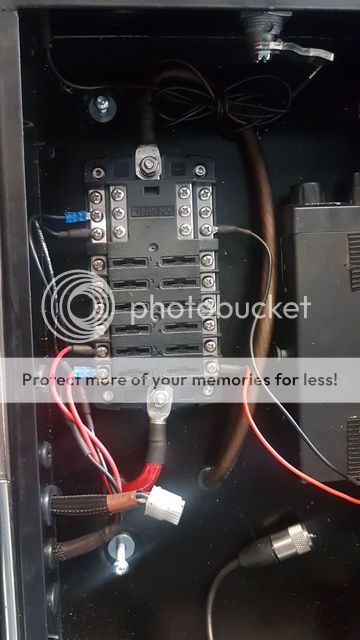
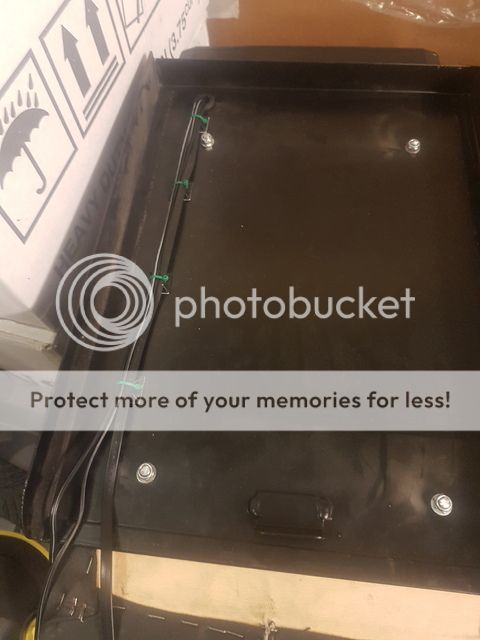
Test fit for everything. It houses my CB radio (+mic storage), aux fuse box and subwoofer amp + x2 aux sockets (one will eventually be a switched live)
20170407_173836_zpslvdlw1pj.jpg


Slow process of wiring has begun!
IMG-20170408-WA0006_zpso12ydqde.jpeg


Many hours, days even later plus some damaged figure tips and an argument with a man at Maplin and everything is wired in! For now anyway

20170408_153043_zpsijyap0ib.jpg


Cable also runs into the boot where there will be x2 12 fag sockets and LED courtesy lighting

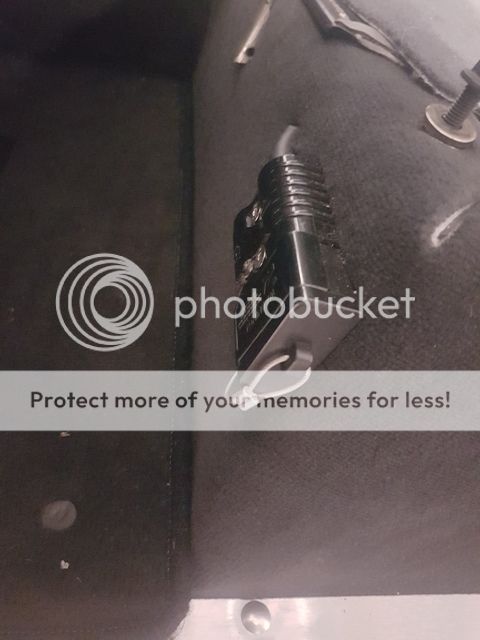
Incase you where wondering "well thats a bit stupid, how do you connect your CB mic? Isnt that going to fly around when off road?" Answer NO! I found a panel mount mic extension from China, fitted using my stepped drill bit again :D Also has a 3.5mm aux connection for plugging the CB into the head unit or an external speaker should I decide to fit one.
20170407_231017_zpsyqghlg6x.jpg


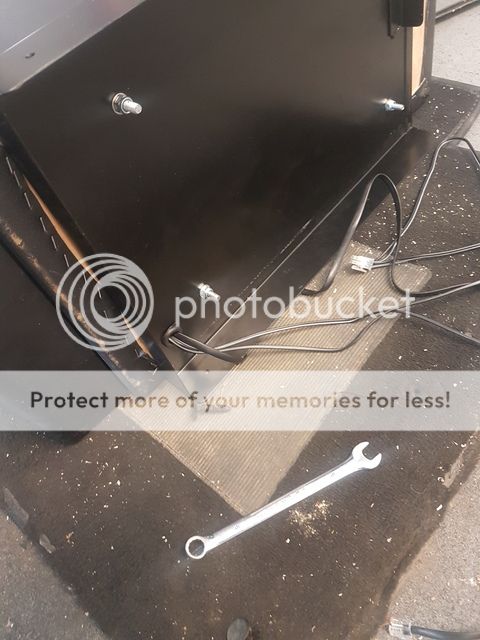
Also modified the cubby box and lid to hid the subwoofer wiring, it now runs internally through the cubby and the MUD locker lid
20170408_130947_zpskjbyulat.jpg


Cable is secured to the lid (now wrapped in nylon braid) to ensure it doesnt snag or catch when I slide the lid back to access
20170410_183803_zpskvof4tph.jpg


Heres how the MUD locker works!


Current aux loom running from the centre console neatly tucked against the transmission tunnel, the carpet here will be held in place via velcro.
20170410_110505_zpshx6xgngb.jpg


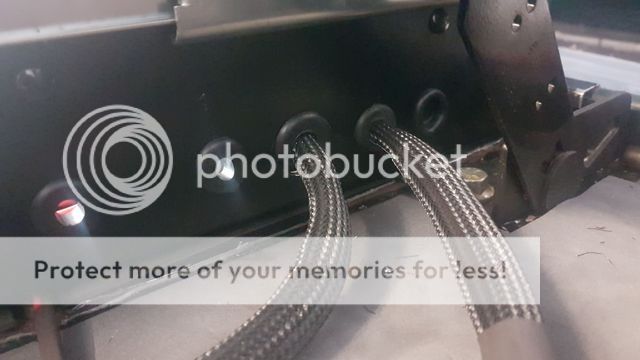
Any wiring thats 'on show' or will be sheathed in nylon braid 'coz its pretty and gives some level of protection
IMG-20170408-WA0004_zps7htvvs1o.jpeg


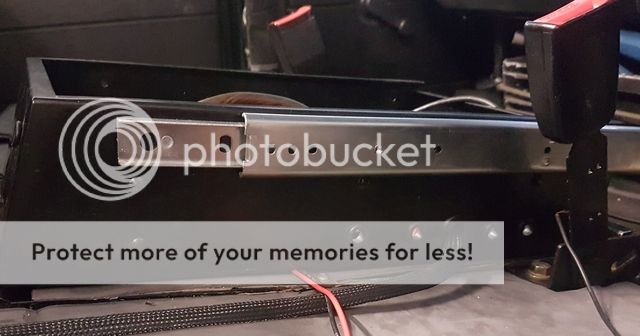
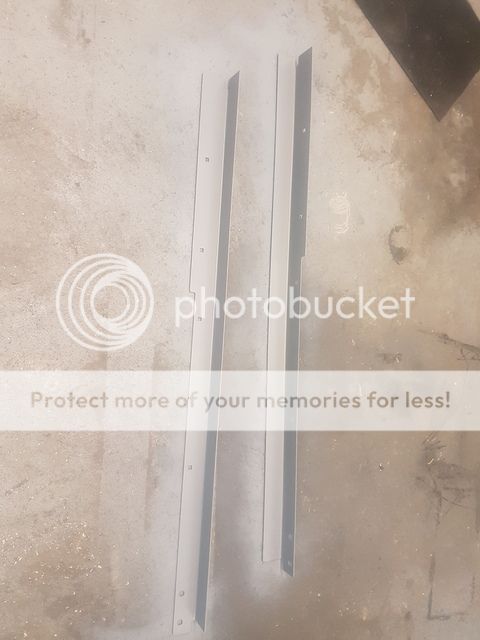
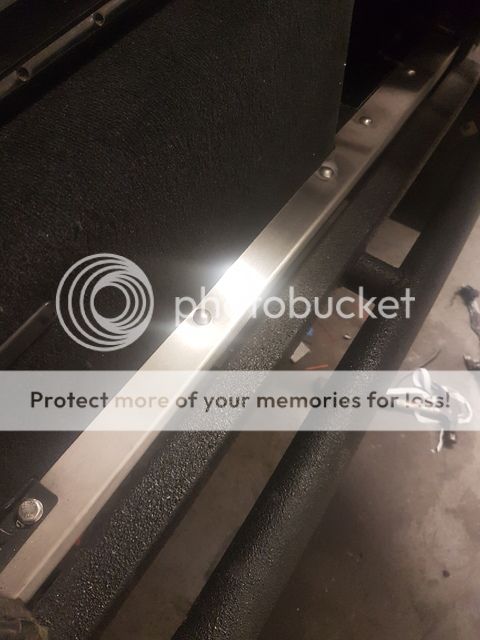
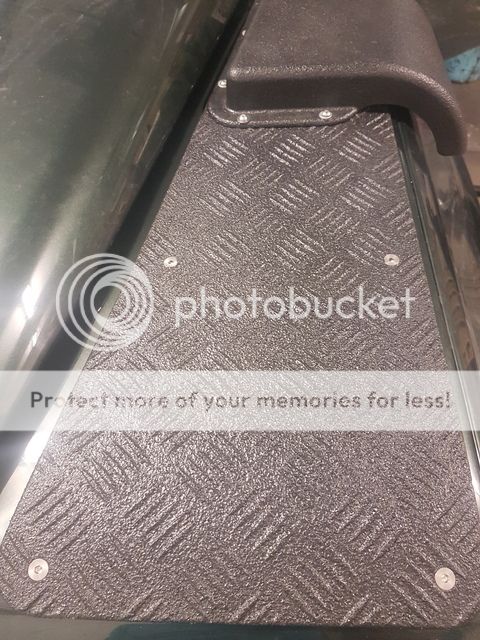
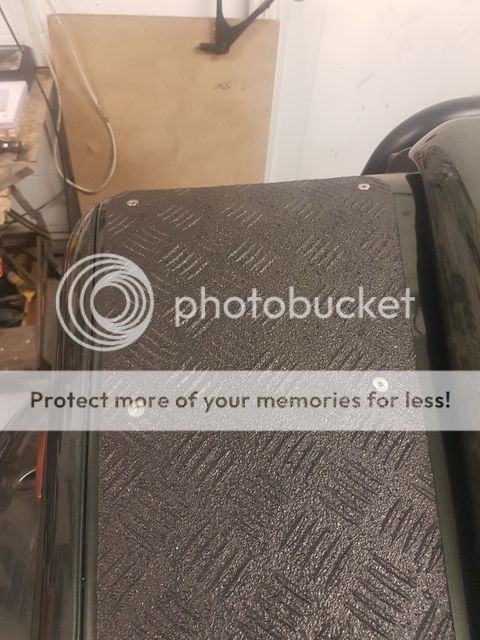
Got some SP LR brushed stainless steel door threshes (cheapest available with the best fitting imo)
20170410_104835_zpsdkigowuo.jpg


x2 coats of acid etch to fend off potential galvanic corrosion, for a time at least
20170410_105321_zpskuil6g46.jpg


Carpet going back in! Christ this was a nightmare, I decided to go for the LRI Solutions premium carpet set as it has more coverage than the Exmoor Trim variant but instead of being moulded like the ET stuff its just template cut and designed to be secured with spray glue which I didnt want to do as it makes a horrific mess and wouldn't work too well with the current soundproofing/cable so a lot of it had to be trimmed down. Half of it wasnt even used....

So instead I used a combination of regular double sided tape and Gorilla glue heavy duty double sided tape for high wear/pull areas. Worked well so far.

20170410_153526_zpst7wehndz.jpg


20170410_133026_zpserbta2vs.jpg


The door threshes have done a perfect job of holding the carpet in place and look bloody good!
20170410_201225_zpsbjntbm3e.jpg

20170410_195522_zpslxkghyyn.jpg


Drivers side almost complete! Got that really nice "new car smell" brewing as well!
20170410_195514_zpsliujnhsp.jpg


Did a few other bits as well, cleaned up the seatbelt anchors and recoated with Buzzwelds CIO also enlarged the holes ever so slightly to allow for M8 fixings instead of the old M6s. Seatbelt fasteners where also coated with CIO.

Seeing as the carpet isnt 100% perfectly lined up on the corners I think I'll get some of the LRI Solutions corner protectors and use some of the used carpet to cover them, finish the look.

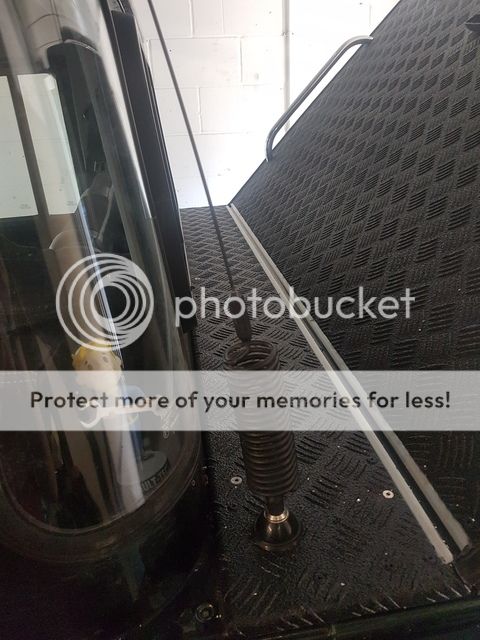
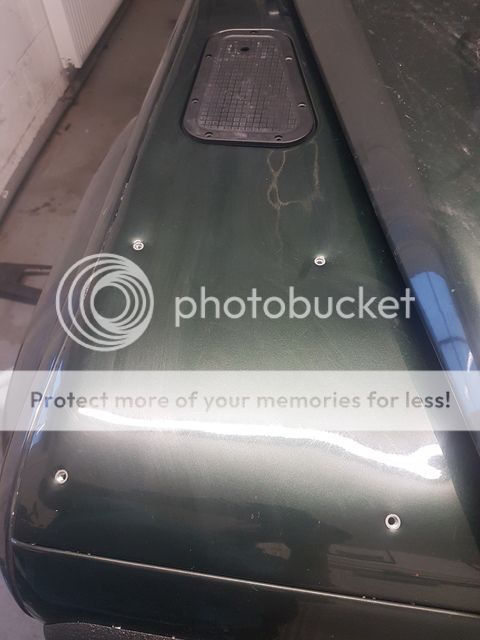
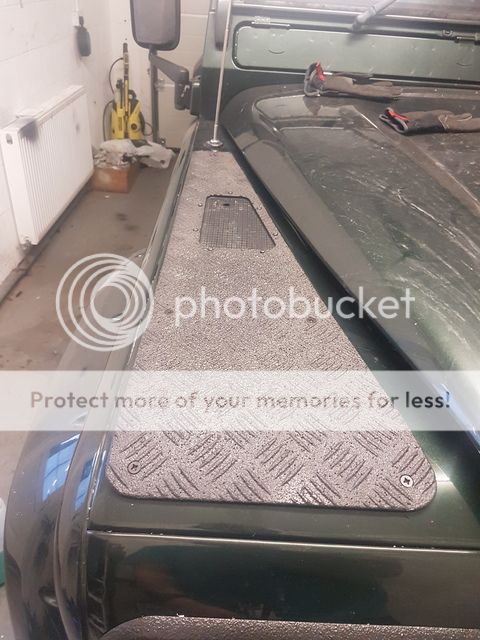
CB Aerial has been moved to the boot lid as well, means I can keep it attached at all times + it's out the way. Fitted with silicone sealant to stem leaks -
20170407_143208_zpsvxikuvo7.jpg


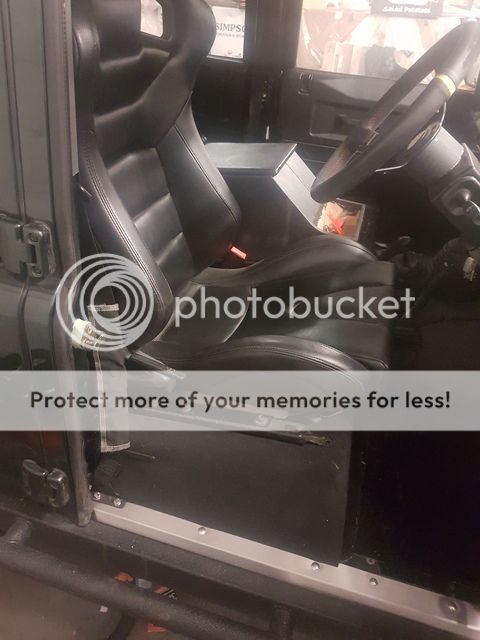
Also borrowed a big ass rivnut tool and bought some new special LR rivnuts to repair my passenger seat as currently I've got no chance of fitting it back in place!

175amp Anderson connector on the passenger footwell has also been fitted in the event I need a jump or someone else does. While everything was in bits I changed the fuel pump relay, nothing wrong with it but for £6 worth doing.
 
Last edited:
Drivers side is now 100% back together bar the corner protectors (which are currently on order).

Battery is properly secure - Only *just* fits! Though starts light lightening now!

Passenger side is almost back together just waiting on the LR rivnuts to arrive (today hopefully) then the seat can go back it

Rest of the carpet is all in and looking really good! I've trimmed down the old floor mats and left them in place, with the new larger LRI mats on top. I also think I'll get the stainless carpet retainers for the rear as well, looks brilliant and very smart.

Annoyingly both bulbs in the spots have blown, so new ones en route.

Need to give the Corbeaus a wipe down and leather balm, they look old compared to the rest of the interior now!

New genuine Land Rover brake master cylinder en route as well (I had a TRW one on order from Island but they are out of stock :confused:) £144 shipped brand new from Germany or £200+ here o_O can't work that one out...
 
Got a few bits done last night as well. LR seat rivnuts arrived too, well I should say rivnut. The ebay listing said x6 though one arrived. Can't say im best pleased considering the next available delivery date is bloody Tuesday! That said one has been fitted.

Passenger seatbox Anderson Connector -
20170412_194839_zpswylma8bz.jpg


You can see why I want the corner protectors, I don't like that you can see the seam!

While in possession of my mates very expensive rivnut tool I thought Id get on the the wing top plate. Chose rivnuts as I want to be able to remove the plate in the future when I fit a KBX Hiforce intake, yes it will be just for show but it looks nice! :p

Did give it a wipe down with some GUNK traffic film remover, the epsom green is just such a nice colour when cleaned up!

20170412_190125_zpsudbvyjuv.jpg


Much better!
20170412_190453_zpseksupplu.jpg


Used stainless socket heads on the other side, to keep the black/stainless theme going
20170412_194117_zpsrvbx0vjl.jpg


20170412_194102_zpsmijyxcex.jpg


Got more stainless bolts en route for the other side too. Also ordered the SP LR stainless door thresh/carpet retainer for the rear, looks so good in the front the rear had to match!
 
Got more stainless bolts en route for the other side too.

Thankgod, for that, I never knew I had OCD, until I saw the second piccie with socket heads, went back looked again , philips one side , sockets the other........ I was gonna cry........:eek::eek:
Looking very nice, I could never own it as i would just get it muddy and leave it dirty.............

Cheers

haha Im very much the same! Owning my 90 for 5 years I think I properly cleaned maybe twice, the interior was always clean and nice but the outside was always mucky.

I am going to attempt to keep the outside of this one a bit nicer, bar the rollover damage :rolleyes:]

Stainless socket heads look better ay?
 
Stainless socket heads look better ay?

Nah....I prefer the philips heads.......................;);)

Only Joking.........Sockets look smart.

I clean the inside of mine as well, but I use a pressure washer or hose and brush........Outside I do as well, just to annoy the neighbours.

Cheers
 
Tell you mine get livid, I had the 'neighbourhood watch' man come down the other day telling my I could wash my car in the street (the drive is unsealed gravel, weeds would grow like mad, the road has a big ass drain) I quickly pointed out 3 other houses a few doors down all washing their cars in the street!

That said I did leave an awful lot of mud, which I thought i'd sprayed into the drain, alas it had just flowed down the street onto the neighbours drive haha
 
That said I did leave an awful lot of mud, which I thought i'd sprayed into the drain, alas it had just flowed down the street onto the neighbours drive haha

I know the feeling, Luckily I have found a jetwash locally, so will be availing myself of that , but maybe late at night wearing my ninja gear.......:):)

Cheers
 
I know the feeling, Luckily I have found a jetwash locally, so will be availing myself of that , but maybe late at night wearing my ninja gear.......:):)

Cheers

After an off road day in Sittingbourne, basically solid clay! We ruined the local jetwash, cost about £8 to get all the muck off so I could actually drive above 2-mph, didnt have enough to spray the muck away! The cashier in the garage did not look pleased!
 
After an off road day in Sittingbourne, basically solid clay! We ruined the local jetwash, cost about £8 to get all the muck off so I could actually drive above 2-mph, didnt have enough to spray the muck away! The cashier in the garage did not look pleased!

Reminds me of a Garage in Stockton Brook
where we used to jet wash our motox bikes off
in the end we got banned as there was mud all over the walls
the guys was not happy at all!
But at the time it was funny
 
One thing I'd like an opinion on is door hinges. Most of mine are heavily worn and will need replacing this year, all the security hinges are FAR too expensive being £600+ for a 110! So standard hinges it is, thing is there are a right **** to paint body coloured. I was thinking of doing them with some thinned down Raptor with the HVLP gun in black.

Think black hinges would suit? I'd get some nice black bonnet hinges too
 
Give it a try,

If you decide you do not like it , then you have the kit to repaint.

I think black highlights on an Epsom green body go well. But I would really water down the raptor to stop it looking stupid.

Cheers
 
hahaha yeah I would thin it down as much as possible, then do the finest coat I can get out of it.

Last time I tried painting hinges they last a whole 8 seconds before I opened the door and they chipped.
 
Little cool thing I did today which makes things easier! LED Courtsey lights in the boot! Did it with x4 LED strips, £18 from China
Two strips sit above the hi lift the other two sit on the lock


Lights activated off a pressure switch


Recarpeted the seatbox covers with some leftover carpet
 
I tried out some G4 Scratch Remover and bloody hell I'm impressed.

20170417_193246_zpsca7nd920.jpg

20170417_193300_zps1rz4ibhc.jpg


Close ups, roll over damage is practically gone!
20170417_184923_zps7lifj8cx.jpg

20170417_184937_zpsphqk4y1y.jpg


I did get a bit carried away and ended up doing half the car... Used a waffle sponge with a drill attachment, then jet washed it again with a Karcher spinning brush attachment (which is fantastic for cleaning, It's really quite brilliant), dried it and waxed it with another drill sponge. Got to say I'm bloody impressed with how it came out! Going to do the rest of it this week!

Also looks like CSK can supply 8 hinges to me, fully painted with an SS fixing kit for ~£370ish, not too bad! Much less than the various 'security' hinges and the paint should actually last more than 12 seconds.
 
Last edited:
Back
Top