bankz5152
Well-Known Member
- Posts
- 9,424
- Location
- South London/North Kent
Very strange,.......
Have you tried it on another vehicle, just in case it is your motor not communicating properly?
Cheers
Was the same on my 90!
Very strange,.......
Have you tried it on another vehicle, just in case it is your motor not communicating properly?
Cheers
Was the same on my 90!
Did you send the cable as well for testing?
Cheers

Sent the whole lot, SD card, unit and cable. Its on its way back now, so guess ill see!
On a more positive note the 110 is running very sweet at the minute, treated it to some premium fuel (std was out) managed 31mpg from Orp to Glous 60-65 on the myway, driving sensibley with a bit off right foot
Quite impressed with that tbh! Not sure how much of it was down to the fancy fuel but usually only get around 26 - 27mpg on motorway runs.
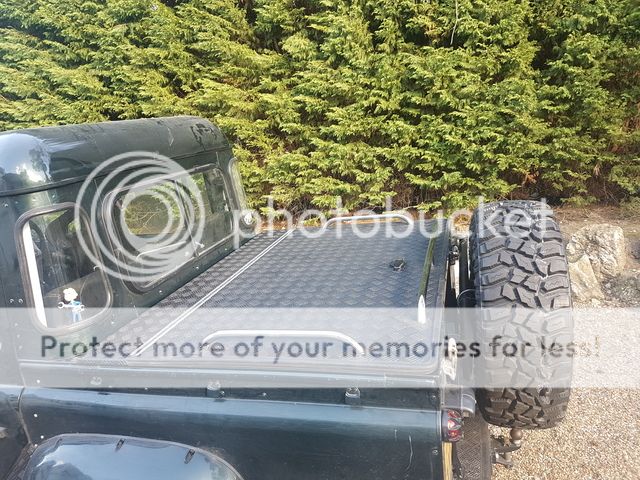
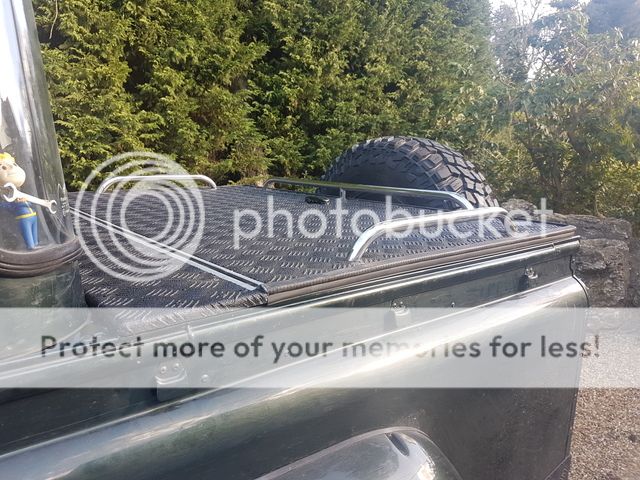
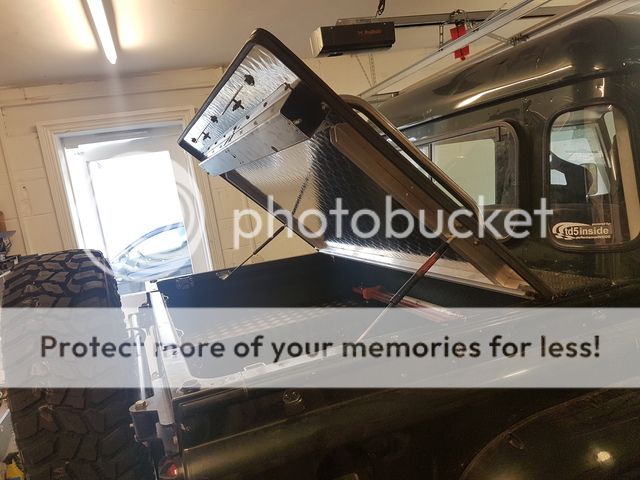
 Also keyed/sanded down the tub sides and bulkhead with my 14 year old leccy sander (10x better than the air sander!) Smaller bits by hand.
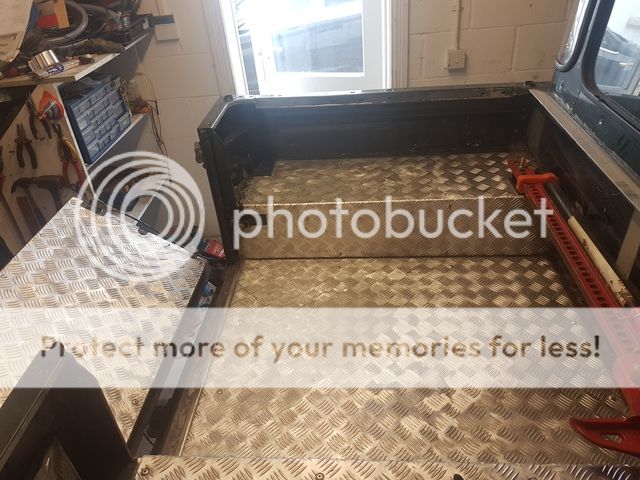
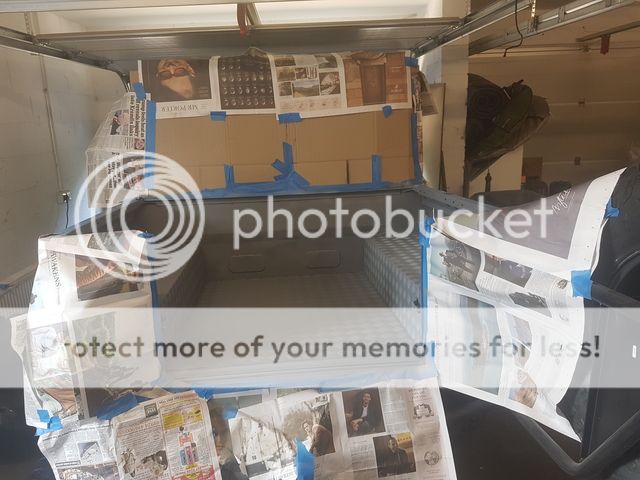
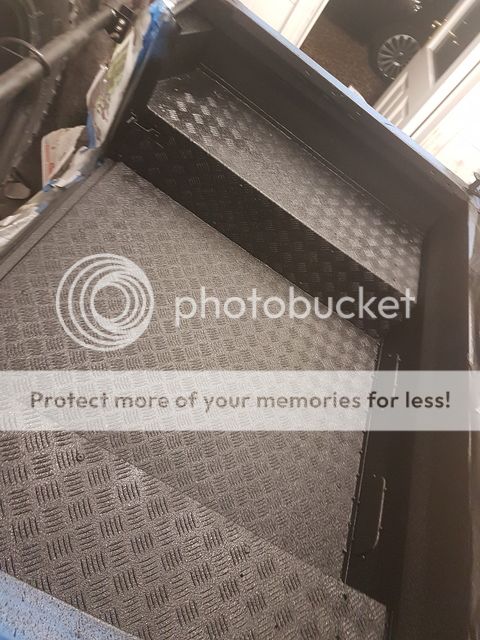
 As well as creating a finer texture for the tintable!
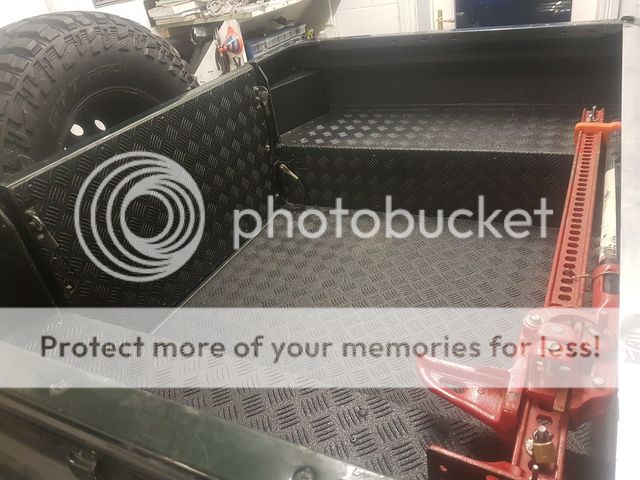
Sounds like you have had fun,
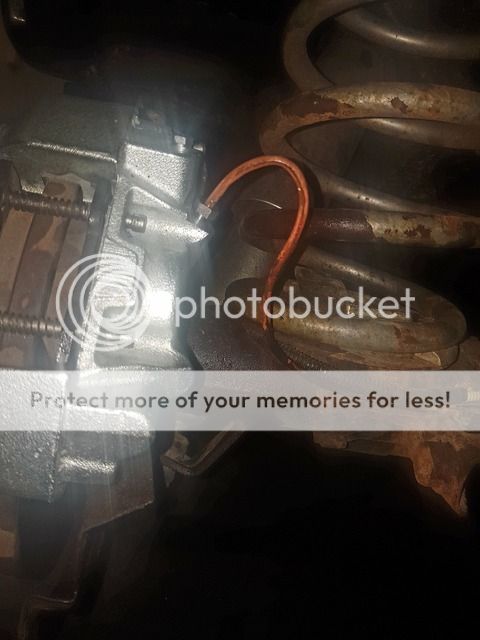
So what pipe did you use and what flare tool? at least you did not make the mistake of flaring then remembering the nut....LOL
Cheers
Did one turn and realised! 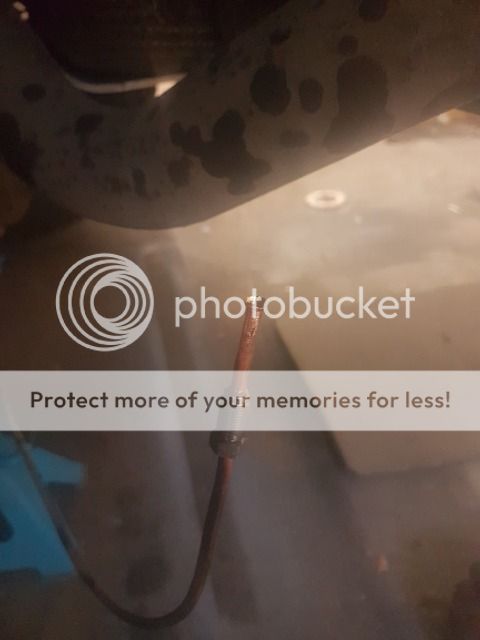
 Thanks! I am enjoying doing this one a lot more than my 90, I suppose because I actually know what I am doing (for the most part! ) so I can just crack on without waiting for help or advice, though always welcome!
 Welcome To LandyZone, the Land Rover Forums!
Here at LandyZone we have plenty of very knowledgable members so if you have any questions about your Land Rover or just want to connect with other Landy owners, you're in the right place.
Registering is free and easy just click here, we hope to see you on the forums soon!