For those contemplating changing their injector washers.....
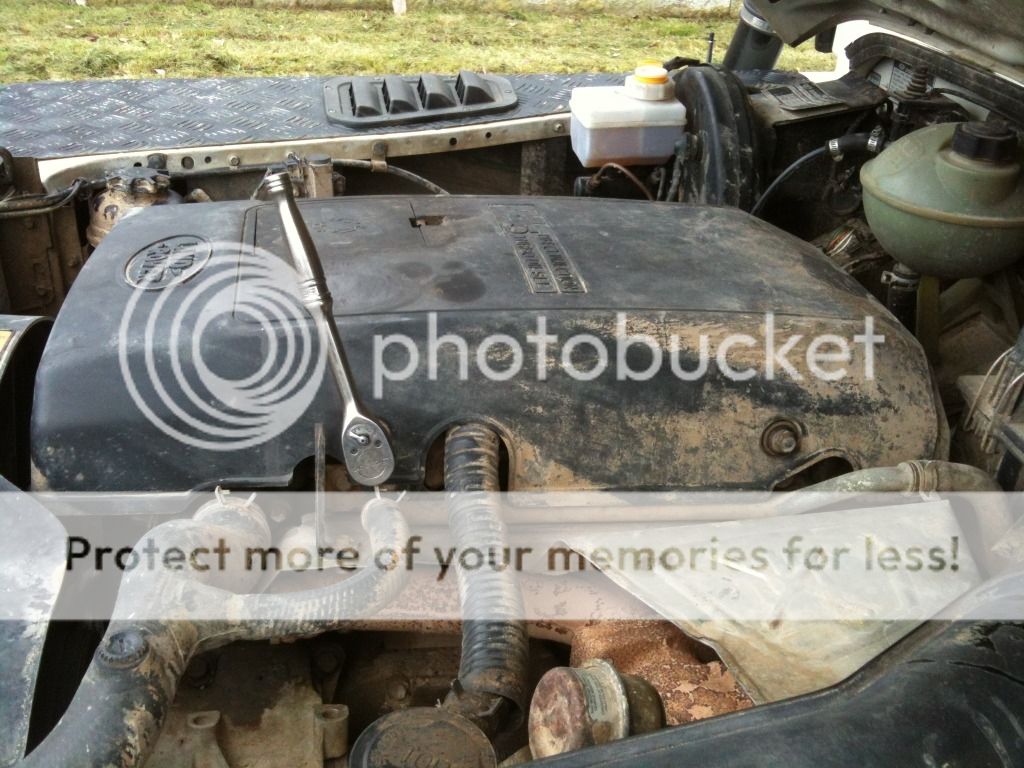
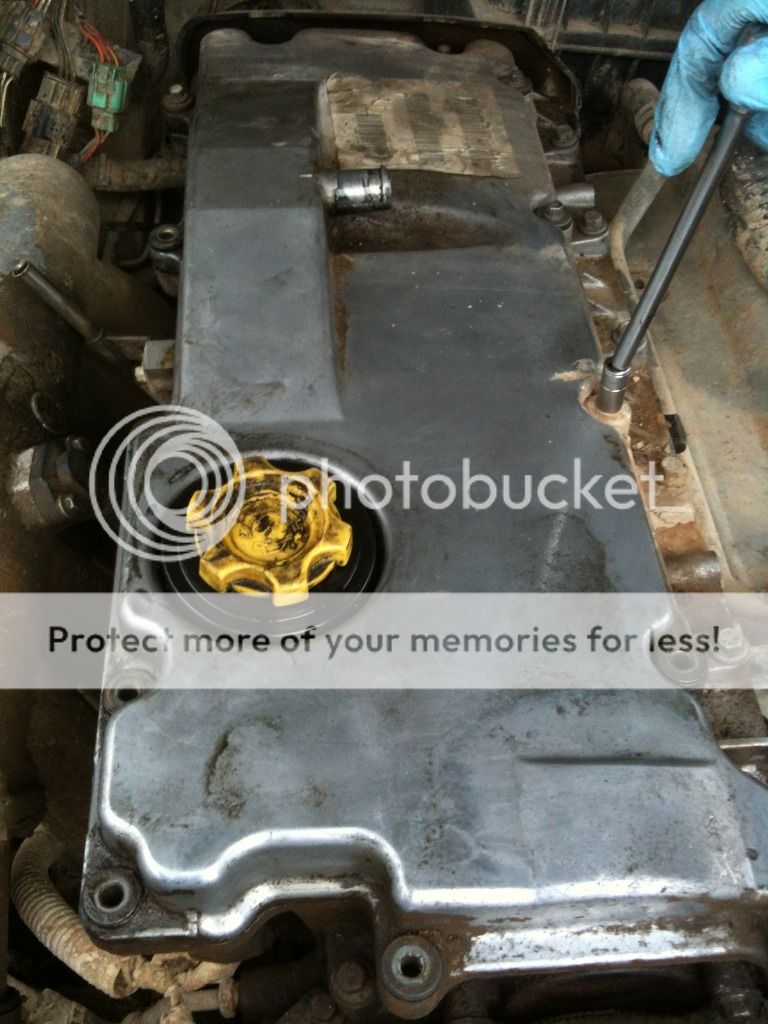
The first thing to do is remove the plastic engine cover.
There's one 13mm bolt on the drivers side of the engine cover (I've got a differemt bolt than most on the driver side due to the captive nut on the fuel cooler coming adrift a while back)......
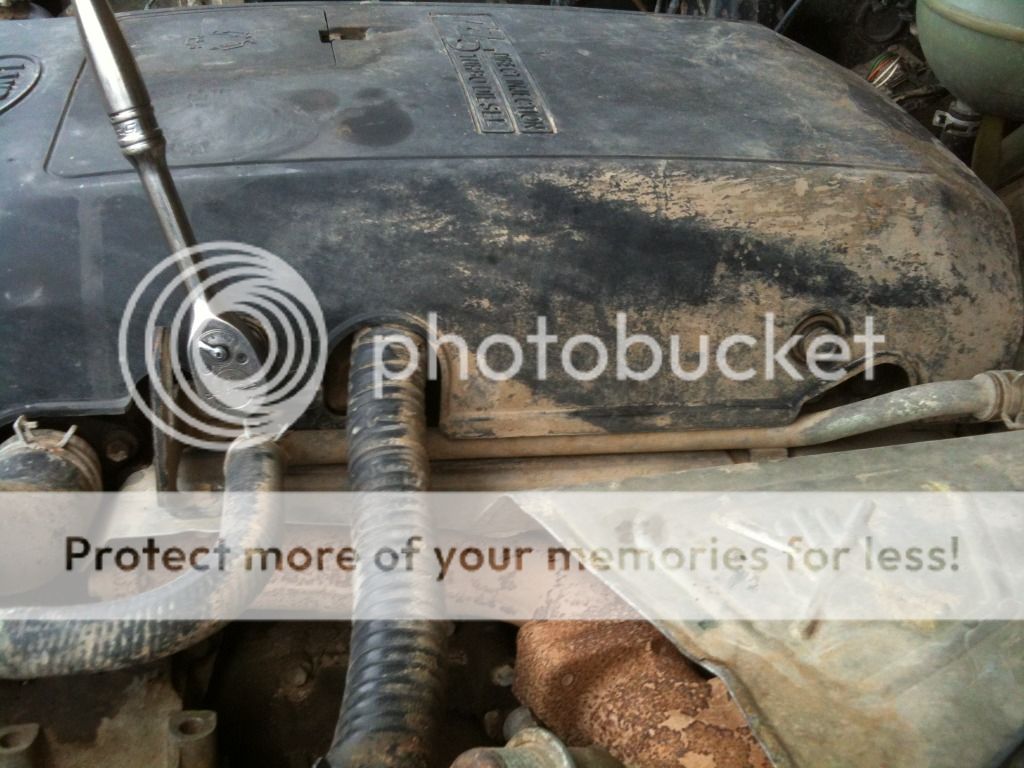
and two on the passenger side......
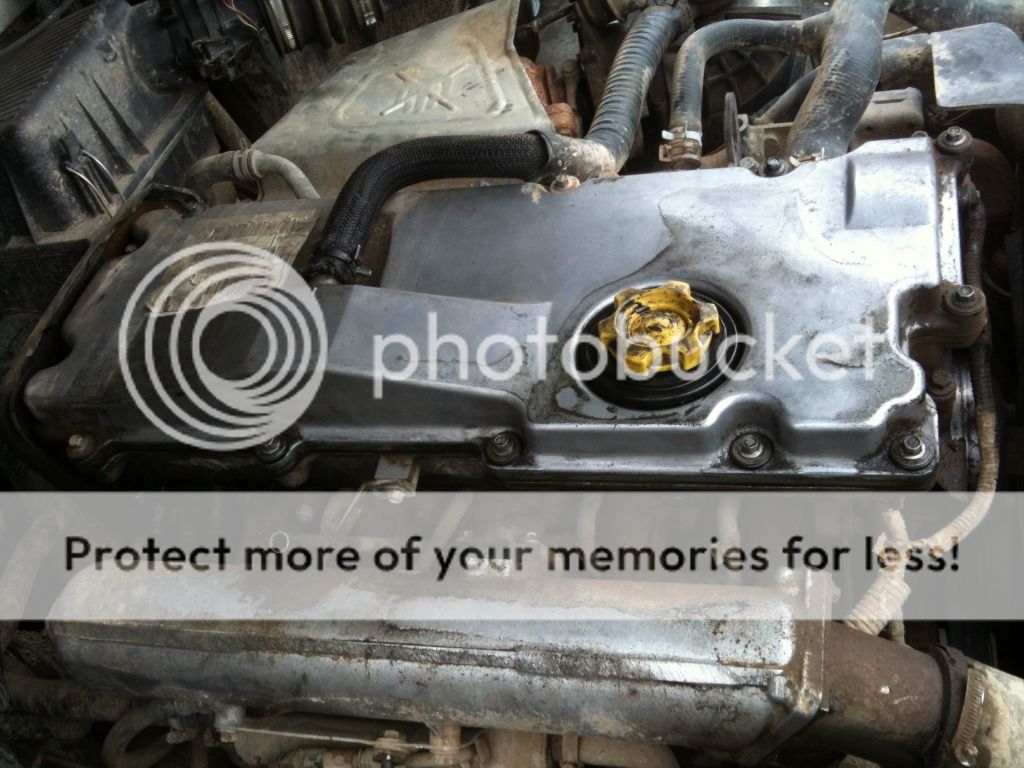
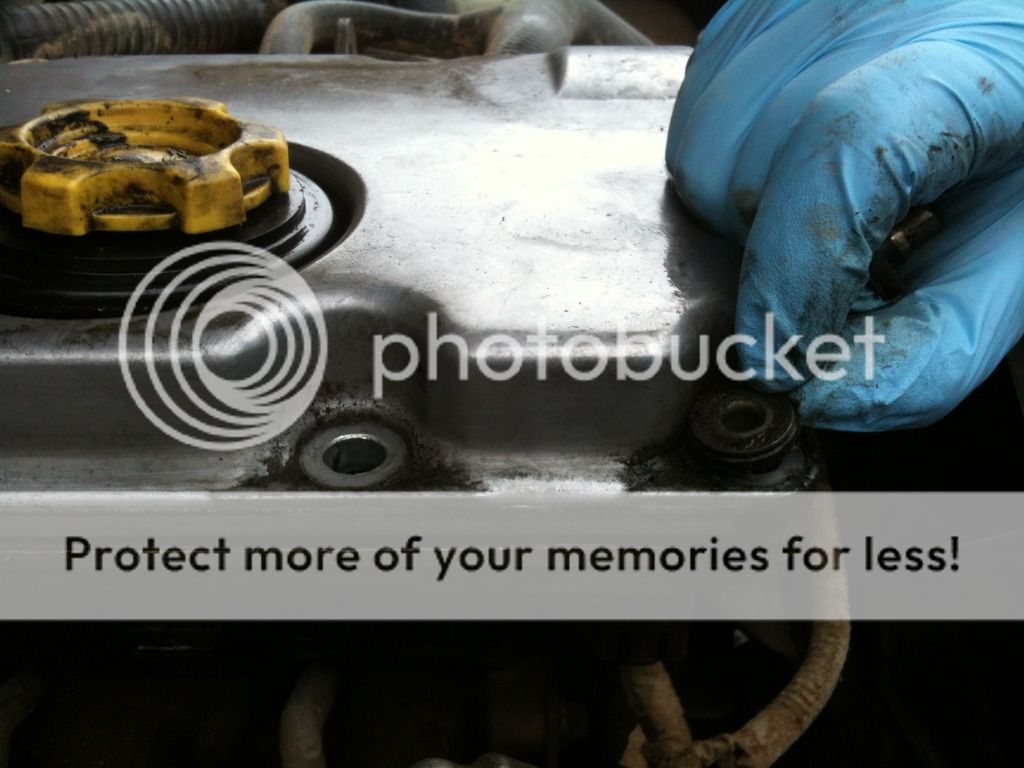
After removing the engine cover the next step was to disconnect the breather pipe from the top of the rocker cover and remove the bolts around the edge of the rocker cover...
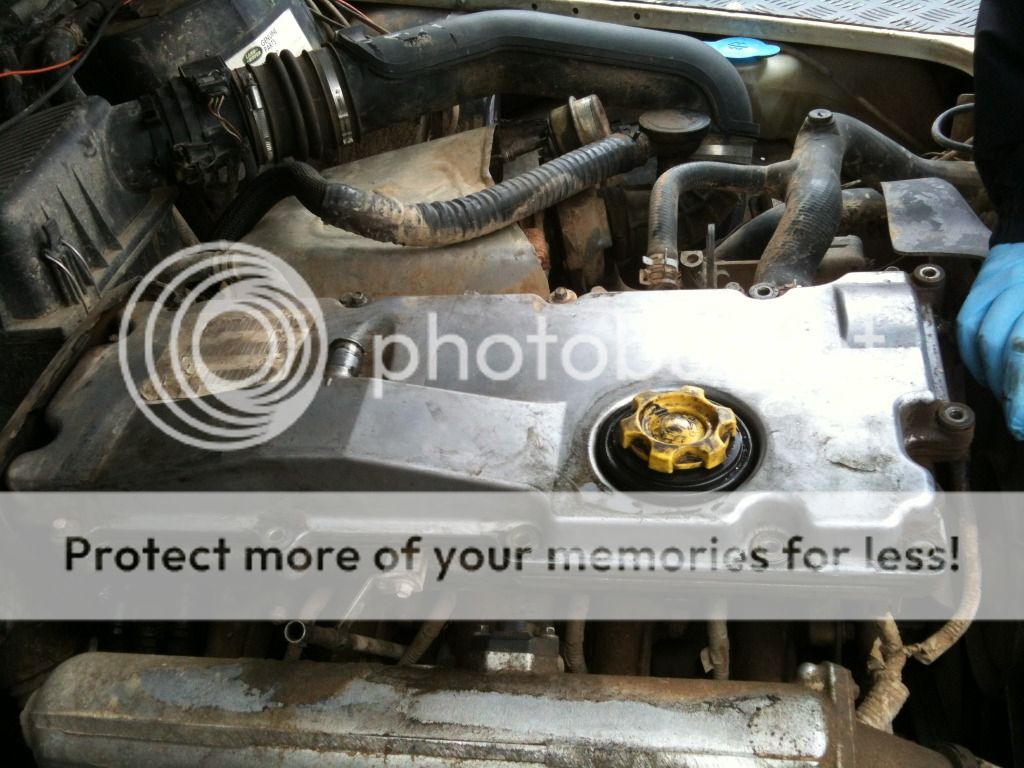
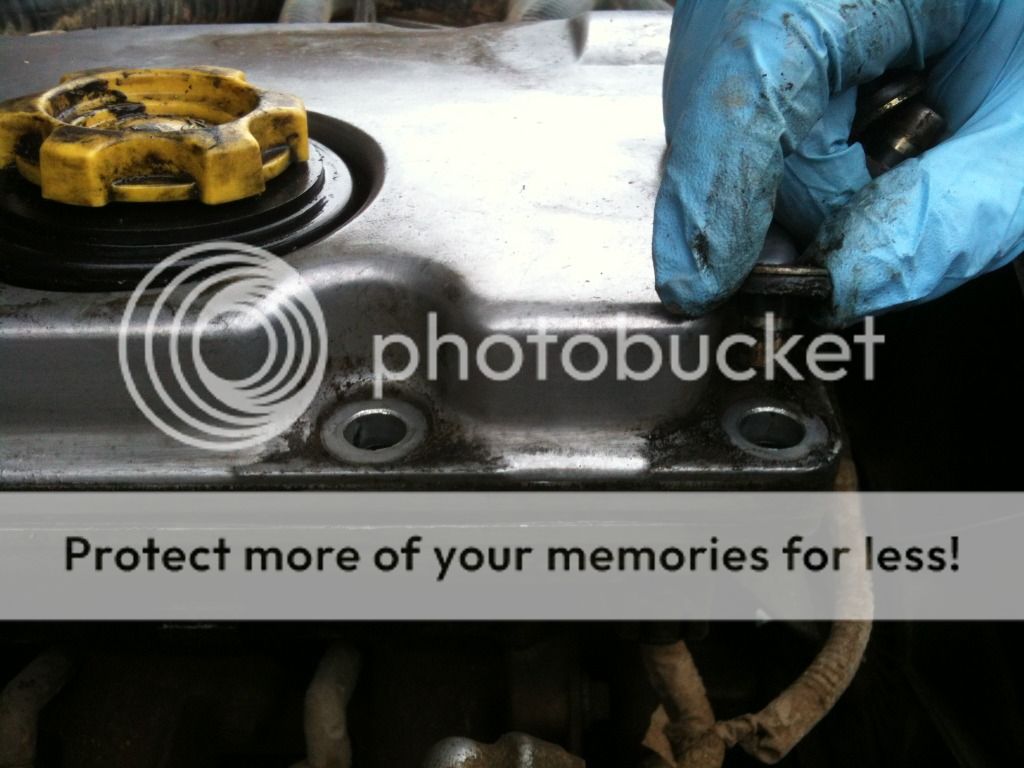
After you've removed all the bolts you then need to remove the inserts from each of the bolt holes around the edge of the rocker cover....
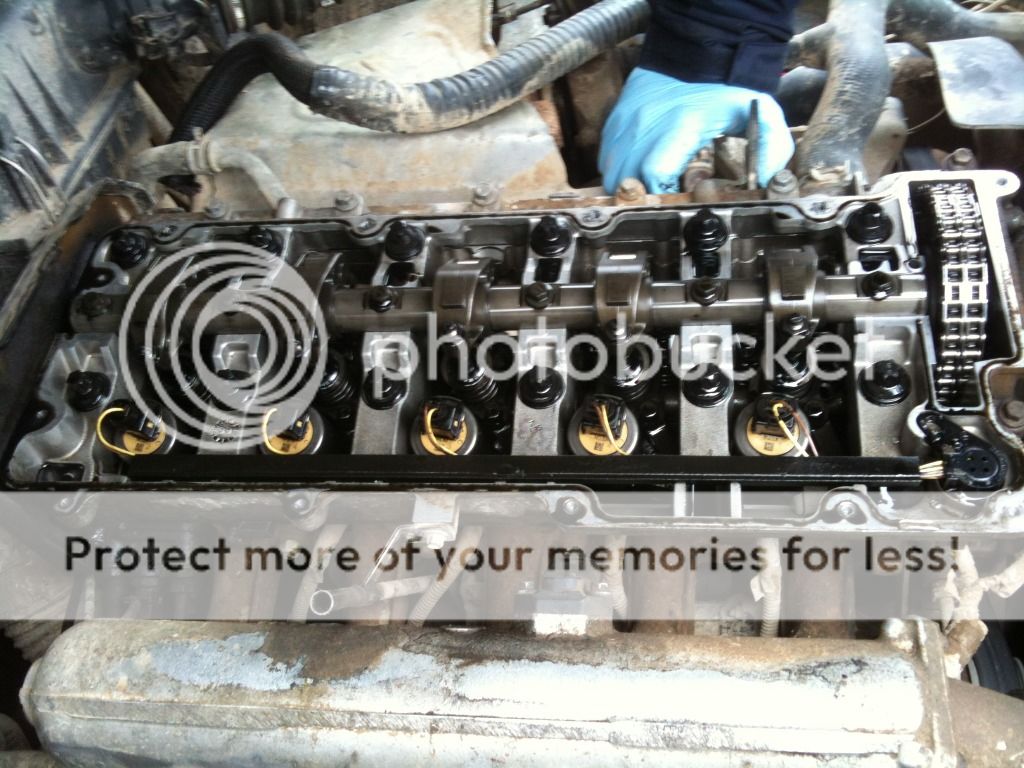
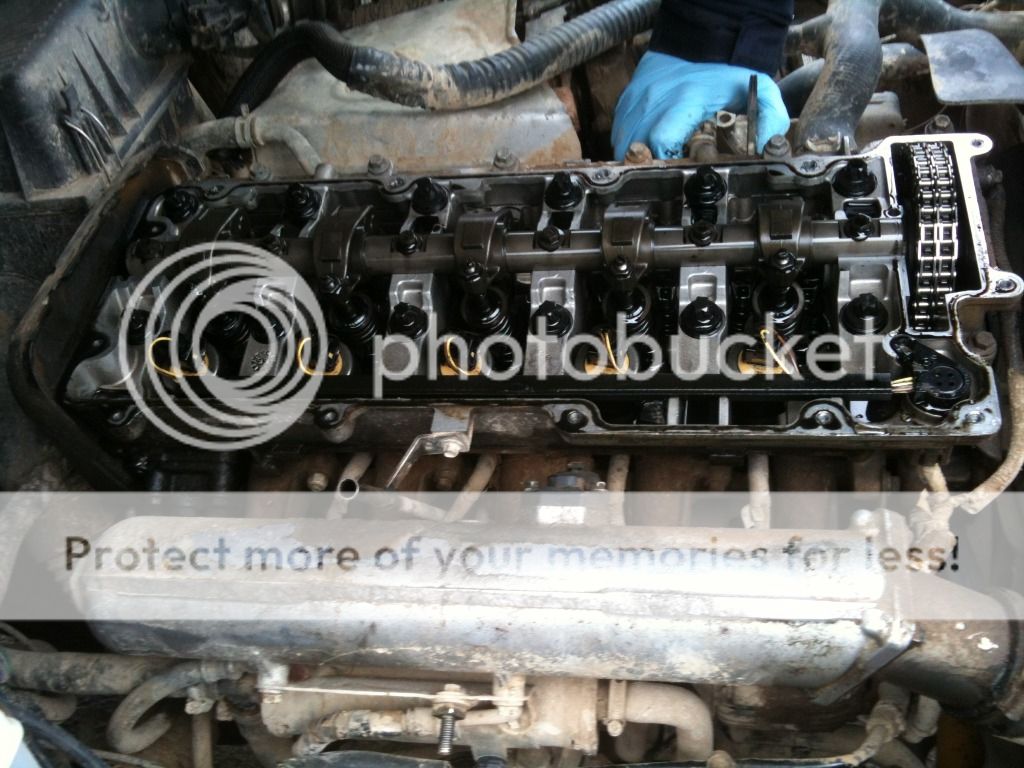
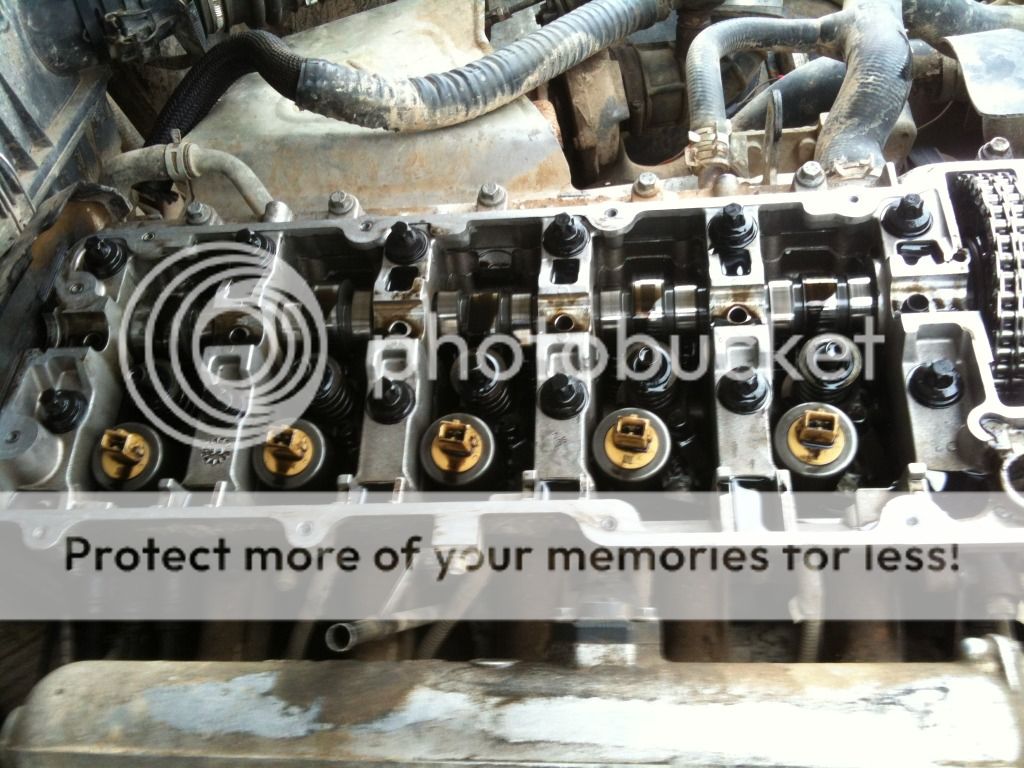
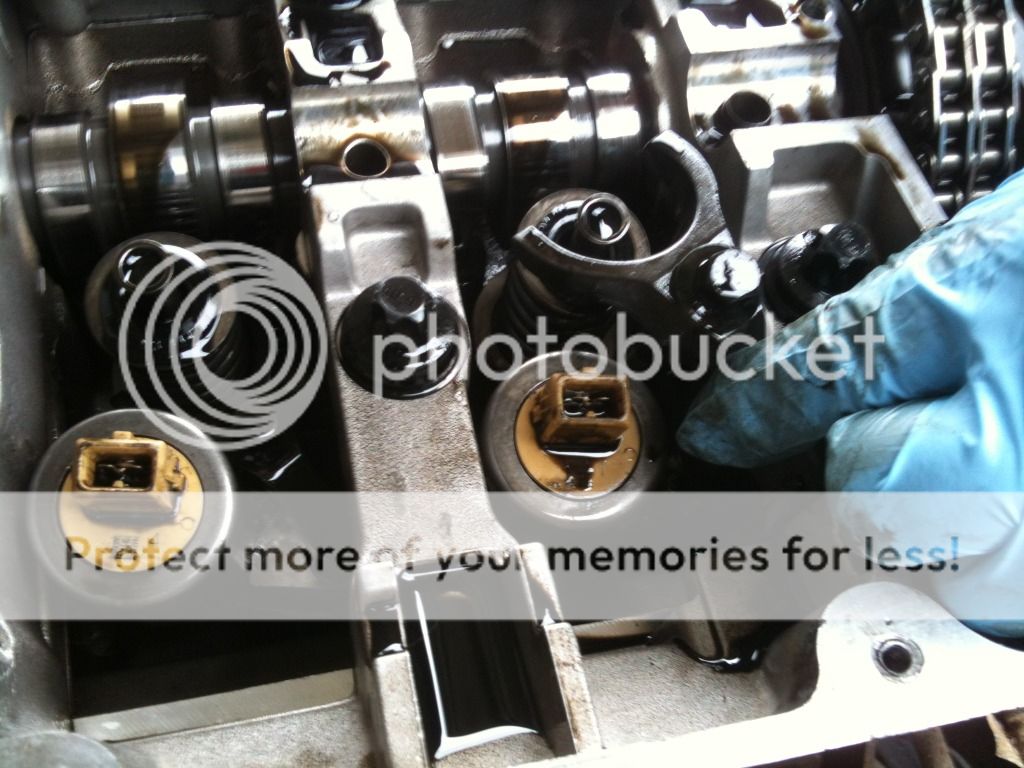
Then remove the rocker cover to reveal......
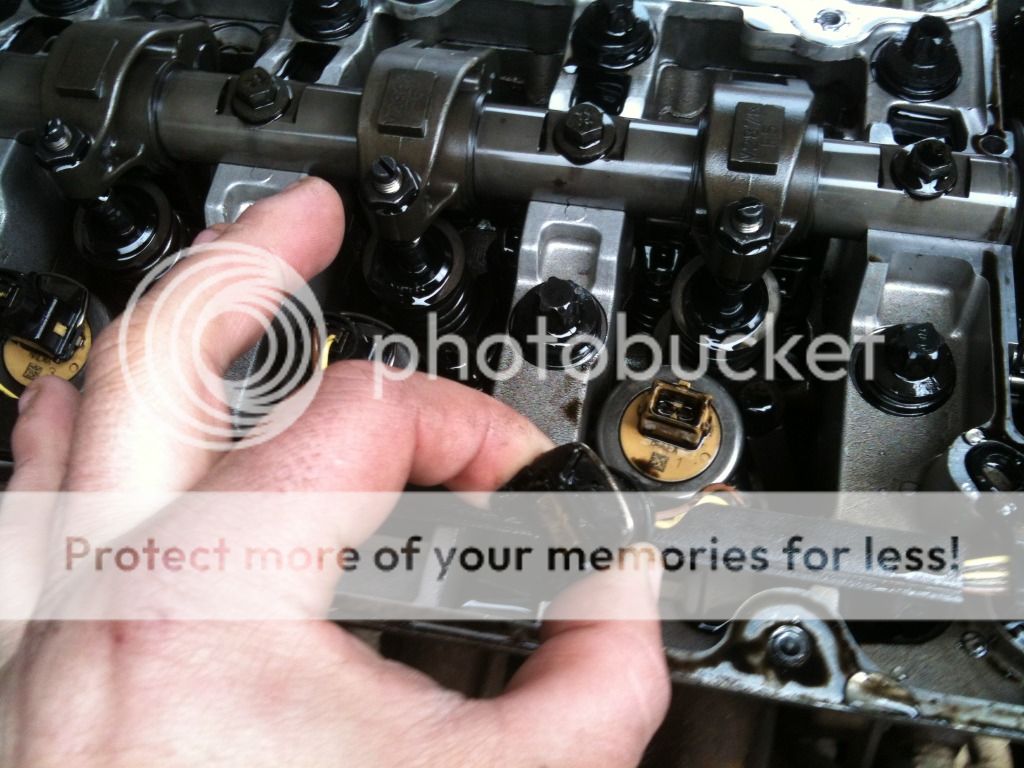
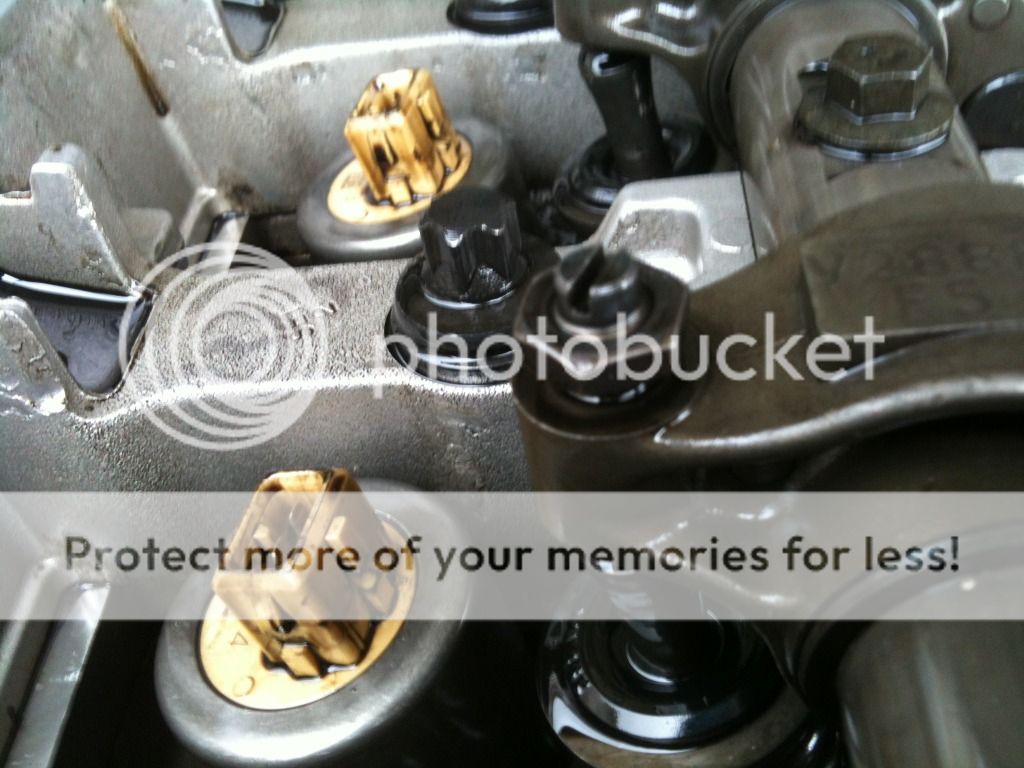
Now you need to remove the plu on top of each injector by squeezing the metal spring clip and gently pulling the plug off.
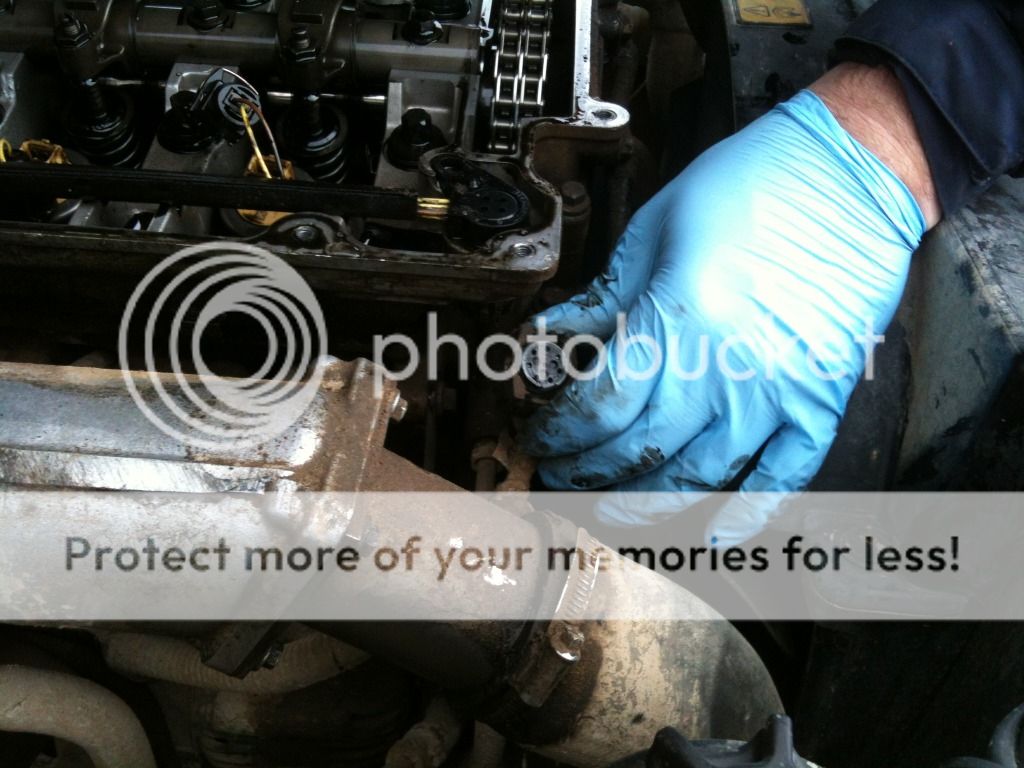
You also need to squeeze the plastic clips on the side of the multi connector shown being held in the photo and pull the plug downwards.
You can now lift out the injector loom.
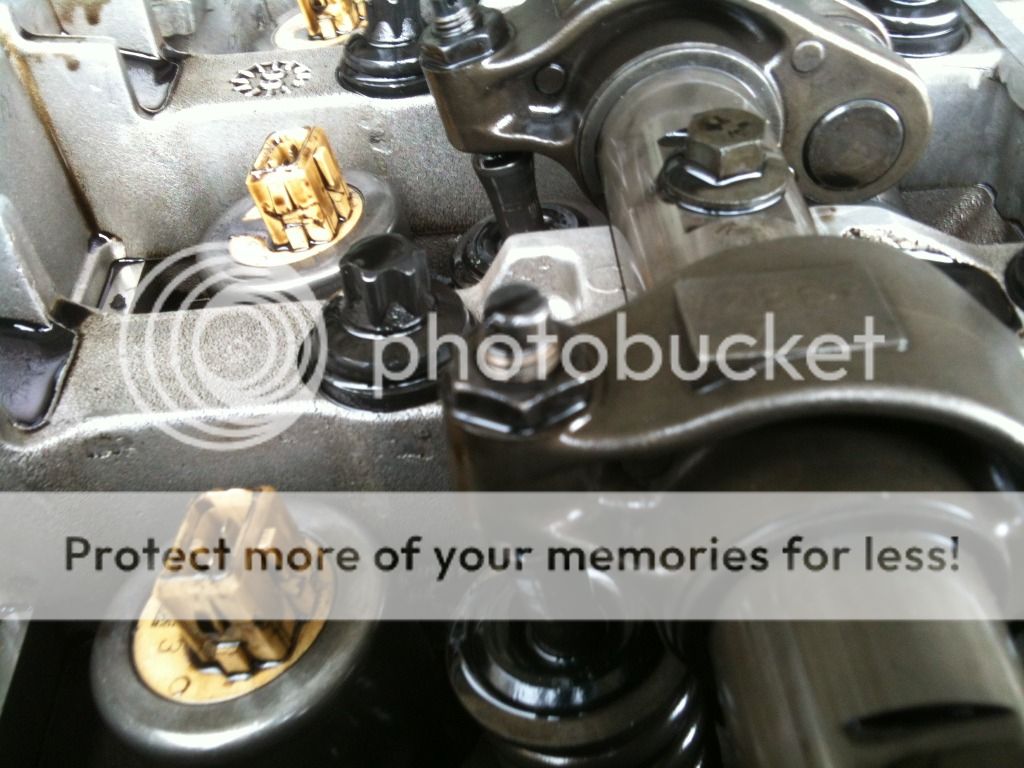
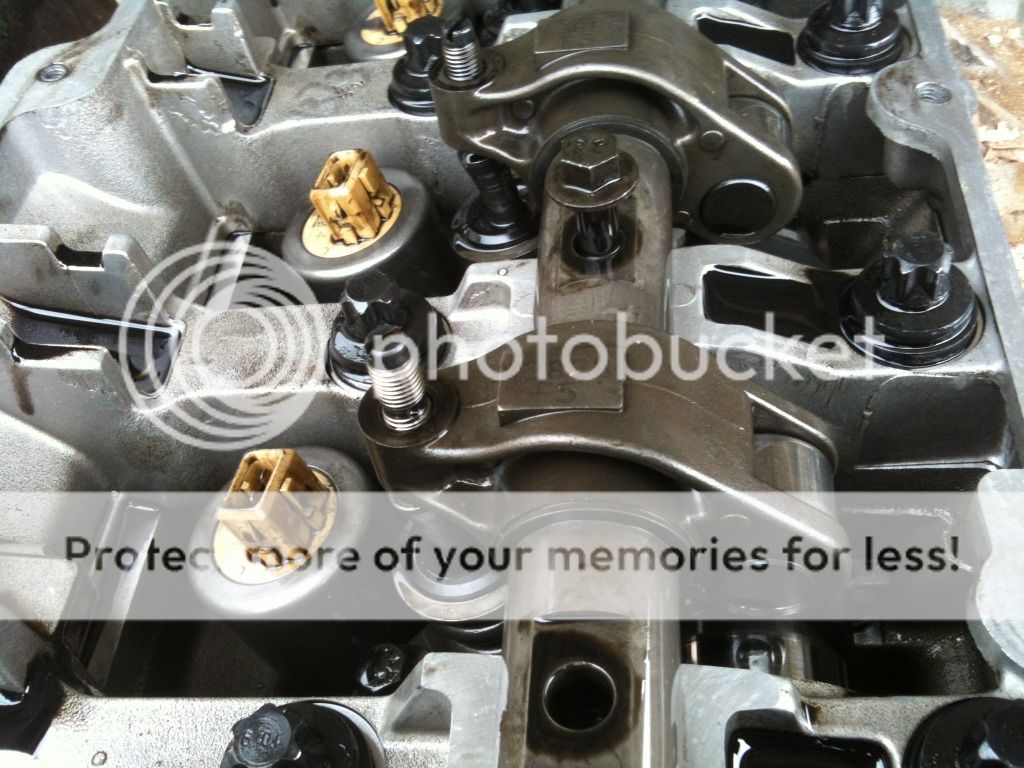
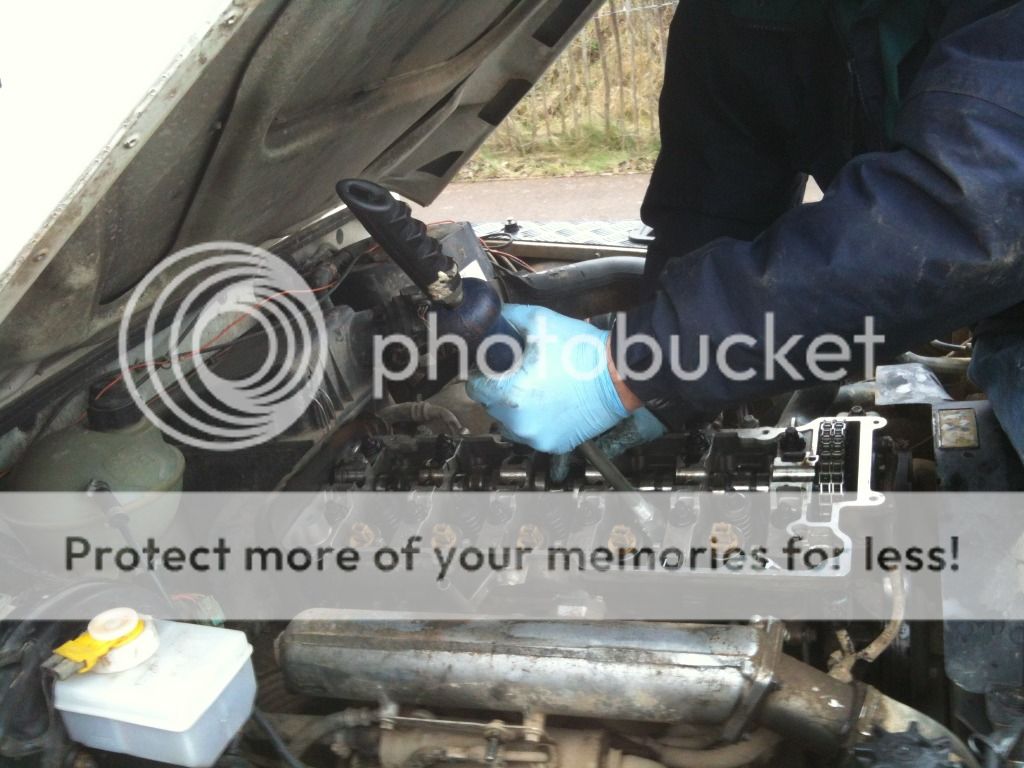
Next step is to remove the locking nuts on the injectors and undo the screws to release the tension on the rocker shaft .....
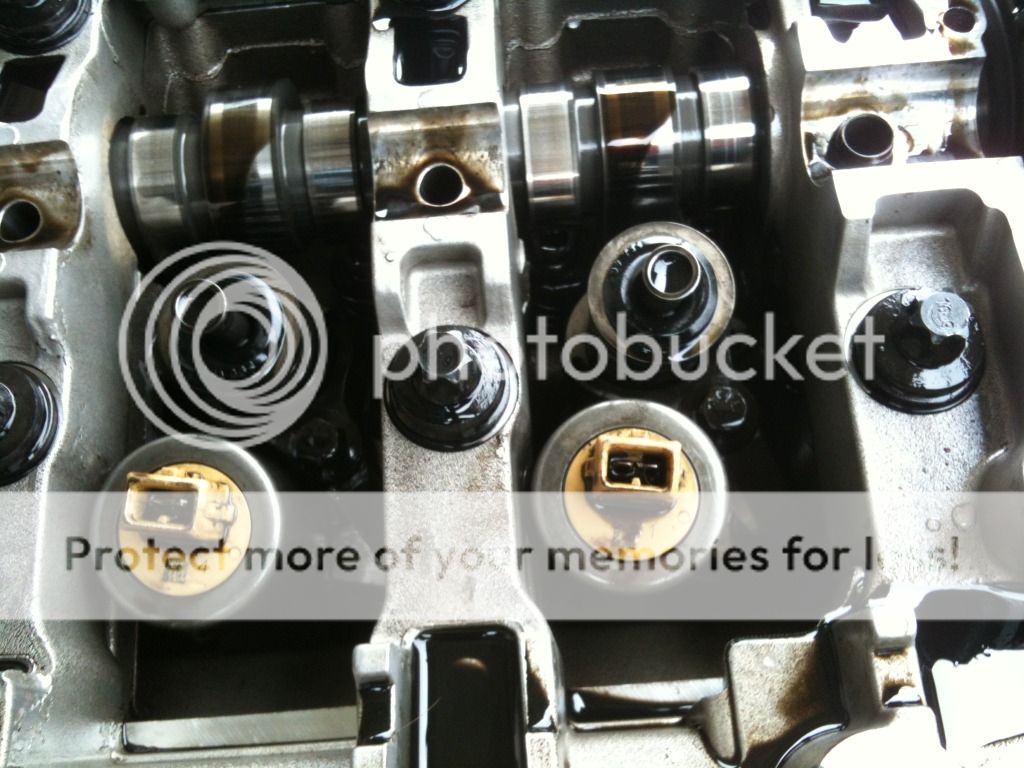
You now need to unbolt the rockershaft itself....
and then remove it....
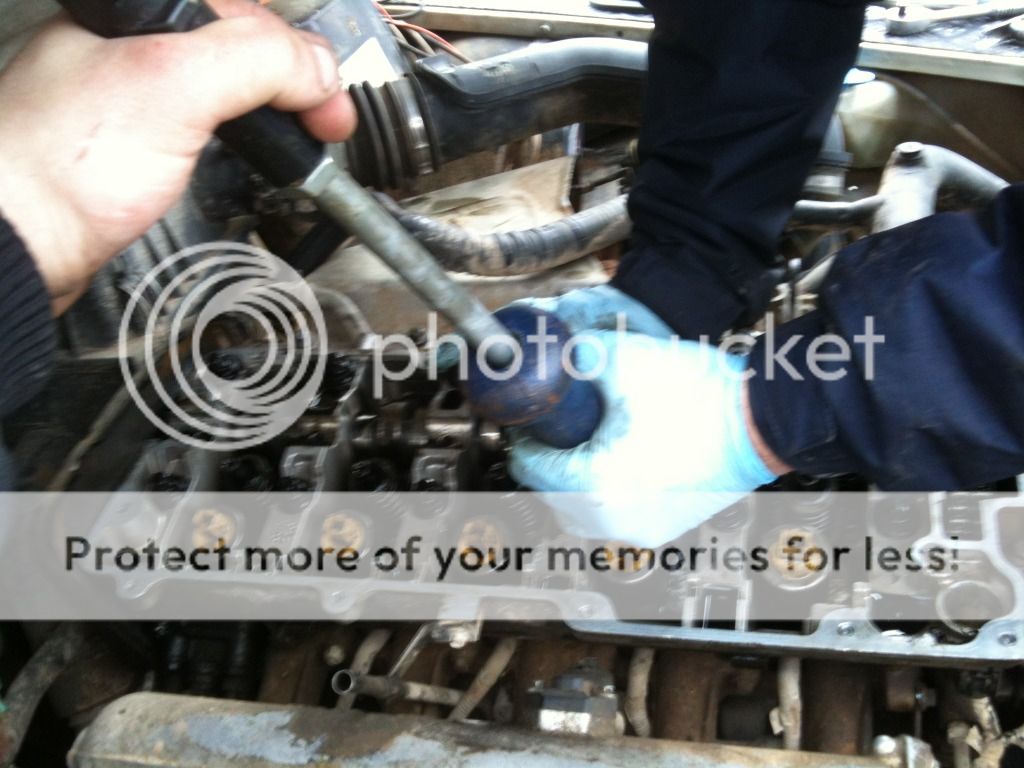
Next you need to unbolt and remove each of the injector clamps....
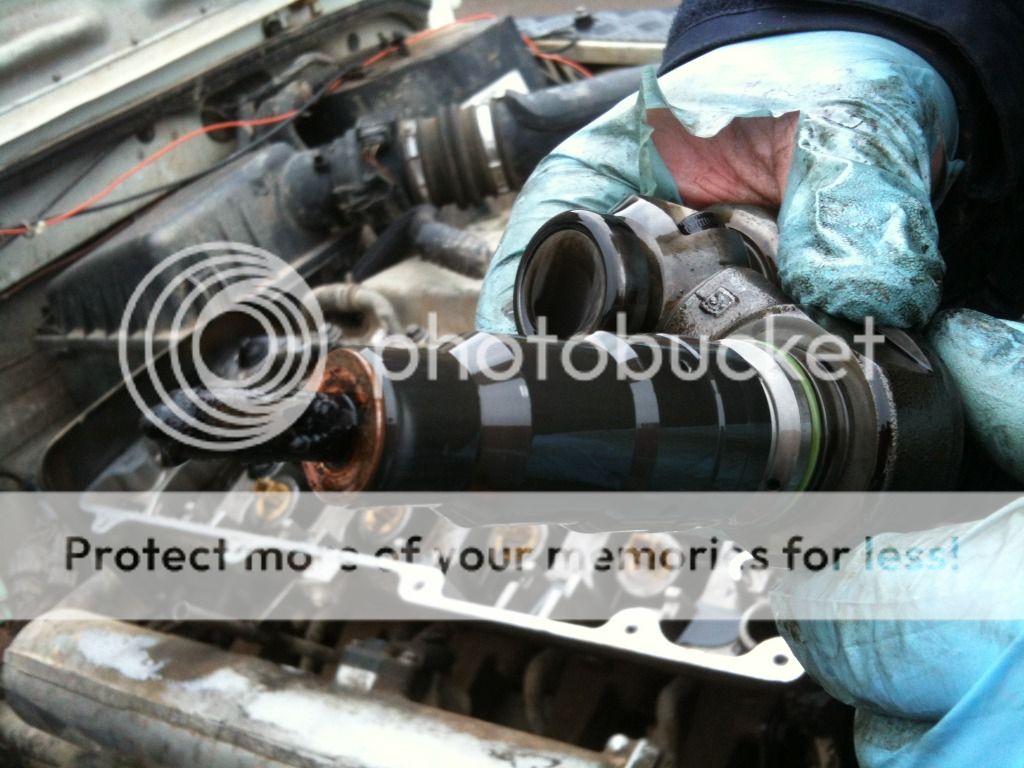
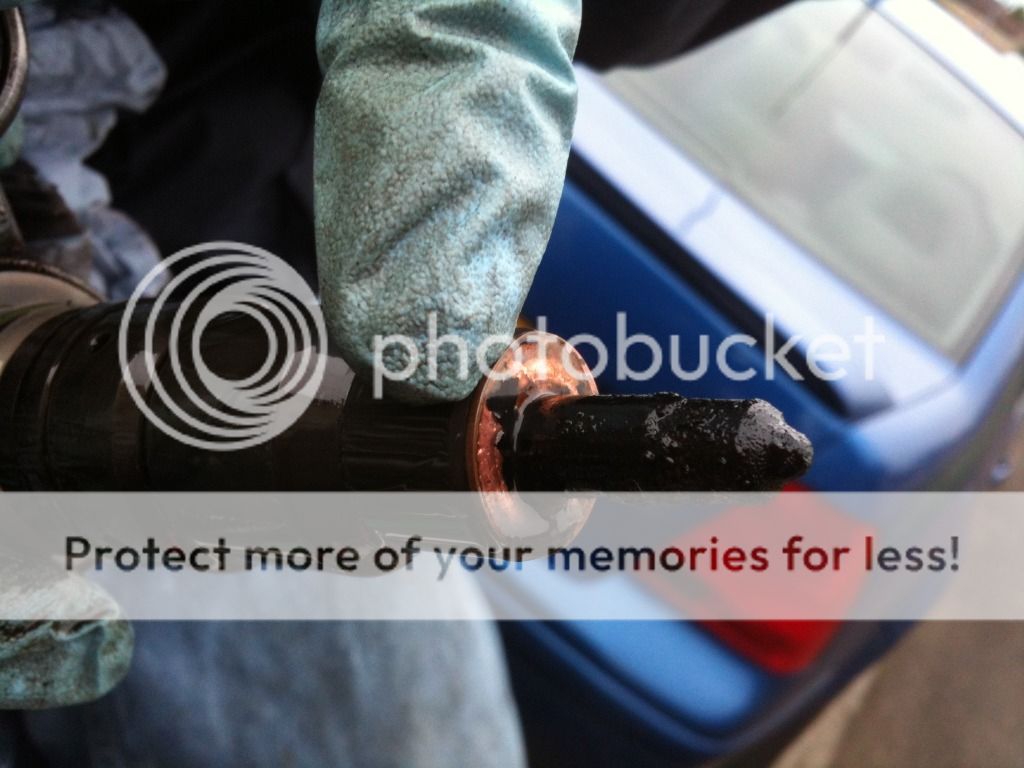
You can then remove the injectors There is a proper injector puller available but we used a slide hammer. Some peope have had success with a pry bar or similar lodged under the body of the injector (not the solenoid) but we couldn't budge them this way hence the slide hammer.
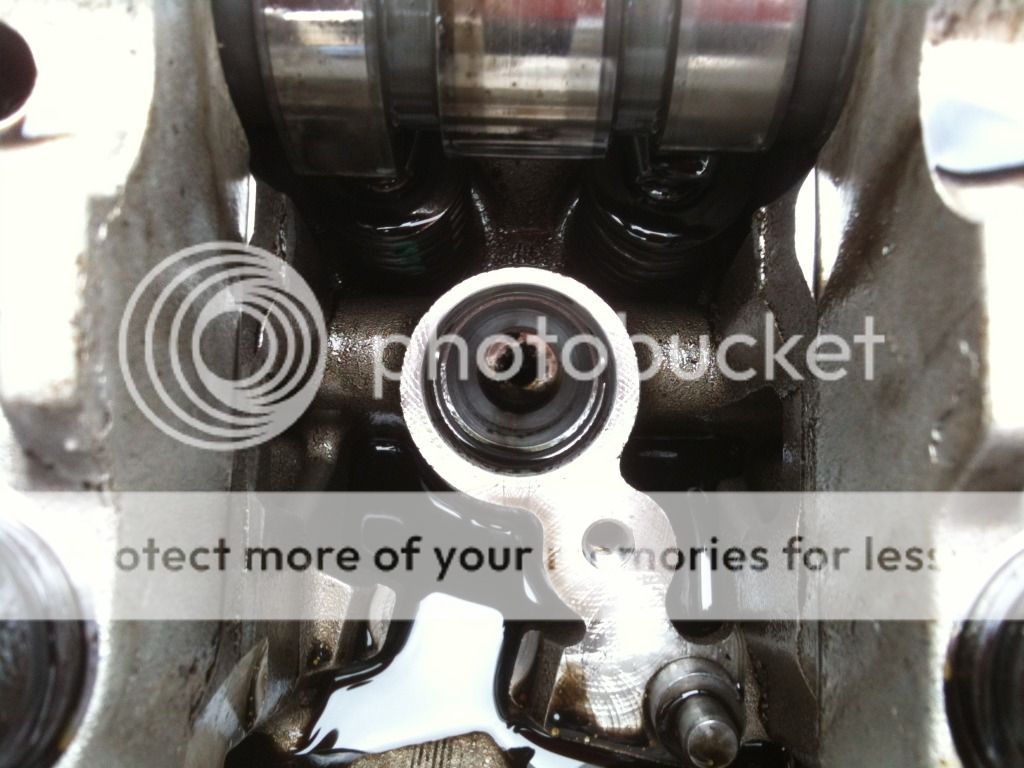
After removing the injectors it was plain to see that the carbon deposits on the copper washers....
And in the injector bores.....
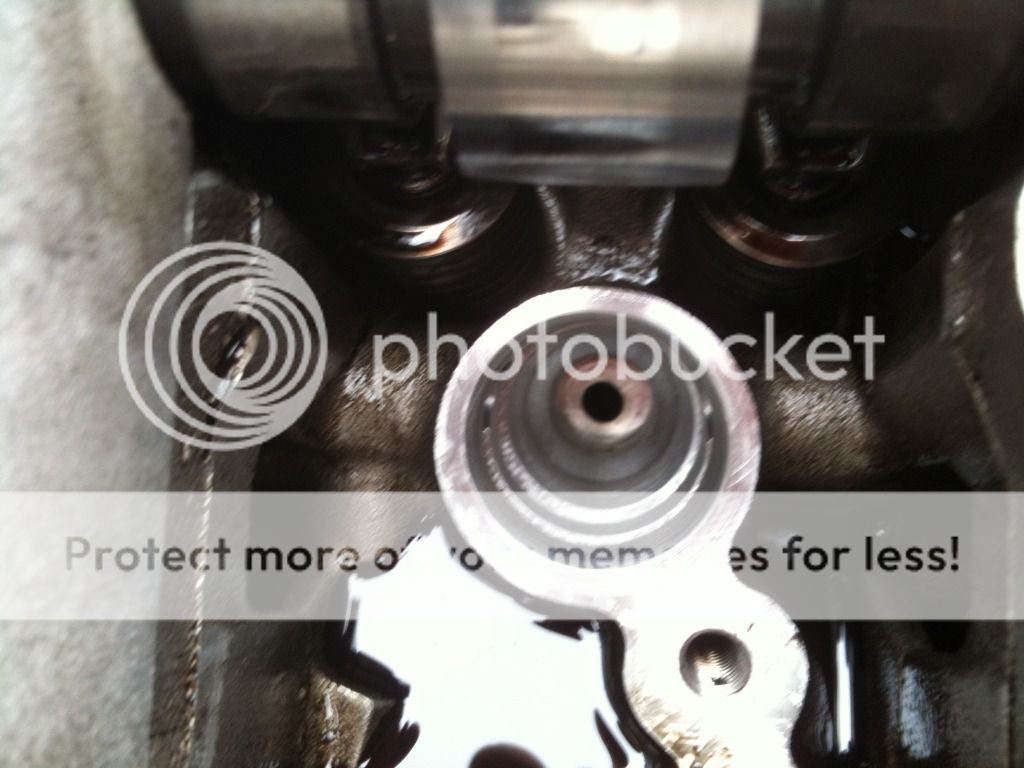
Afte a quick clean up of the bore it was looking much better....
we sorted the injectors one by one to save muddling them up and minimise the risk of dropping anything down the injector bores.
You may need to turn the engine over using a spanner or socket and bar. I removed the fan cowl and viscous fan to do this to make access easier. Unfortunately I don't have any pics of this bit or any of the re-assembly.

After the injectors are out you need to remove the old copper washer, remove and replace the O ring, gently clean the injector tip of any carbon deposits and the injectot bore, fit the new copper washer and then smear a bit of oil on the new O ring to help with re-fiitting the injector.
repeat the above with the remaining 4 injectors and bores.
You then need to re-fit the injector clamps again (torque them up to 32nm)
Re-fit the injector rockershaft and bolt it back down (torque the rocker shaft bolts up to 33nm)
Using a spanner/bar on the bottom pulley, rotate engine by hand and as each cam hits its highest lift point, screw the adjuster down until it bottoms out (you will feel it come to a stop), then back it off again by one whole turn (360 degs), then replace the lock nut and torque it up to 16nm. Repeat for each of the other 4 injectors.
Just to make sure there is nothing nasty going to happen, rotate your engine by hand to ensure the injector will not come into contact with the piston.
Once you are happy, replace the injector loom, re-fit the rocker cover (changing the gasket if required) and bolt it down torquing it up to 9nm, re-fit the rocker cover breather pipe, viscous fan, fan shroud and engine cover and you are done.
You just need to purge the fuel system up and re-start the engine.