Allmakes TD5 fuel pump and inspection hatch location

This site contains affiliate links for which LandyZone may be compensated if you make a purchase.

ratty

I'm not special I'm limited edition
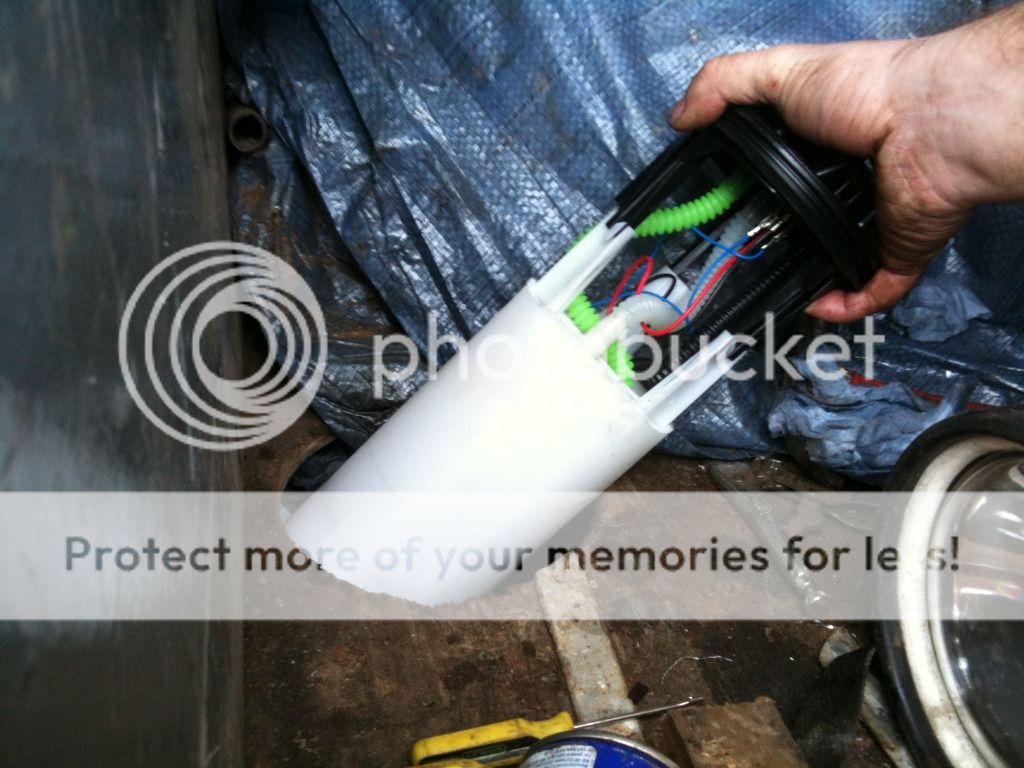
Does anyone have any experience of 'Allmakes' fuel pumps for a TD5?

I need to get a replacement for mine and just wandered if they're worth the money?

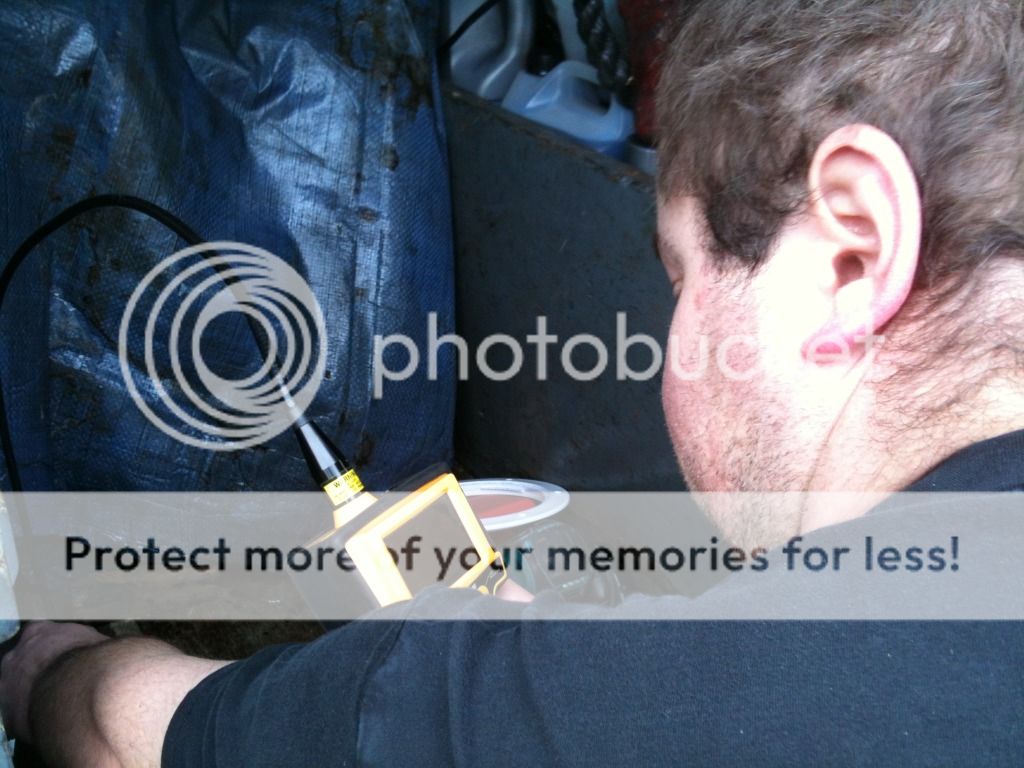
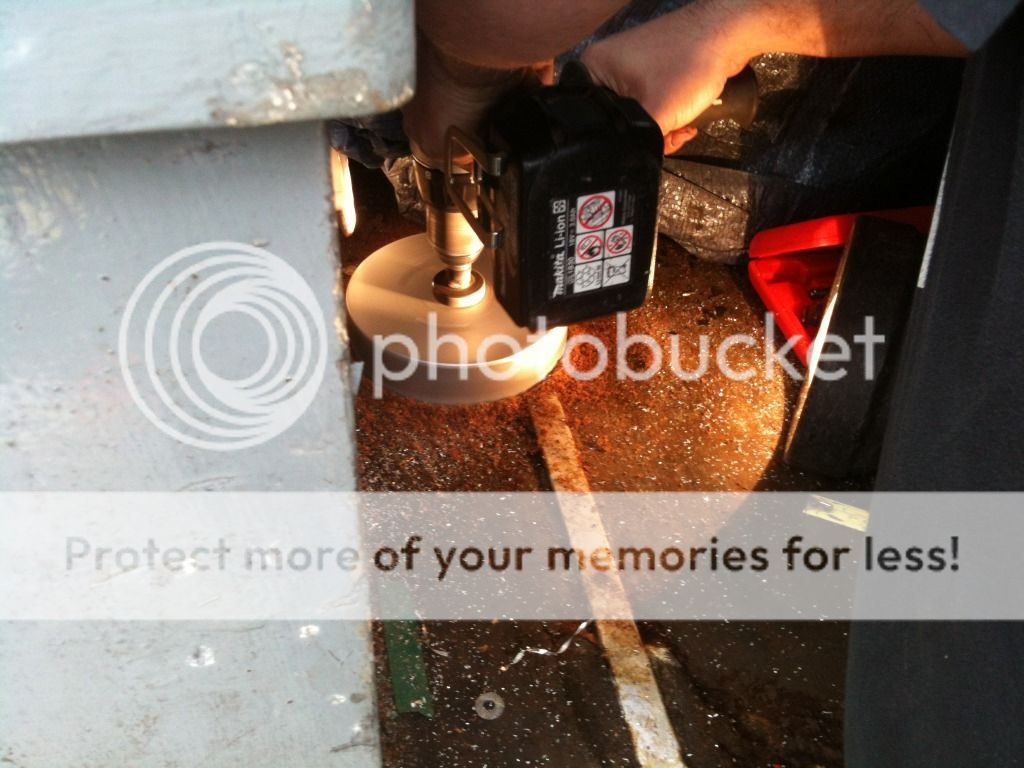
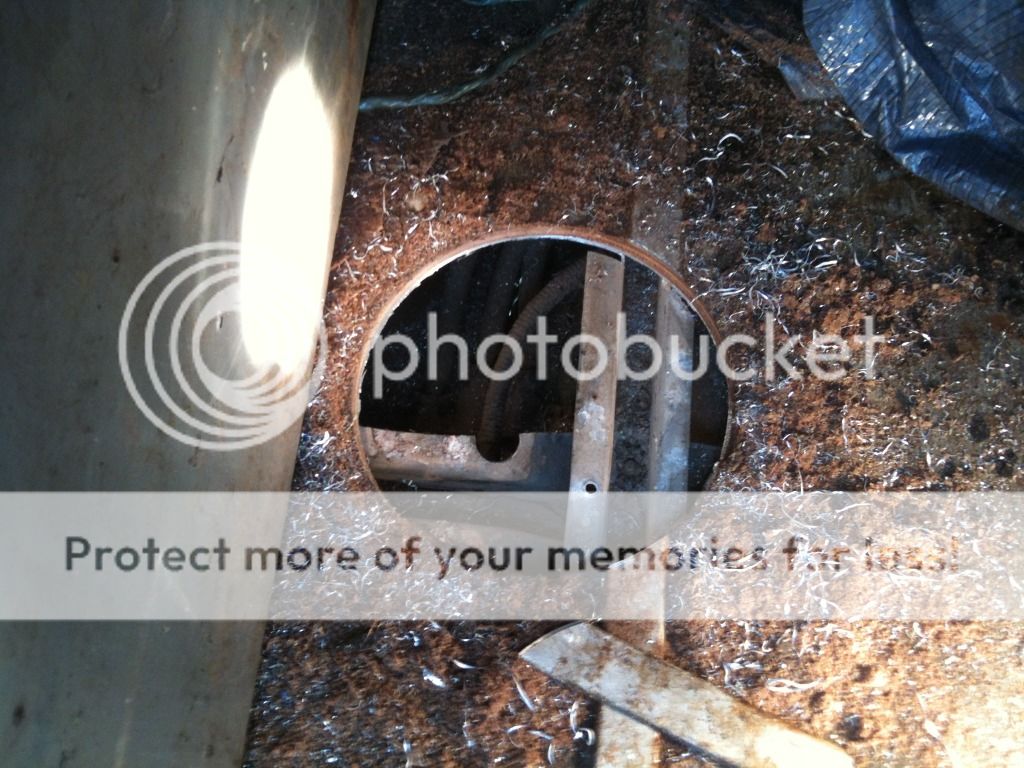
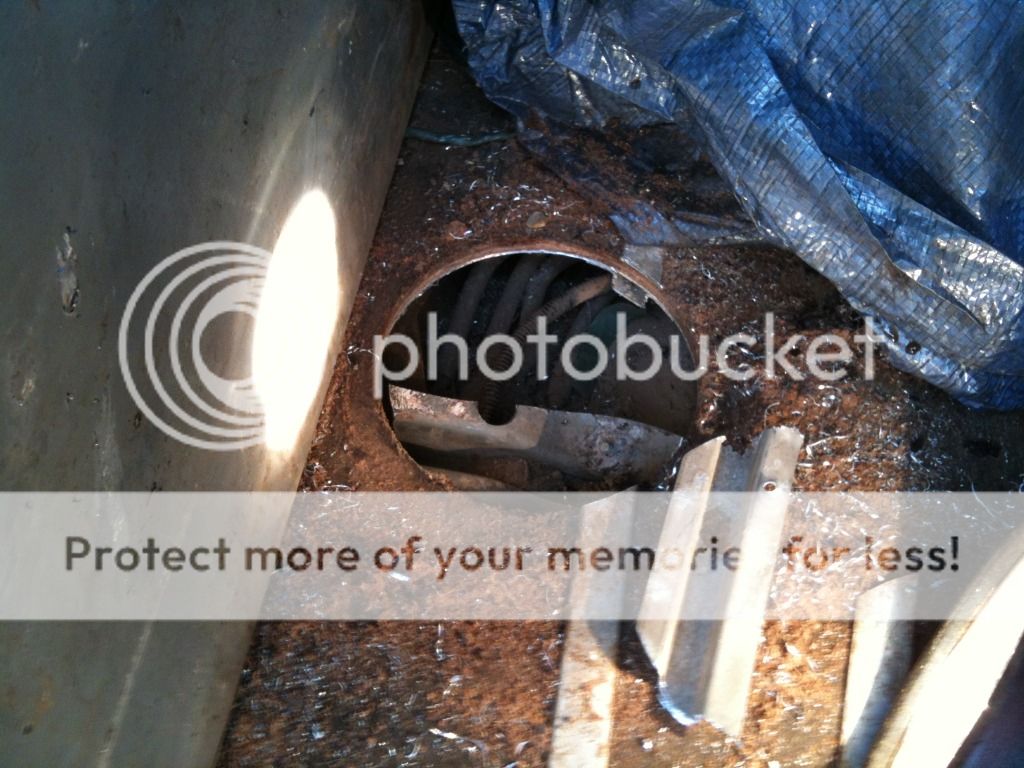
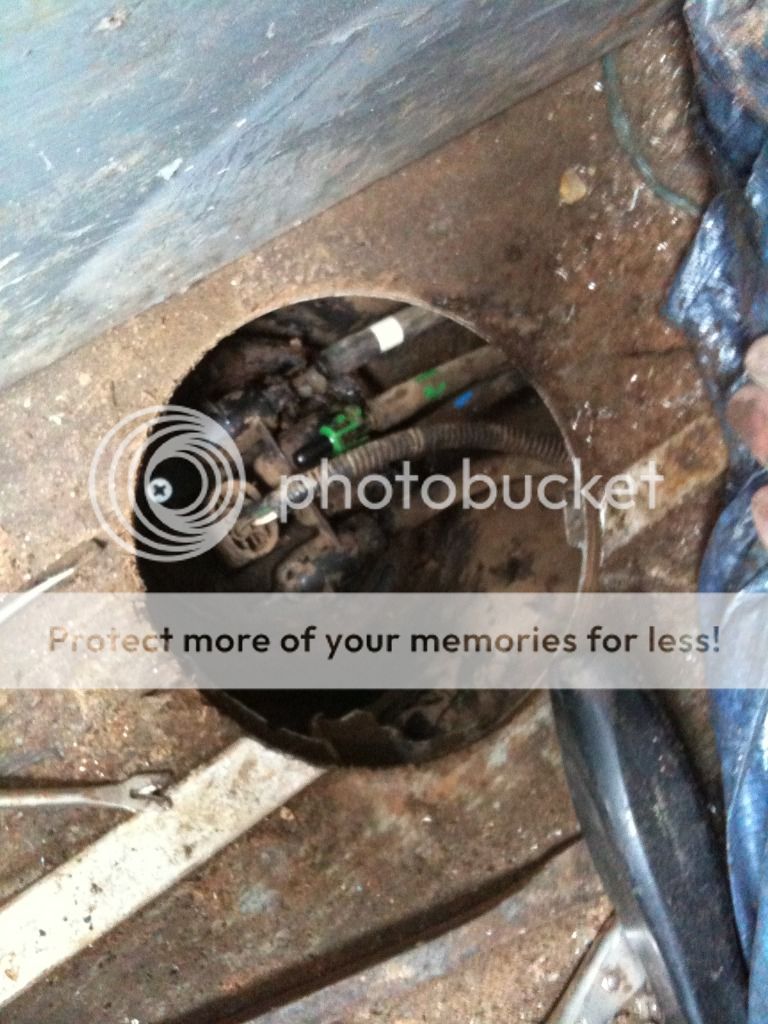
Also does anyone have the dimensions for cutting an inspection hole in the rear of a 110 to enable me to access the fuel pump?

I'm hoping to cut a round hole with an air nibbler and fit a proper inspection hatch as used on boats. Summit along the lines of these.

eBay - The UK's Online Marketplace

eBay - The UK's Online Marketplace

To enable me to get away with having a small inspection hatch I'm going to need to be pretty accurate with where I make the hole.:eek::eek:
 
How big a hole- I have something like a 4 inch hole saw- much neater than nibbler.

secondly if europarts are still doing service30 promo have you priced a pump?

Lastly If you want someone to take photo's take the **** and moral support- give me a shout.
cheapest I've seen £100 or so
 
Last edited:
How big a hole- I have something like a 4 inch hole saw- much neater than nibbler.

secondly if europarts are still doing service30 promo have you priced a pump?

Lastly If you want someone to take photo's take the **** and moral support- give me a shout

I'm thinking that probably about an 8" hole so I have room to move without cutting my arms. one of the reasons for using the boat hatch is that the flange will hide any rough edges.

No I haven't priced a pump from europarts

Cheers for the offer. I'll let you know when I'm ready to crack on with it.
 
Had to do the same recently on my 110 CSW. the centre point of the pump can be located as follows:
From LHS ( looking from rear) measure 385mm (500mm from RHS)
From outer edge face (between rear door rubber strip and outer face) 530mm.

Note there are bracing struts in the way, one running front to back on the centre line (447mm) and also side to side at 470mm, again from outer edge.
Also be aware of the electrics and pipes just below the surface. These are easily seen once the main hole has been cut and rivets drilled to remove the hatch.

Hole does need to be about 150mm at least

Good Luck!
 
Last edited:
Had to do the same recently on my 110 CSW. the centre point of the pump can be located as follows:
From LHS ( looking from rear) measure 385mm (500mm from RHS)
From outer edge face (between rear door rubber strip and outer face) 530mm.

Note there are bracing struts in the way, one running front to back on the centre line (447mm) and also side to side at 470mm, again from outer edge.
Also be aware of the electrics and pipes just below the surface. These are easily seen once the main hole has been cut and rivets drilled to remove the hatch.

Hole does need to be about 150mm at least

Good Luck!

Thanks for that

The inside of mine has a chest and partitions in it which make accessing the wheel boxes for measurements pretty impossible. I don't suppose you could measure the side to side distances from the door opening for me to save gutting the inside of mine.:eek:


I changed mine on the 90 a few weeks ago http://www.landyzone.co.uk/lz/f7/defender-td5-fuel-pump-tank-177128.html
I followed shifty's instructions for the 90 and it worked perfectly!

I went for a Bearmach pump at @£100 and so far no problems


Cheers Accy.

I'm a bit miffed cos I missed a Bearmach pump on ebay for £105 the other day. I see there's still some 90 bearmach pumps on there for around £100 but all the ones for a 110 are either allmakes at around £100 or genuine at over £250.

Craddocks, paddocks etc all seem to want £180+ for bearmach pumps.:mad:

Does anyone know what the actual differences are between the pumps for 90's, 110's and D2's. THe part numbers end in 250 for a 90, 260 for a 110 and 280 for a D2. Could a buy a pump for a 90 or D2 and switch the gubbins over into my original housing?
 
Ratty, OK revised measurements: The distance from the outer edge of door sill to the centre of the pump remains the same, ie 530mm.
Measuring the rear door width between the rubber seals gives 870mm. From the LHS measuring 378mm, or 493mm from RHS gives the centre line of the pump.

Re the cheaper pumps, there are some on this forum who would urge you to buy an OEM pump. For myself I bought a £100 one and had to send it back within a week as it had no pressure. Second one working OK (so far!)

Many thanks for that Derek.

I've just purchased a Bearmach pump. Hopefully it should be with me in a couple of days.

If I can locate my air nibbler in my shed I can make a start on cutting the floor.
 
Does anyone know what the actual differences are between the pumps for 90's, 110's and D2's. THe part numbers end in 250 for a 90, 260 for a 110 and 280 for a D2. Could a buy a pump for a 90 or D2 and switch the gubbins over into my original housing?

When my pump went the only one I could get my hands on at short notice was a Allmakes pump for a 110 (the disco was sat in a layby and needed the next day for work) took the old one out and compaired the 2 pumps and couldn't see any differences so popped it in. I think someone said the sender unit on a 90 is different with it being a smaller tank.
 
When my pump went the only one I could get my hands on at short notice was a Allmakes pump for a 110 (the disco was sat in a layby and needed the next day for work) took the old one out and compaired the 2 pumps and couldn't see any differences so popped it in. I think someone said the sender unit on a 90 is different with it being a smaller tank.

It is the sender from what I read on other sites
 
I replaced my pump a while back... got a cheapie from Paddock/Craddock, one of the two and it's worked fine since... gauge reads 1/3 full when empty though!

I did the hole in the floor, for future reference/repair.... to be extra safe I drilled out as many spot welds and rivets to lift the floor panel clear of the struts and vulnerable pipes/wires...cut the hole then pop riveted the floor back down... then got a sheet of ally chequer plate, and cut a hole in it larger than the original hole in the floor, giving a lip to secure the cut out chequer plate piece in place, and pop riveted that in too. Now have a flush floor, and only need to drill out four pop rivets to access the pump...

...oh and plenty of silicone to keep the damp in!
 
I finally got around to changing the in tank pump on my 110 today. A big thanks to Fanatic for coming over with the extra pair of hands and tools.:high5:

As per DerekT's post (Cheers for that Derek:)) we measured 530mm in and 380mm across from the left of the rear door. (Due to the size of the bore scope being bigger than the size of the pilot drill for the hole cutter we actually drilled the initial hole at 500mm).


fuelpump.jpg


fuelpump1.jpg


We then used it to insert a bore scope to check the position was ok.....

fuelpump2.jpg


The position of the wooden chest bolted in the back of my 110 meant a bit of juggling with the actual position to drill the 165mm hole. (We moved the position over to the right by around an inch)

fuelpump3.jpg


fuelpump4.jpg


Due to mine being a special vehicles build we had to get through ali cargo sliders, 8mm marine ply and then the rear floor. After drilling these out we were left with the strengthening braces.....

we chopped through them so far using the hole cutter but due to my hole being off centre we had to finish them off by hand to be sure we weren't going to cut into the top of the fuel tank. You should be ok if you are cutting the hole in the correct position but it's better to stop regularly and check.

We found that using the drill in reverse while cutting out the supports stopped the cutter from snagging. It did bugger up the teeth though.....


fuelpump5.jpg


fuelpump6.jpg


We then unclipped the fuel pipes and the electrical multi-plug


fuelpump7.jpg


once the pipes were out the way we unscrewed the retaining ring, withdrew the old pump and inserted the new one.

fuelpump8.jpg


Be careful not to snap the small plastic pipe sticking up from the top of the pump. It was a PITA to get the retaining ring on top of the new fuel pump without catching it due to the pressure of the pumps spring and the fact that the tank was full.

After scewing the retaining ring back down, refitting all the pipes and the multi-plug we then fitted the inspection hatch.

The one I used is a waterproof one from a boat. The external diameter on the one I used was 205mm, the cut out diameter was 165mm and the opening diameter is 160mm

fuelpump9.jpg


fuelpump10.jpg


In hindsight I wish I'd got the black inspection hatch as I rekon the white one will get dirty pretty quickly.

Apart from that I rekon I have a nice neat looking job.:cool2::cool2::cool2:
 
Looks a nice neat job! Has the new pump solved your problems? I also should have said when refitting the new pump, it can be a PITA to get the cover to screw down! Eventually I realised that if I removed the rubber ring that come with the pump and place it around the tank seal first, then insert the pump, it is much easier to hold the pump down while you rotate the cover. I used a small block of wood on top of the pump, with another longer bit as a lever I could kneel on to hold the pump in place while I screwed the collar down.
 
Looks a nice neat job! Has the new pump solved your problems? I also should have said when refitting the new pump, it can be a PITA to get the cover to screw down! Eventually I realised that if I removed the rubber ring that come with the pump and place it around the tank seal first, then insert the pump, it is much easier to hold the pump down while you rotate the cover. I used a small block of wood on top of the pump, with another longer bit as a lever I could kneel on to hold the pump in place while I screwed the collar down.

Hiya Derek. Originally I thought the problem was solved but it turns out that it's not. It cut out again after 15 mins running.:mad::mad::mad:

It's definately a fuel issue. The new pump does sound completely different to the old one when priming but the problem is still there.

Next step is the injector washers.:(

We had problems with exactly the same thing so did the same as you and fitted the rubber ring to the tank first. Luckily one of my pry bars was the perfect length to fit between the top of the fuel pump and the bottom of a lip on my wooden chest so we used that to hold the top of the pump down which gave a bit more space to get the retaining ring started off.

on the positive side some nice photo's, shame there is an unshaven pikey in them though:p
 
We seem to be travelling the same road! I thought the pump was the root cause, but no... In the end it was the injector copper washers that solved the problems. For the sake of a few quid and a couple of hours, it certainly injected (sorry about the pun) new life into the TD5. Let us know how it goes. :D:D
 
Back
Top