You are using an out of date browser. It may not display this or other websites correctly.
You should upgrade or use an alternative browser.
You should upgrade or use an alternative browser.
'74 S3 SWB - project down-under
- Thread starter Tim_AM
- Start date
This site contains affiliate links for which LandyZone may be compensated if you make a purchase.
")
- Posts
- 10,746
- Location
- A bit sarf of Dorking
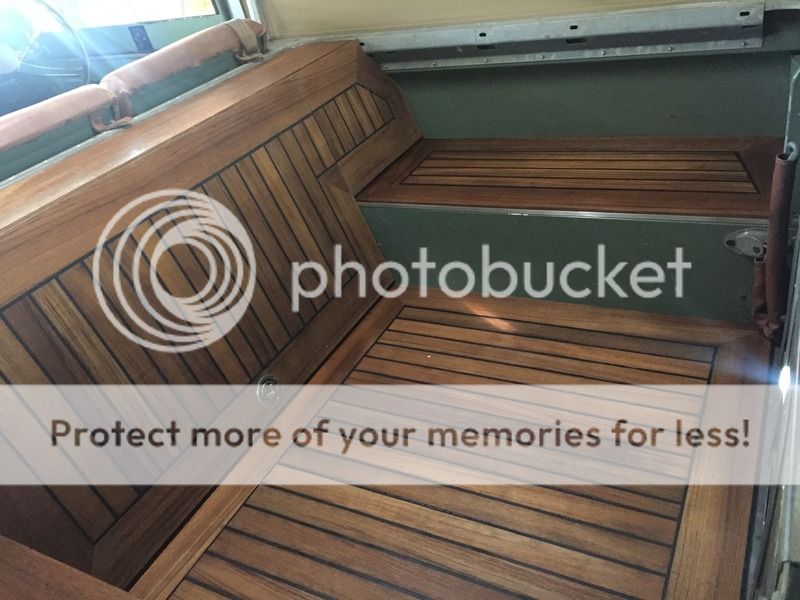
Thanks Steve, I know, I'm looking forward to that!
Can't wait to get it caulked and oiled up...
I'd think carefully about the oiling - boats don't for various reasons. The primary one is that you lose grip, and that won't worry you, but the other main one is that it seems to attract fungal-type growth. I'm sure that someone should write a book on the subject, but once the deck is nice and flat a scraper (usually just a strip of steel with a burr left on it) used to be the way to keep it looking good, but more recently a green scourer pad ACROSS the grain is reckoned to be the way to go. Then chemically, different flavours of Boracol are touted, but the one manufacturer that seem to be the gold standard are Wessex, http://www.teakcleaner.co.uk/index.php.
I've never owned a boat with a completely wooden deck, but used to work for a yachtbuilder whose boats nearly all had them, and the general feeling is that they're lovely when freshened up, but all accept that a bit of greying is inevitable before the season is over. It's just the way boats are. I see that yours is nearly always under cover in your pics, and that will delay the greying (oxidation I think) enormously.
Tim_AM
Well-Known Member
- Posts
- 113
- Location
- Sydney, Australia
I'd think carefully about the oiling - boats don't for various reasons. The primary one is that you lose grip, and that won't worry you, but the other main one is that it seems to attract fungal-type growth. I'm sure that someone should write a book on the subject, but once the deck is nice and flat a scraper (usually just a strip of steel with a burr left on it) used to be the way to keep it looking good, but more recently a green scourer pad ACROSS the grain is reckoned to be the way to go. Then chemically, different flavours of Boracol are touted, but the one manufacturer that seem to be the gold standard are Wessex, http://www.teakcleaner.co.uk/index.php.
I've never owned a boat with a completely wooden deck, but used to work for a yachtbuilder whose boats nearly all had them, and the general feeling is that they're lovely when freshened up, but all accept that a bit of greying is inevitable before the season is over. It's just the way boats are. I see that yours is nearly always under cover in your pics, and that will delay the greying (oxidation I think) enormously.
Thanks Boguing, I will have a look into the oil pros/cons,
Given the climate over here is some what different this may be the reason that I have been recommend to use Tung oil, with the canvas roof the silvering will be limited [it is also garaged] so I guess time will tell,
It certainly won't be getting the beating by sun, sea and salt that a boat would endure,
T
Tim_AM
Well-Known Member
- Posts
- 113
- Location
- Sydney, Australia
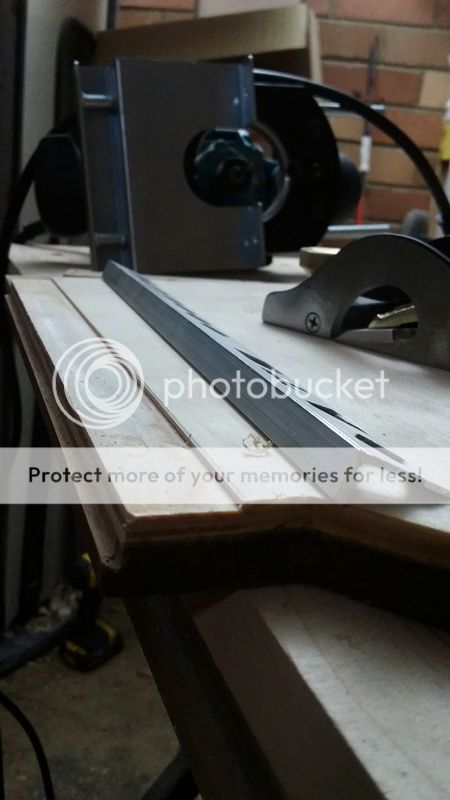
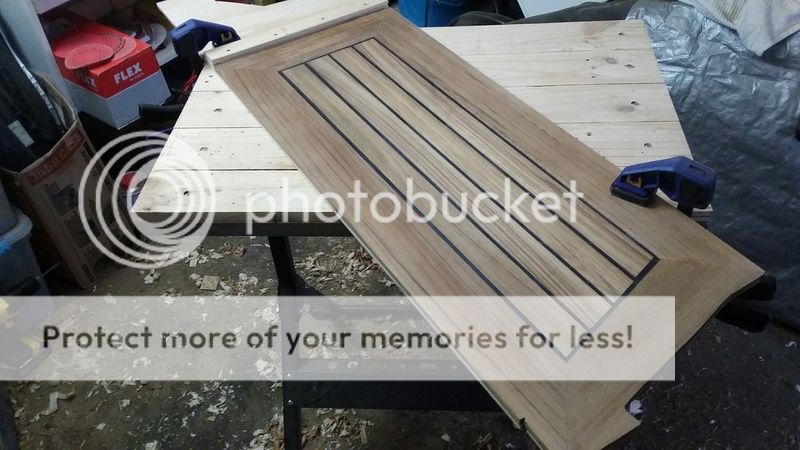
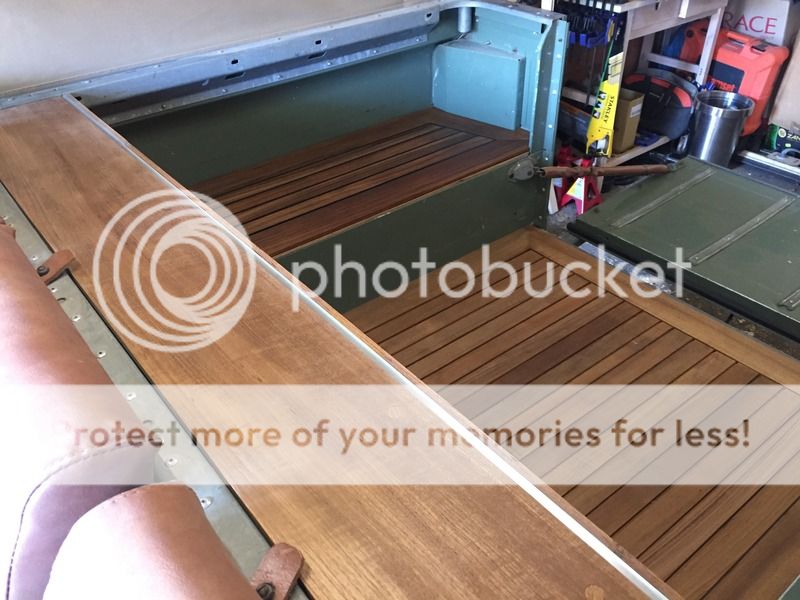
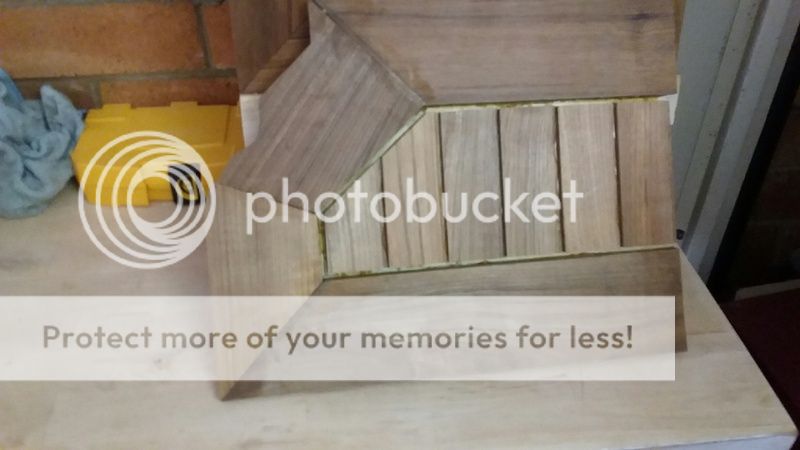
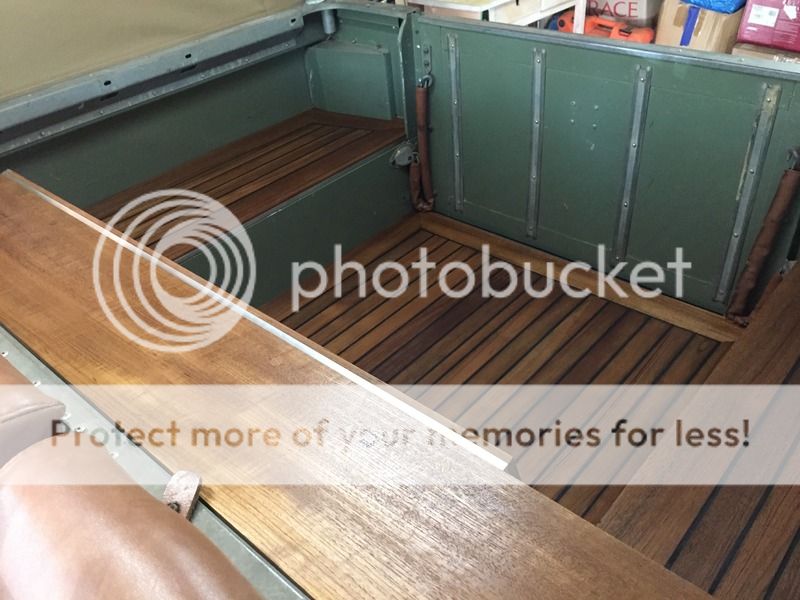
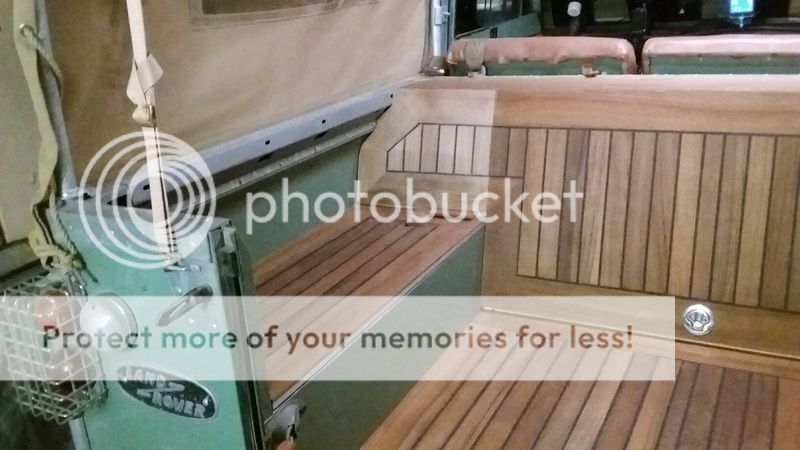
Managed a little progress before the footy...
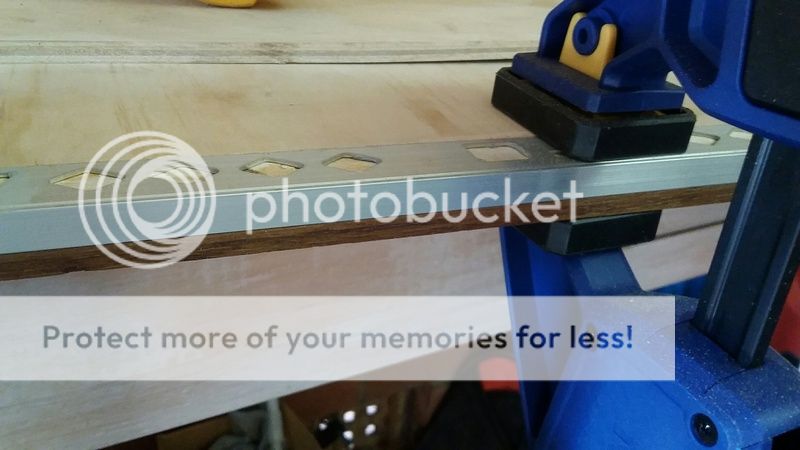
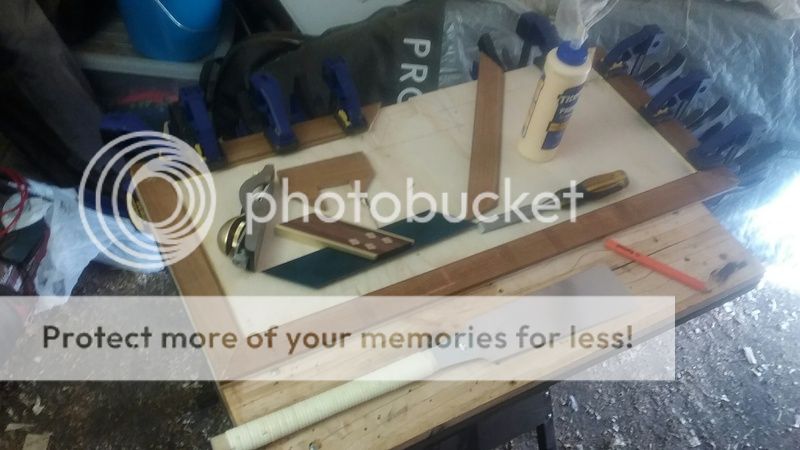
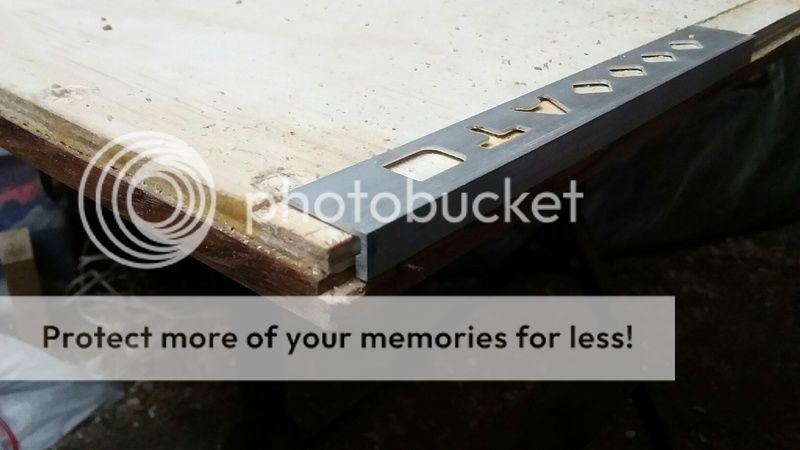
Routing done for edge trim
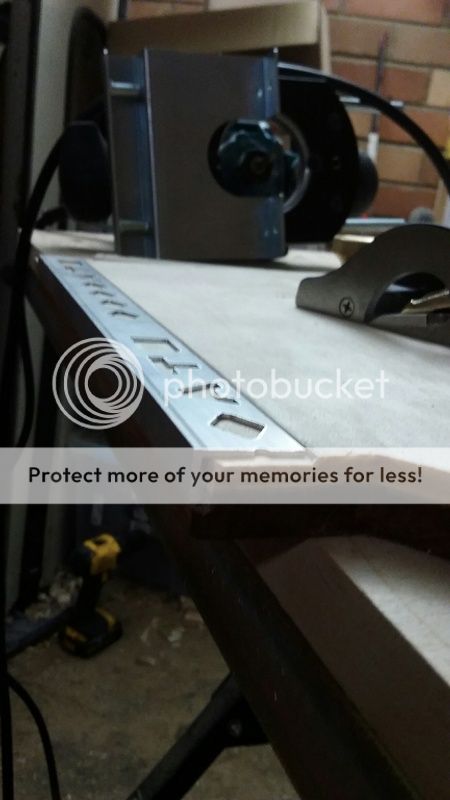
Trim in place
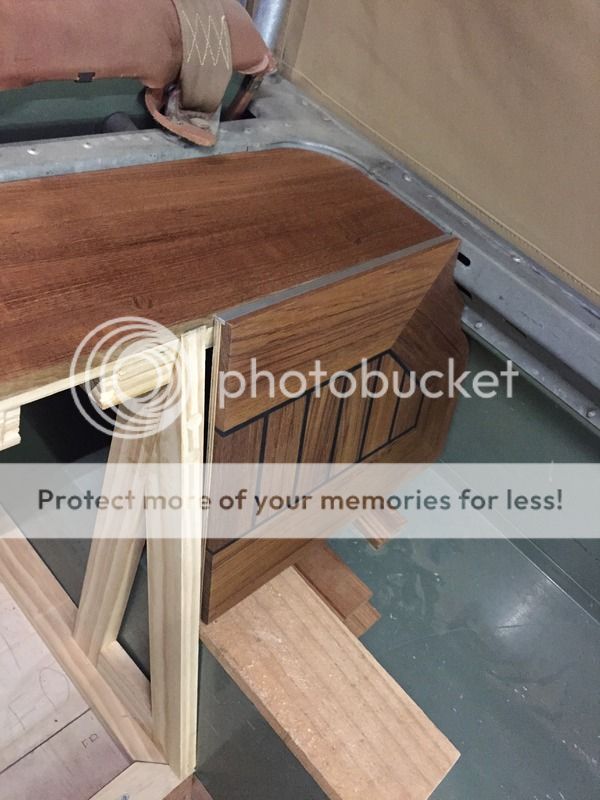
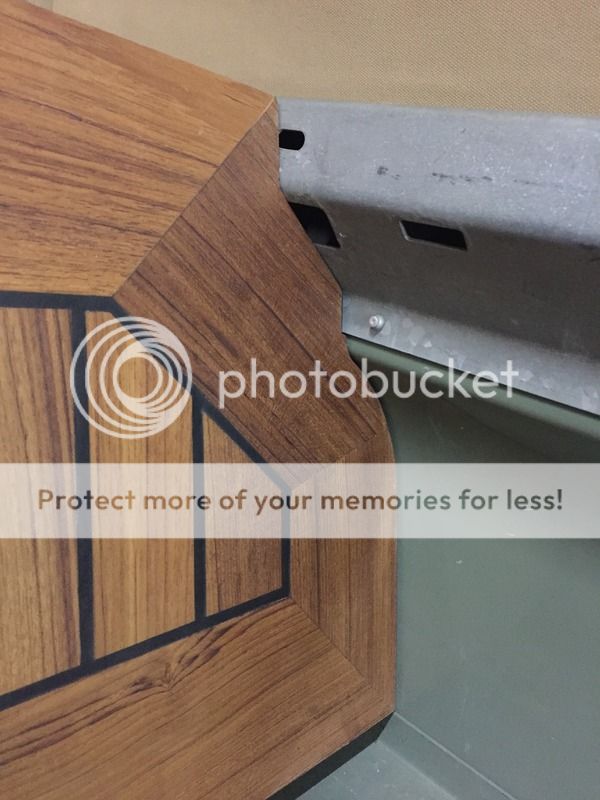
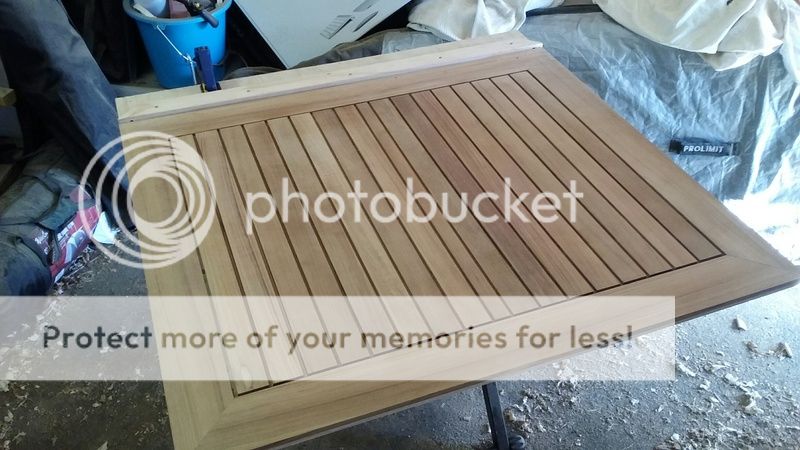
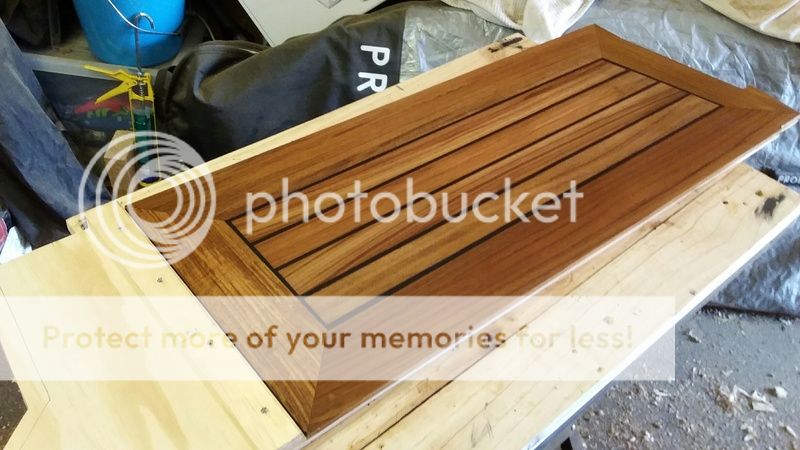
Right side section in place with 3 coats and alu trim,

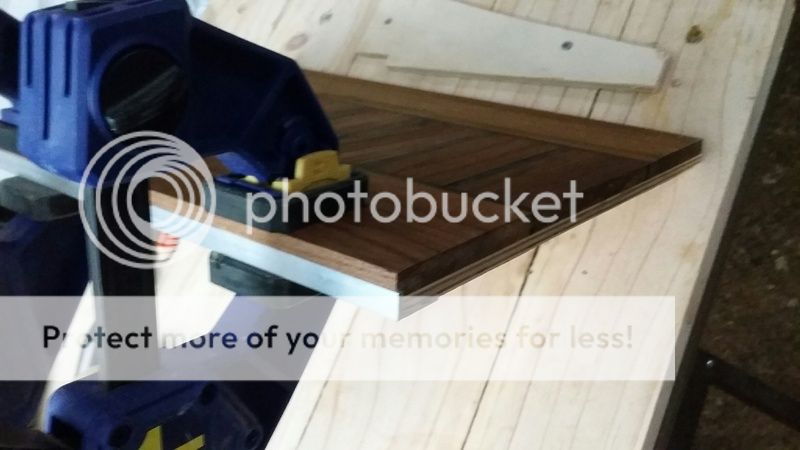
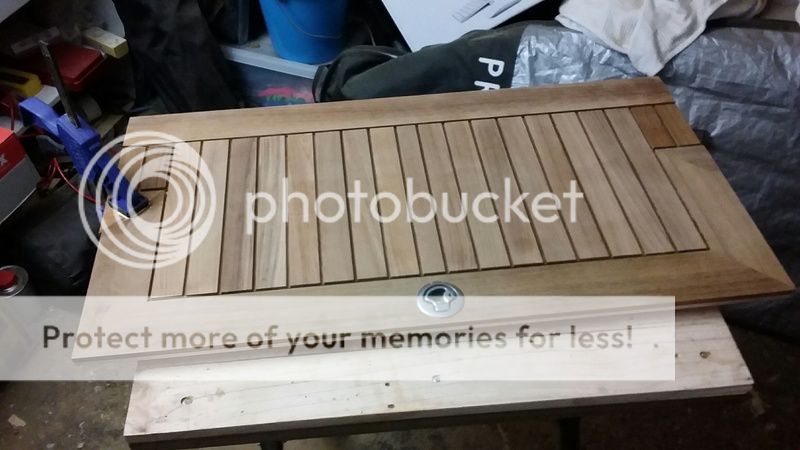
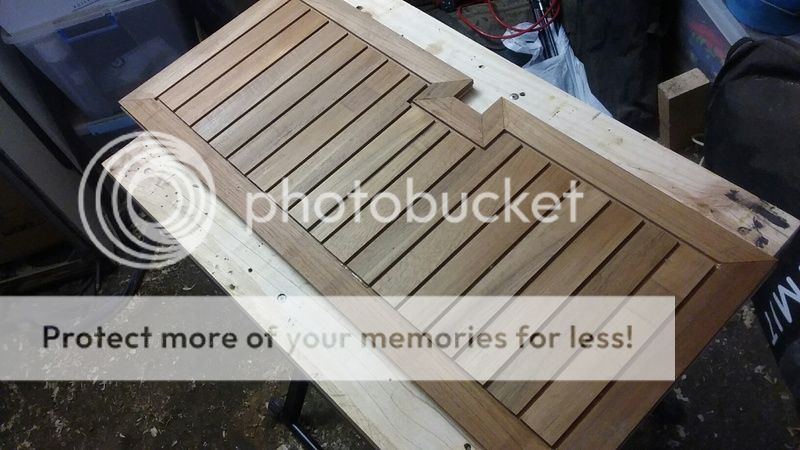
Storage locker hatch timber finished
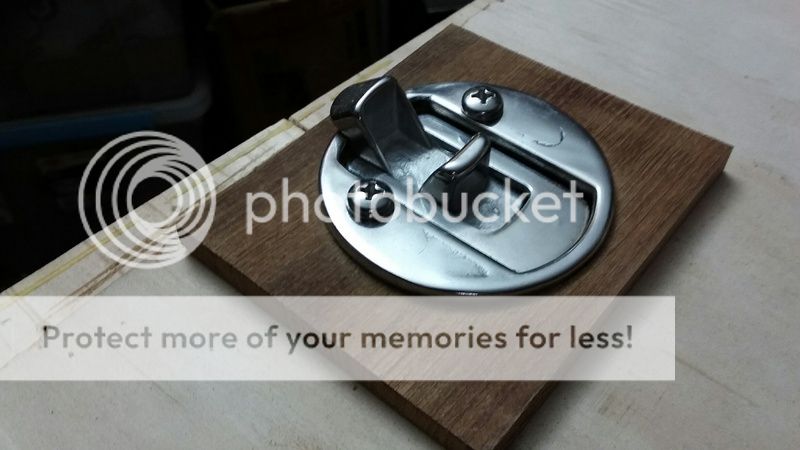
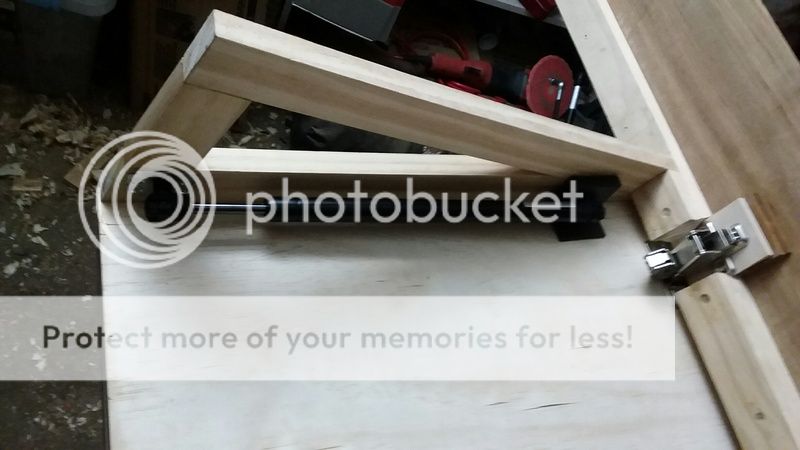
Locking latch
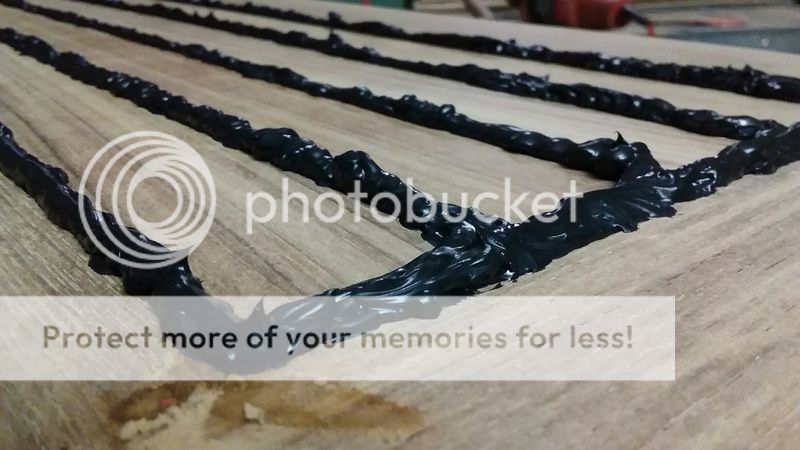
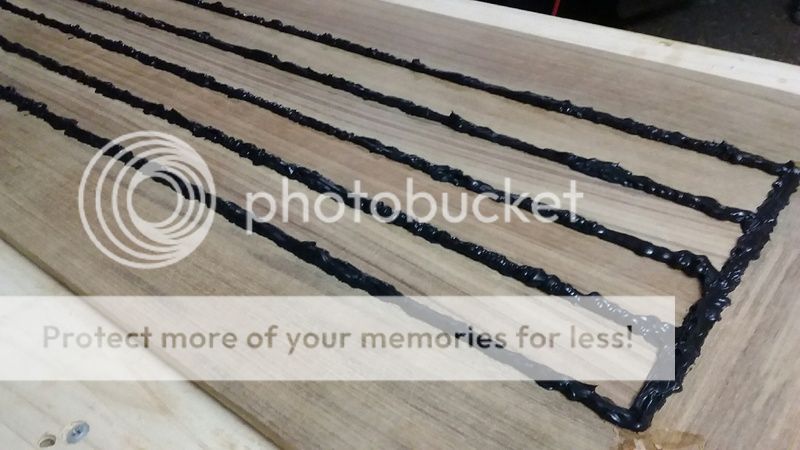
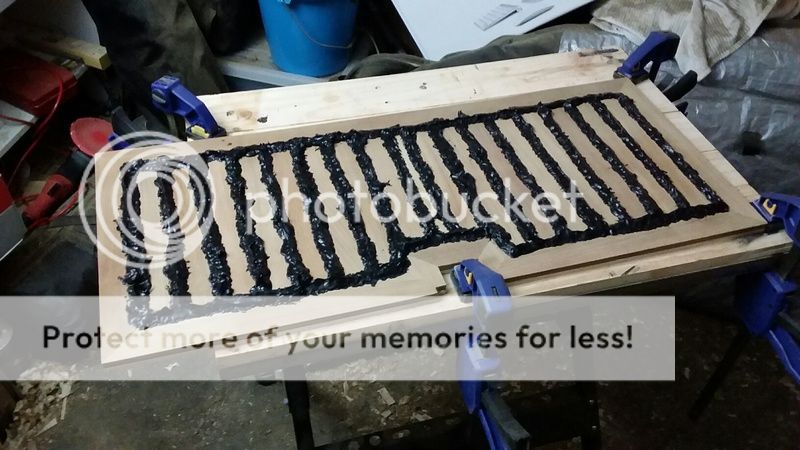
Start of the Caulking for the right side
Starting to see light at the end of the tunnel....
Routing done for edge trim
Trim in place
Right side section in place with 3 coats and alu trim,
Storage locker hatch timber finished
Locking latch
Start of the Caulking for the right side
Starting to see light at the end of the tunnel....
Tim_AM
Well-Known Member
- Posts
- 113
- Location
- Sydney, Australia
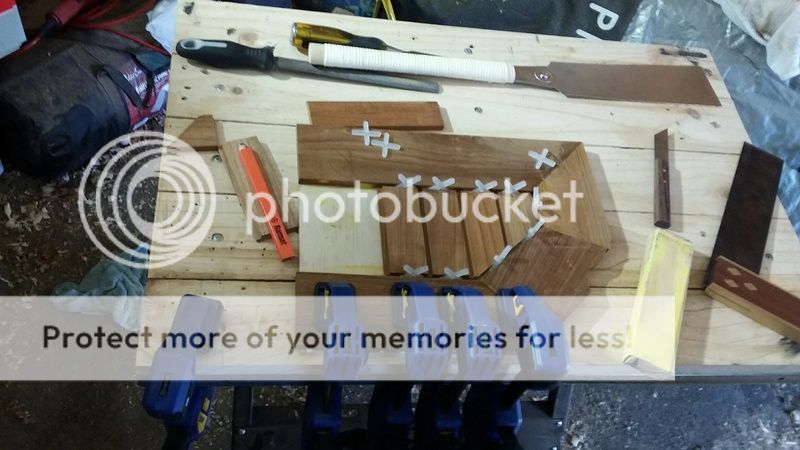
Quick update from todays time in the 'workshop'
I've be finishing off the caulking on both of the side sections and the lid, and then moved on to the first coat of oil...
glued together the floor section and sanded it back
bit of patching up on the caulking
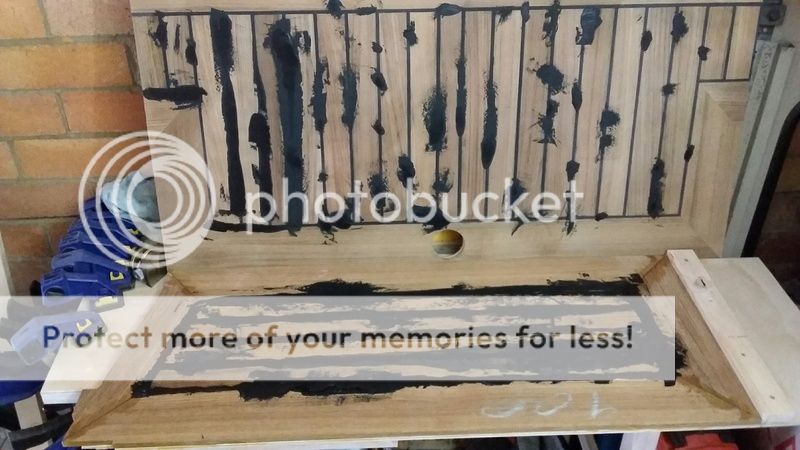
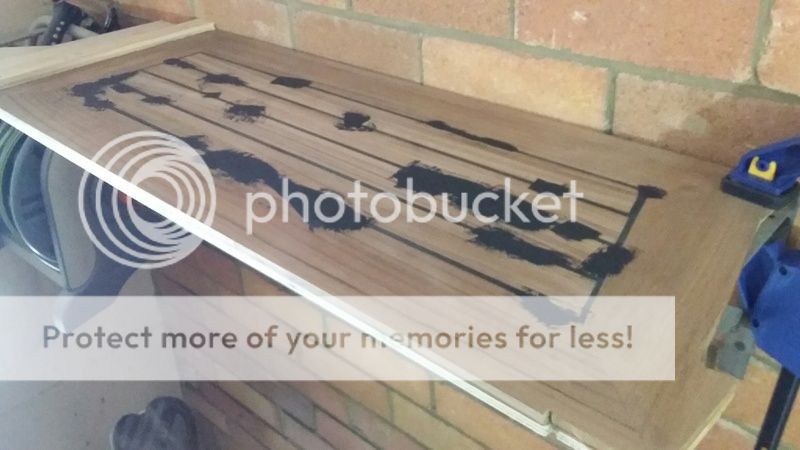
then sanding off
then oil
sanding done on the lid
then oil...
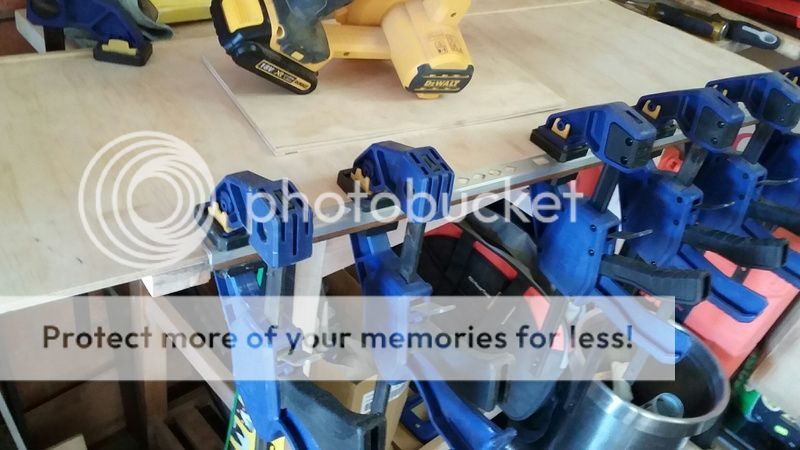
Edge trim glued up
...
I've be finishing off the caulking on both of the side sections and the lid, and then moved on to the first coat of oil...
glued together the floor section and sanded it back
bit of patching up on the caulking
then sanding off
then oil
sanding done on the lid
then oil...
Edge trim glued up
...
Tim_AM
Well-Known Member
- Posts
- 113
- Location
- Sydney, Australia
Trim installed on the lid
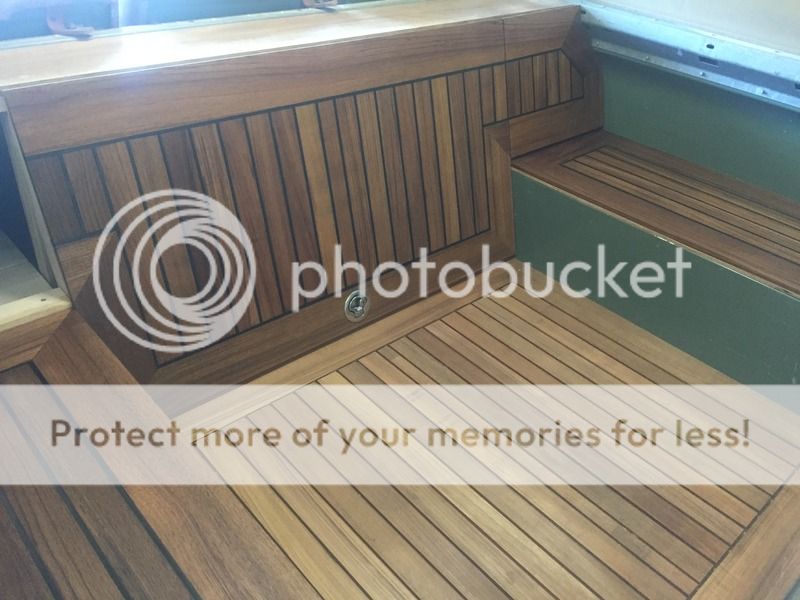

not far to go now...
- caulk the floor, sand, oil,
- make the left hand section of the box,
- decide what to do with the floor of the storage box.
- then fit it all with velcro? or double sided tape?
T.
Tim_AM
Well-Known Member
- Posts
- 113
- Location
- Sydney, Australia
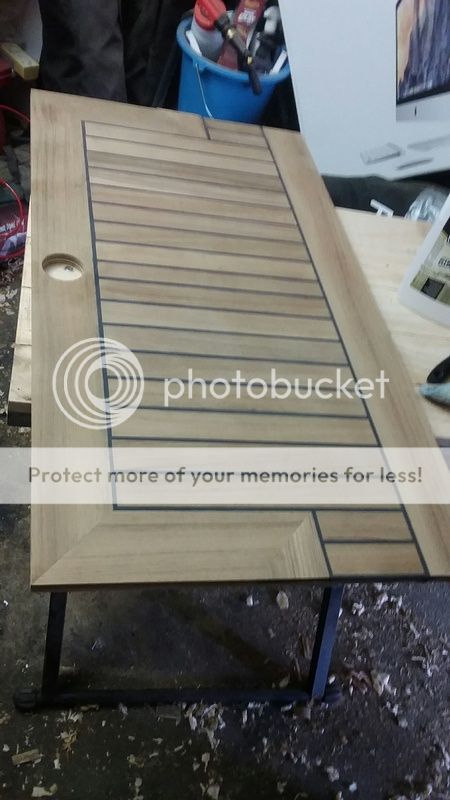
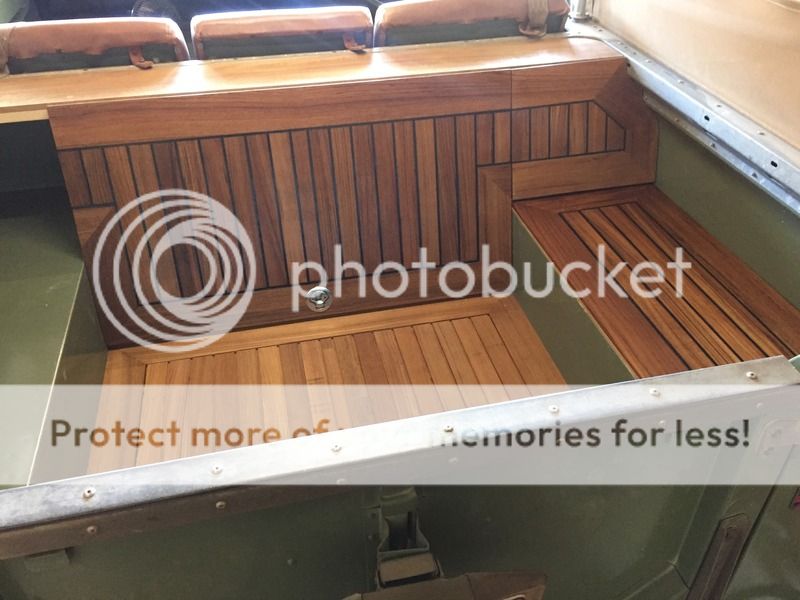
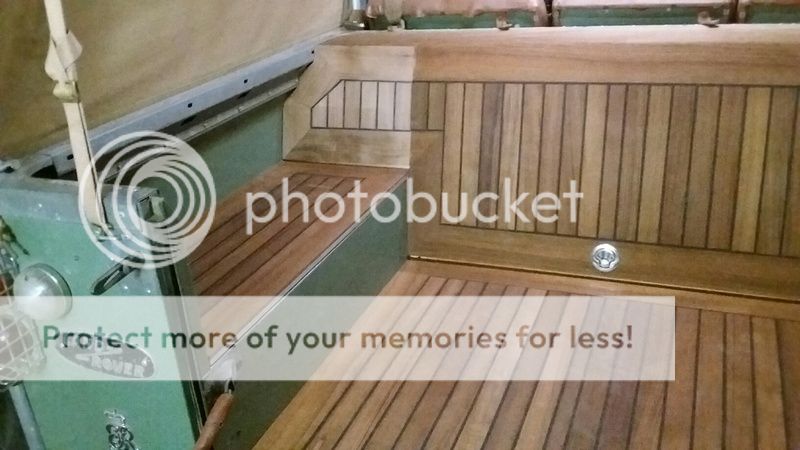
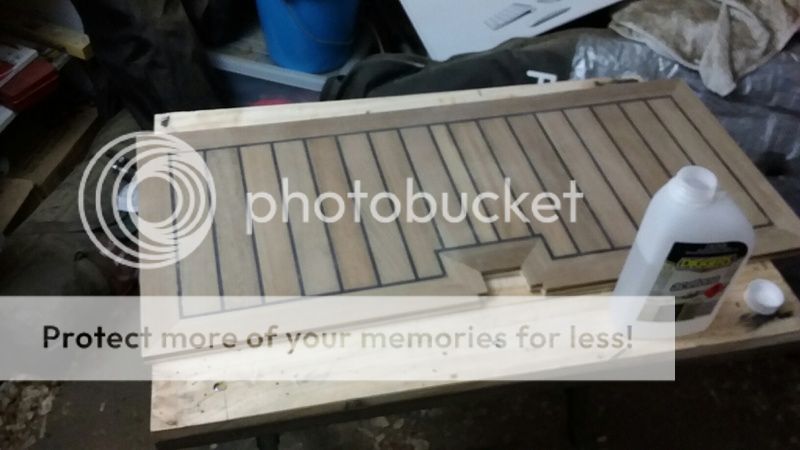
Set out for the left side panel

Left side panel caulked
Floor caulk sanded
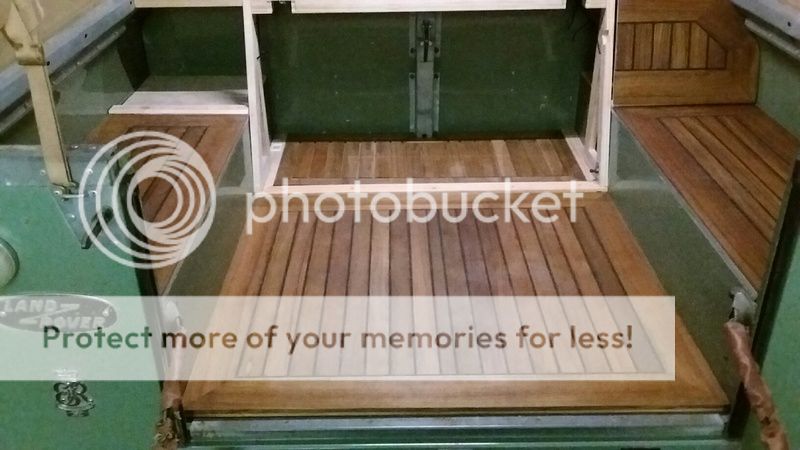
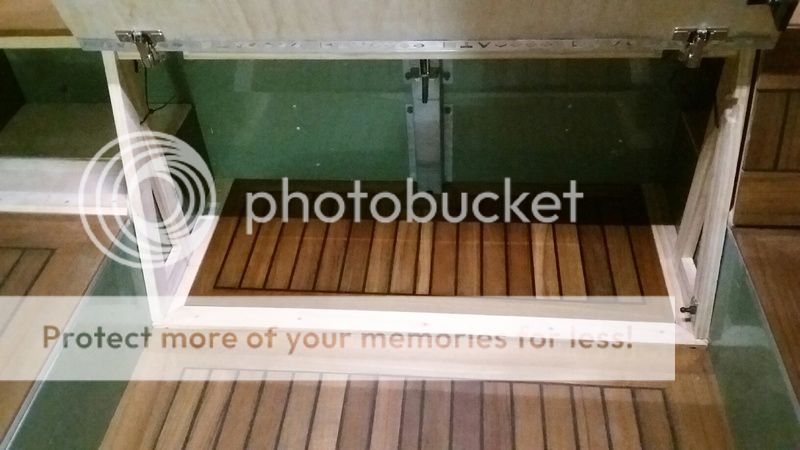
Gas strut installed
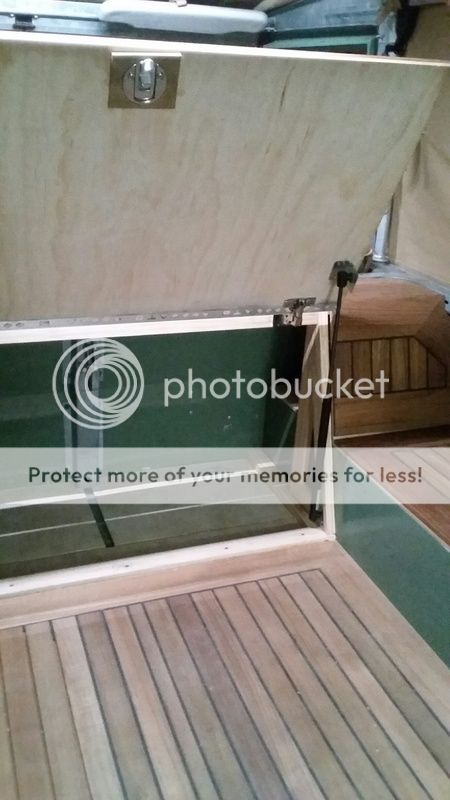
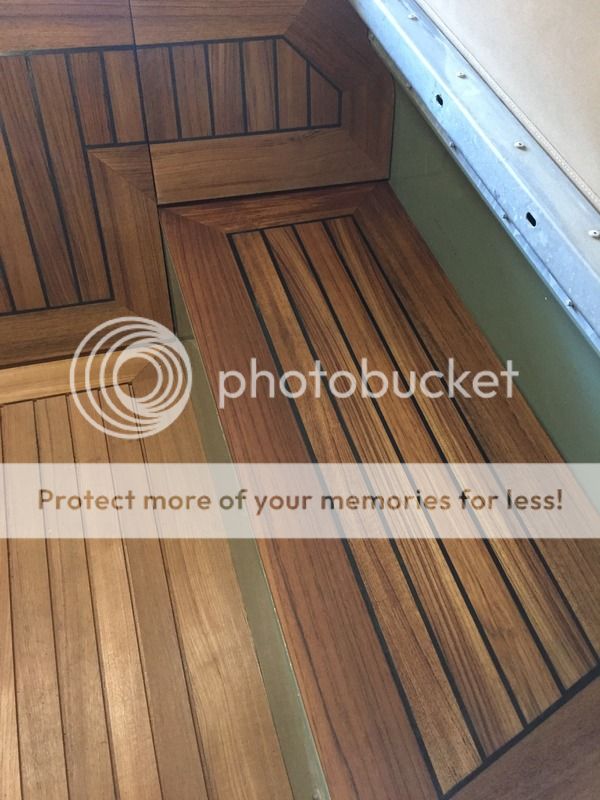
I decided to put flooring in the Base of the storage space
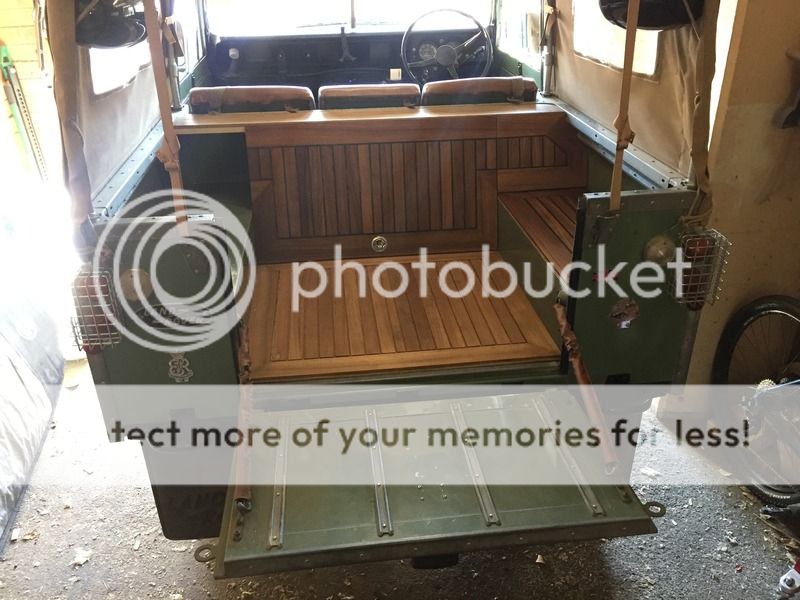
And progress so far...
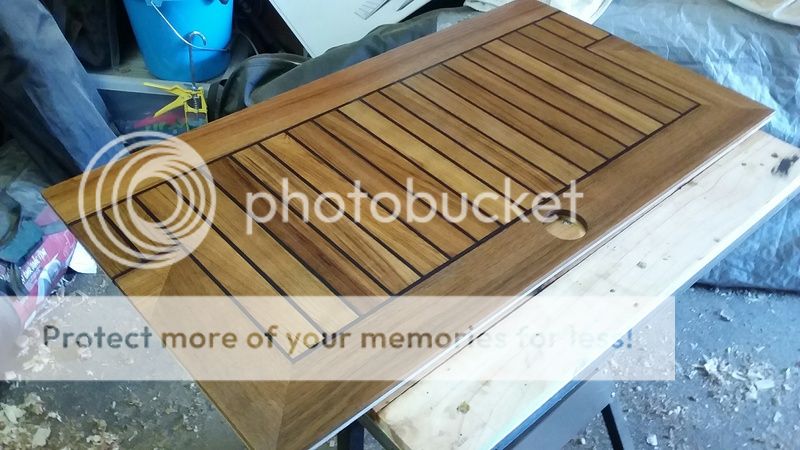
one panel still to finish, all others oiled and have Aly trim installed

so close now!
Left side panel caulked
Floor caulk sanded
Gas strut installed
I decided to put flooring in the Base of the storage space
And progress so far...
one panel still to finish, all others oiled and have Aly trim installed
so close now!
Tim_AM
Well-Known Member
- Posts
- 113
- Location
- Sydney, Australia
Really impressed with this, great work looks the business
Thanks Jasper74
Tim_AM
Well-Known Member
- Posts
- 113
- Location
- Sydney, Australia
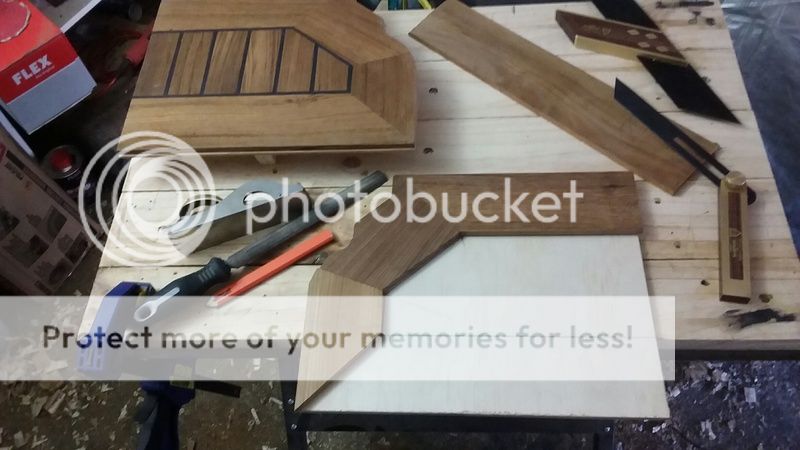
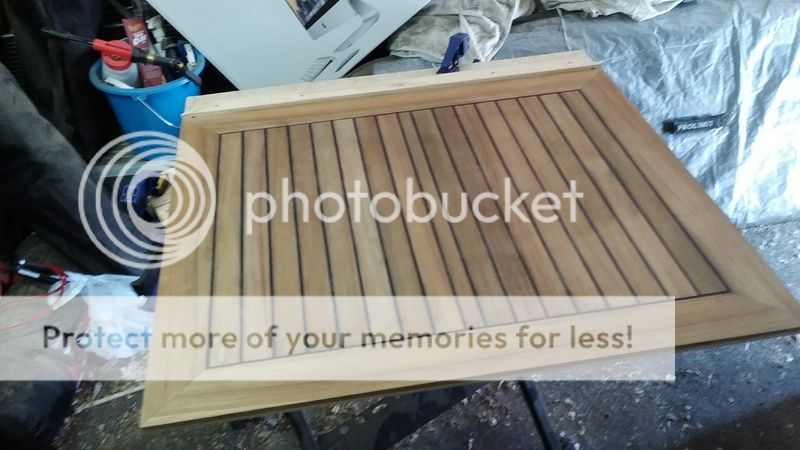
Caulking sanded back ready for adjustments for fitment!
nearly there!
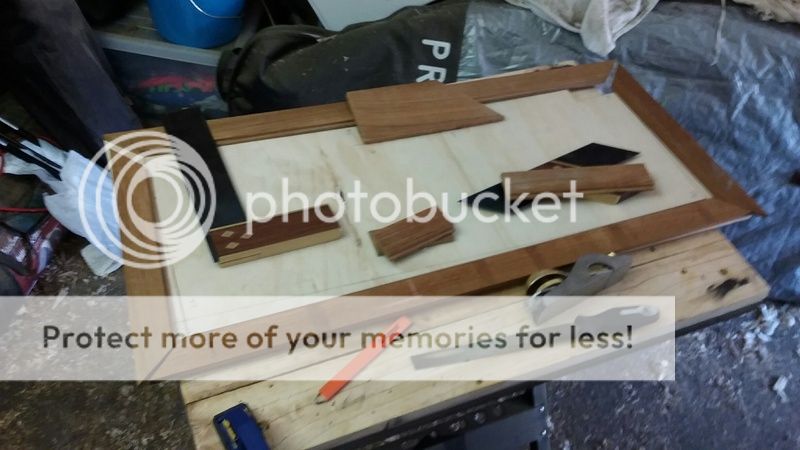
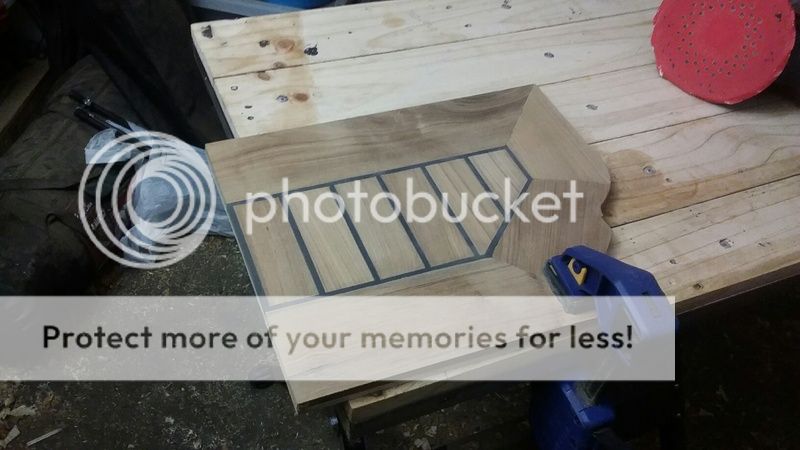
I then decided to use the offcuts i had left over to make a floor for the storage box...
slightly different layout to before as i have had to use a smaller boarder, but i think it will still look ok.

sanded back ready for Caulk
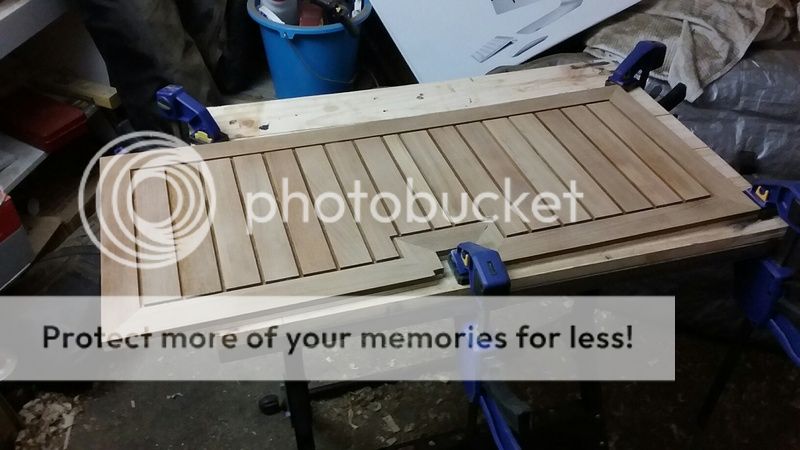
caulking done!
T
nearly there!
I then decided to use the offcuts i had left over to make a floor for the storage box...
slightly different layout to before as i have had to use a smaller boarder, but i think it will still look ok.
sanded back ready for Caulk
caulking done!
T
Tim_AM
Well-Known Member
- Posts
- 113
- Location
- Sydney, Australia
Metal trim set up for the floor,
Storage Floor sanded off and cleaned ready for oil,

Oilled and in place

One coat on, ready for the second...
Storage Floor sanded off and cleaned ready for oil,
Oilled and in place
One coat on, ready for the second...
Tim_AM
Well-Known Member
- Posts
- 113
- Location
- Sydney, Australia
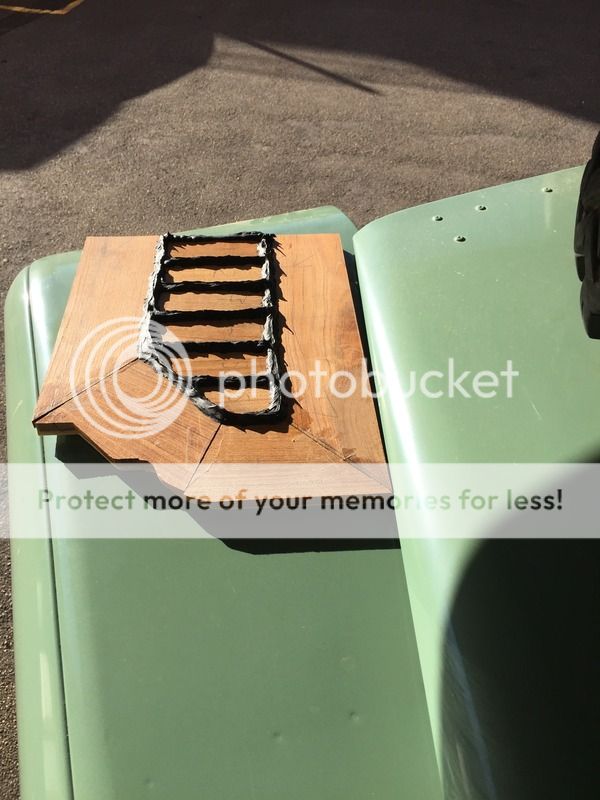
You must all be bored of seeing Teak by now so here are some from todays outing...
She is pretty much done now, I've installed some lights inside the storage bit too... out for a drive on a nice winters day!


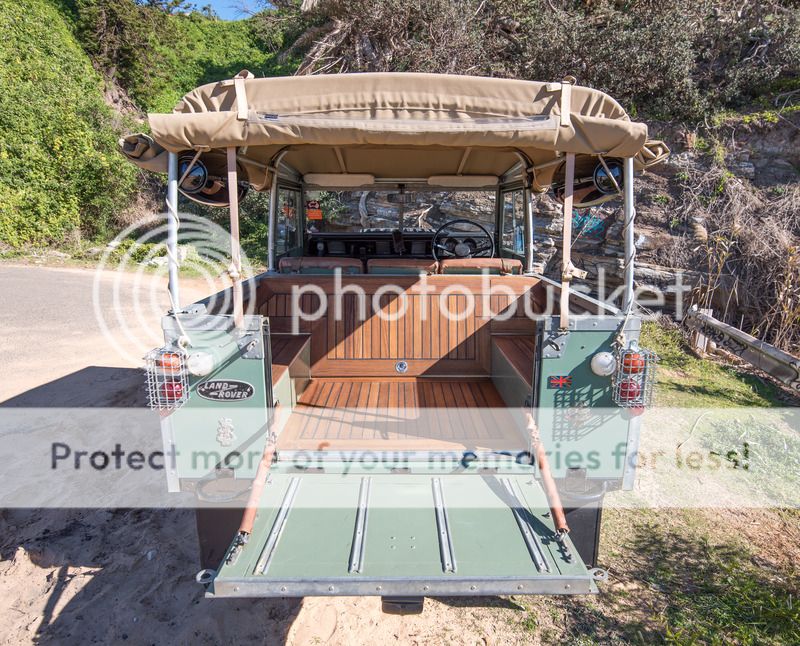

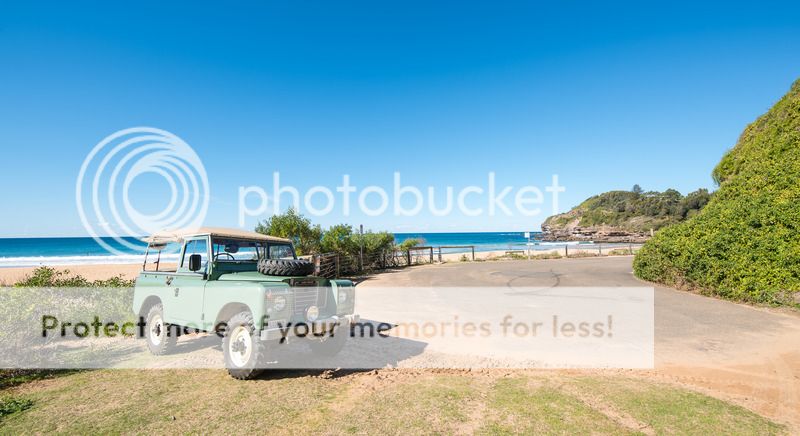

after about 5 mins of being at a pretty quiet beach... what are the chances.... a 2.6 109 shows up! had a nice chat with the owner,

and his dog...

As you can see, Winter over here is pretty rough, the struggle is real.
She is pretty much done now, I've installed some lights inside the storage bit too... out for a drive on a nice winters day!
after about 5 mins of being at a pretty quiet beach... what are the chances.... a 2.6 109 shows up! had a nice chat with the owner,
and his dog...
As you can see, Winter over here is pretty rough, the struggle is real.
Tim_AM
Well-Known Member
- Posts
- 113
- Location
- Sydney, Australia
Quick update of recent progress
The over spray correction continues...
Before: dark green overspray;
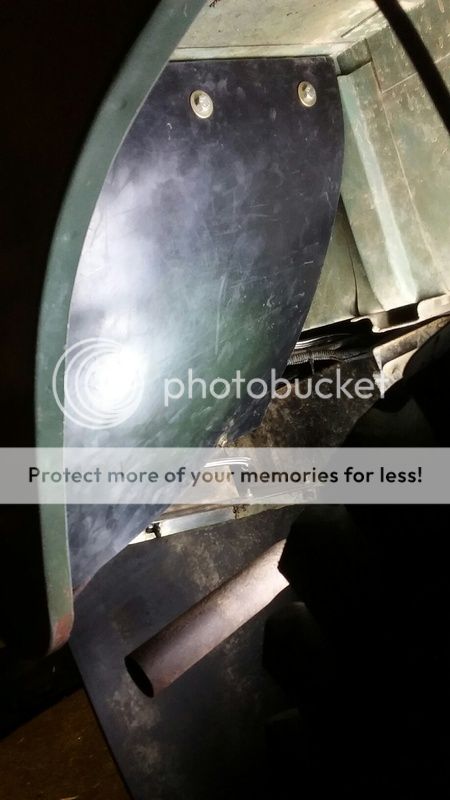
Next project: Onboard air...
Compressor mounted on the rear crossmember in the wheel arch and protected with a mud flap
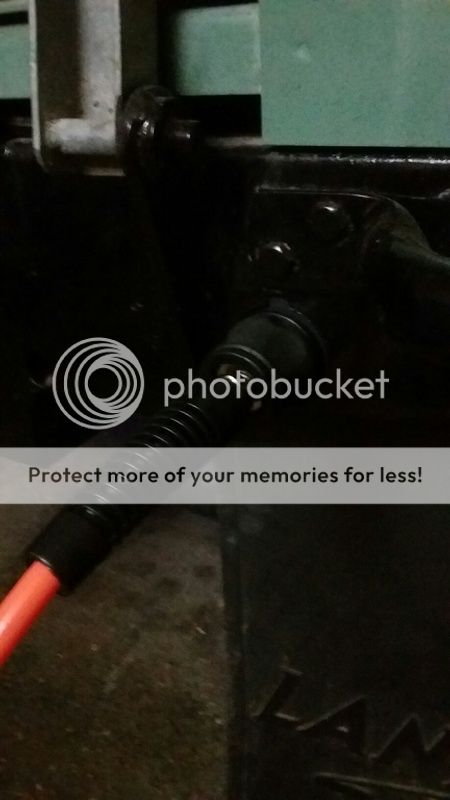
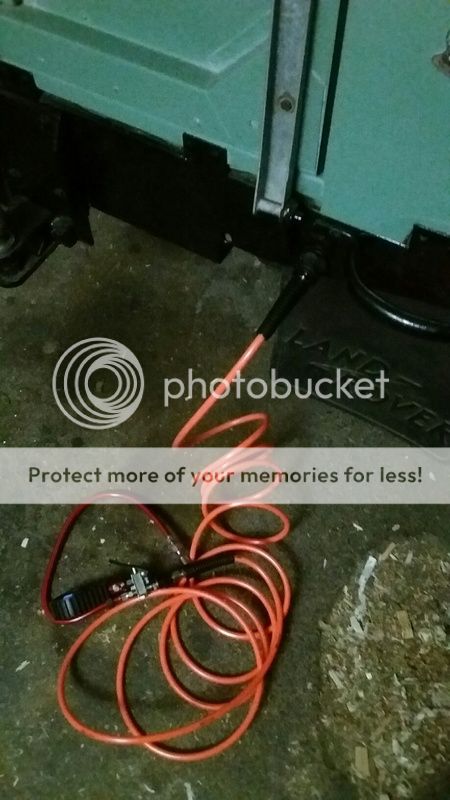
Quick connector mounted on the rear crossmember
Switch mounted under the centre seat on a piece of left over teak:


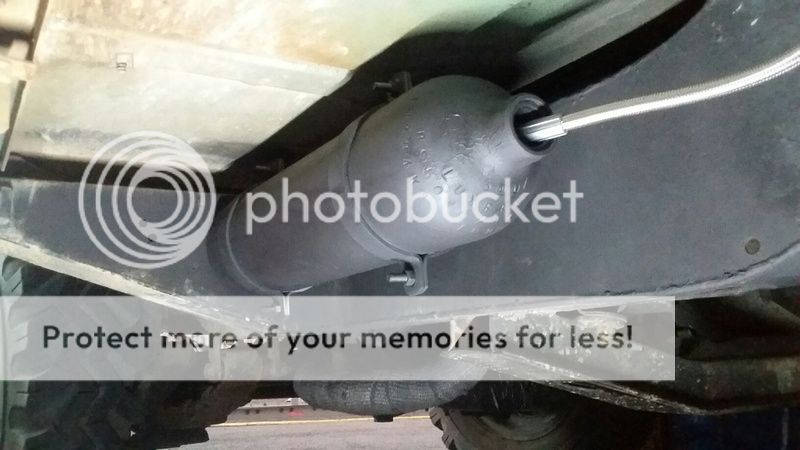
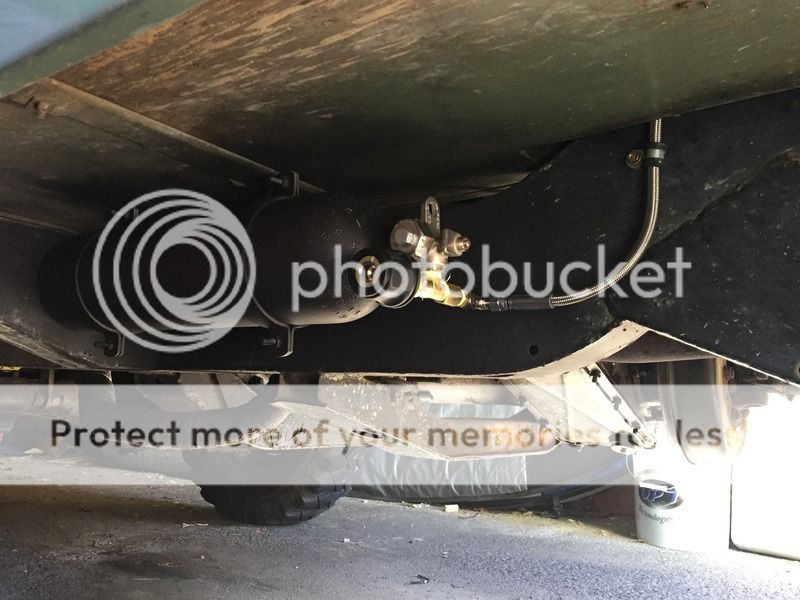
Compressor is currently connected directly to the outlet, however I have also started to convert an extinguisher to use as a receiver to give it a little more juice!
Sorry for the lack of photos!
Tim
The over spray correction continues...
Before: dark green overspray;
Next project: Onboard air...
Compressor mounted on the rear crossmember in the wheel arch and protected with a mud flap
Quick connector mounted on the rear crossmember
Switch mounted under the centre seat on a piece of left over teak:
Compressor is currently connected directly to the outlet, however I have also started to convert an extinguisher to use as a receiver to give it a little more juice!
Sorry for the lack of photos!
Tim
Cowboy Don
New Member
- Posts
- 6
- Location
- Adelaide, South Australia
Great stuff, Tim! How have you wired the compressor?
Tim_AM
Well-Known Member
- Posts
- 113
- Location
- Sydney, Australia
Great stuff, Tim! How have you wired the compressor?
Its wired to my second battery which is also mounted on the rear cross member on the other side,
Its an ARB compressor that comes with a full wiring harness, so its pretty straight forward,
pressure switch and relay are mounted with the compressor, the power and earth are back to my second battery, then i have taken a 12v feed from my amp remote for the illumination/igniution power, which i can manually isolate,
Tim_AM
Well-Known Member
- Posts
- 113
- Location
- Sydney, Australia


Cowboy Don
New Member
- Posts
- 6
- Location
- Adelaide, South Australia
He he, I follow both those Landy's on Instagram
Tim_AM
Well-Known Member
- Posts
- 113
- Location
- Sydney, Australia
good Man!
@Timasmith86 and @jackuar_land_rover if anyone is interested!
@Timasmith86 and @jackuar_land_rover if anyone is interested!
Tim_AM
Well-Known Member
- Posts
- 113
- Location
- Sydney, Australia
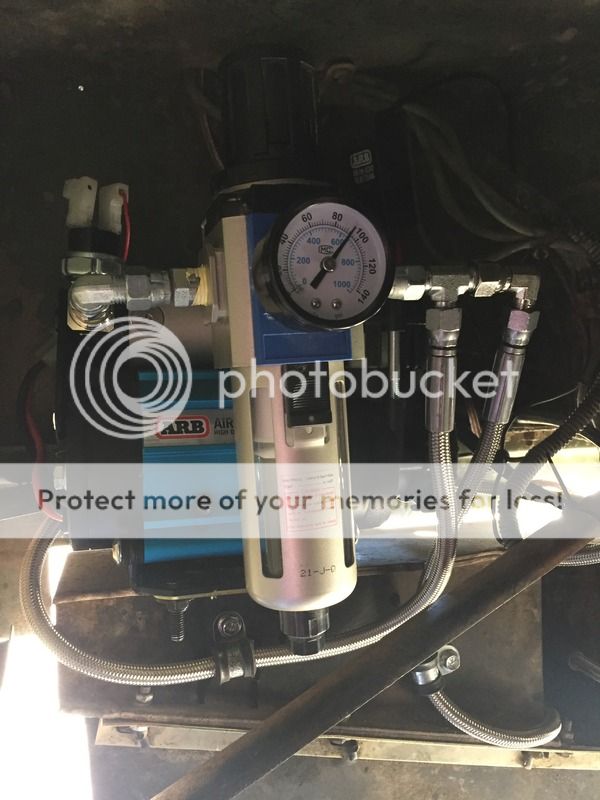
Compressor install now complete, I have two quick connector outlets, one on the rear crossmember and one on the passenger side with the receiver/tank
Also have a reg / filter for moisture and to keep an eye on the pressure
Not sure what to do next! Will have to give it some thought!
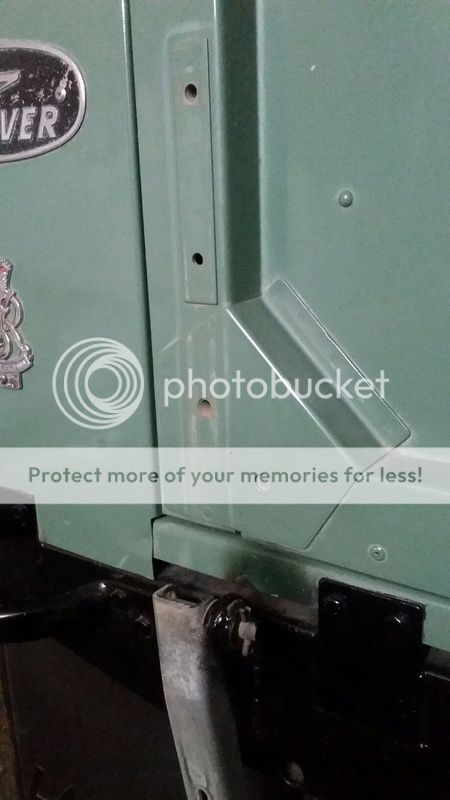
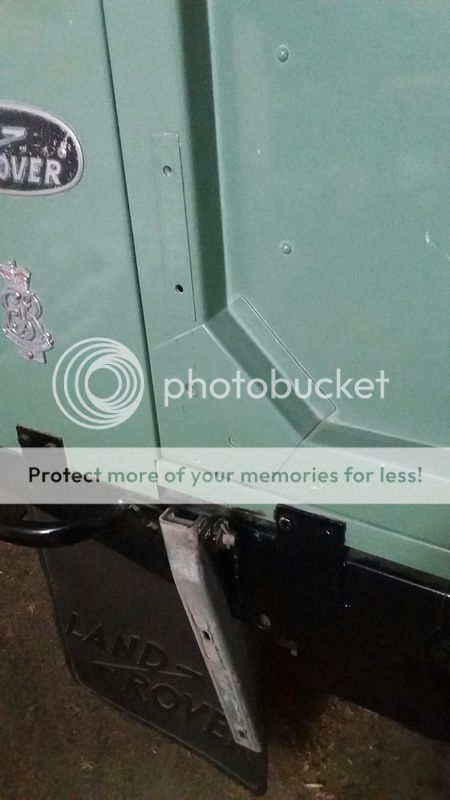
I do want rid of this old aerial though, any thoughts on how to cover the hole?

Also have a reg / filter for moisture and to keep an eye on the pressure
Not sure what to do next! Will have to give it some thought!
I do want rid of this old aerial though, any thoughts on how to cover the hole?
Ummm off the top of my head =>...
I do want rid of this old aerial though, any thoughts on how to cover the hole?
Easiest (a part from just taking it off and leaving the hole as "character") is to fit a black plastic blanking cap
You could cut out a nice circle of aluminium and rivet on top to make it look like a battle scar repair
You could try and fake one of those daft aircraft style petrol filler caps
You could fit a new neater aerial
You could rivet on a plate underneath with countersunk / flush head rivets and fill the rest filler and repaint / blend paint
You could replace the entire wing!
Similar threads
- Replies
- 8
- Views
- 2K
- Replies
- 5
- Views
- 1K