Tim_AM
Well-Known Member
- Posts
- 107
- Location
- Sydney, Australia
Hello!
I thought i would start a thread to detail my little project...
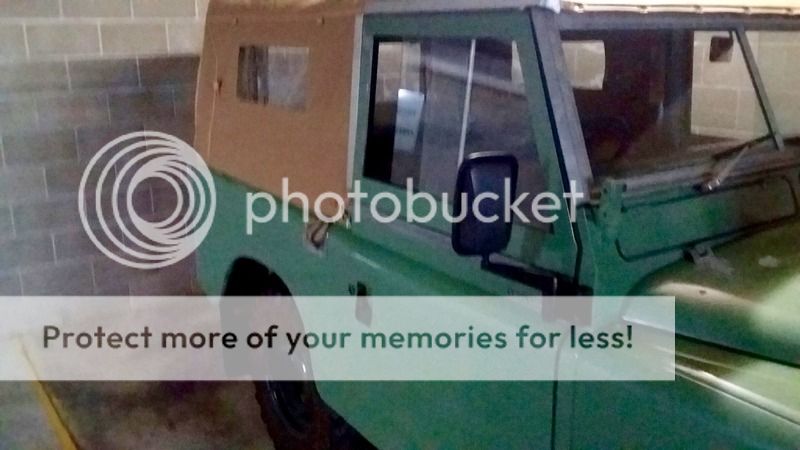
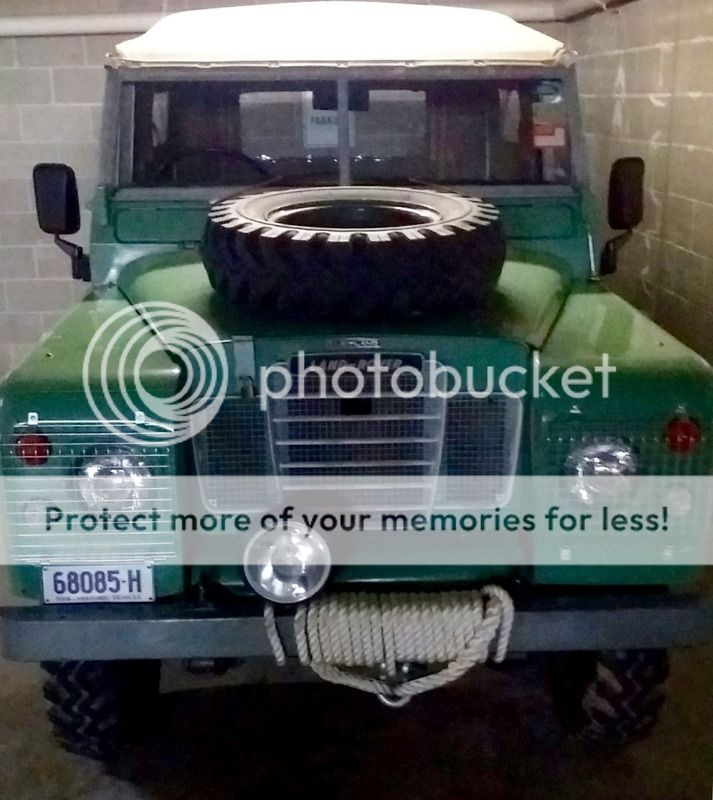
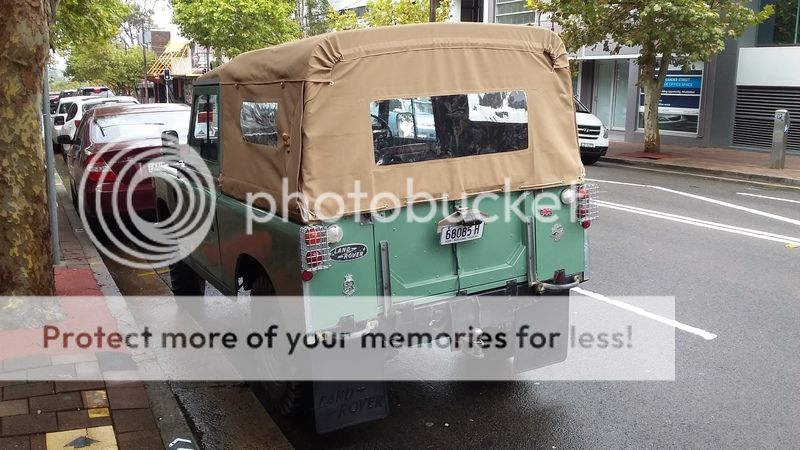
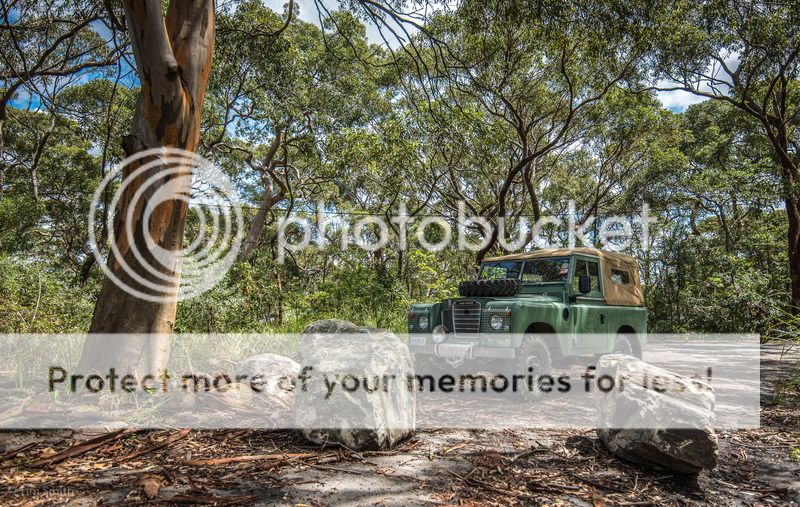
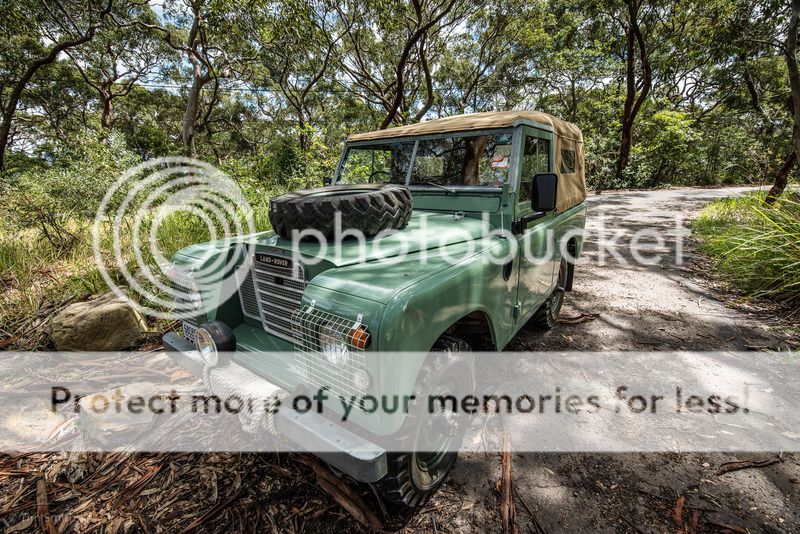
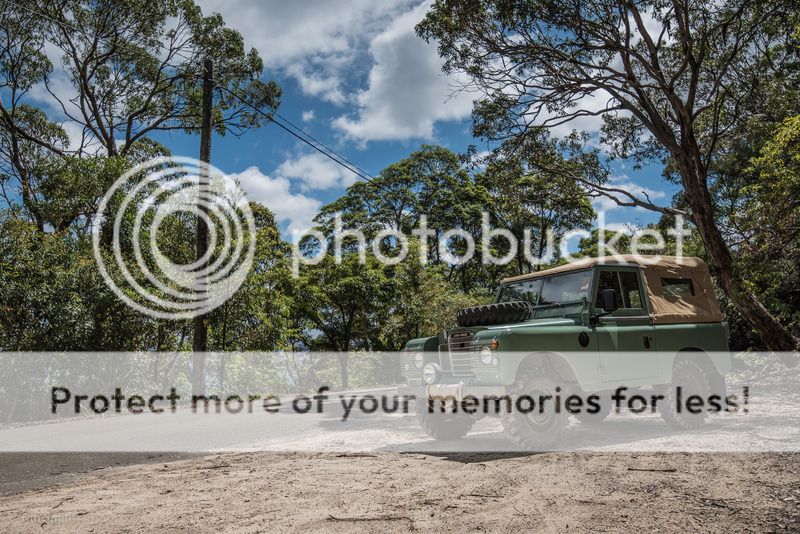
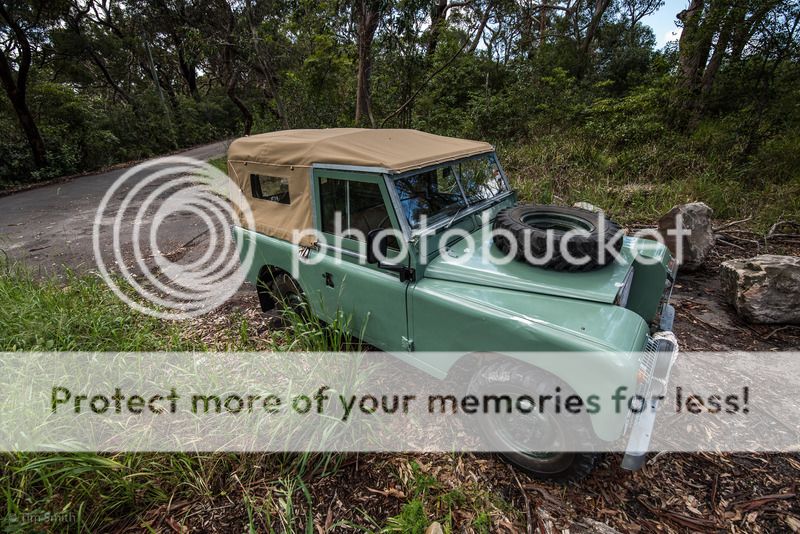
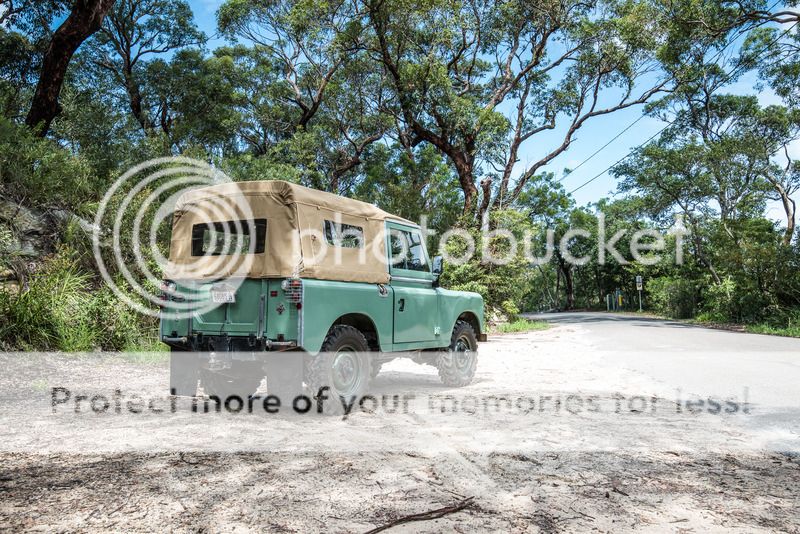
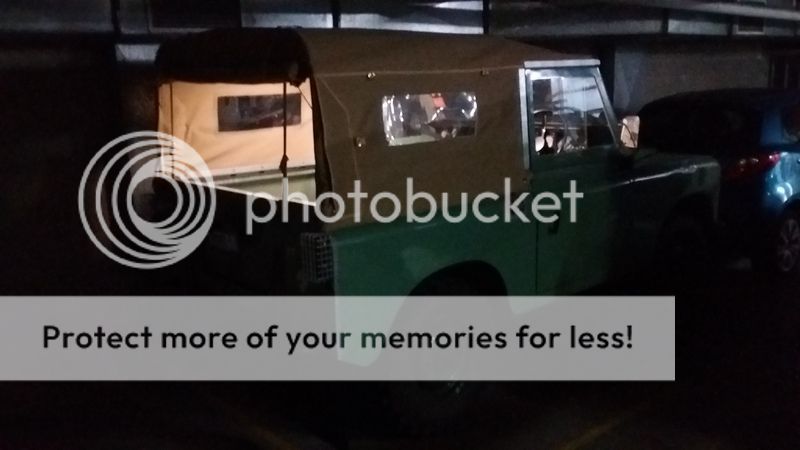
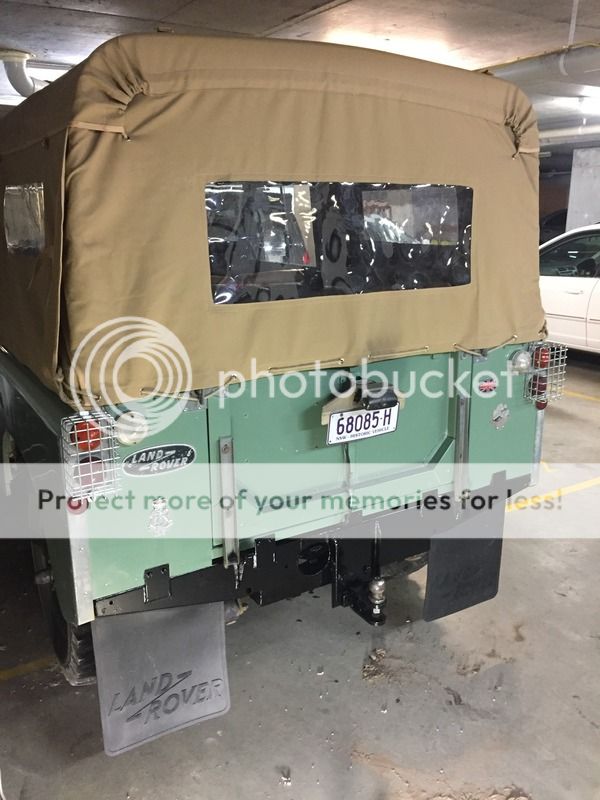
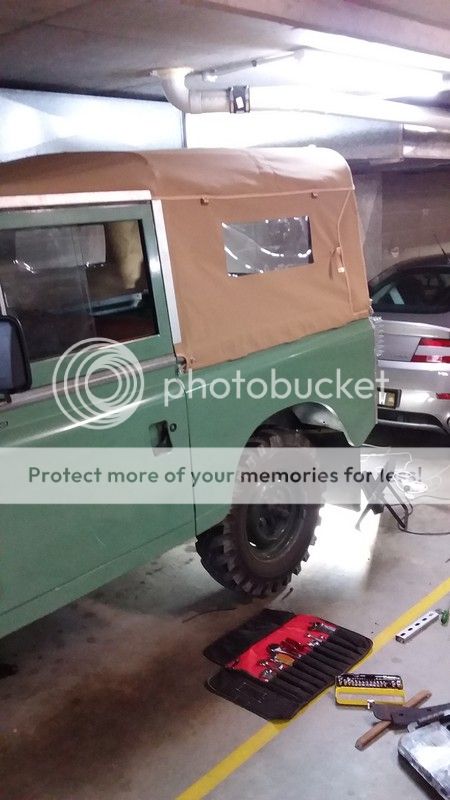
I recently bought a SWB S3 which i plan to clean up and make a few tweaks!
This is what she looked like when i bought her:

It was owned for over 30 years by one guy and was then passed on to his mechanic in his Will when he passed, I'm told it was one of many cars in his collection and was used as his work horse on his farm,
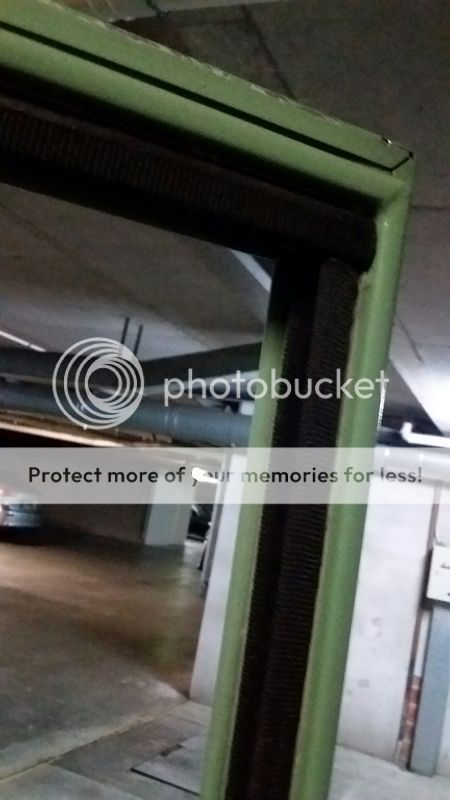
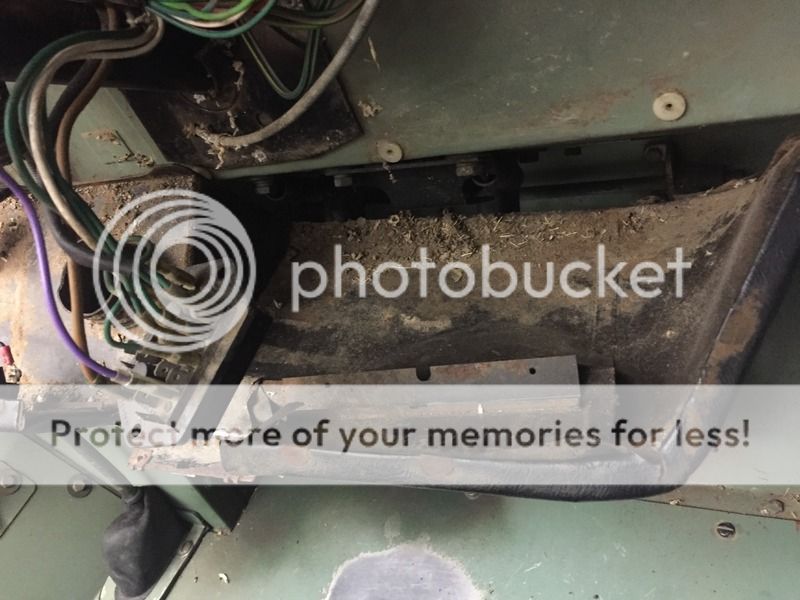
First things first.... the bale twine in the dash....
After some investigation it turns out that some rodent has decided to make my dash a home!
so after digging out 2kgs of muck, dust, leaves, cardboard and .22 Rounds !? i went on a hunt for damage caused.... luckily there was only 3 wires that had been chewed down to the copper, so i cut and repaired these to prevent any shorts in the future,
Bottom of the dash after the clear out
my findings;
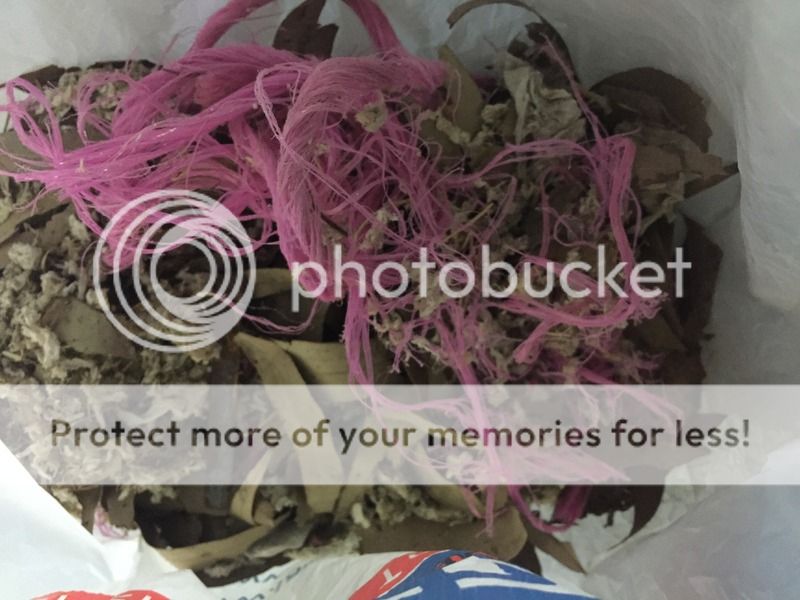
The nibbling:

Next up... to tackle the dull paint work...
Tim
I thought i would start a thread to detail my little project...
I recently bought a SWB S3 which i plan to clean up and make a few tweaks!
This is what she looked like when i bought her:
It was owned for over 30 years by one guy and was then passed on to his mechanic in his Will when he passed, I'm told it was one of many cars in his collection and was used as his work horse on his farm,
First things first.... the bale twine in the dash....
After some investigation it turns out that some rodent has decided to make my dash a home!
so after digging out 2kgs of muck, dust, leaves, cardboard and .22 Rounds !? i went on a hunt for damage caused.... luckily there was only 3 wires that had been chewed down to the copper, so i cut and repaired these to prevent any shorts in the future,
Bottom of the dash after the clear out

my findings;

The nibbling:

Next up... to tackle the dull paint work...
Tim