My Discovery build....

This site contains affiliate links for which LandyZone may be compensated if you make a purchase.
So yesterdays update then.
Mike continued with the tank by adding so more strengthening:


And started with the feet:


Whilst i labelled and removed the looms:


The filling breather going in:


And a gusset to hold it all together:


And some studs to mount clips to hold the fuel pipes as well as the top breather. We used a nut with the same thread as a wading kit push fit connector:


The stuff the inside of the truck will be lined with:


And placed inside:


We put the seats in to check what holes had been welded up when the new floors went in, and to check where the internal piece of the cage will go, and where the rear bulkhead needs to go too:


My plan was to put the batteries on the floor behind the seats before it raises up to the boot floor, effectively what would be the rear seat footwells, but the seats sit further back than i thought so we had to come up with another solution. Being a commercial, it comes with a panel to square off the rear load area. It needs modding though now to fit round the new arches:


And in:


So with that in place, Metal Mikey started making a tray:


And all bolted down:


Im going to have to fit vents to the batteries so to be able to vent them outside. Didnt realise until i googled it how much fumes batteries give off! Anyone thinking of relocating a battery or two inside needs to look it up and take note!
Thanks for reading!
 
Last edited:
Although its immensely strong, no there are central mounts too.... You can rock the whole truck if you try and move a battery whilst theyre clamped in
 
Too hot to work on it yesterday, and i only popped in for a short while today but of course got some pics!

We needed another fuel entry point as the stock filler neck is too low, so i scoured the tinternet for a aero type fuel cap. Found this tank on ebay nearby for a tenner so took a punt to see if we could use it. Its not lockable but i doubt ill be leaving it anywhere untoward anyway, other than maybe outside Brians ;)


Mike was beginning the raised floor/bunk


Then had a pop at the filler cap:


I can see you!


Its not the most attractive but it serves its purpose!
Back to the rear:


So when its finished, thatll be the storage area, and can be used as a bed! So ideal for camping! It is also removable for when i need access to the tank, removable floor, or when im doing challenges etc.....
More soon!!
 
really enjoying reading this thread and seeing the progress. I have enough trouble changing the oil lol. Keep up the good work!
 
So, next update!

Caught mikey having a kip!


So cracked the whip and he carried on:


Next was to offer up the dog guard thats supposed to go behind the rear seats:


Then he made the filler neck:


Needs a new silicone hose but itll do for the mock up.
Second floors almost there:


Welding the bolts to the floor for the P-clips to bolt to:


Mike started hoovering it all out:


Till the hoover blew up and i was left with a magnet!


Started masking up:


Whilst Mike DA'd and tiger sealed:


Then the Raptor started going on:


I kept trying to step over this thinking there was something there lol:


And done:


I was off work today in the end because the fumes from the thinners and that raptor stuff sent me doolally. Got up and felt ****ed, and been rough all day. Still got headache and a cough. Not feeling great! So advice is, get some good air circulation. We had to keep the door closed as the compressor was really noisy and it was really late we were doing it. Oh well lesson learnt.
So its almost ready for mike to pack up and leave! My wallet will appreciate it, as will the workshop as it might stay relatively tidy in comparison, and also the wife may like or dislike my company again in the evenings, but ill certainly miss my workshop tea buddy!
I think he will have one more day to finish off a few bits and then thatll be that till it comes to the bumpers, cage and sliders, which will be once ive rebuilt everything else and the bank balance has been restored!
 
Last edited:
Legendary!

You could have got the welding shivers mate, bad flu like symptoms from welding zinc.

Me and my bro were sick as dogs after about a week of welding my back end together, took a while to work out the problem. Zinc poisoning FTL :(

Anyway well nice to see you have a bed built, welcome to the DisCamper team :)
 
Went up there today and took all the masking tape off that i needed to, and had a look over the Raptor. Looks like we missed a bit :( and we've run out!


The loom that was in the commercial had a heated windscreen loom and a naff Sigma alarm chopped in. So that loom laid out next to an old mint loom i kept:


Then stripped out the heated screen stuff:


And spent the rest of the time cutting it in!

Thats all for today. Took bloody ages!
 
Hi Drizz,

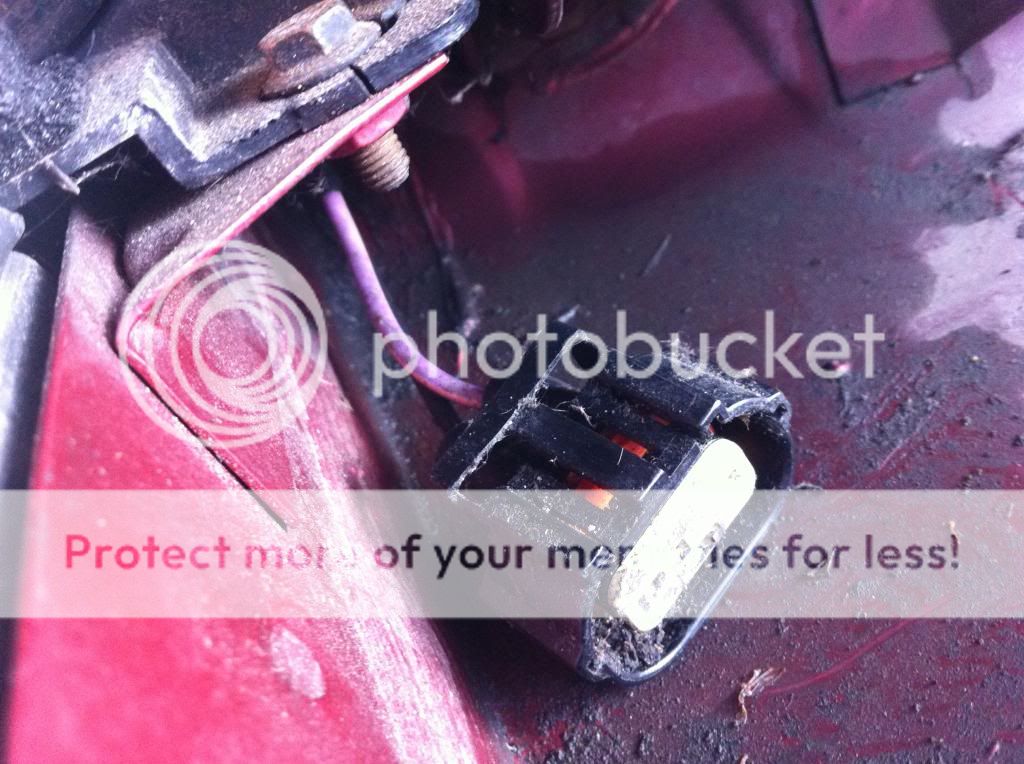
I'm after the connectors that join the vehicle loom to the heated screen - you might have just removed the ones I want. Could you have a look at this thread to see if you've got the ones I need.

http://www.landyzone.co.uk/lz/f62/d1-heated-front-screen-connectors-228208.html

Regards

Rob

It's the matching part to these which I'm after.

IMG_3897_zps1d4506af.jpg
 
Back
Top