THE BUDDAH
New Member
- Posts
- 686
- Location
- Romford essex
Hi Rob,
Looking really good.
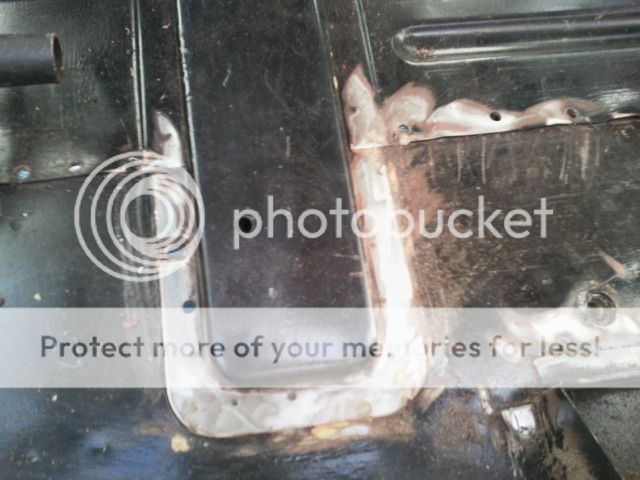
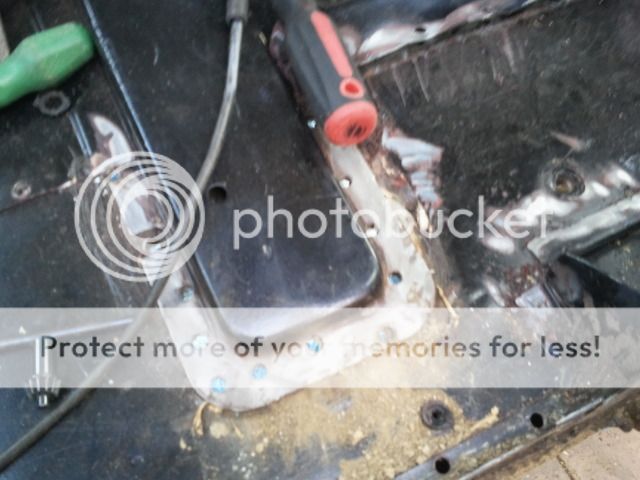
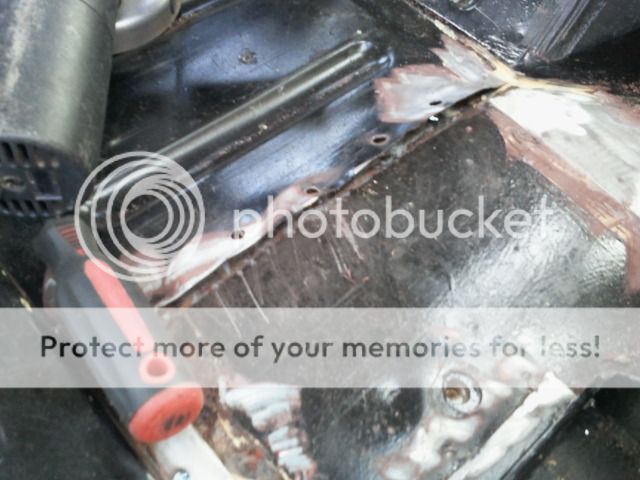
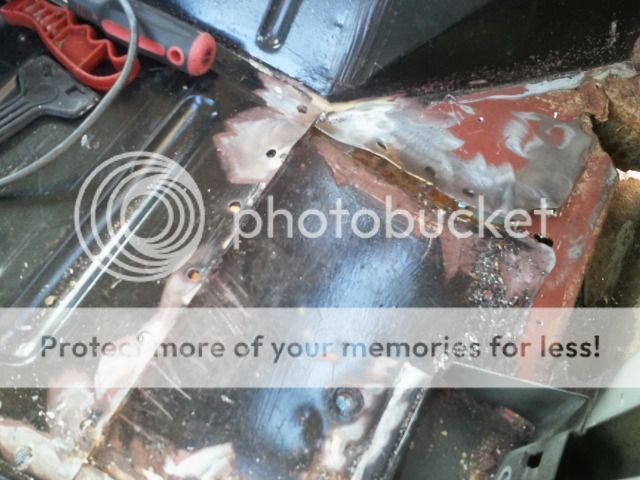
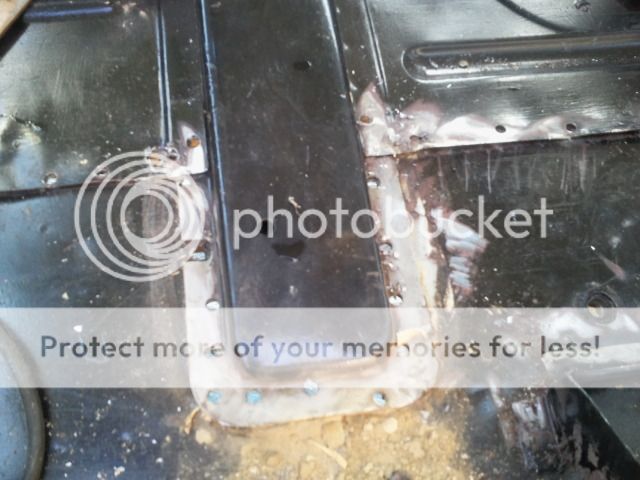
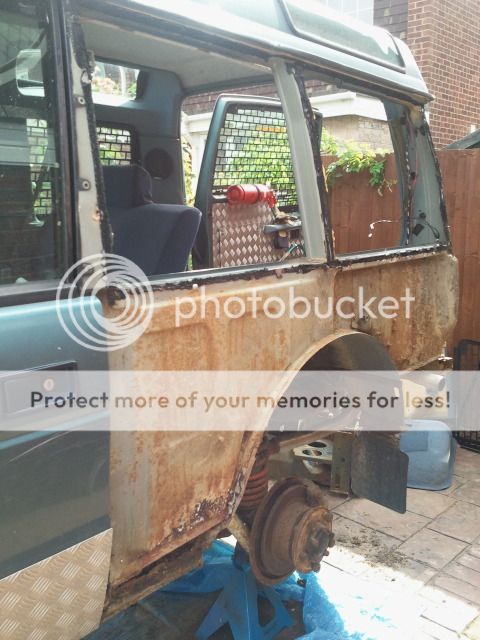
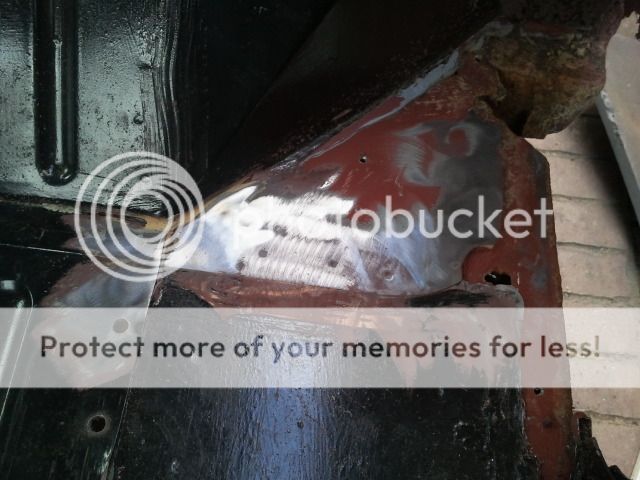
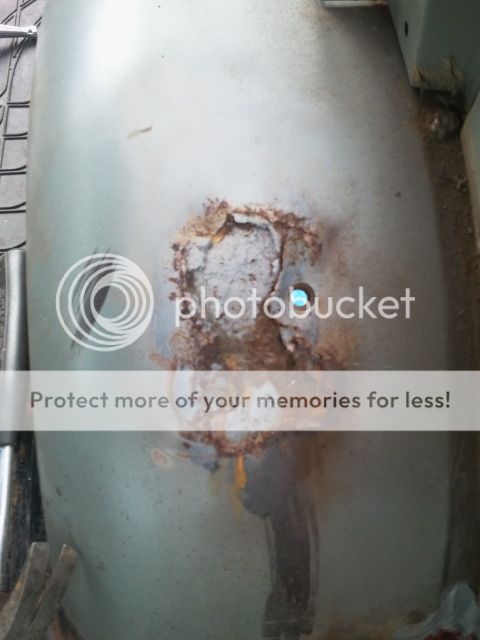
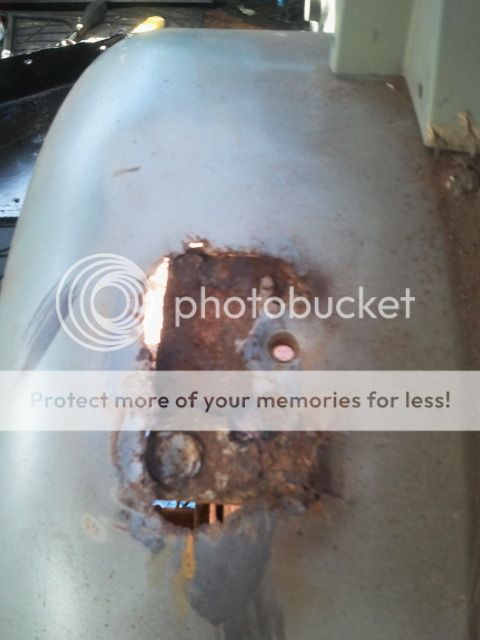
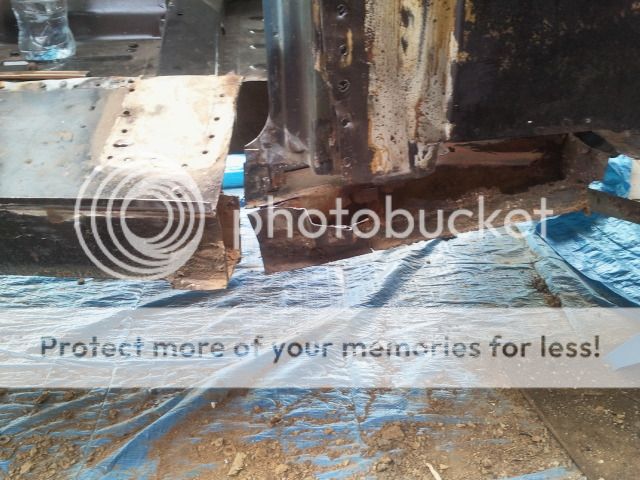
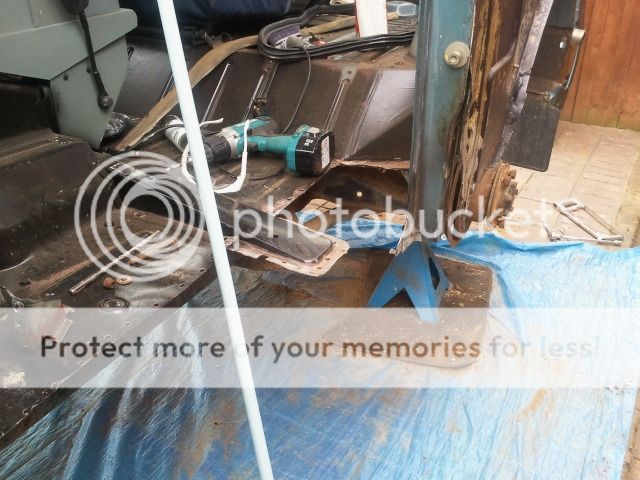
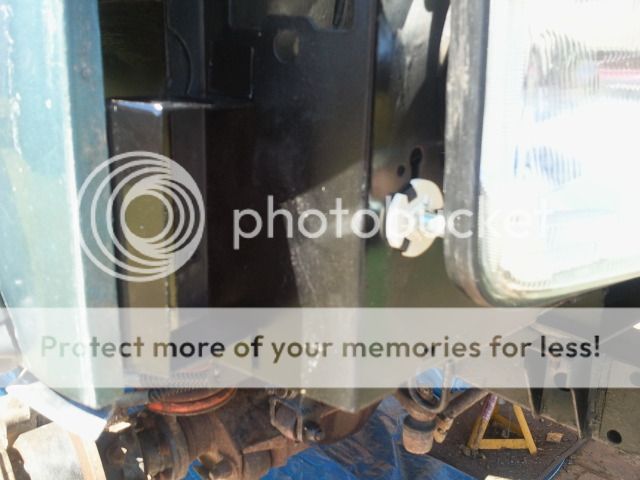
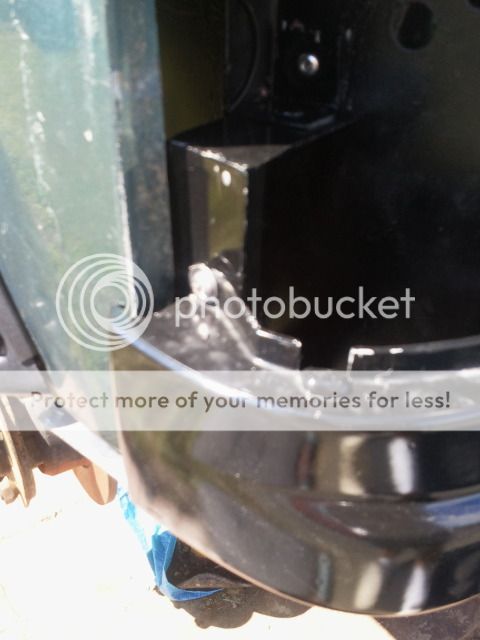
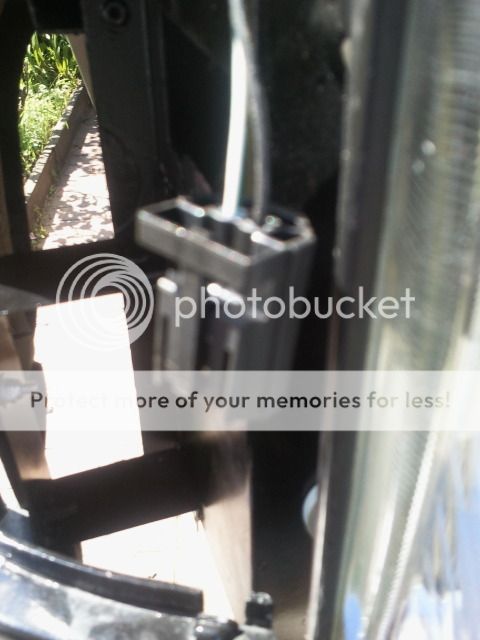
I welded a repair onto the bottom of the middle post, first welding iv'e done on a vehicle and managed to blow a couple of small holes. I dare say as the project continues i'll get better.
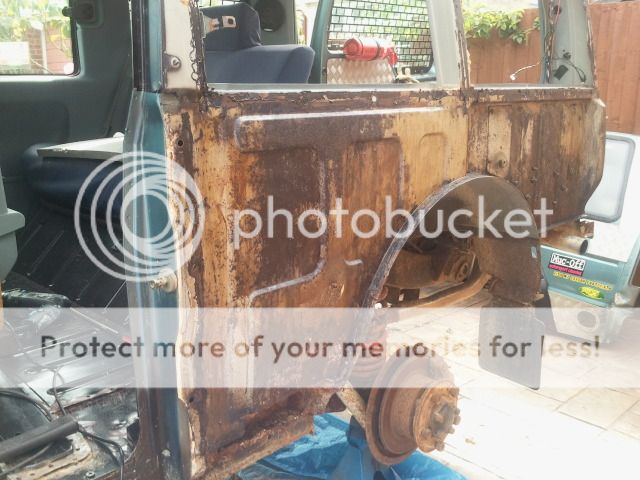
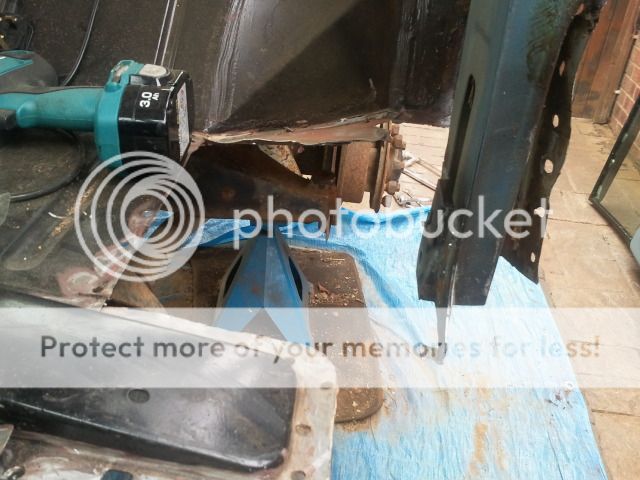
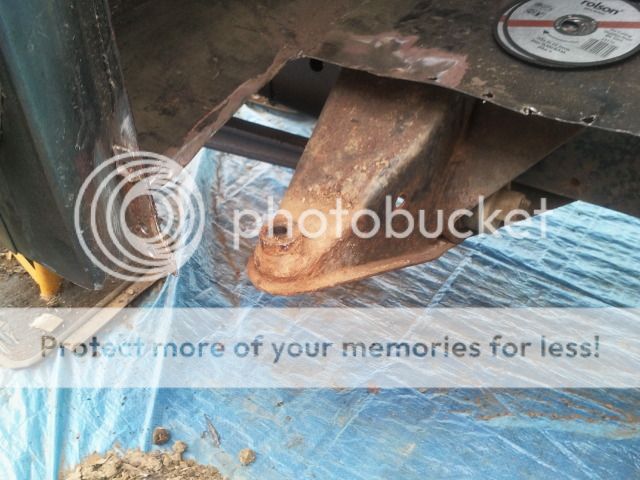
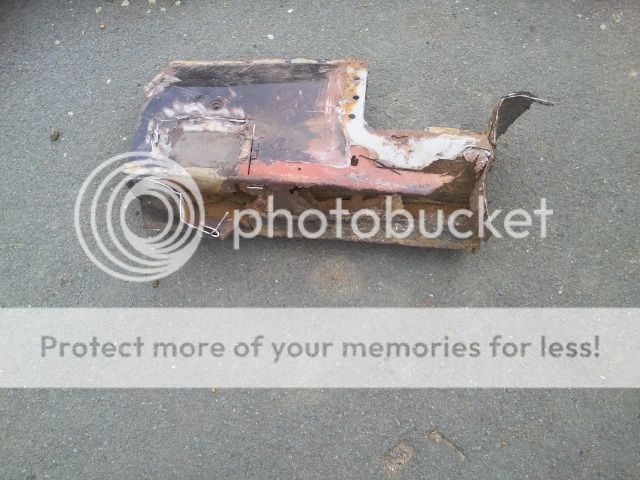
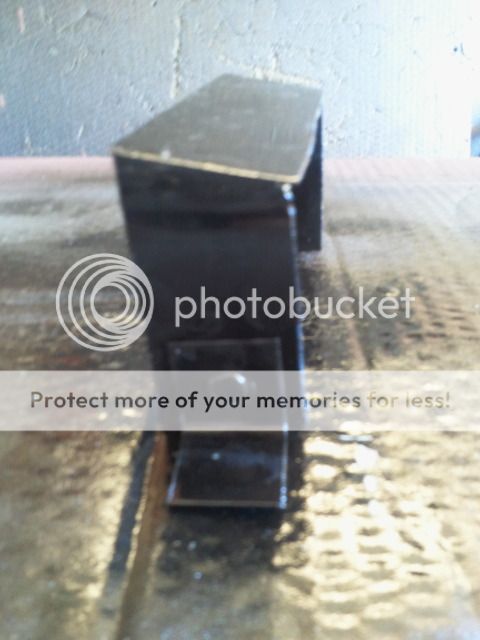
Iv'e also cut and shaped a couple of other repair sections that will be welded once the weather improves and i'm off work.
I'll keep your project on watch cos it will help next year when i start the front of my disco.
Looking really good.
I welded a repair onto the bottom of the middle post, first welding iv'e done on a vehicle and managed to blow a couple of small holes. I dare say as the project continues i'll get better.
Iv'e also cut and shaped a couple of other repair sections that will be welded once the weather improves and i'm off work.
I'll keep your project on watch cos it will help next year when i start the front of my disco.

")