mick the builder
Well-Known Member
- Posts
- 5,901
- Location
- Sligo,Wild West of Ireland.
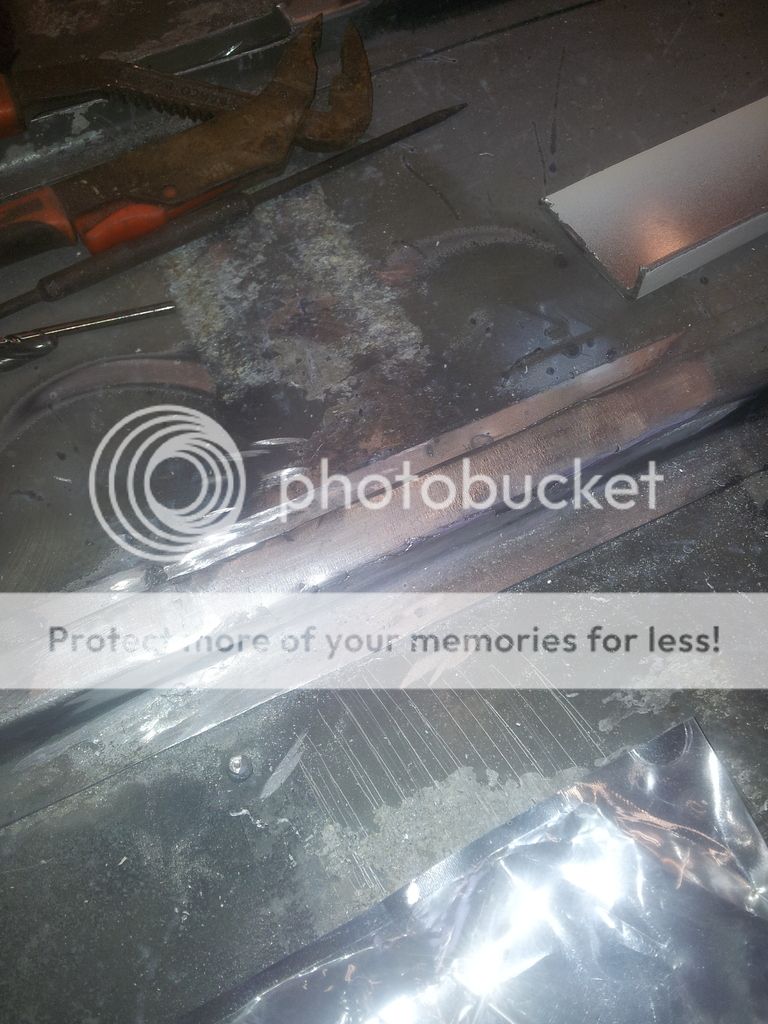
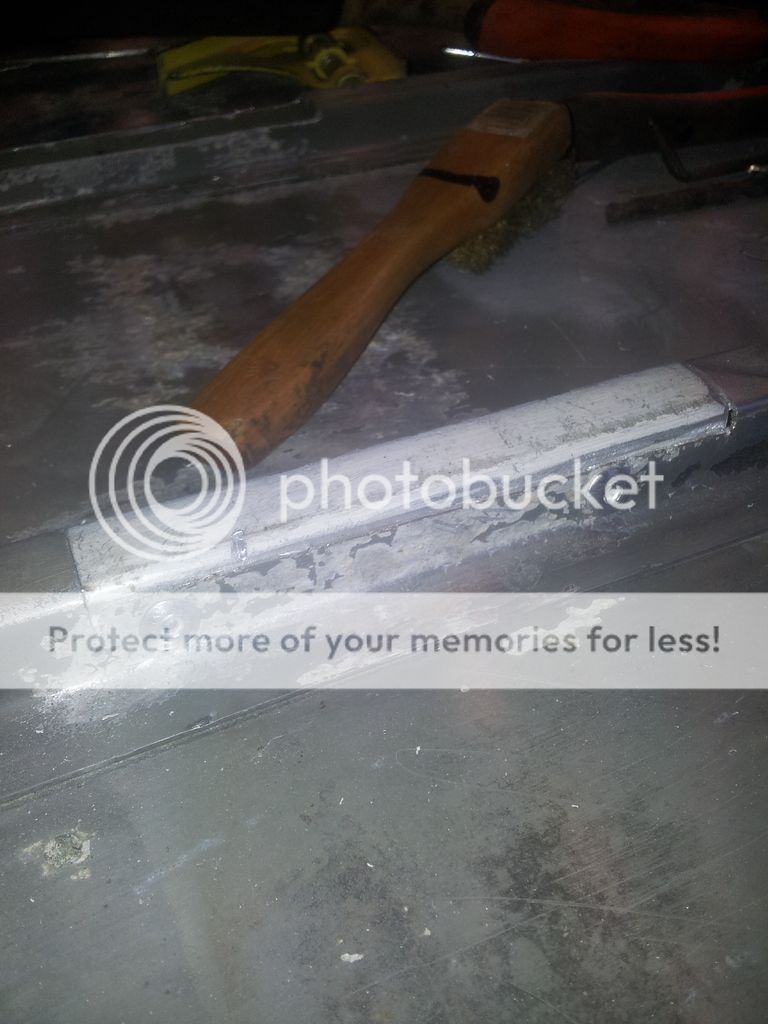
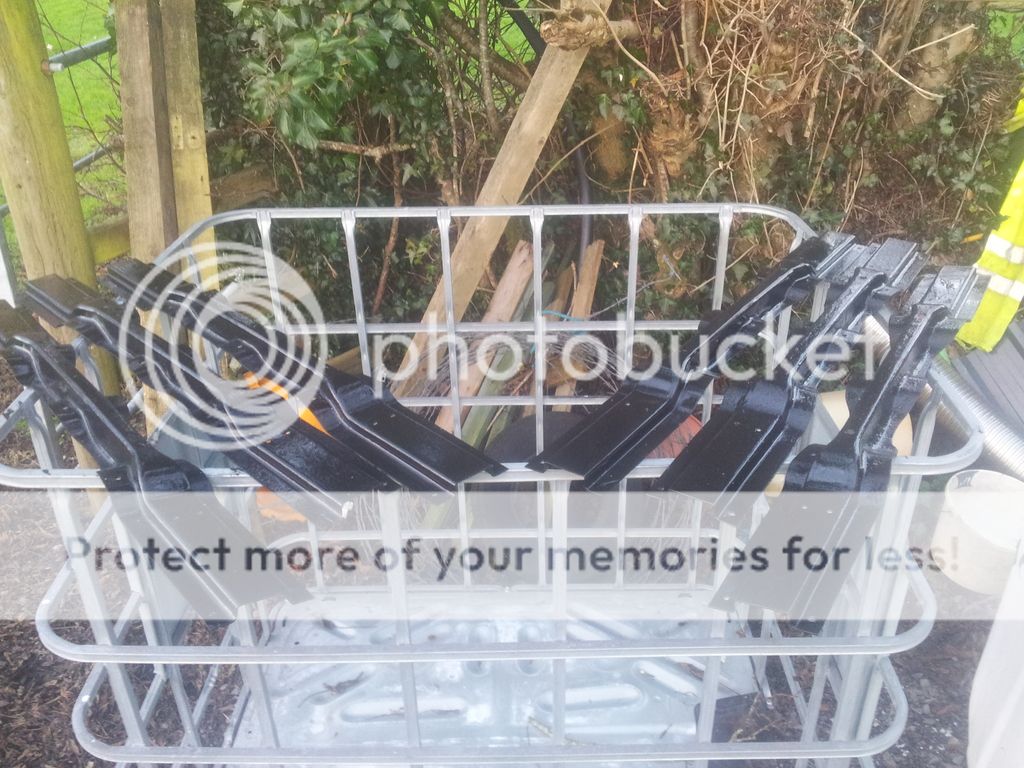
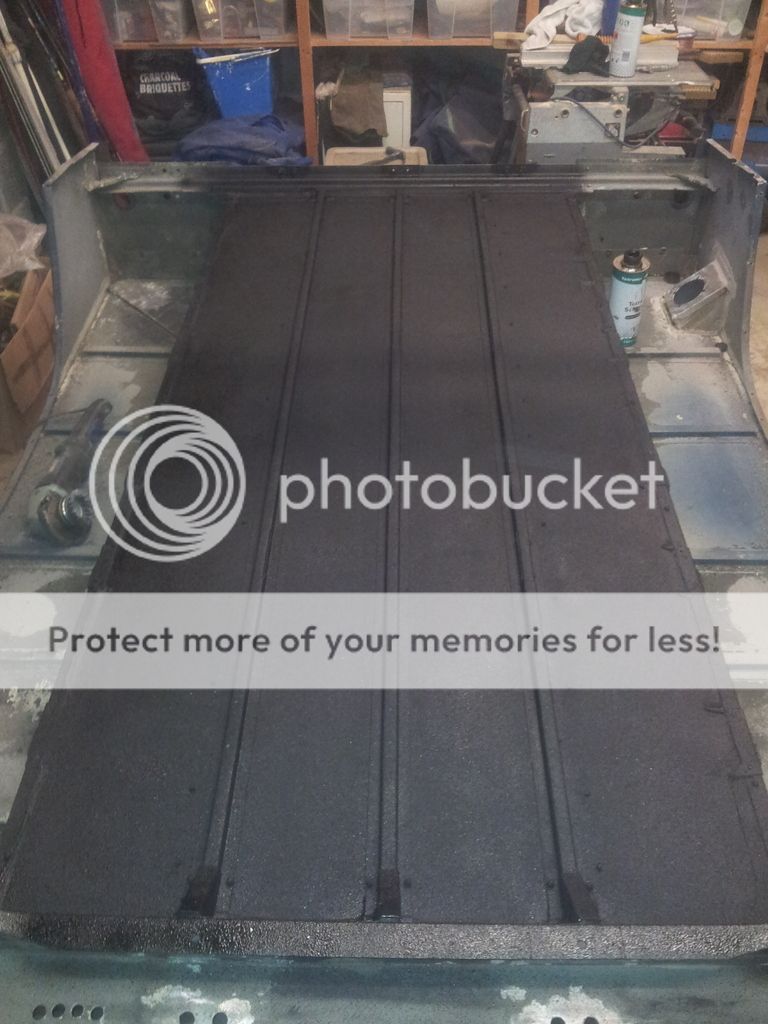
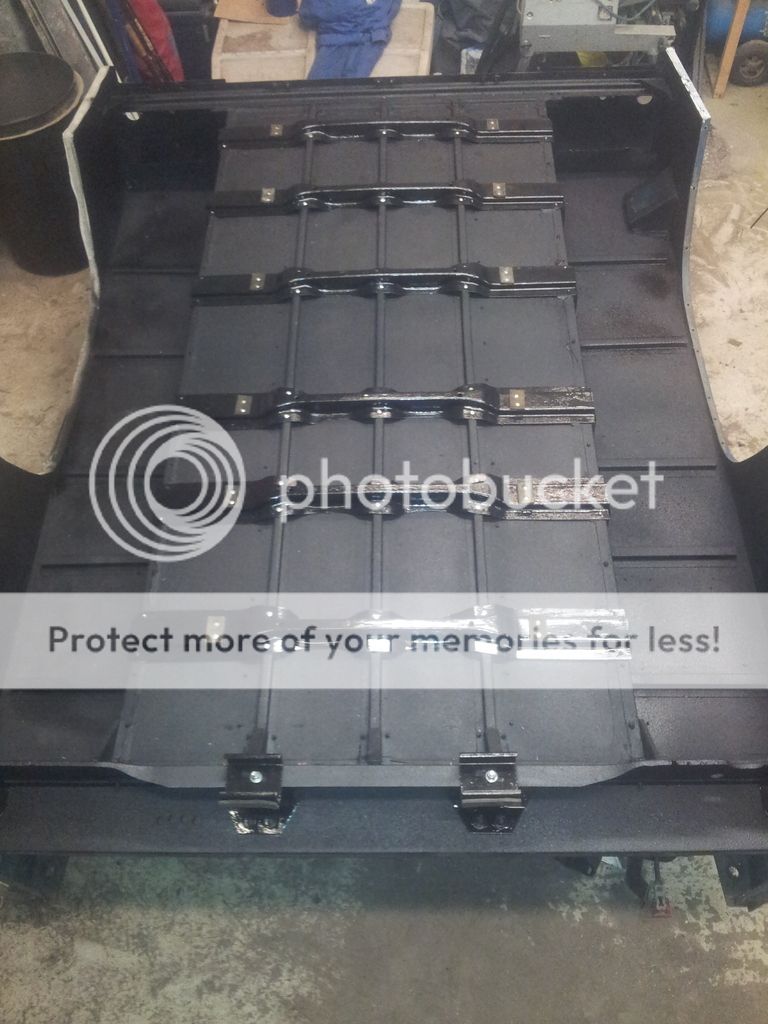
They look a lot worse than they are so a sandblast and red oxide will do. Might have a go at welding some ally over the holes so i can pop rivet them back down then underseal it all. £35 + vat x 6no. is i bit to much for something that will never be seen.