Steve's unexpected Series 3 rebuild.

This site contains affiliate links for which LandyZone may be compensated if you make a purchase.
So I've completed painting the underside of the chassis and it's now stood up on it's side in the garage.


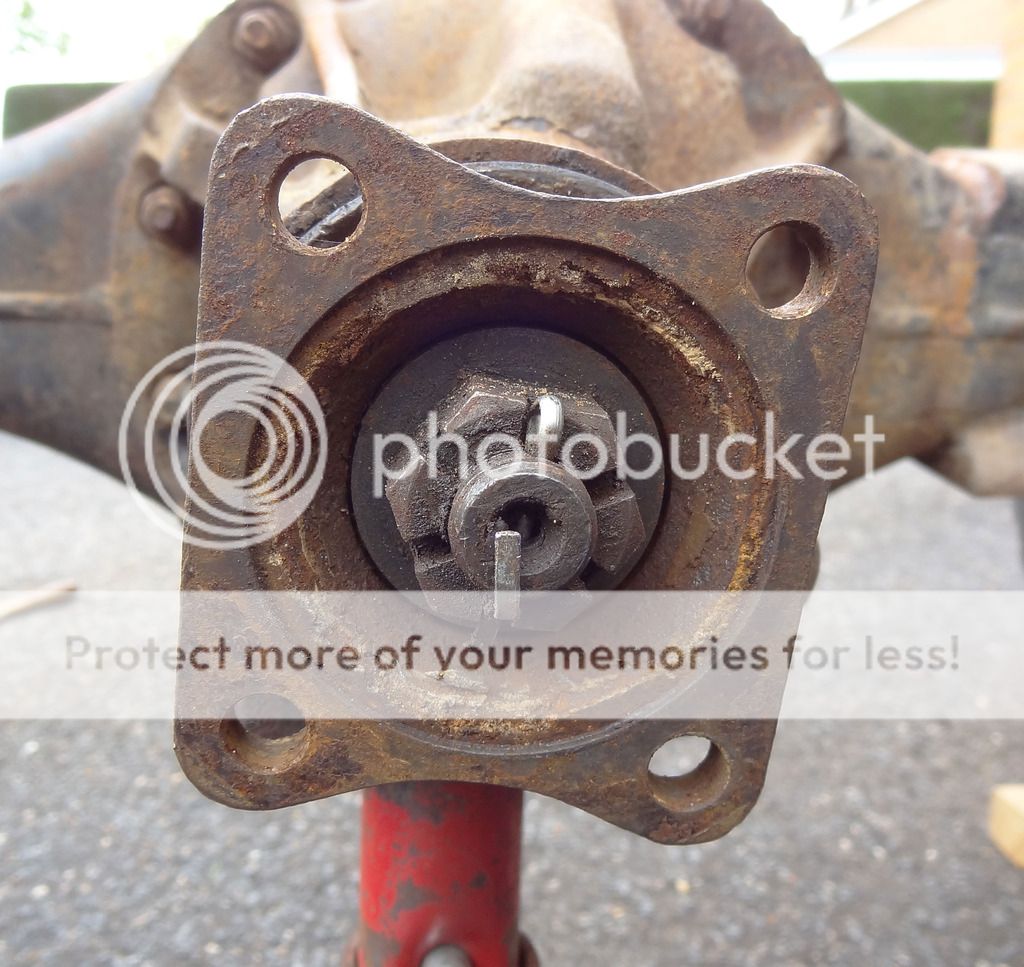
So now it's time to start on the axles. The differentials are the first thing i'm going to deal with but I want to get your thoughts. The rear diff is the better of the two. They've both got a lot of play in them. Here's the back one.


I reckon the amount of slack in that diff is about 20 degrees of movement.

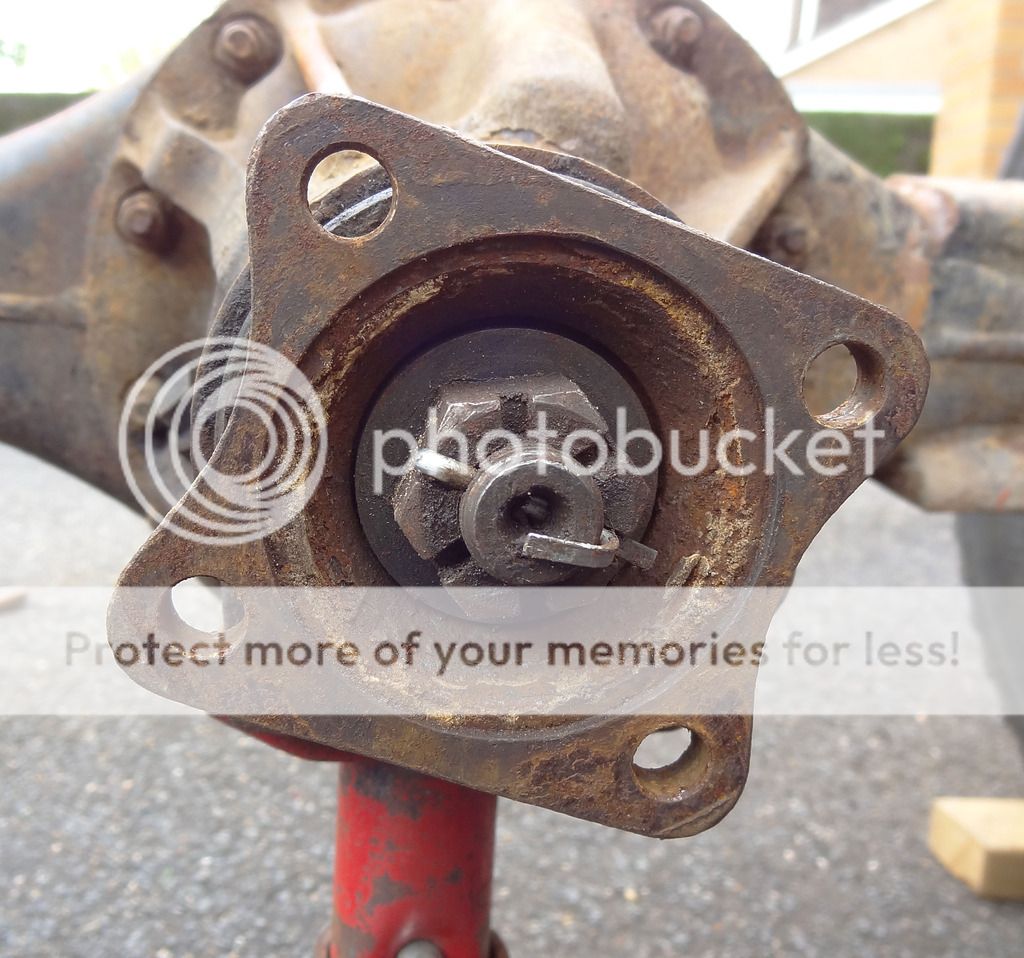
The front one is much worse.


That's more like 75 degrees of slack.

Now in the few times I drove it before taking it off the road I didn't notice any clonking noises but i'm sure I should have.
The options i'm considering are,

1. Leave them as they are. I know they'll make a noise but I've spoken to an MOT tester and it wouldn't fail a test on it. Then put them on top of the 'to do' list for later.
2. Have a go at rebuilding them myself. I've never done it before, might need special tools and it might take me a long time. Will the price of parts get close to a refurb unit?
3. Swap the back one to the front so the better one is where it's not driving the whole time. Get a refurbished exchange unit and put it on the back.
4. Bite the bullet and get 2 exchange units.

Aztech engineering want £190 + VAT for an exchange unit with a guarantee. They are only about an hour from me and I have heard good reports. Anyone know anything about them and how does that price sound?

Thanks in advance for any advice.
 
Chassis is looking good Steve.
Aztech engineering is James Martin on here, Sure he would come highly recommended by most on here.
 
Chassis is looking good Steve.
Aztech engineering is James Martin on here, Sure he would come highly recommended by most on here.
Thanks for that. I'm very impressed with your progress as well. I didn't realise James and Aztech were one and the same. It's a small world.:)
 
Ah ha - found your thread. I think your progress is quite a lot further along than mine!

As for your differentials - the best time to learn how to refurbish them is now. I'll be starting on mine soon (with any luck) as I want them done and out of the way (along with the roof and the rear tub) before I start the welding.
 
Here you go. Can't move in the place. Admittedly the old suitcase and manky rug were temporary.

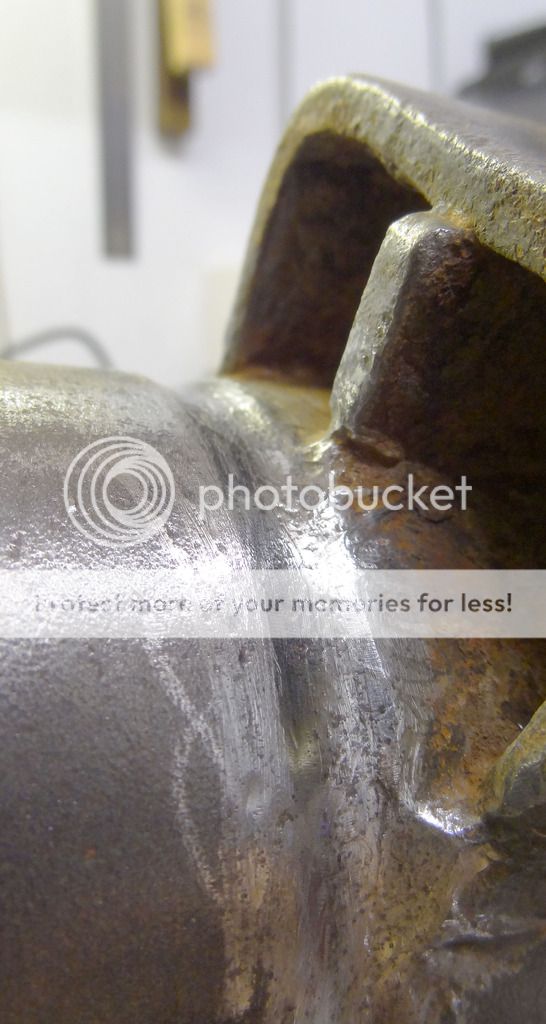
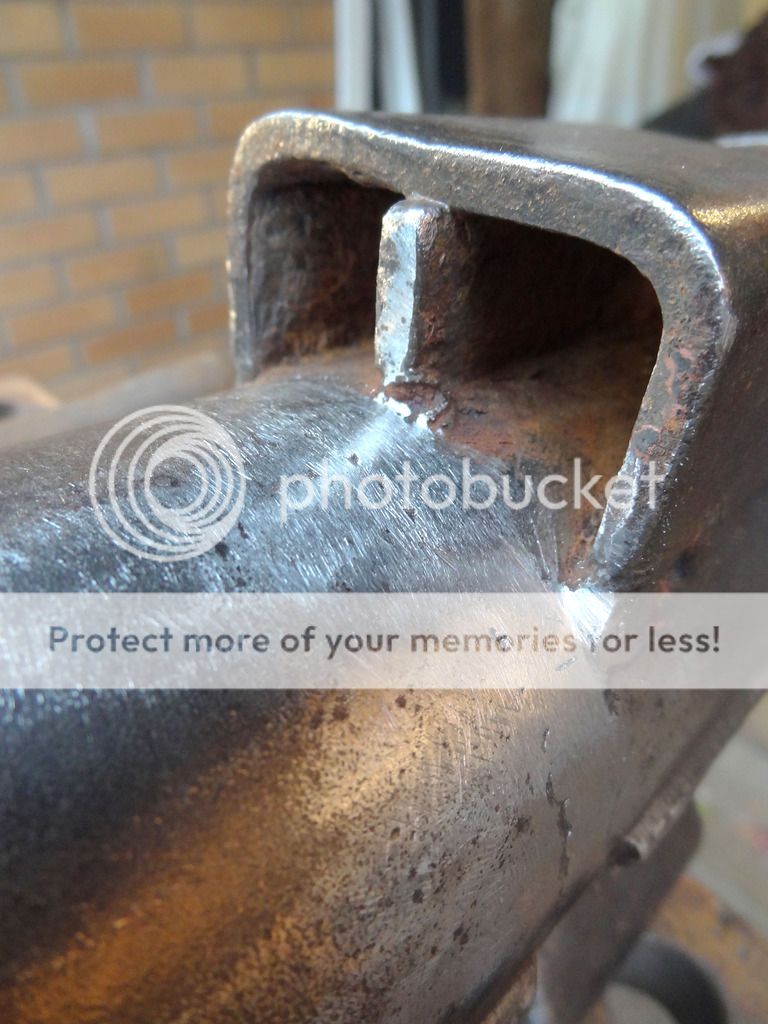
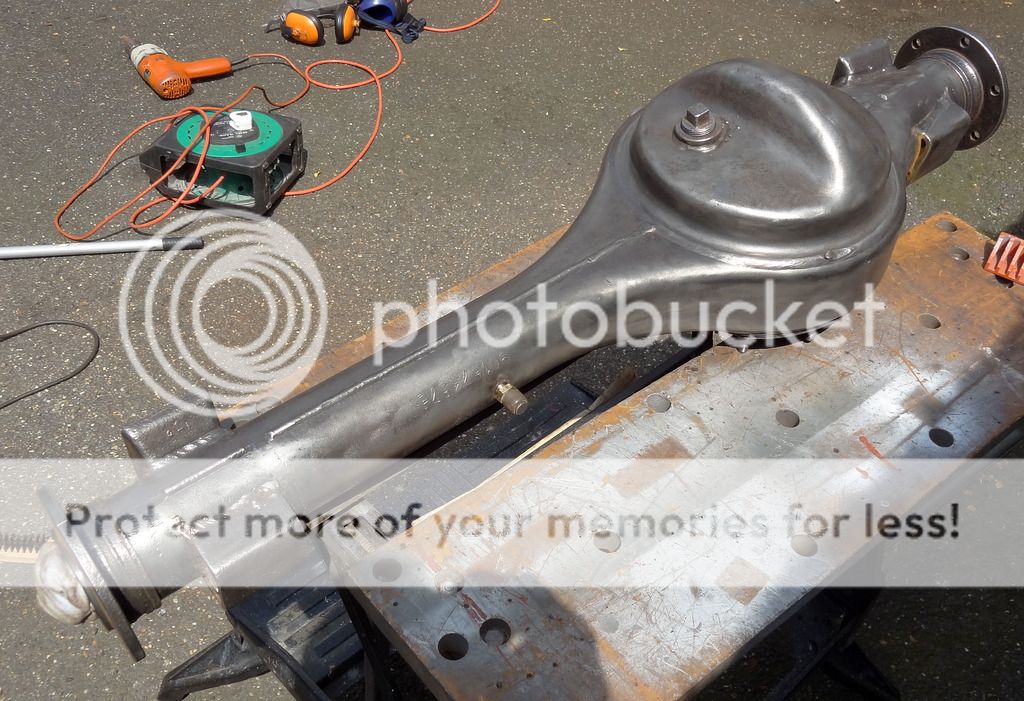
Then I got on with the axle casing. The u-bolts had started to rust into the axle casing so a bit of strength was needed back in there.

I started to weld blobs into the worn area.

After a little while it turned out like this. Very satisfying, I really enjoyed doing that.

I cleaned up the rest of the casing

and got a couple of coats of primer on. I really like how stuff looks in red oxide primer.
.
Also I had a really good day at Aztech engineering last Friday. 1 diff is sorted, the other needed more parts so will collect that a bit later on. Fantastic to see the refurb process, more about that later when I get round to refitting the diff.
I got a couple of small bits from Rimmer Bros yesterday. I would like to be able to use them more as they are just across town from me but they're just too expensive. Nyloc nuts for the diffs to axle (NY606041L) casing 65p each, Paddocks 6p each! In the end they did do them cheaper but still 19p each. I know that's only a small item but every time I check a price it's always the same. A real shame. They have a price match policy but when I read it on they're website there are so many rules and 'get out clauses' that I gave up.
 
Last edited:
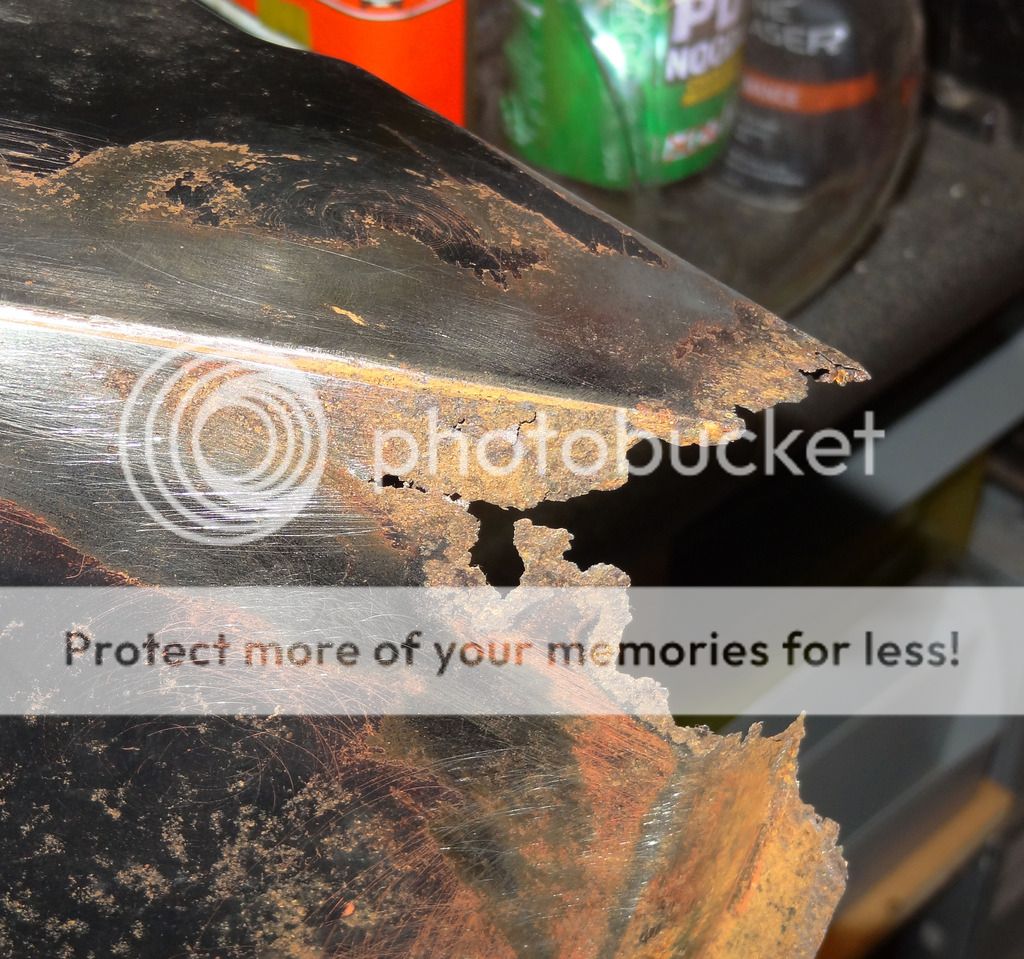
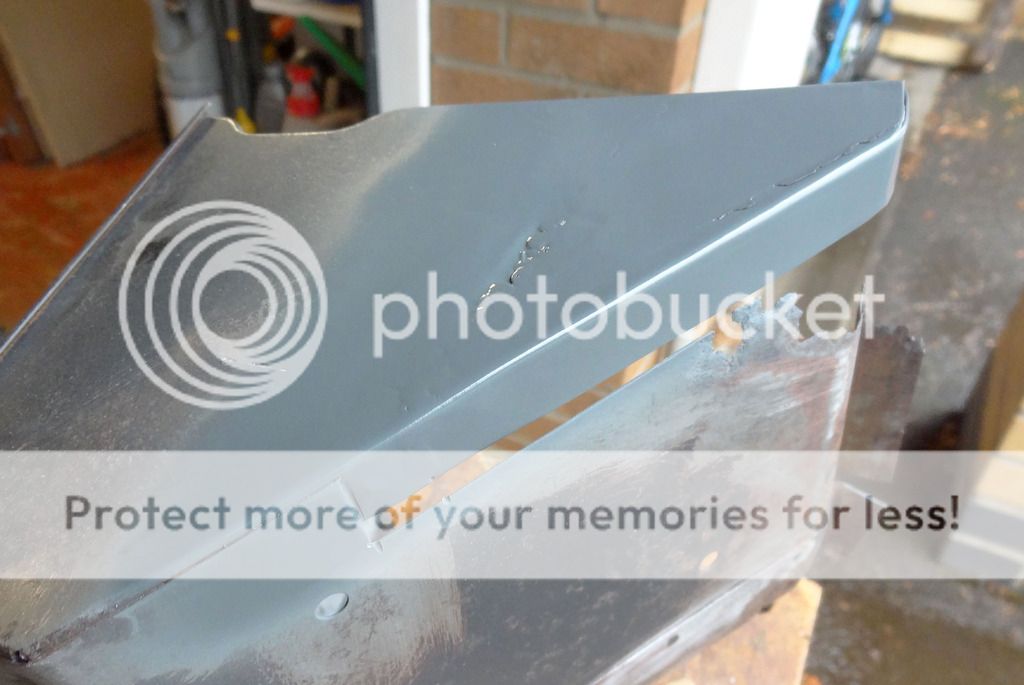
For a bit of a change I thought I would make a start on repairing the part of the dash that covers the wiper motor. It's in a shocking state and replacement ones are really expensive. This is the type of rot I'm up against.

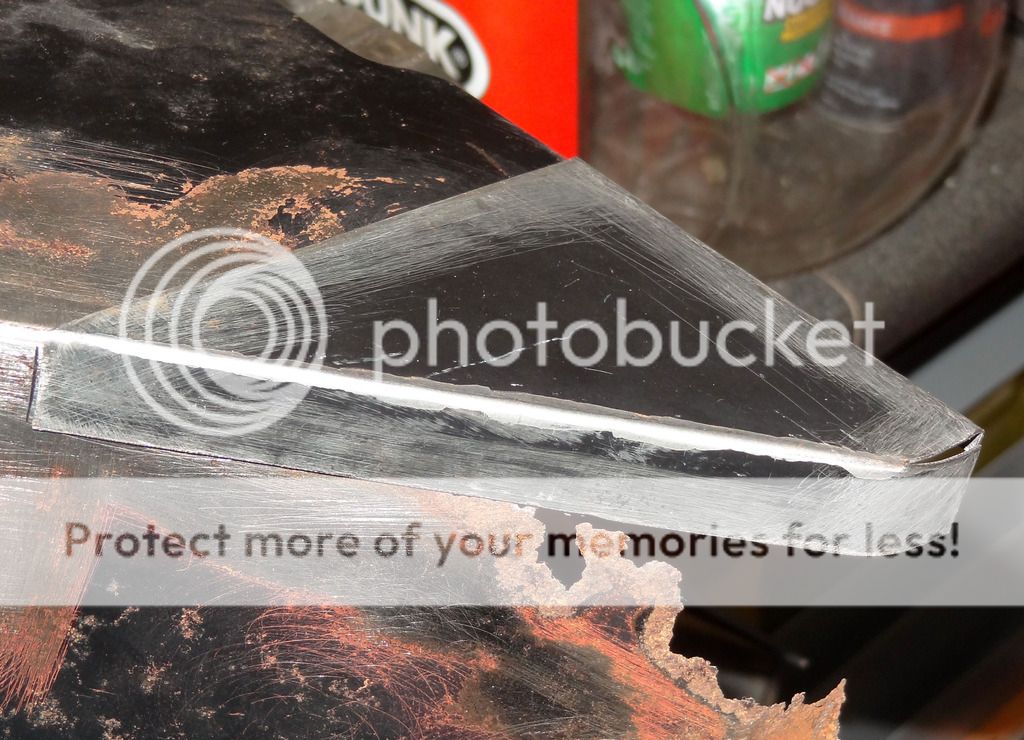
I made a repair piece. It's actually made from the base of an old lamp but it's the right thickness.

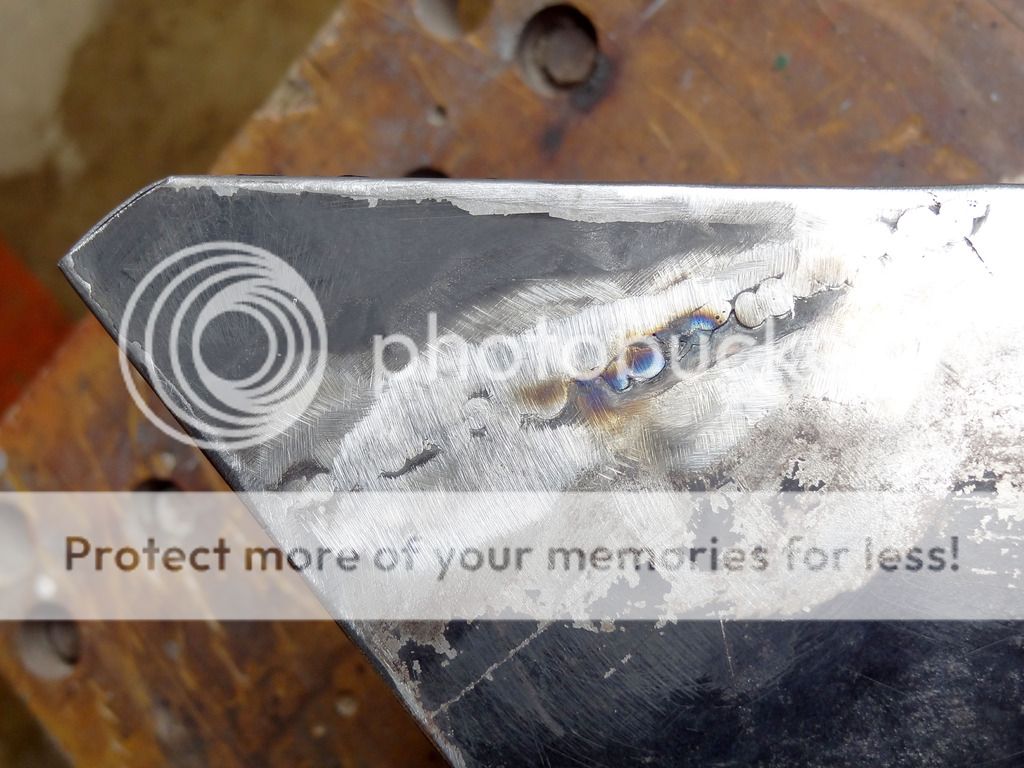
It is very thin stuff so when it came to butt welding it in it was a bit of a struggle. In the end most of it went well. None of the welds will be seen but I still like them neat.
It looks a bit better in primer.
 
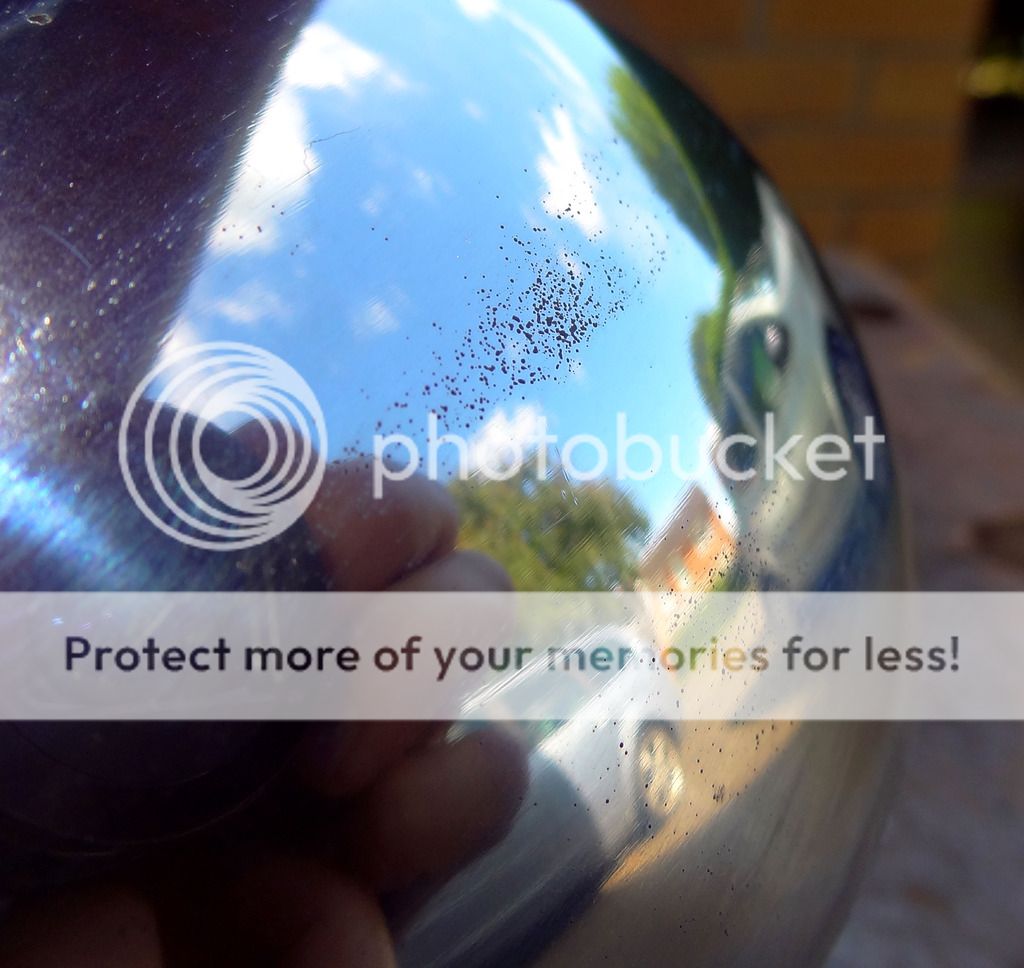
My new Britpart swivel kits arrived from Craddocks. I opened up the tatty box to find the Railko bush box has been ripped open and just left like it. The main problem though is that both swivels are rusty. Small pin prick dots of rust all over, some pitted areas and best of all a rusty finger print. They wouldn't last five minutes before they were leaking and ruining the new seals. I know you hear horror stories about the dreaded blue boxes but I didn't think they would be this bad!

 
My new Britpart swivel kits arrived from Craddocks. I opened up the tatty box to find the Railko bush box has been ripped open and just left like it. The main problem though is that both swivels are rusty. Small pin prick dots of rust all over, some pitted areas and best of all a rusty finger print. They wouldn't last five minutes before they were leaking and ruining the new seals. I know you hear horror stories about the dreaded blue boxes but I didn't think they would be this bad!

thats poor ,i cant say have had any like that
 
Back
Top