LincolnSteve
Well-Known Member
- Posts
- 1,224
- Location
- Lincoln
So little time, so little progress. My lack of opportunity to get cracking is driving me crazy at the moment.
Anyway here's what I have got done and a little health and safety reminder as well.
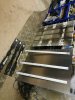
The floor strengtheners are in a bit of a state but not beyond saving.
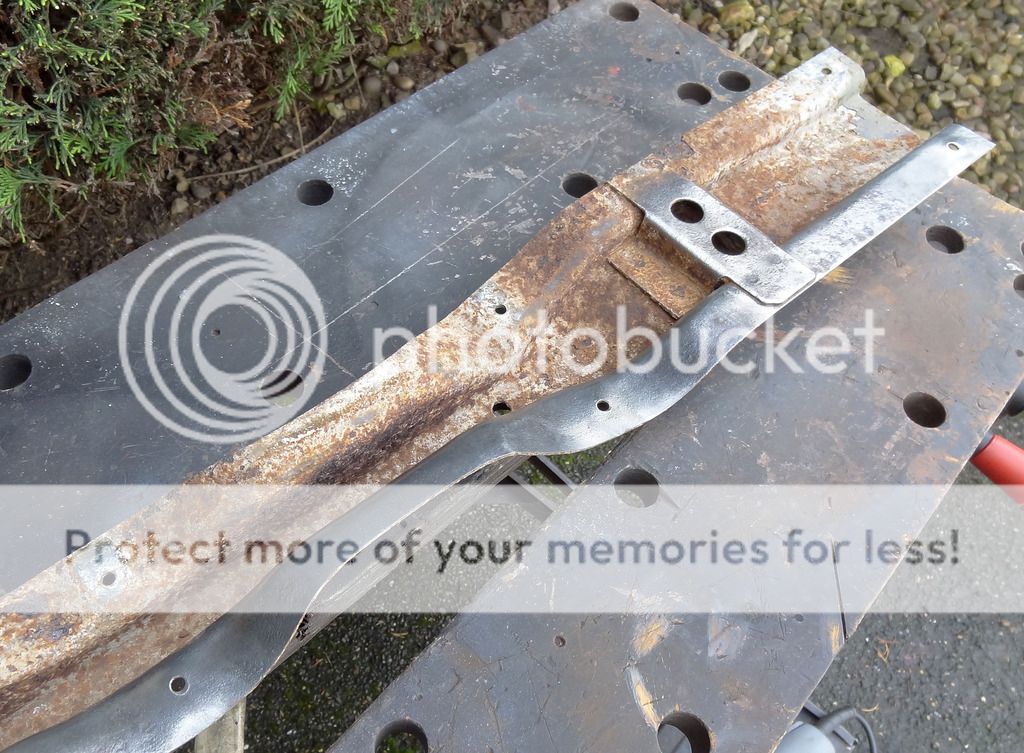
I was surprised how well they came up considering the amount of rust.

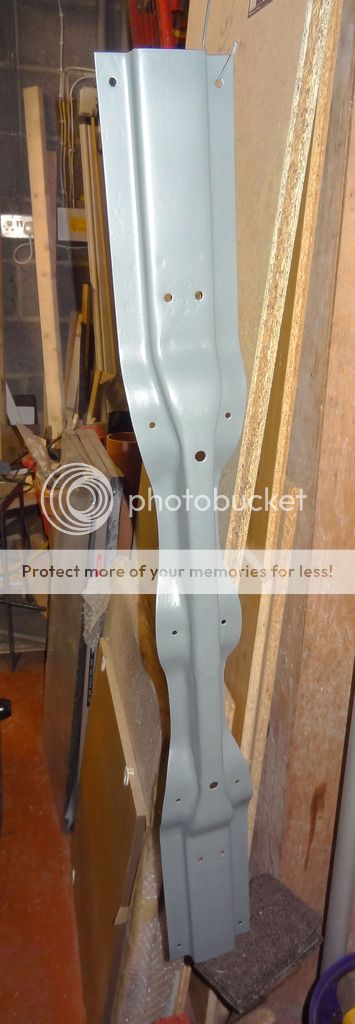
Looks even better in primer.
And the finished article. I thought if I painted it silver it would provide a nice contrast underneath to all the black. Also I can pretend it's galvanised. So it's mild steel covered in zinc primer with aluminium paint top coat.
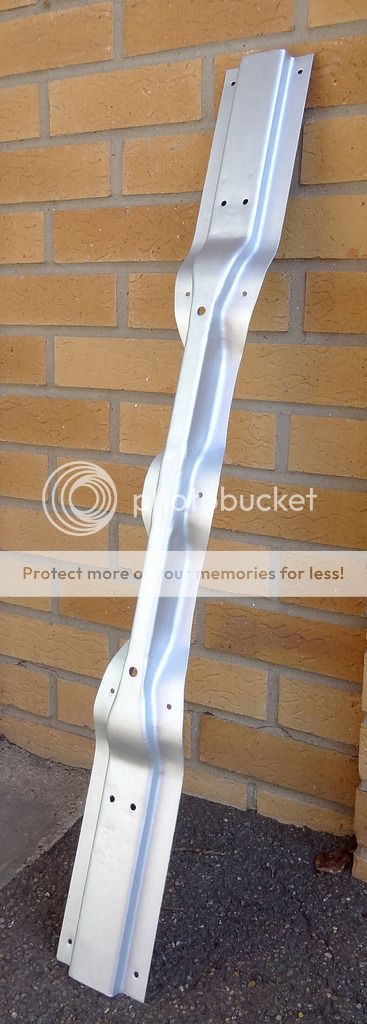
The silver was some old stuff that has been in my father in laws shed for ages. It's probably as old as the land rover itself.
I'm pretty sure it's the same stuff that they paint the log flume with at Gullivers Kingdom in Matlock. if it can stop that rusting it must be good stuff.
Now for the health an safety bit. Today I was doing the last of the strengtheners and using a wire brush on the angle grinder. Goggles, mask, ear defenders all in place. Overalls on done up to the neck and stout footwear........but no gloves.
Now I've got a piece of one of the bristles embedded just below the knuckle of my middle finger. A & E were able to show me a nice picture of it on the xray but not able to remove it as it is too close to the tendons so I've got to wait until Tuesday to get it taken out.
Unfortunately this means I am a tit (with sore hand) and typing one handed is really hard. Lesson over.
Anyway here's what I have got done and a little health and safety reminder as well.
The floor strengtheners are in a bit of a state but not beyond saving.

I was surprised how well they came up considering the amount of rust.

Looks even better in primer.

And the finished article. I thought if I painted it silver it would provide a nice contrast underneath to all the black. Also I can pretend it's galvanised. So it's mild steel covered in zinc primer with aluminium paint top coat.

The silver was some old stuff that has been in my father in laws shed for ages. It's probably as old as the land rover itself.
I'm pretty sure it's the same stuff that they paint the log flume with at Gullivers Kingdom in Matlock. if it can stop that rusting it must be good stuff.
Now for the health an safety bit. Today I was doing the last of the strengtheners and using a wire brush on the angle grinder. Goggles, mask, ear defenders all in place. Overalls on done up to the neck and stout footwear........but no gloves.
Now I've got a piece of one of the bristles embedded just below the knuckle of my middle finger. A & E were able to show me a nice picture of it on the xray but not able to remove it as it is too close to the tendons so I've got to wait until Tuesday to get it taken out.
Unfortunately this means I am a tit (with sore hand) and typing one handed is really hard. Lesson over.