Springs and things

This site contains affiliate links for which LandyZone may be compensated if you make a purchase.

Brown

Well-Known Member
Full Member
Posts
7,768
Location
East Midlands
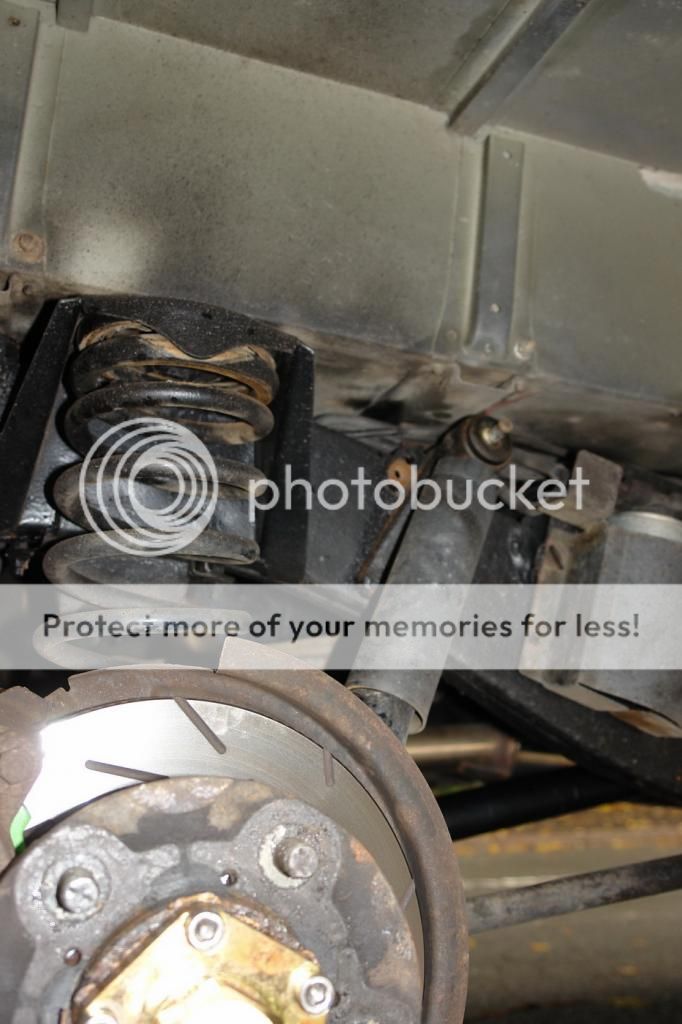
I've been busy with my suspension today. I even remembered to take some pictures. I have elderly Britpart shock absorbers and the car is starting to look a bit low in the water at the rear. So once it stopped raining I started unscrewing things.


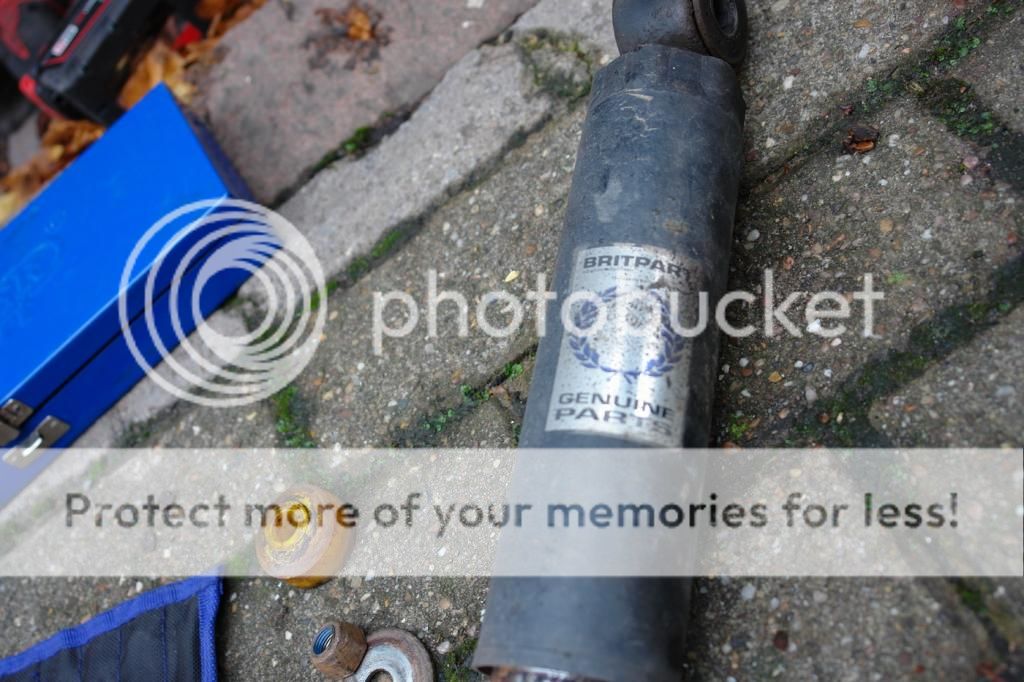
Here's one of the offending items complete with the Britpart logo of doom:

I'm putting new suspension bushes in too. Partly, this job was prompted by me finding some slack in the bushes which join the rear radius arms to the chassis. So here's a picture of everything off:

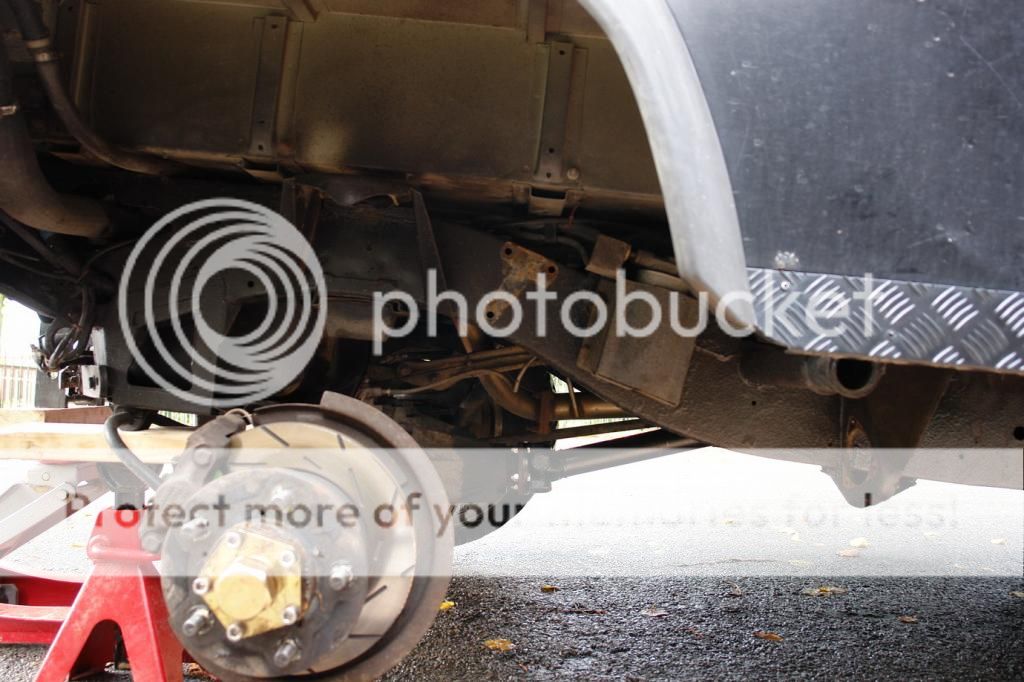
The nuts at the end of the radius/trailing arms were a bit of as struggle to undo. The poor old Milwaukee impact wrench rattled the rust off but didn't shift them. The 3/4" breaker bar and socket merely twisted the radius arm. I was wondering how to cut them off, but the nuts live in a recess in the bracket at the side of the chassis and are hard to get at with grinder or saw. Hmm. Fortunately, a freshly charged battery on the impact wrench did the trick, and easing the nuts back and forth half a turn eventually loosened them sufficiently to unscrew. Phew.

Reassembly was a lot quicker. Nice new springs and shocks in position:

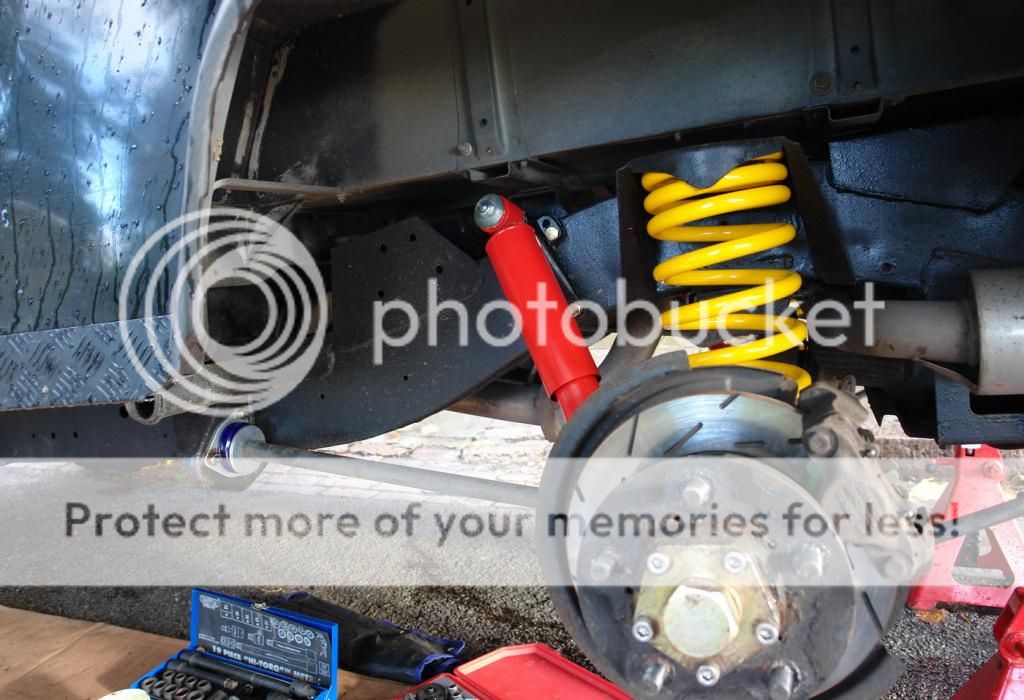
I've got it some posh Koni dampers. You can see the new radius arm bush too. This might well re-ignite the old Polybush vs. OEM debate, but I thought I'd try the Superpros and see how they get on.

Whilst I don't want to say a word against the garage that did my MOT in June, I'm surprised they didn't say anything about how rusty the spring seats and retainers were. There wasn't much metal left, and it can't have happened just over the summer. Fortunately, anticipating this, I'd got new ones to fit. I've greased the bolts generously so I might be able to get them apart again one day.

A quick drive round the block disclosed some funny noises like deep creaks and groans, much to my dismay. However, a longer test drive with lots of speed bumps seems to have settled it down and it's now a lot quieter.

Tomorrow, weather permitting, I shall have a crack at the front ones.
 
your shock of doom as you called lived long enough to become elderly

I don't think it was helping me very much towards the end of its life. Plus its bushes were a bit loose, whereas the new ones have come with nice soft new rubbery bushes that actually seem to locate them tightly. So it feels better!
 
Time for a report on today's activities. I jacked the front up and started taking things to bits:


There's the top of the original shock absorber. That nut was rusty! Fortunately, the impact wrench shifted it.


Unlike the rear, I needed spring compressors on the front. On getting the driver's side spring out I discovered it was broken. You can see a bit of spring still stuck to the spring seat:


I hadn't noticed anything odd about the handling, but it feels better to get some new ones on that are in one piece. Another item for the pathology museum is the shock absorber itself. Look at that neck on the fixing pin where it's been rubbing on the spring seat.


Here's the new stuff in place. The paint got a bit scuffed forcing them in unfortunately. I had to cut the inner wing to accommodate the new shock turrets as they're a bit wider than the pressed metal ones Land Rover give you. However, I only really needed to modify the plastic inner wing, and the cap still fits on the top in the engine bay, so everything looks fairly standard still.


Right, time for a pee and a cup of coffee. Seeing as I'm working on the street, I stashed all my tools in the back and locked them in. When I came out, the back door wouldn't open. Eventually I climbed over the seats and managed to lever the catch off the striker plate with a big screwdriver. It seems to work OK now, but it set my heart a-flutter.
Now I can get at my tools again, let's have a go at the passenger side. Out with the old:


And in with the new:


The passenger side shock absorber didn't want to unscrew. You can see it bears the scars of a mighty Stillson as a result of my efforts to unscrew it. Also, it's got a bit of a neck where it's been rubbing the spring seat.
Even though I've only fitted standard height springs, the car seems to sit a bit higher.


It almost looks like I've fitted a lift kit, but I haven't. I've not done the radius arm bushes today. They can wait until I have a press available. It looks like I'll have to take the track rod off, as well as the anti roll bar mechanism to get them out so I intend to wait until I have the bushes and joints for the anti roll bar and that way I won't be refitting old components only to have to take them off again shortly afterwards. I'm just having a late lunch and I'll go out for a drive afterwards to see how it feels.
 
Last edited:
It looks so high that I've been and got the box the springs came in out of the bin. Just in case I'd got a lift kit by mistake. No, they're Britpart DA4277s which are supposed to be standard. I was a bit apprehensive about buying Britpart, but a lot of you folks on here seem to be quite keen on their springs.

I've had quite a time of it in the wind. Yesterday the lid blew off my grease and I couldn't find it anywhere. Today the WD40 blew away. I got it back but I think it's been run over.


Still works perfectly though. I shall keep it in my cubby box and hope it doesn't explode.
 
Last edited:
Time for a small update. I've undertaken another little job on my rolling rebuild of the suspension. This time it's the bushes and ball joint of the upper link at the rear. I forgot to take a picture at the start, but after jacking the car up, the first problem was that the ball joint nut would not undo. Even allowing the axle to drop didn't get the nut clear of the fuel tank to accept a spanner, and there was no way a socket would go on because the axle is in the way. Hence I tried chiselling it but didn't get very far, and then drilled a couple of little holes in it and then chiselled it. Hey presto:


The tapered pin came straight out. Must have been all that hammering when I was trying to get the nut off loosened it. Good. I was expecting it to be a struggle.


I've succeeded in indenting the seat with the tip of the drill when drilling the nut. Never mind, it's just on the very surface so we won't worry about it. Rather than struggle with the big pivot bolts at the chassis end in situ I took the brackets off the chassis:


Once out on the pavement they yielded to the mighty Milwaukee. Now to give that nice new press a real test:


Here we go, using a socket as an improvised mandrel. Let's see what it needs to shift it:


The next one needed a little more:


I wouldn't have fancied doing this without a press. I'm glad I got the 20 ton version now. I know some folks on here laboriously burn, drill, saw and chisel their bushes out, but it's so nice to be able to crank a handle and hear it give way with a satisfying crack.


Here's the new ones in position, and new pivot bolts too, because as I expected, the old ones got a bit butchered coming out. As it's a very fine thread, the rust hadn't left much of it. Anyway, it feels nicer assembling with new bolts. As above, I'm giving the Superpro bushes a try - we'll see if they live up to their 36,000 mile warranty claim.

Here's a couple of pictures of reassembly. Here are the brackets back on the chassis:


And here's the ball joint. Slight surface rust visible because it's been in my shed for a year or so. As you can see I got one of those balljoint-complete-with-bracket assemblies. But now I have the press it's not so much of a problem to press the old one out of the bracket and press the new one in. Lots of grease slathered on nuts and bolts and the tapered pin so maybe it'll come apart next time. What I was really impressed by was that everything lined up more or less first time, and I didn't have to mess about levering the axle around in relation to the chassis. Right, time for a cup of coffee and a Landyzone update.

 
Last edited:
Yup, I had all that in my youth with a Morris Oxford, Triumph Spitfire and an elderly Series 2. The difficulty involved meant that bushes would hardly ever get replaced, and they'd get left 'til they were dangerous.

Now I'm wondering how to get some serious torque on the balljoint bolt. Maybe a 30mm crow's foot spanner would do it.

usually a socket and extension does it
 
usually a socket and extension does it

No, my 30 mm socket won't go on because the body of the axle is in the way. I need something with a bit more offset. Plus, as it's a TD5, the tank is in the way at the rear, so it's hard to reach with a 30 mm open ender. I shall find something eventually. It's tight at the moment and won't be going anywhere because of the split pin, but I want to make sure that the taper is pulled firmly into its seat.
 
Good job, nice one:clap2::clap2:.

No help to you, but when I did my bushes recently, I just lit the Chimnea and sat and had a fag and a brew:D:D

20130826_143840_zps6d44e80d.jpg
[/URL][/IMG]

and then

20130821_131649_zps2f3300b7.jpg
[/URL][/IMG]
20130821_132355_zps042f6bec.jpg
[/URL][/IMG]

;);););), obviously second and third piccy is not the same bit, and before I had the idea of using the chimnea, but you get the idea, was pretty straightforward and easy to be honest:D:D:D:D
 
Grimmer - yes I was watching your version of the same job a few weeks ago before I started on mine. I saw you'd wire brushed and painted everything too - puts me to shame.

I tried putting the hacksaw blade through the middle but my inner anti-crush tubes were quite thick and made out of something as tough as hacksaw blades so after half an hour's sawing had got me nowhere with the rear lower link ones I started looking on the internet for presses.

Next weekend I may have an opportunity to do the front ones and fit new anti-roll bar joints and bushes so there might be a new instalment.
 
nice work
I burnt my bushes out as well (brothers bushes) until the rubber just fell out then drove a chisel down the edge,
Some of them poly bushes are a #### to start,I spread the end of some tube then pulled it through that and into the arm with thread bar

There are few ways of doing the job these picture tutorials will always help some one out


I see you aint shifted that press out ya best room yet :D
 
nice work
I burnt my bushes out as well (brothers bushes) until the rubber just fell out then drove a chisel down the edge,
Some of them poly bushes are a #### to start,I spread the end of some tube then pulled it through that and into the arm with thread bar

There are few ways of doing the job these picture tutorials will always help some one out

I see you aint shifted that press out ya best room yet :D

Yes, the press is in the dining room still. When I'm working on the car it's nice to pop in the warm occasionally. The polybushes took a few goes to get them started in the holes. With the grease you get in the kit they're really slippery so tend to spring themselves out. I hadn't thought of making them a shoehorn. The outer metal jackets of my Panhard rod bushes came out separately from the bush so I could have used those if I hadn't thrown them away.
 
nice work
I burnt my bushes out as well (brothers bushes) until the rubber just fell out then drove a chisel down the edge,
Some of them poly bushes are a #### to start,I spread the end of some tube then pulled it through that and into the arm with thread bar

There are few ways of doing the job these picture tutorials will always help some one out


I see you aint shifted that press out ya best room yet :D

i never fit those "cotton reel" types ,split types are much easier
 
i never fit those "cotton reel" types ,split types are much easier


I havent looked into it so didnt know they were available
Are they as good? (silly question ,as you wouldnt use them)

I just got a box of bushes and some arms off me brother to fit,didnt know the make nor nufink
 
I got a Superpro kit and they give you a mixture. Cotton reels for the chassis end of the rear upper link and for the axle end of the front radius arm, and everything else is two part top hat shaped things.
 
Back
Top