Sam's new engine build thread!! HELP! :D

This site contains affiliate links for which LandyZone may be compensated if you make a purchase.
i mean we took the car in part exchange in 2008, i have tinkered ever since to keep the bastard running sweet and generally it did but i never checked that CO trim, then when i did it had the output set at around 0.2 volts!

regards this new motor i will be setting up the values before initial turnover (make sure it's rich enough for running it in nicely) and then will be attacking it with the exhaust gas analyser to set up the CO trim by emissions, not voltage. should be 0.5 to 1.0 % CO according to spec...
 
I thinks they do , two mechanics have told me that and a bloke that works at camberlys lol
Good to know - which causes me to relax somewhat on my constantly 'too-rich' 4.00 liter GEMS (NAS) - other than sooting the exhaust up and carboning the combustion chamber area (not a good thing but better than toasting your valves).

Part of my 'too rich' dilemma was caused by replacing standard Lucas injectors with a newer, more efficient (i.e., much finer and dispersed fuel spray) Bosch injector; trouble is (according to John Eales) that they fuel so well GEMS reads them as over-fueling and trys to compensate but cannot do it all the time - thus storing a latent code from time to time.

wolf
 
Ready for action, not sure about starting tonight cos 4 hours sleep last night and night before but excited to get onto it tomorrow!

2a59131b.jpg
 
wolf you have to becarefull you dont bore wash it too if its too rich lol- you cant beat just right :D

noisy you should paint the rocker covers while its out at least :p
 
Hi fett

Yes I'm planning tonight to wire brush the block etc to tidy it up as best as, then strip the bits off it to get it back to bare block. May take a peek inside that valley :D

Then next job is to pull my old engine. Big question: anything to do before I remove it?? Was thinking do I need to crack the crank pulley bolt with the starter motor??

Then once that's out it'll go on the stand, and I will proceed to repaint the sump, paint the rockers and paint the efi plenum.

Am thinking red sump and rockers and black plenum, with the detail sanded back to brigh ally. Did consider blue rockers. Any other takers/ideas?

Considered a thin coat of bright silver for the block but have read its a bad idea...

Anyway so then once the bits are painted/drying, I will strip the old engine back to bare block, clean up all the ancillaries etc the put the new block back on the stand and proceed to fit all the bits to it.

Will end up with new block fitted with all the old cleaned/painted parts etc ready to bolt back into the car.

As above, any pointers for before I pull the old engine?

Any ideas for colours?

Cheers :D
 
cant think of much before I take it out except make sure you know where all the wires and pipes belong.

maybe put some plastic metal over the the core plugs on the new one :p

black rockers is lr factory replacement colours if you want it to look right :D
 
Hi,

Whilse you've got the engine on the stand check that TDC is correct - the dead stop (old spark plug with a bolt welded on the end) method is as good as any. That way you will know that the timing is spot on. The factory TDC mark on mine was about 8degs out which affects timing massively.

As you have an old dizzy now you can make up an oil pump priming tool. Depends how long its been sat since he spun it up, but would be worth doing it to get oil pressure before the first fire.

If you do take the valley gasket off, make sure it goes back with silicone in all the right places - four top corners and water jackets to prevent any leaks when its back in.

I'd also check the manifold bolt holes for thread - notorious for failing and easy to helicoil when its on the stand as it is now - PITA when it's in the engine.

Finally I'd check that the third row of bolts on the head are nice and loose. I can see that these have been installed but they should only be nipped up - not torqued as it causes the heads to warp and the tin gaskets to fail when in use.

Other than that good to go I would have thought.

Good luck,

Jon
 
PS you can get the rocker covers to a mirror polish finish but it takes a bl**dy long time!
 
hi guys thanks for the help there :)

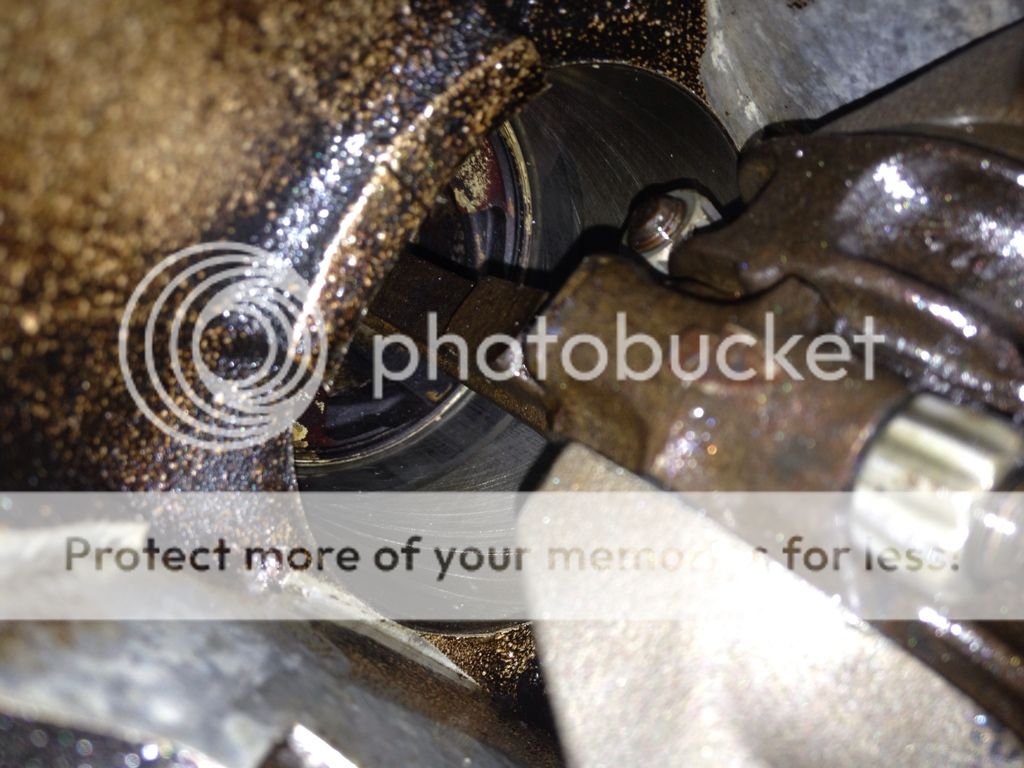
jonny that picture is yum yum yum yum yum yum, BUT i will not be going that far!

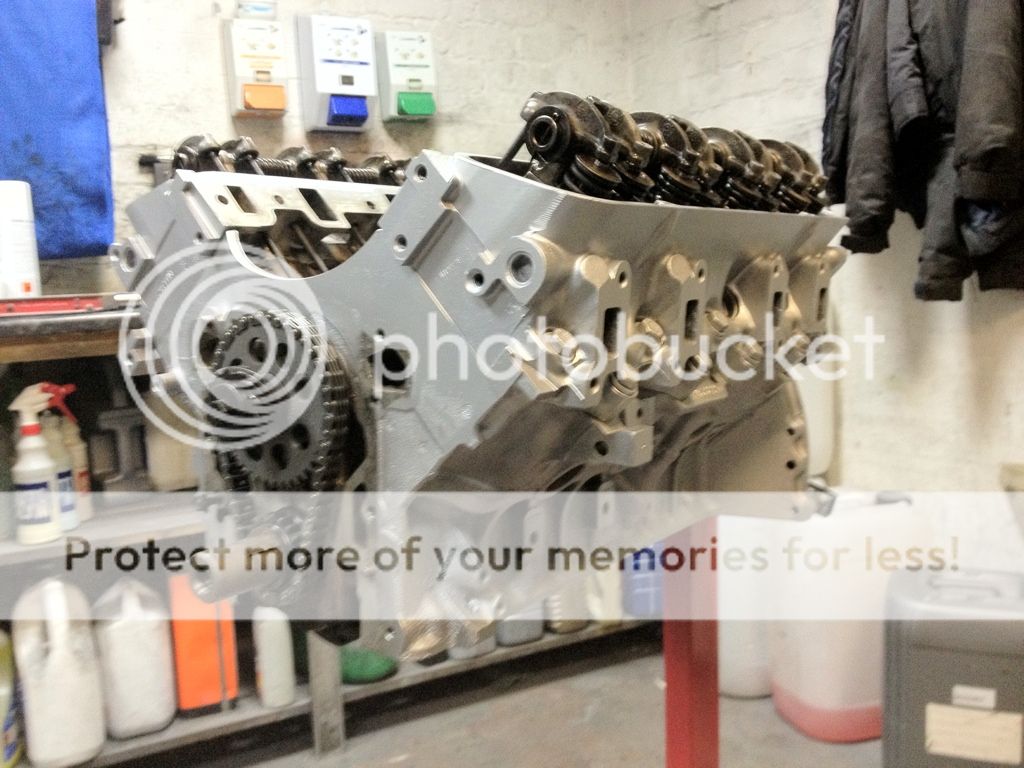
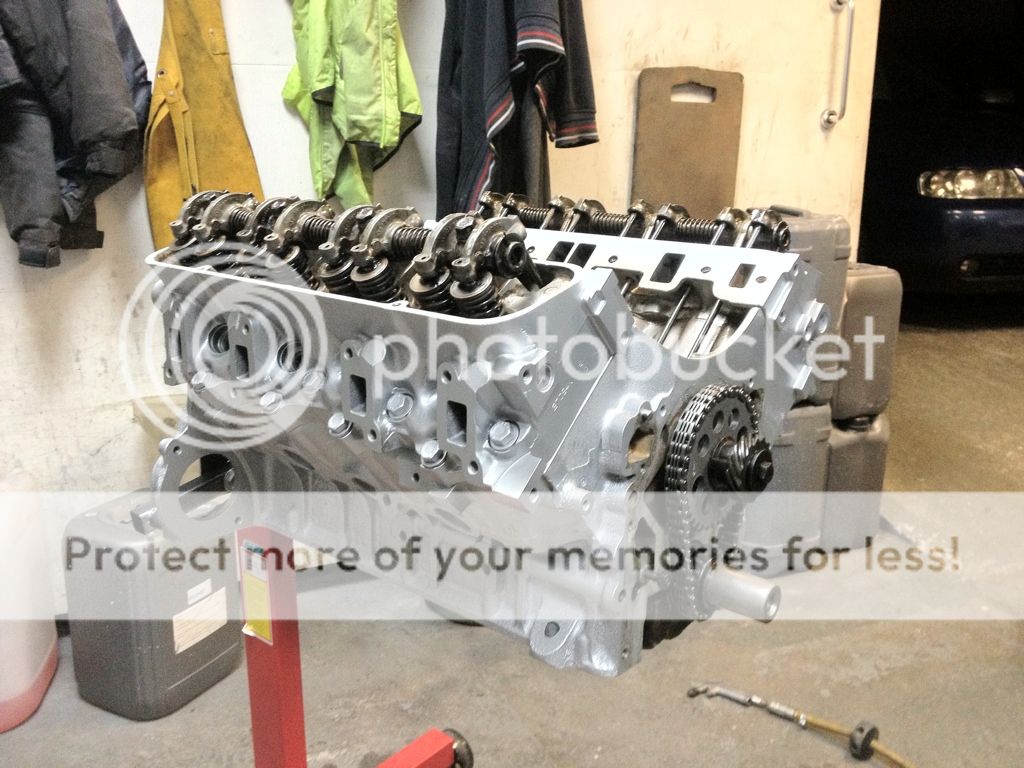
Have decided to start with painting the block and heads silver, just so happens the alloy wheel silver we use here at work is nice and thin and sticks to alloy well. will just freshen it all up, but that's purely aesthetic, like you say there are more important things to check first.

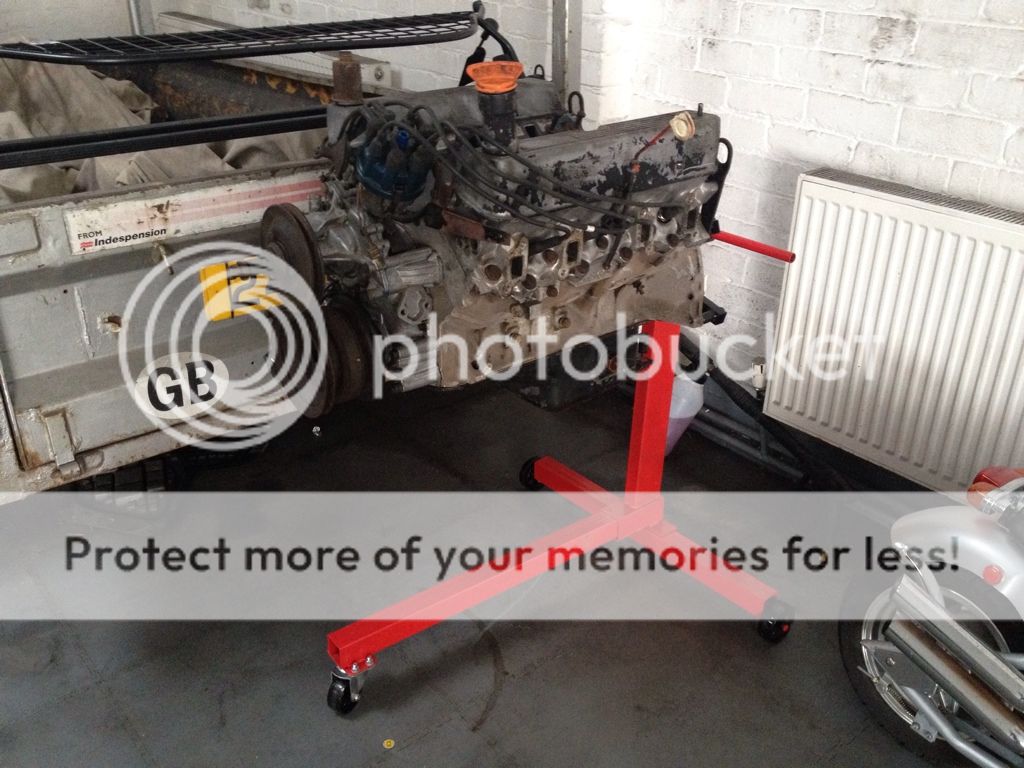
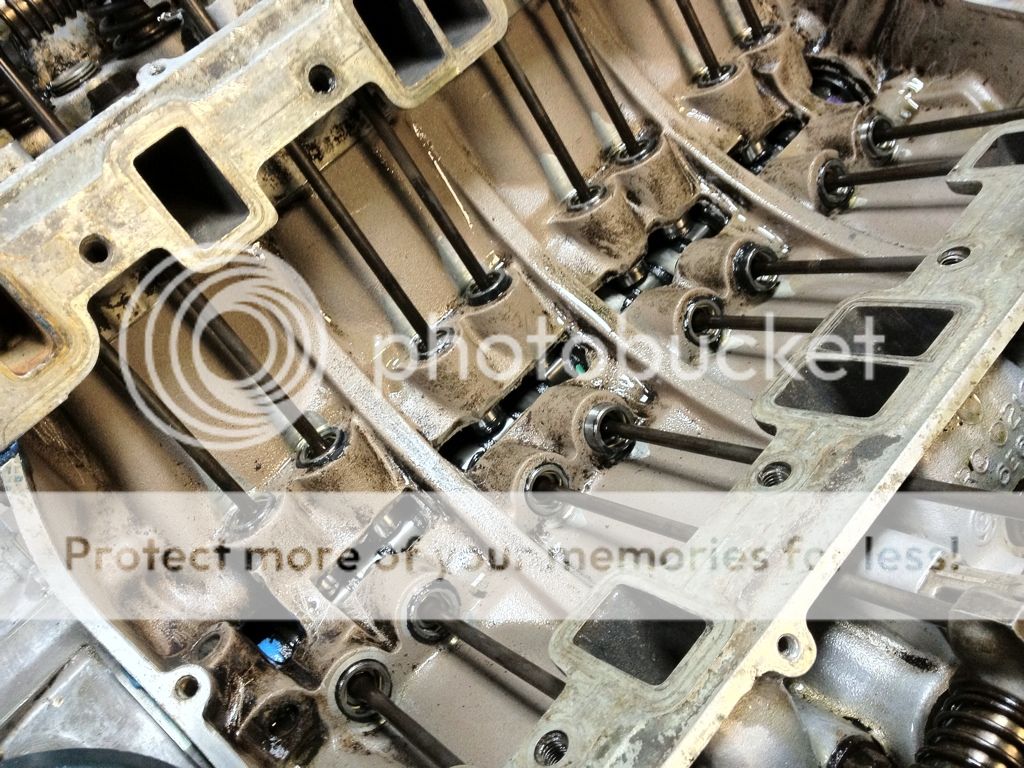
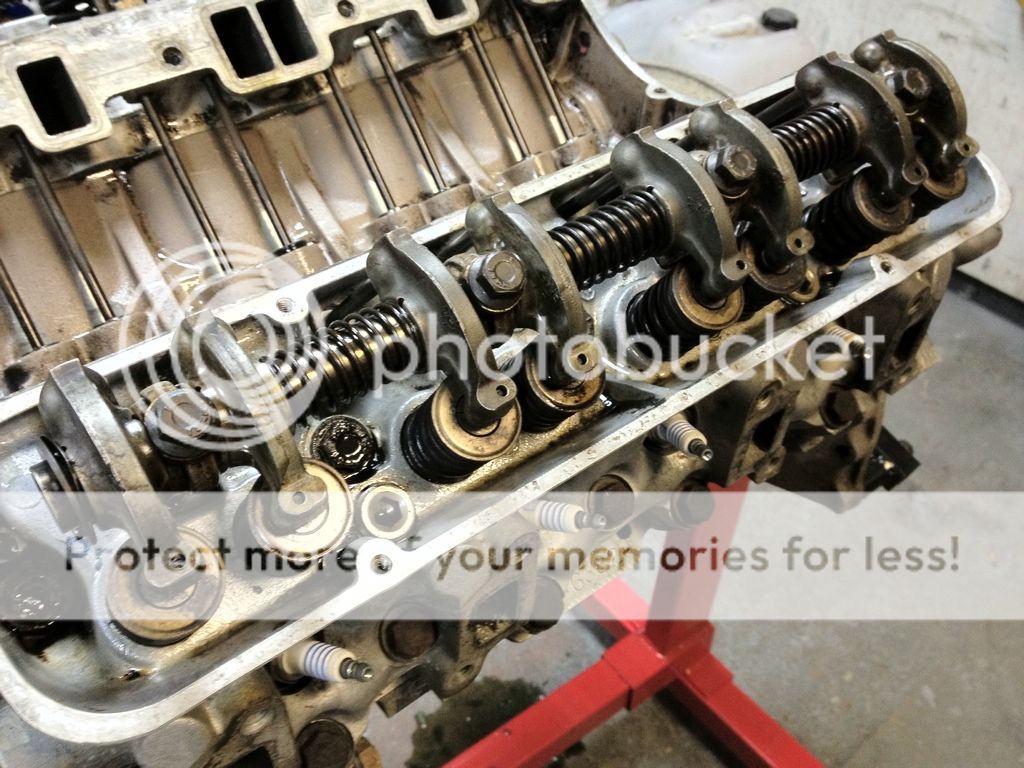
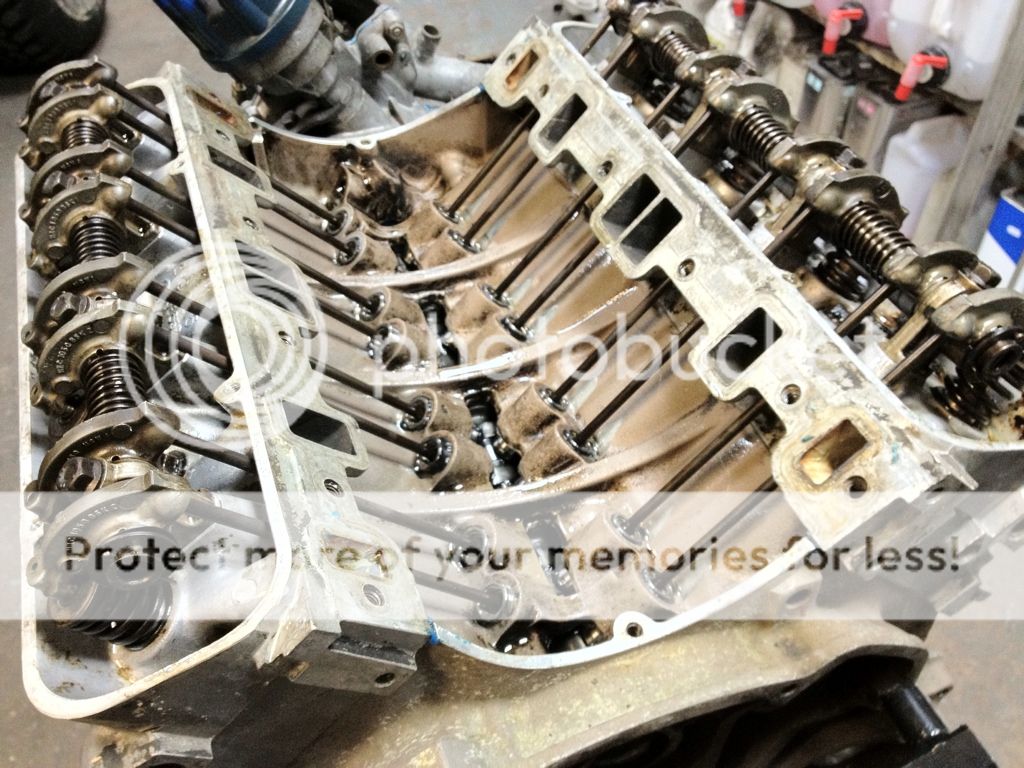
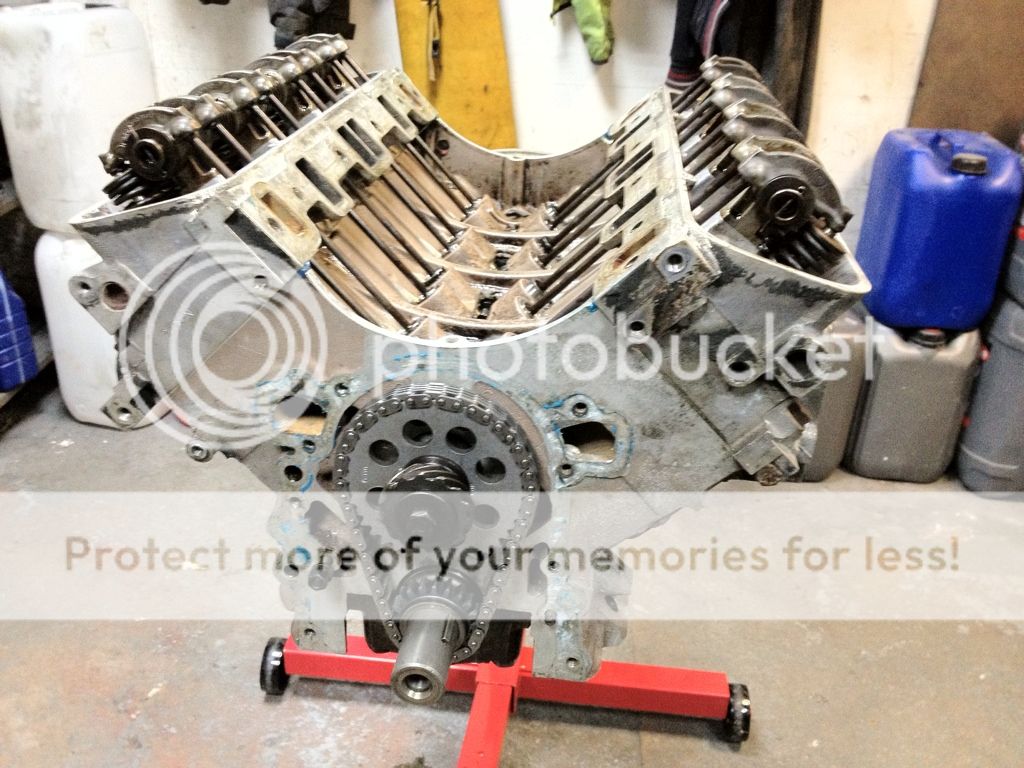
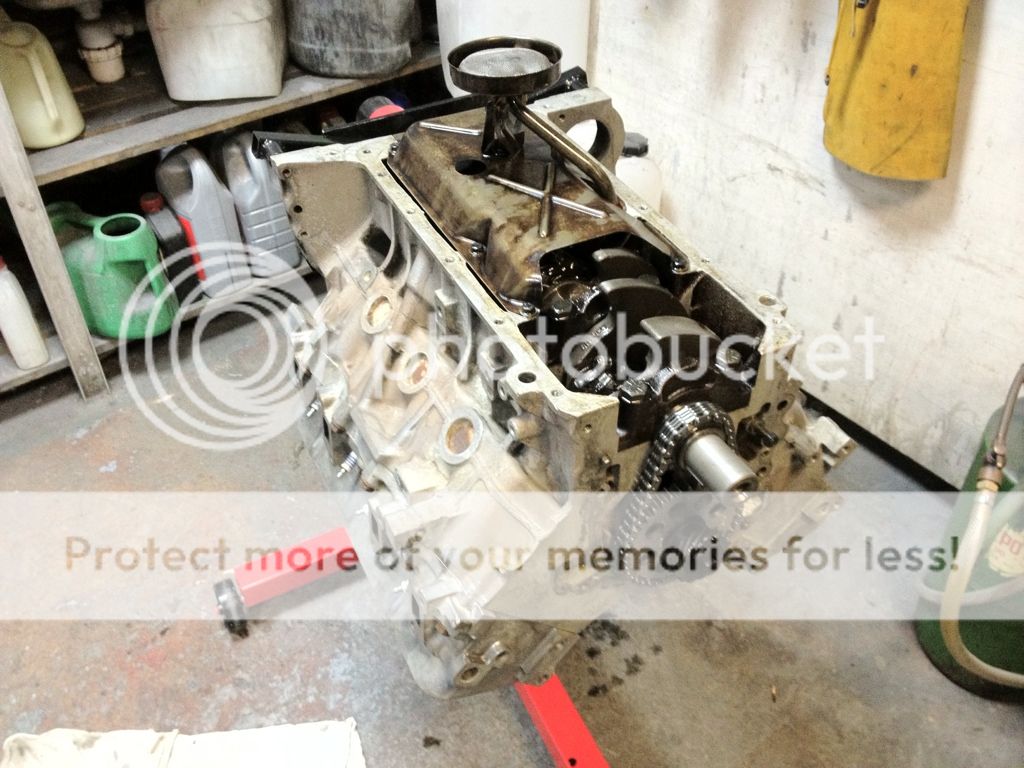
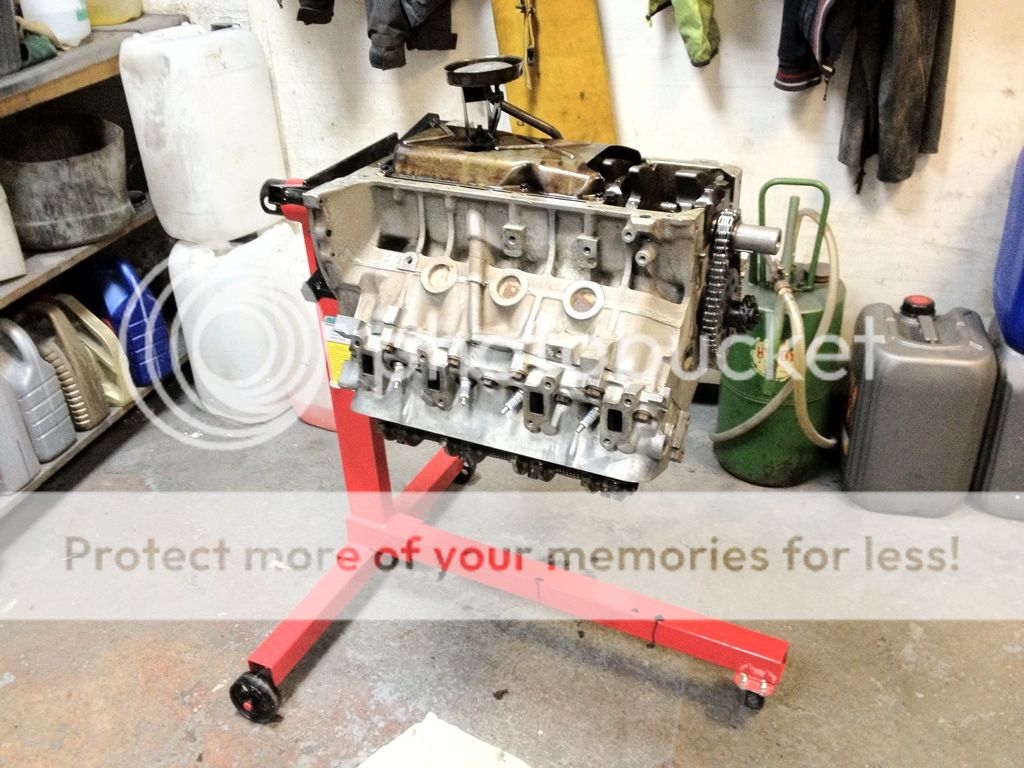
i currently have it stripped to block and heads on the stand and have done a little more cleaning in the rocker areas and valley etc, just some niggly corners the guy had obviously lost the will to live with.

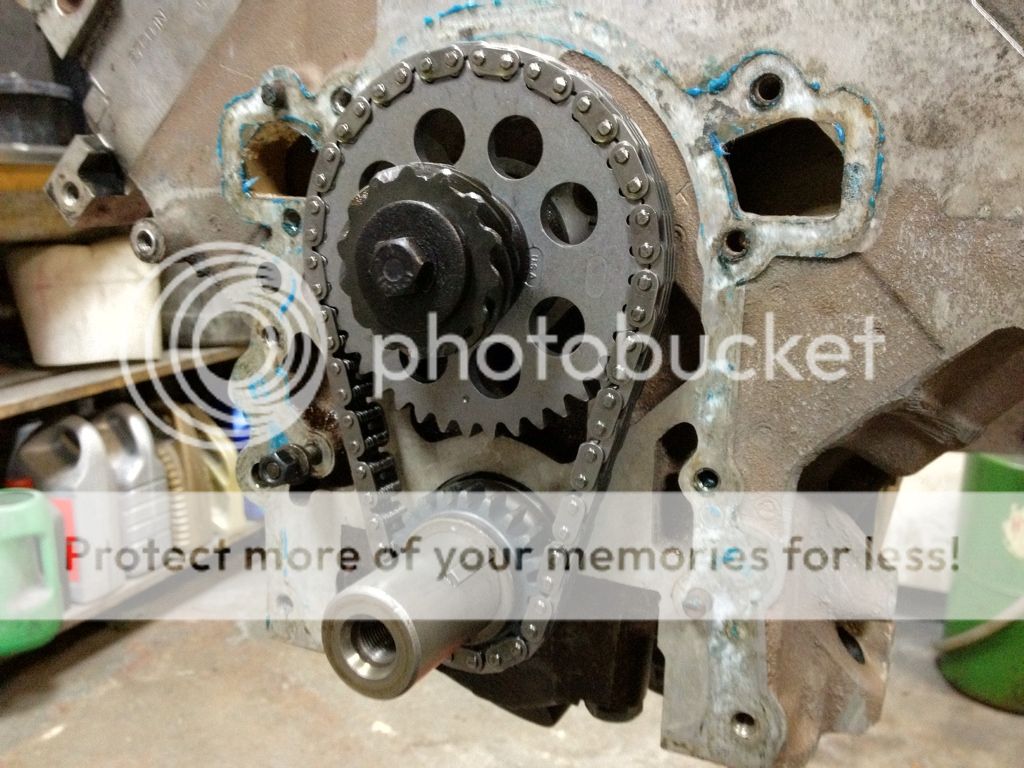
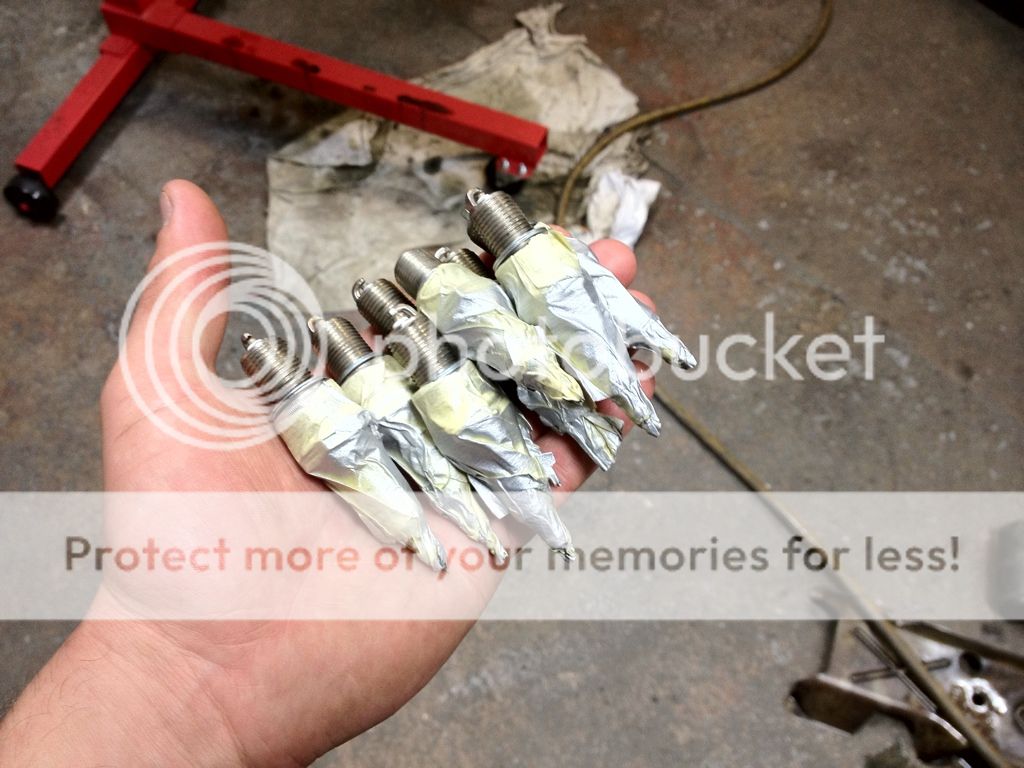
good tips there jonnyt, thanks for the input. yes i will definitely do that timing check, only makes sense. take it i'll have to do this when i get my efi timing cover fitted to my new block though, and then i can bend/adjust the timing marker to suit? how do i do this dead stop spark plug thingy? what about just putting a stick through the hole until it stops rising/hasn't started falling?

admittedly i wasnt hoping to butcher the spare dizzy, but can easily make a notched tool. my plan was to spin the motor up on the starter motor with the plugs out until i get oil flowing nicely from the rockers and the light goes off. could easily check pump prime though with the tool after fitting the timing cover with the tool though?

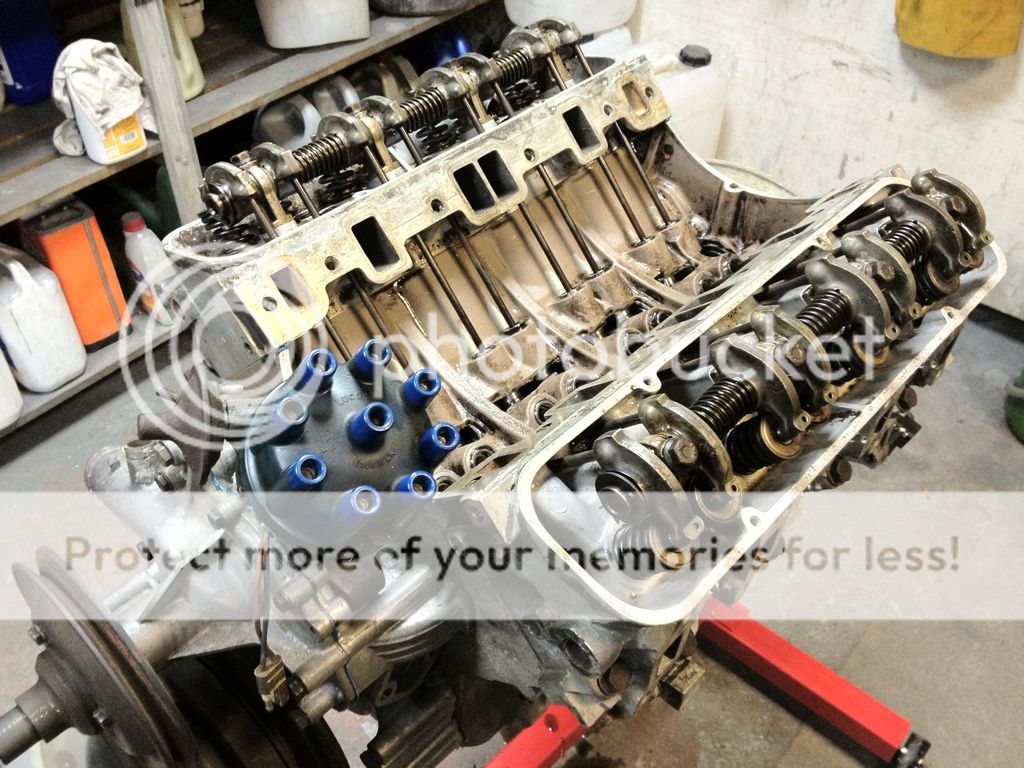
yes the previous builder had used blue hylomar around the 4 jacket ports and in the four corner voids. i was planning to use my black sticky instant gasket stuff.

if you mean the exhaust manifold bolts, i peered down them all earlier cos a couple of mine were dodgy on the old motor, had to buy longer bolts!

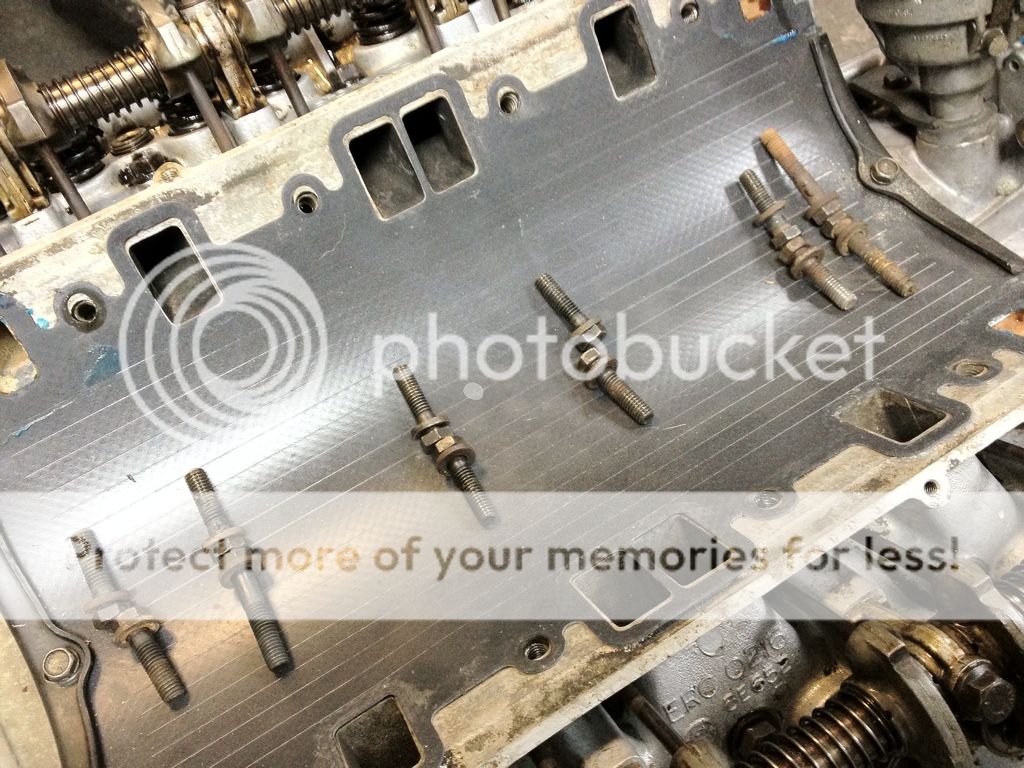
also the builder said he used the updated torque settings and just nipped the third row and loctited them in, so they are just filling the holes.

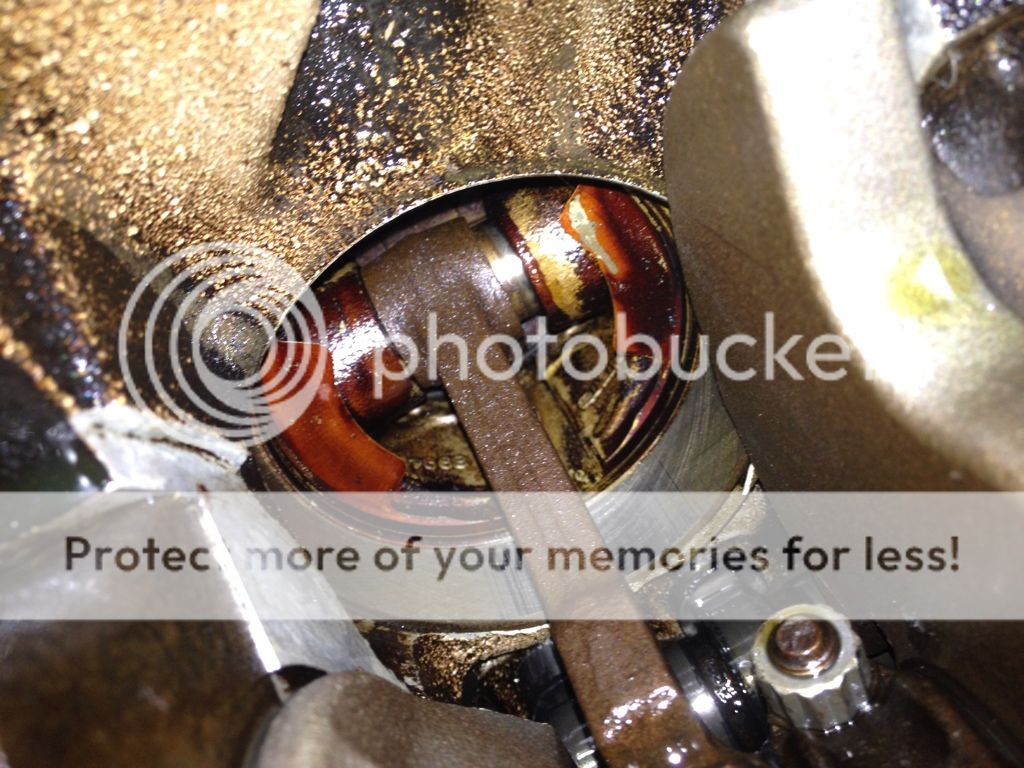
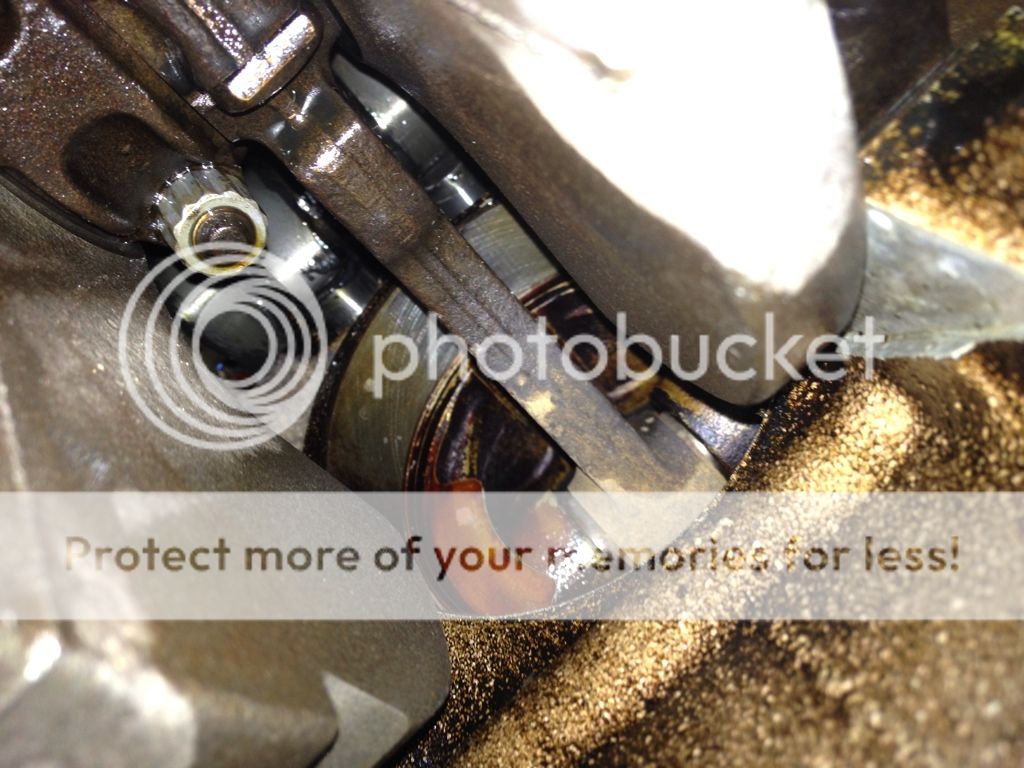
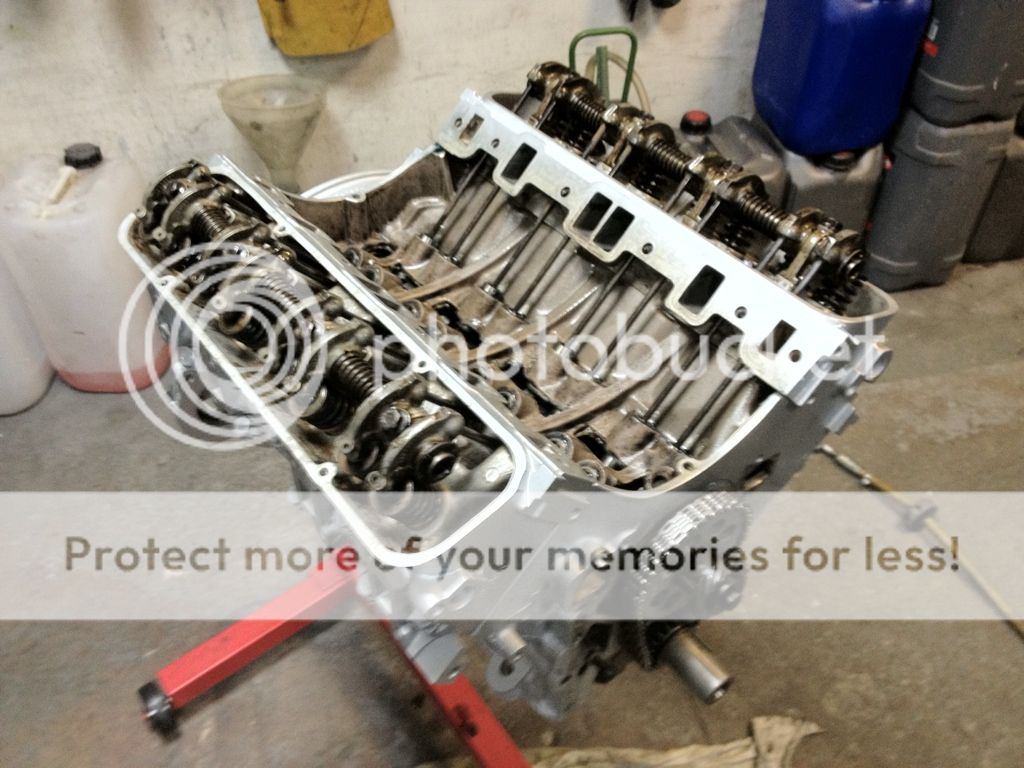
all seems to look ok to me inside, coming from someone who has never seen one but has a reasonable amount of general common sense!

only thing i notice is the rear main seal is slightly cocked over so im going to crack the bearing cap and try to adjust it. replaced my old seal with engine still in the car when the box was out, so i know its awkward to get straight but im guessing it's important!

thanks again for the help!

black rockers are a bit dull, but will suit for the plenum. cant decide if its red sump and blue rockers or the other way round!
 
the details will be taken back on the plenum and rockers, plenum will be satin black.

could do rockers black but should i not have a little more jazz?

also any reason (overheating) why i shouldnt paint the heads? (with a thin coat of aerosol paint, as thin as possible)
 
thanks guys, i shall crack on then, would like to get it painted tonight then tomorrow i can whip round and clean the paint off all the mating faces etc and make a start on pulling the old motor out.

cheers fett :D
 
a basic idea of how my evening has progressed.

few shots shwoing stripping and part way through cleaning inside, then with the blovk cleaned, then some shots i tried to get of the bores, then the painted pics.

opinion on the bore wear would be appreciated. although if it's bad im not sure i want to hear it!

i can see theyve all been honed to remove glaze etc and they look reasonable to the idiot eye that is me :D

D9A54738-FAF9-4A3A-AAF5-31B4DAF86941-4935-00000396A6CAEB90.jpg


B307893C-931D-4AD0-9A65-350B38B4E6FF-4935-000003969C7ED297.jpg


2DCA04D6-753E-4577-8AB7-509CCD5C4524-4935-0000039688A4C333.jpg


9EA81822-2ED7-43E9-A278-D4270B00C0EB-4935-0000039677AA3E0E.jpg


E6629F21-D641-424E-9DD9-DF9AE8442A0A-4935-0000039664B2A184.jpg


C60D6E5C-9566-4A6C-8262-99BA4B552EE4-4935-0000039658A7DC6E.jpg


E68318DA-CC7A-48A6-A638-1FA6CCB6791B-4935-000003964D7F82E9.jpg


166A7D1B-DF43-4543-8FB5-93255ADC6B76-4935-0000039645277076.jpg


8EECBBC9-7B43-4F21-8E32-98D0222AEEC7-4935-0000039639E62A10.jpg


E6E6B0EA-A3A6-41F5-903F-D8833E1C4C47-4935-0000039630F5AA2C.jpg


B05B4B05-421D-418F-803A-A1B1003F86C4-4935-0000039629797CCF.jpg


A602C2A0-79CA-4197-8E06-A196893B41C3-4935-0000039621601070.jpg


8EB3253E-EAC5-46CF-856E-2A127FF6306E-4935-0000039619965C5B.jpg


F3AE276D-890D-44FB-9EF0-8E6BC81AECA5-4935-0000039610E74643.jpg


01C4F1A5-7CC8-48DE-8FF1-34D7D6E5EAA0-4935-0000039607F2B13E.jpg


B3C0AA02-781C-4698-90E0-DFD65D6F5908-4935-00000395FC6749C4.jpg
 
there was one pic that i think came out ****, but piston must have been at tdc because you could see a clear difference in the portion which was untouched and the portion that was at the lowest point of ring travel

hang on let me spin it over again and try for a better pic
 
yep here we go

E16EDEB1-6BFE-4665-8FDC-109D53A6CBF5-5040-000003A15C546935.jpg


thats number 1, managed to get my hand down there, i could touch the bottom of the piston skirt and felt around that area, i couldnt feel a lip in the bore, could just feel it was slightly smoother...
 
Back
Top