GSF 109
Well-Known Member
- Posts
- 815
- Location
- Scotlandshire


 ….
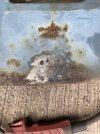
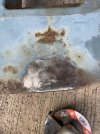
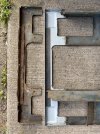
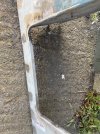
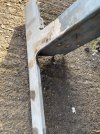
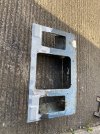
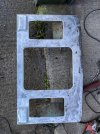
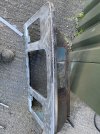
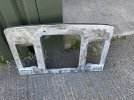
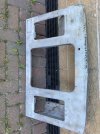
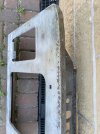
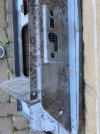
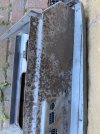
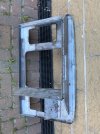
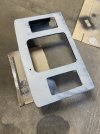
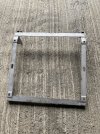
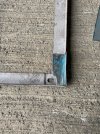
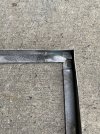
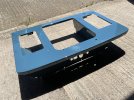
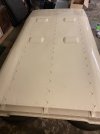
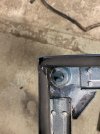
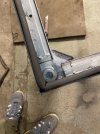
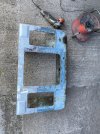
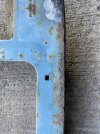
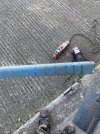
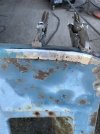
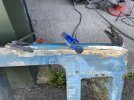
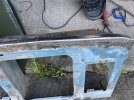
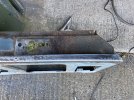
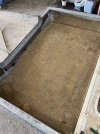
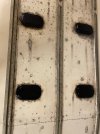
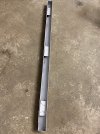
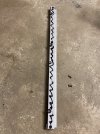
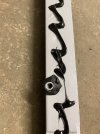
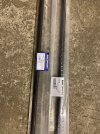
…. … Joking aside, this is definitely the best way to go… I took it to a local chap who refurbishes wheels, and he acid dipped and blasted it. There is no way on earth I would get it as clean as that! I’m so impressed I think I will give him a few other blasting jobs that would just take forever. I will paint it with Kurust first then get it filled, flatted and ready for painting.
 .
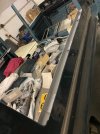
.Hope soBeen quiet of late folks as I’m currently gutting out my workshop. Hopefully will be able to get alternative space sorted soon.
Cheers

Thanks - yes it’s been a real job sifting out nearly 20 years of ‘stuff’ and I’ve had to be ruthless to make even a dent in it! Many runs to the recycling and scrap man later and I’m making some progress. I managed to sell my cars and ramp, but obviously held onto the Landya good job on that important bit, should last a long while now, have you got a new premises arranged of a good size , I’d hate having to move from my garage with all the junk in it and it’s just a normal size
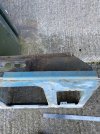
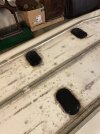
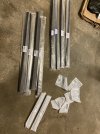
. It’s been quite cathartic in some ways but challenging considering all the memories wrapped up in what I sold/scrapped/gave away. It’s been good that my cars, (which I at least managed to get my money invested, back on), are going to people who will look after and use them. It’s up to them now to make new memories with them. . I gave the others a coat of Kurust and some black paint, so they should be fine.
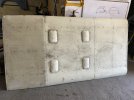


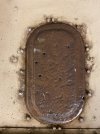
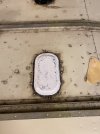
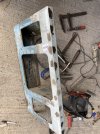
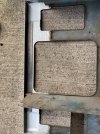
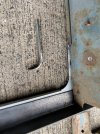
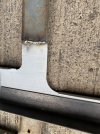
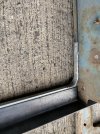
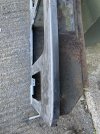
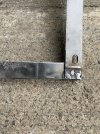
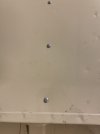
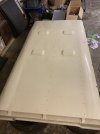
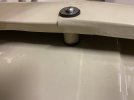
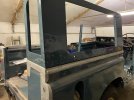
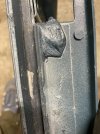
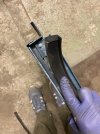
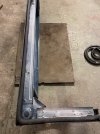
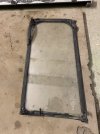
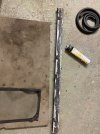
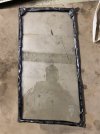
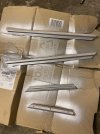
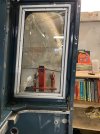
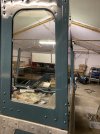
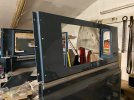
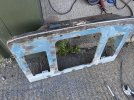
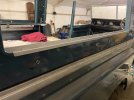
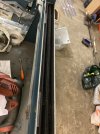
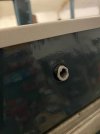
 .. After around an hours faffing around I managed to work it out. I also fitted a new rear lower to upper body seal. I cut a small relief in the corner to help it sit better. After some Purflex 40 application to ensure no chance of water ingress in the corner, I trial fitted the panel. Thankfully it all went swimmingly, so tightened it down. It’s really good to see the rear finally starting to look more complete! .. I cleaned off the original dum dum sealer from the glass and gave it a rub with some thinners to give it a good surface to adhere to. I tried to copy the original as far as possible. I then cleaned up the glazing strips but the aluminium was quite stained so I gave them a coat of steel wheel paint which I think gives a nice colour and finish. I then fitted it with new stainless screws..
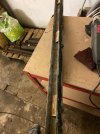

Welcome To LandyZone, the Land Rover Forums!
Here at LandyZone we have plenty of very knowledgable members so if you have any questions about your Land Rover or just want to connect with other Landy owners, you're in the right place.
Registering is free and easy just click here, we hope to see you on the forums soon!