htr
Well-Known Member
- Posts
- 1,602
- Location
- Central Otago, Southern New Zealand
summit like this?
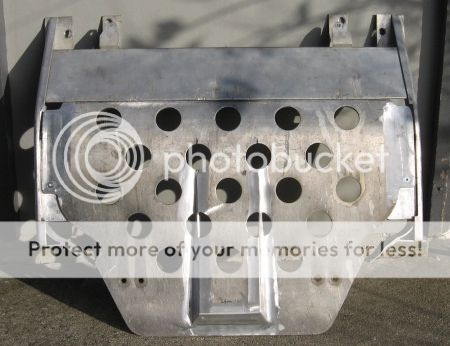


I think that! How did you make it?summit like this?

I don't know how useful it was but before I put the good oil in I deliberately left the drain plug out while pouring in a litre or two of cheap oil to try and push through a little more of the flushing agent. I didn't like the idea of some of the flushing agent still in the sump mixing with my good oil.A scotch rite pad or similar is a great idea for cleaning the block
I agree: I do think flushing the engine in this case is a good idea. I rather suspect that the sump is full of congealed gunge and oil. So cheap oil and a flushing agent it is, then a fresh filter and oil and should be good to go!
Run the engine for 10 to 20 minutes with your flushing oil in the sump. Then drain it while the engine still hot (filler cap off). Obviously watch out for scaldingThat's a good suggestion, thanks
How long did you leave the engine running with the cheap oil/ flushing agent?
Just like Nodge said but it might be worth putting your hose into the header tank and wrapping a cloth around the top to try and flush the coolant out.Run the engine for 10 to 20 minutes with your flushing oil in the sump. Then drain it while the engine still hot (filler cap off). Obviously watch out for scalding
This will take out most of the sluge with the deluge of oil.
I would do another oil/ filter change after 1000 miles or so, to clear any last remnants.
Do the same with the coolant


Welcome To LandyZone, the Land Rover Forums!
Here at LandyZone we have plenty of very knowledgable members so if you have any questions about your Land Rover or just want to connect with other Landy owners, you're in the right place.
Registering is free and easy just click here, we hope to see you on the forums soon!