Same stuff
")
Special metals primers needed if painting zinc, aluminium etc. Probably just sales blurb if yours has lasted so well! Lol
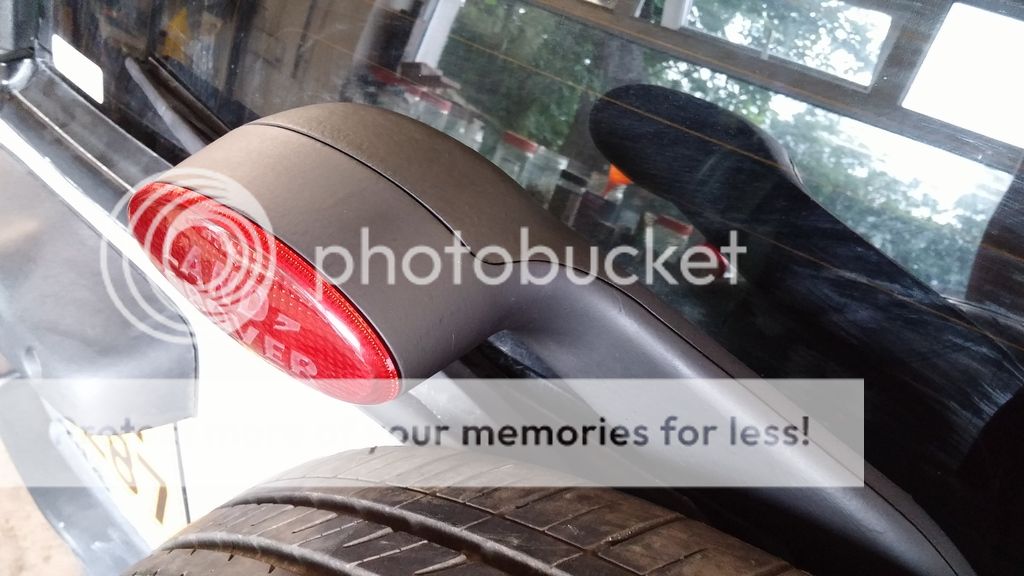
Given that my plan to refit the cylinder head has been sabotaged by the cracked inlet manifold boss, I thought I'd get on with something else as a bit of light relief. Painting the wheel carrier/ high level brake light
Spare wheel removed - happily also a 16" tri-sport, but unlike the others, not marked with the vehicles' registration, so a welcome later addition.
View attachment 108401
I didn't take a picture of the corroded alloy part of the casting, but you can see it has gone in the usual place, under the light housing.
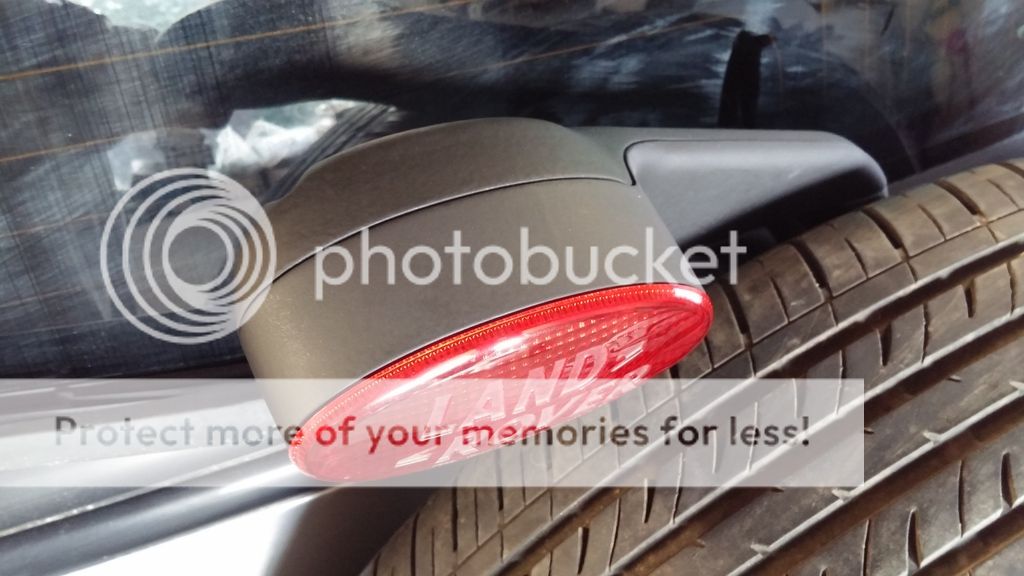
Removing the wheel carrier is then quite simple: a pair of nuts at the bottom and half a dozen torx head screws.
To finally remove, there are a couple of cable tie/ retainers to remove (squeeze the tongues together and push through) and then the three small torx screws to part the light from the main casting. The light can then be unplugged, and two nuts removed to take out the brake lamp lens assembly.
Dropping the carrier revealed a small organic compost heap!
View attachment 108402
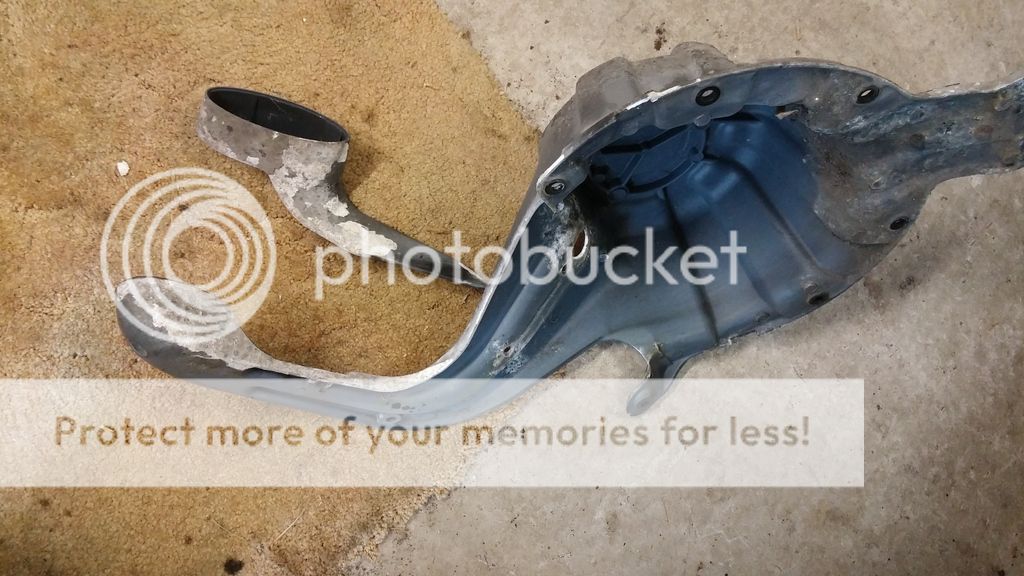
All cleaned out and the boot door cleaned.
Once the castings had been cleaned, I applied hammerite special metals primer:
View attachment 108403
Once dry, I hung the assemblies to spray with black satin Smoothrite:
View attachment 108404
I'm just waiting for it to dry properly before re-assembly and fitting back to the car.
Smoothrite appears to be a pretty good match for the original paint finish that is hidden from direct sunlight, so happy days