Our Series 2A project

This site contains affiliate links for which LandyZone may be compensated if you make a purchase.
Good god - what an Epic failure - one to add to the " Never seen that before" list :D

Seems more and more people are getting into the swing of things now - It's nice to see fellow owners doing the dirty stuff in the pitch black or pouring rain :)

I've seen a lot of Series now with borched shackles. Most owners just do them up ferking tight and this stops the shackles doing their thing properly plus they eventually cease up or over tighten themselves. Mine were the same :rolleyes:

Good choice on the Rough Country shockers BTW - i've heard nothing but good things about them - both on price and performance.
I'm probably going to get myself a set in the summer, once i've destroyed the OEM ones currently fitted.

Can I be cheeky and ask to see how you fitted the Defender Snorkel ? Did you move the heater blower ?
 
It wasn't too tight, but yeah, I know where you are coming from. Yeah you can't stop just because the weather is rubbish!

Never heard of anyone was has fitted the Rough Country shocks to a Series, but glad you have heard good things too. If you do get some, speak to Dave at Llama 4X4, very good chap to deal with.

Its not a Defender Snorkel - its a Defender elbow though...the rest of it (bar the mushroom top, obviously) is home brewed. Matched up to a Range Rover EFI airbox (which was internally reversed and put in the wing - see page 3 for pics and etc :)
 
Anyway...back to the progress. Went to work on the brakes today as still not entirely happy with them...I had one of the crappy Britpart cylinders left to replace, which on inspection was leaking badly (when I took it off, the whole lot fell apart in my hands). Then set about to replace the Britpart brake master cylinder as I have never really trusted it. That, and the resevoir has seen better days, needs a new cap (plastic bag seals it...but well...)

1Resevoir.jpg


So set about replacing that with a more "modern" style one...but reverting back to the (genuine rather than britpart as well) master cylinder that it should have (getting the larger style one out was a bit interesting)...

2-NewBrakeCylinderFitted.jpg


Whilst I was bolting things up, at a glance I thought that the slave cylinder shaft looked a little bent. On second glance, it was fairly obvious, so that had to come out for sure...

3-ohcrapbentclutchcylinder.jpg


Poo. Thankfully I had another spare cylinder - which is the same as the brake cyinder. To me, this makes more sense...as if I do want to carry a spare, I only need one.
I had one of these dual kits already...the idea was that I was only going to use one of the cannisters for the brakes, it came with two, so the other cannister would go on the other Series landie - a cheap way of doing it. So I thought bugger it, I will use the while kit and simplify things. Made up new pipes and replaced a few fixings, sorted.

6-newresevoirs3.jpg


5-newresevoirs2.jpg


7-newresevoirs4.jpg


It's a damn easier to fill up now too, which is a bonus! System bled with a super duper bleed thing on the compressor (found the eazi-bleed things to be next to useless) and all seems hunky dory, apart from the clutch, which seems a bit lacking in feel.

Next...investigate dodgy Moroccan welding, charge up battery (it still starts, but could do with a slow charge as been sitting for a while), general MOT check/prep and tidy a few things up.
 
Last edited:
Inspected the welding repair from Morocco...it isnt actually that bad - once cleaned up, can see although its not pretty at all, it has penetrated well. So thankfully mostly let that alone.

Wasn't too impressed by this bit though...where the chassis had snapped in Morocco, it created a stress crack when it was flapping about...so fixed that (picture before fix!)

8-crackinchassis.jpg


Check the rest of the chassis, didnt find anything too alarming, other than this little bit which got patched up. Not quite sure why it gave way here - it was very localised - the metal round it was nice and thick...oh well, fixed up:

9-anothercrackinchassisrepaired.jpg


This has been annoying me for a few years; not having a door stop. Reason being having S3 doors fitted to S2a bulkhead, so it doesnt quite match up:

10-doorstopnon-existant.jpg


So quickly made up a bracket and welded that in, job done, the door wont keep whacking the bulkhead now (and yes, I did cut the bolt off, I didnt leave it like that)

11-doorstopsorted.jpg


Thats pretty much it really, not a major update..didnt get round to doing the electronic ignition. Figured out I need another new tyre for the MOT as one of them has a big gash in the sidewall. Bugger!
 
After sorting the brakes, box etc decided I had better test them out. Braking was strong and straight. However, the brakes stayed on, not good! So took them apart and found that the pivot which holds the brake shoes on has pulled clean through the back plate. In the process (things gt quite twisted) it has damaged the new slave cylinder (insides are scored) and damaged the new-ish shoes. Annoying!

12-Brakesbent.jpg


13-brakesbent.jpg


14-brakesbent.jpg


So todays work was to replace the dead bits! Also, annoyingly, the seal on the FWH has broken up, so had to leaver it off, braking the FWH. Oh well, thankfully I still had some (the last of) the spares left.

Thought it would be a good idea to get the sidelight working (assumed a bulb)....but oh no, none of the blodey lights work now apart from one rear side light! 2 bad connections, and I need to order a new hi/low beam switch (when bypassed, front lights work fine).

Next on the list...make the clutch work properly as thats not right.
 
Last edited:
Clutch now sorted...replaced the clutch slave cylinder for a Lucas one rather than the Britpart or whatever it was (also helps putting slave cylinder the right way up ;) )

Fitted the electronic distributor - also made up some decent quality 8mm ignition leads (yup, made, not bought).

Stepdad in thought :) :

elecdistributor600.jpg


15electronicignition.jpg


And me :D

16-Alex.jpg


Next...MOT at 4PM...wish me luck!
 
Last edited:
nice one, you will have time on your hands to bring your step dad (who looks like that bloke from a 4x4 is born (without the beard lol)) to build mine up and get it through its mot, wont take long just a month or two between us all.......
 
Sounds like a plan! Range Rover almost complete now though so thats one out the way :) Starting the full rebuild of the Series 2 (not the one in this thread) after that so perhaps I will document that,. my idea was to get a tripod in a fixed position, keep the landie in a fixed position and do a sort of time-lapse thing of the progress. I will find it interesting even if most wouldn't!
 
Thought I'd update this as not been posting much at all lately. Still have this as the expedition vehicle as well as the Series 2 and the RRC.

I'll carry on from when I last posted...apologies if I have posted anything twice.

Next is what can only be described as a gearbox nightmare. I still have flashbacks to this dark period in my life. I still have part numbers and shim sizes lodged in my brain. Firstly was a dodgy clutch release bearing which caused me to whaack on the clutch hard and push a whole through the gearbox casing. One the left is what the release bearing should look like. On the right....well...it is what it is.....a mess:

1aclutchreleasebearing800.jpg


So the box had to come out for that. We rebuilt it into Series 3 casing as that is what we happened to have around, which needed a couple of minor workarounds, but not a big deal. Most on here will know what they look like, but a picture anyway:

gearboxout3.jpg


So we put the box back in and the results were dissapointing. It did not jump out of 2nd any more as we replaced the worn gear, but now jumped out of reverse. So the box came out again and replaced those bits. Then back in. Then it jumped out of third....so box came back out again...then to fid why it was jumping out of both 3rd and 4th was a right pain in the backside. It was a lot of this:

gearboxcomingout2.jpg


gearboxout.jpg


With the occasional scratching of heads and eating bacon sandwiches

2agearbox800.jpg


But thankfully, we are now there. The box is very smooth, tight enough and has not jumped out of gear yet. We made our own tool for tightening up the main box bolt as we got so bored of taking the box in and out (not wanting to pay silly prices for the proper tool!). Not a pretty tool but did the job:

gearboxtool.jpg


What's this then? It is our GPS tracker for our trips...it enables the landie to be tracked real time with speed, direction of travel, internal and external temperatures and we have software which converts the data and displays it directly onto our website. To me, it always feels a bit weird inserting a sim card into a device which is connected by a serial cable into a 1963 car! Thanks to Chris at PebbleTrack :)

GPS3.jpg


Next up, replace the old carb - it was old when I bought it and is a bit knackered really...so out with the old and in with the new:

Newvsoldcarb.jpg


Then I lost the plot slightly and added a Momo gearknob...umm...hmm!

momogearknob.jpg


So...it's now 2012. We had big time engine problems on the way to Morocco - sudden drop in oil pressure, lack of power and harsh knocking noise and a speed, on a flat, of about 15MPH. Clearly something not quite right. So I left the car in France with a (newly acquired) friend - Drew - also a LR nut and a writer for LRM. Handily we broke down a few miles to his house and limped over there. After taking the head off and having a declaring the head slightly warped (was thinking warped head, compression problems, knocking - but that was optimistic to say the least, and we knew it), fitting it back together the problem was still there. So we left Red in the trusty hands of Drew who kindly said we could leave it for as long as we liked at his gaff and infact was coming back to the UK, with a trailer in August.

Sadly, August came and Drew got a few miles into his journey and had two blowouts on his trailer. Bad luck hey! So he left trailer and Red in Tours, France. Toyed of what to do including paying for recovery decided the best way was to go and get it myself - well - with the help of a friend, a hired trailer and a Disco 3:

LandieTrailer.jpg


After leaving at 4PM on Friday we returned (with 3 hours sleep in the UK) at my Mums place in Norfolk where we have all the gear at 8AM Sunday. Despite being quite knackered, if I had any chance re-launching the rally early September I needed to make good progress. So it was all hands on deck. Unbolt everything, take floor out and whip out engine. From left to right - Moss, Adam, Lewis:

enginecomingout.jpg


The engine going in, which I have mildly rebuilt (basically stripping, inspecting for the obvious, replacing bits where required, new oil pump, gaskets, seals, etc) is a slightly earlier engine but correct for the age of this landie. Lots of subtle differences which make things a little time consuming - one example is the sump - we have 3 sumps kicking around in the yard - all military S2/3 but all slightly different - so I had to use the sump which came off the dead engine. Of course you always clean a sump before re-fitting - to find this - lots of metal in the sludge - yeah that will probably be a main bearing or two then! Poor old thing.

Metalandsludgeinsump.jpg


bitsofmetalfromsump.jpg


Swapped over starter, electronic ignition, carb, manifolds, front plate, starter motor because most of mine are either upgraded or different and then with much jiggery pokery with tyre levers, fence posts and jumping on it got the rebuilt engine back in (Lewis, Adam, Alex, Moss)

IMG_0055-1024.jpg


Adam looking very pleased with himself :D. A friend commented that it appears we are preparing a car for Deathrace 2000 - for those that have not seen it I would recommend for a laugh :)

IMG_0057-1024.jpg


Had to call it a day at that point but not a huge amount to do - bolt a few more things on, fit an oil pressure gauge including plumbing and other bits and bobs. Fingers crossed it will be a good runner!
 
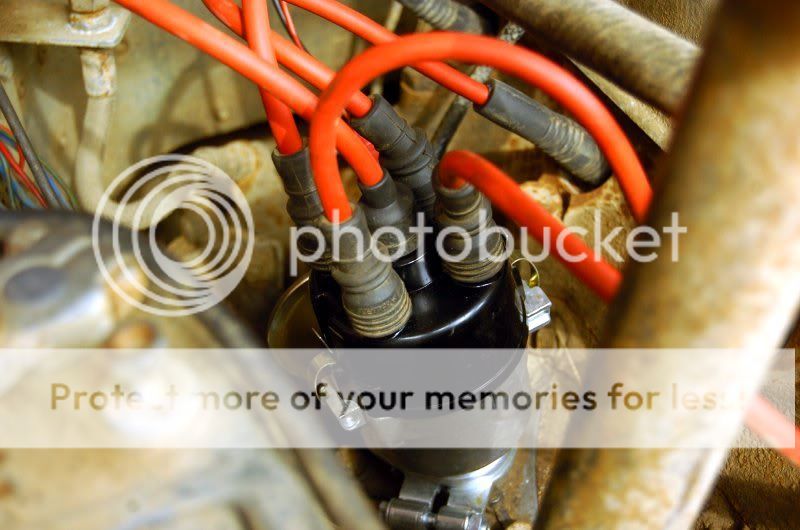
Next was a case of tidying things up bolting things back together setting up timing and so on. And it appears to run like a gem - took it for a good run (fully loaded with all our rally gear) and pulls much better than the old engine - it has probably been on the way out for a while. Only a slight leak around the oil cooler sandwich plate to address. So we are on for re-launching the rally on the 10th of September 2012. Woop!

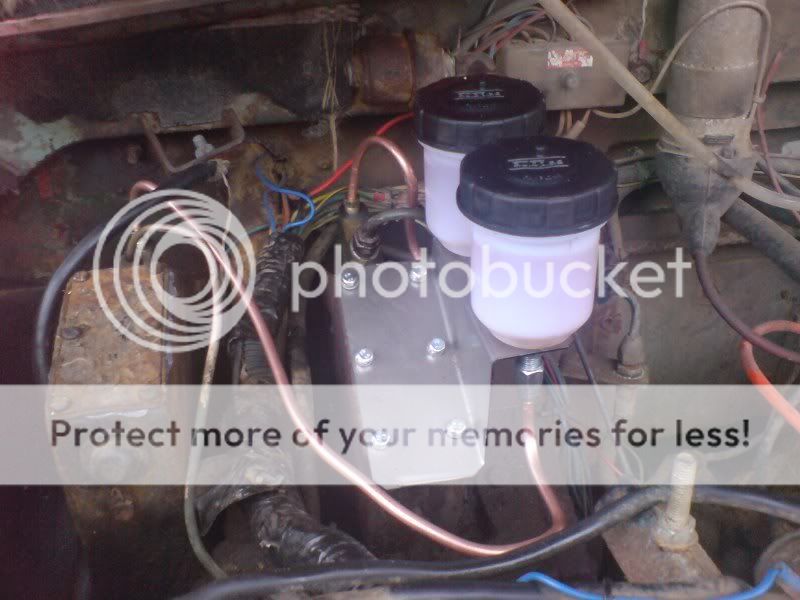
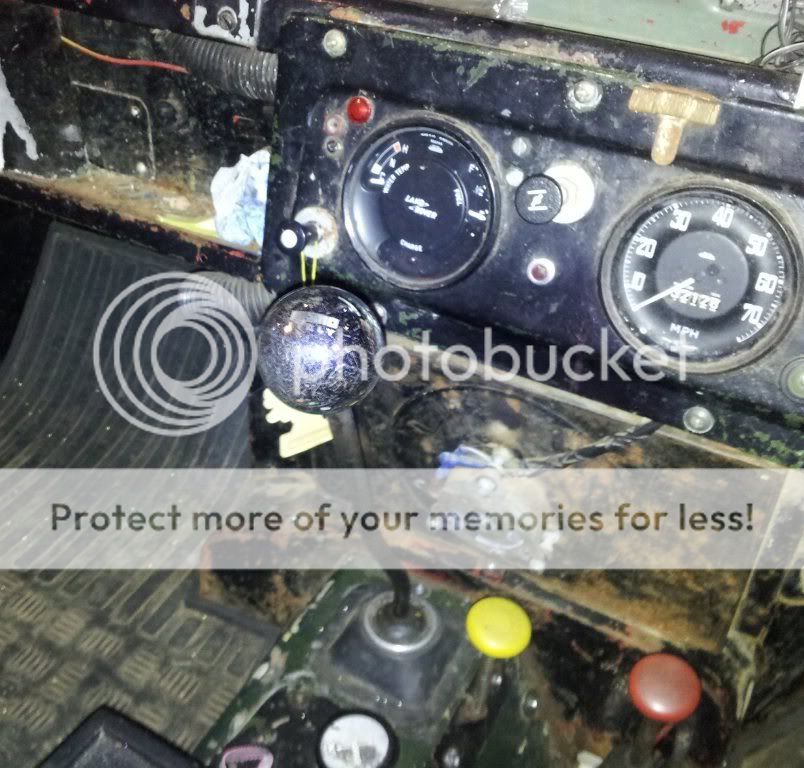
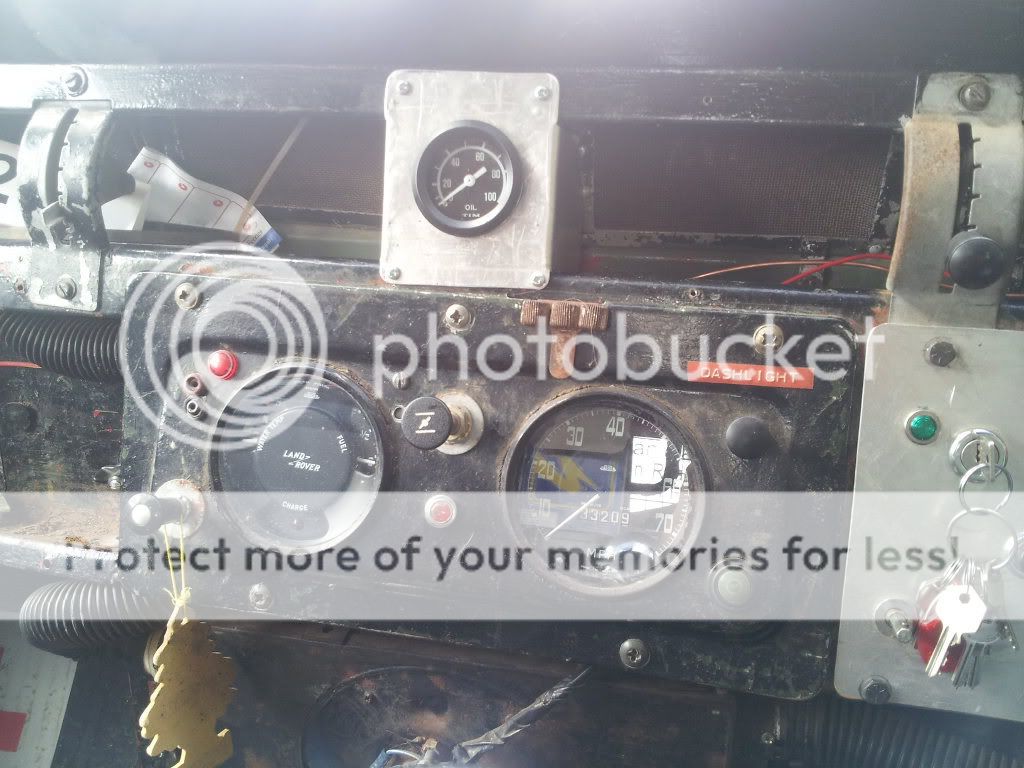
Being slightly paranoid about oil pressure now decided it would be a good idea to fit an oil pressure gauge. Standard t-piece fitting:

OilPressureGaugeFittings.jpg


And the gauge. Doesn't look too out of place in my opinion and gives the co-pilot something to look at. Rivet counters will hate my interior anyway so, oh well. Runs at about 20psi on idle and between 45-60 on running which seems about right to me.

OilPressureGauge.jpg


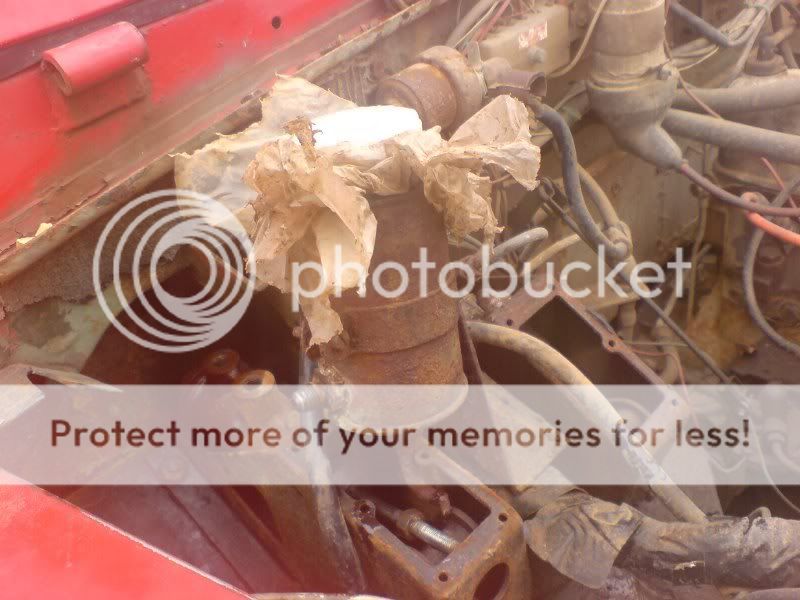
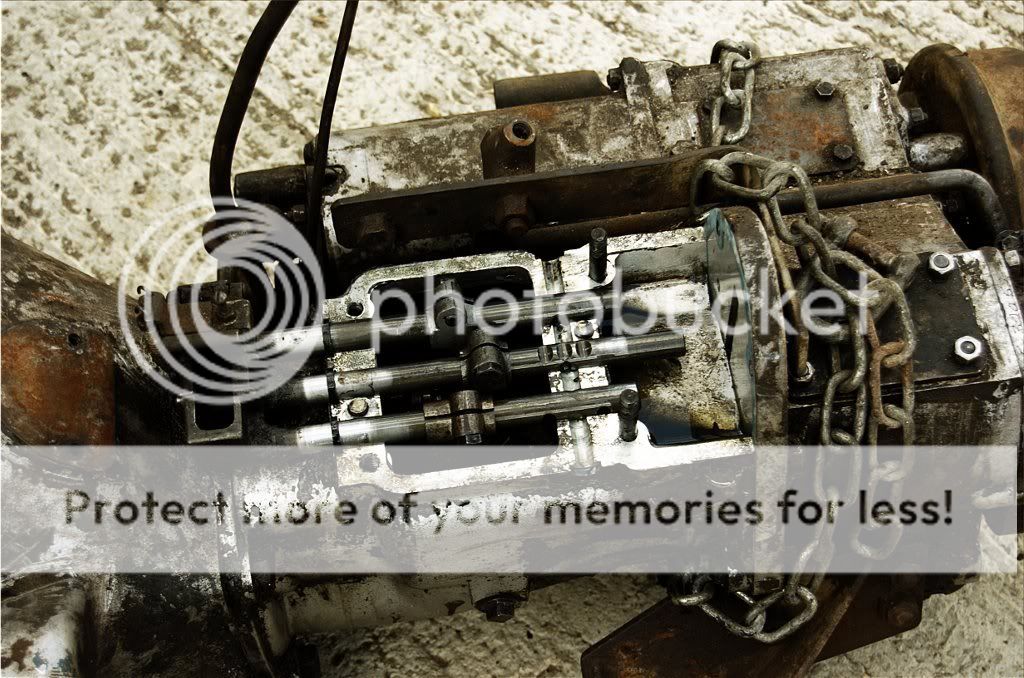
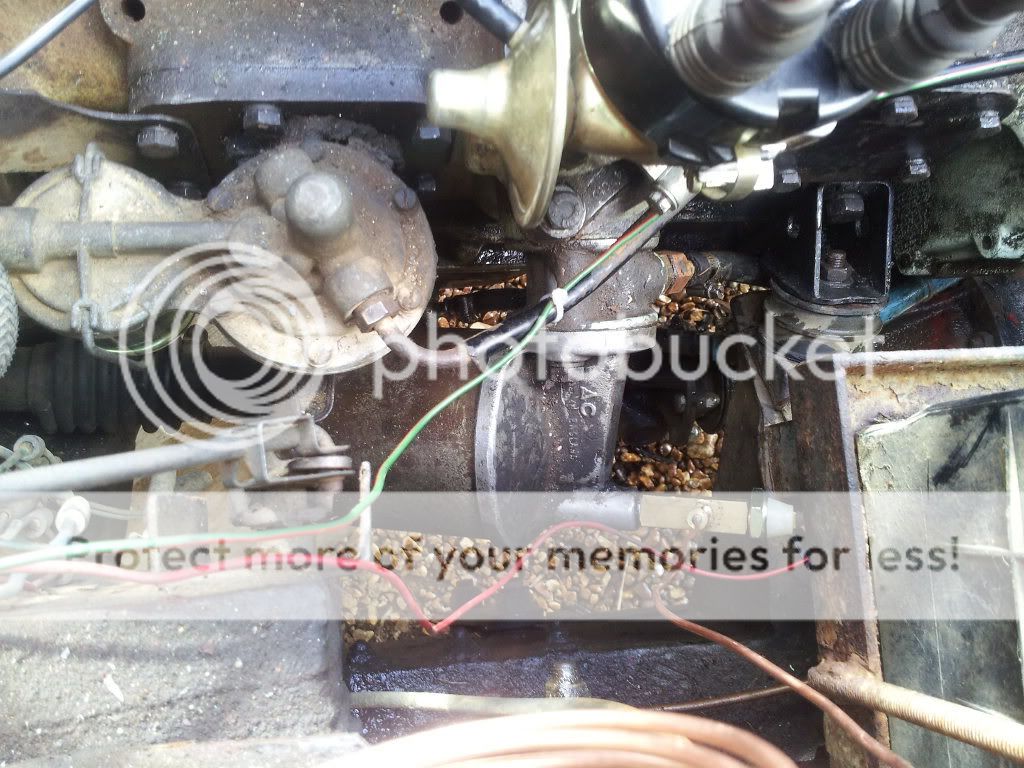
Next thing to address: Leaky top plate on the top of the gearbox. On these, accessible by the cab there is an inspection plate on the casing. Now...the casing for the box we have has the filler type on the top...but it leaks (a lot) through the filler cap. Perhaps because I have different internals to which the casing is designed for. Now we could have fitted the box with what should be on there - the plain blanking plate without the filler cap but that would mean filling the gearbox from underneath again which I am not terribly keen on - I like the idea of being able to fill easily from the cab. What we needed is a different filler whilst keeping it sealed but also breathing.

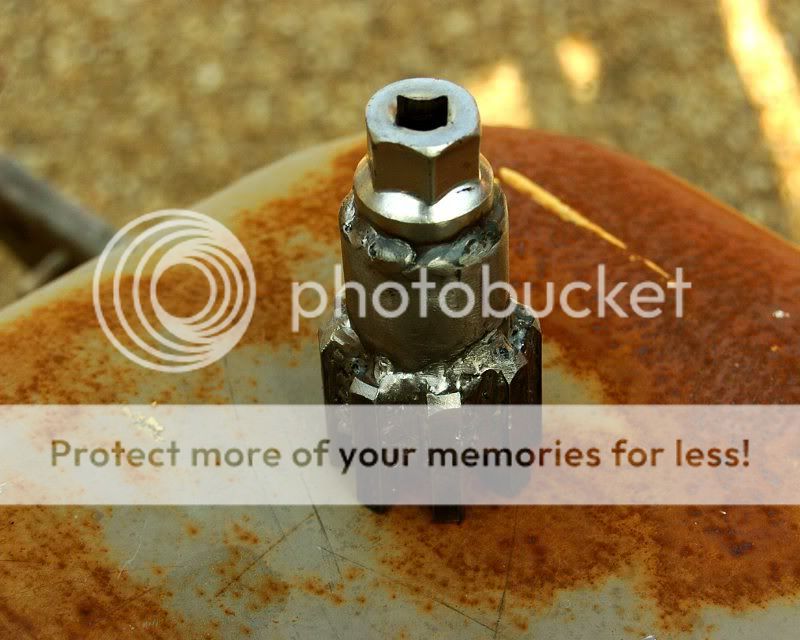
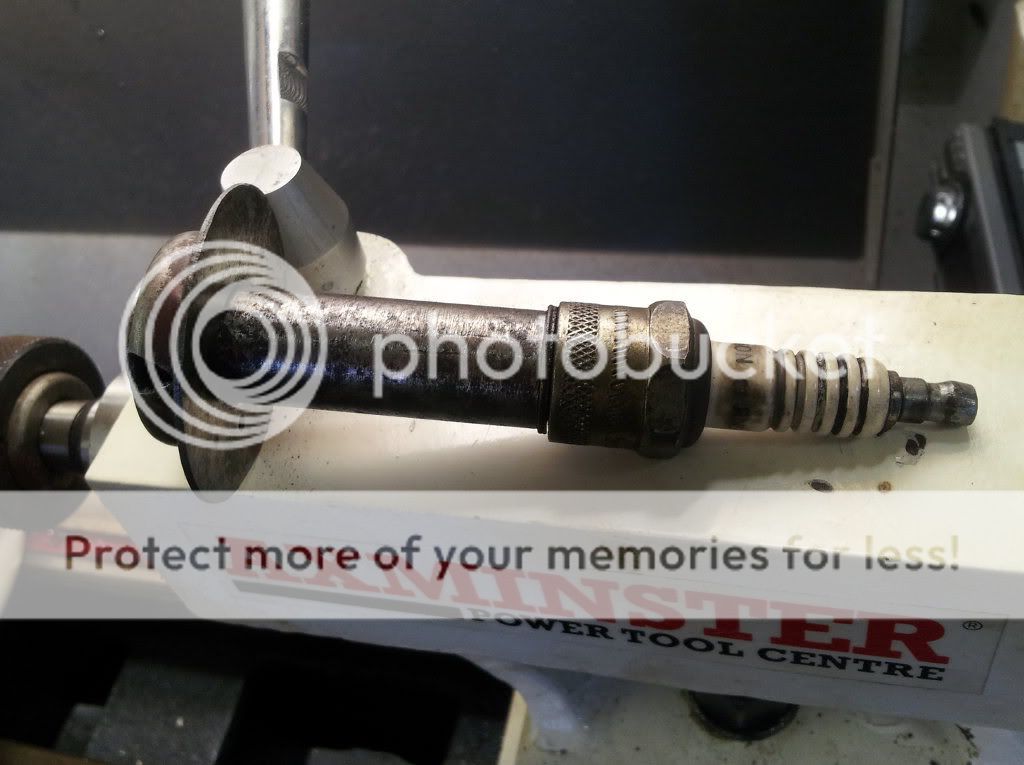
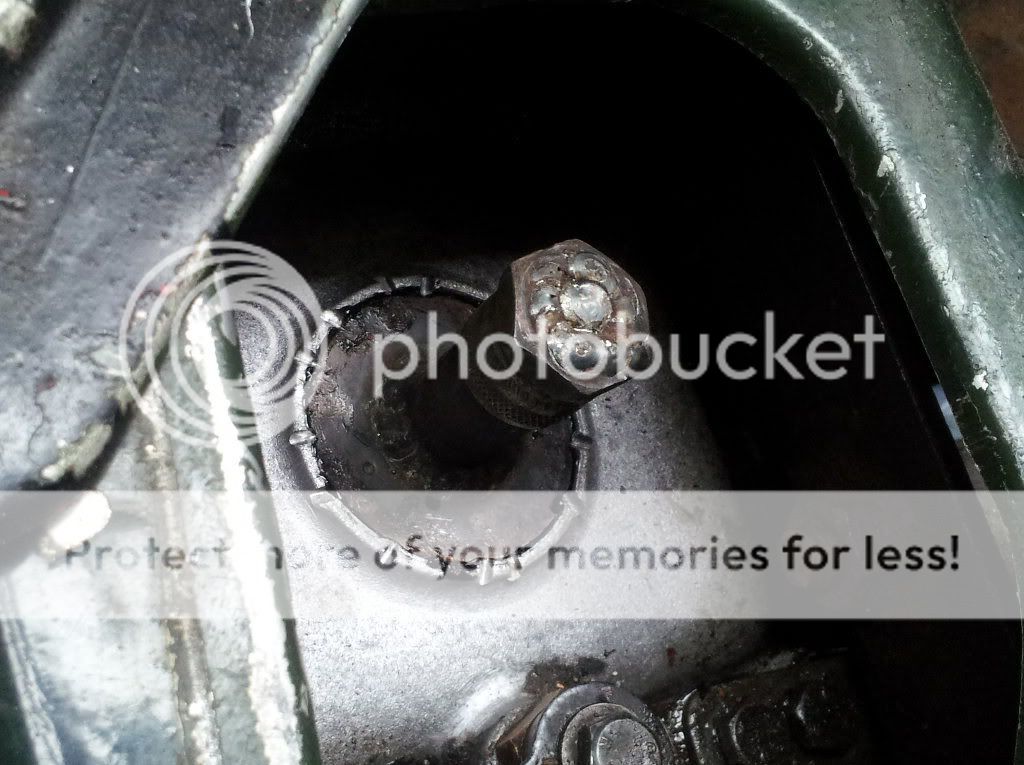
So we got the standard blanking plate (which has a breather built in). Drilled a hole in it. Then welded a bit of rod to it for a filler extension neck. Of course we needed a plug of some description to stop it coming out the top of this neck:

Modifiedsparkplug.jpg


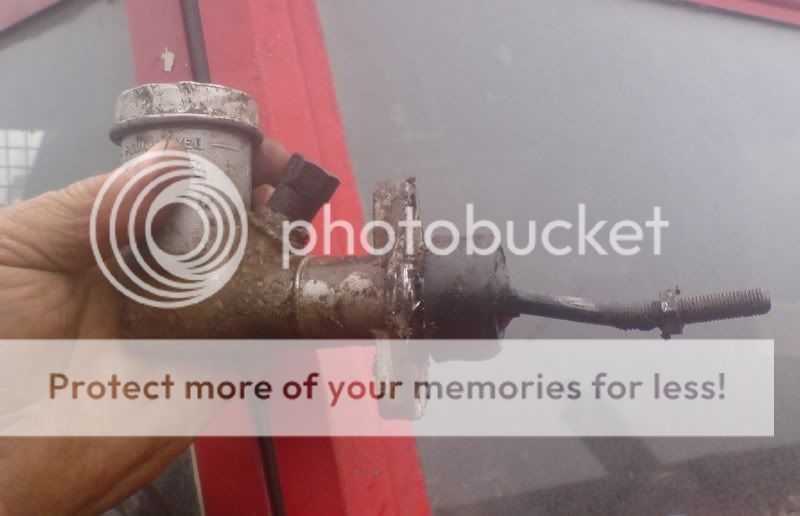
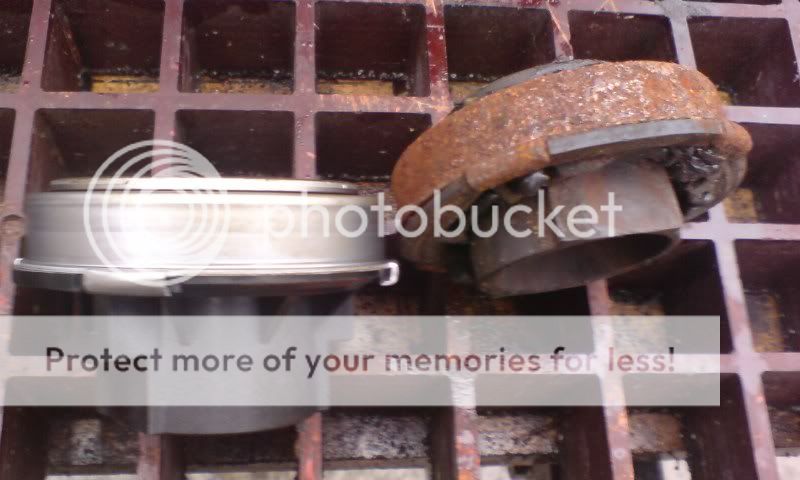
See where I am going with this? Posted Image You make do with the bits you can find around the garden, so a spark plug which we happen to have the correct tap for was perfect. Spark plug also works quite nicely has it has the sealing washer. So what you are seeing in the pic (from left to right) is the standard filler cap, drilled out, with a bit of tube welded on, with a spark plug screwed in it (!)

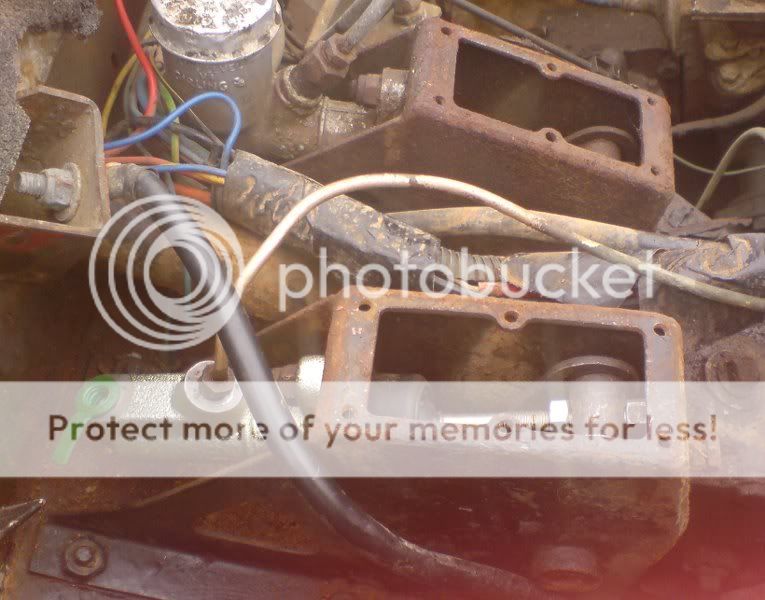
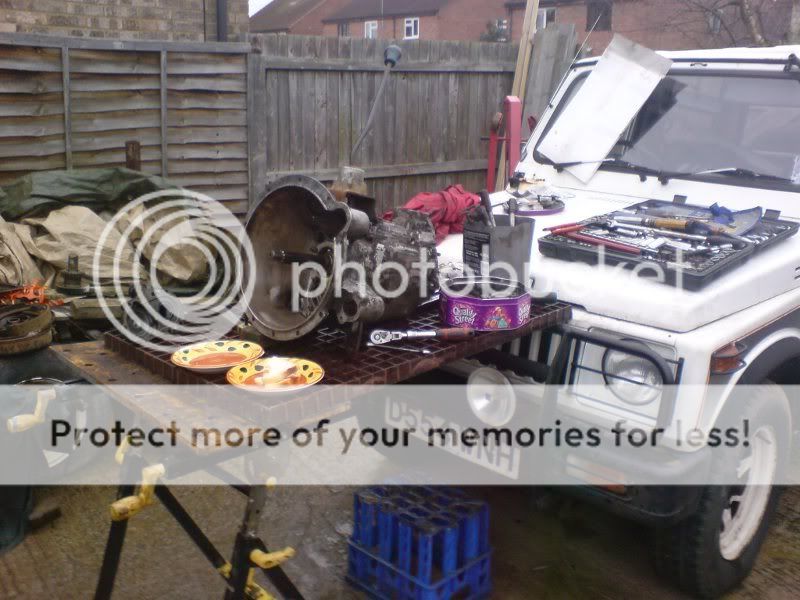
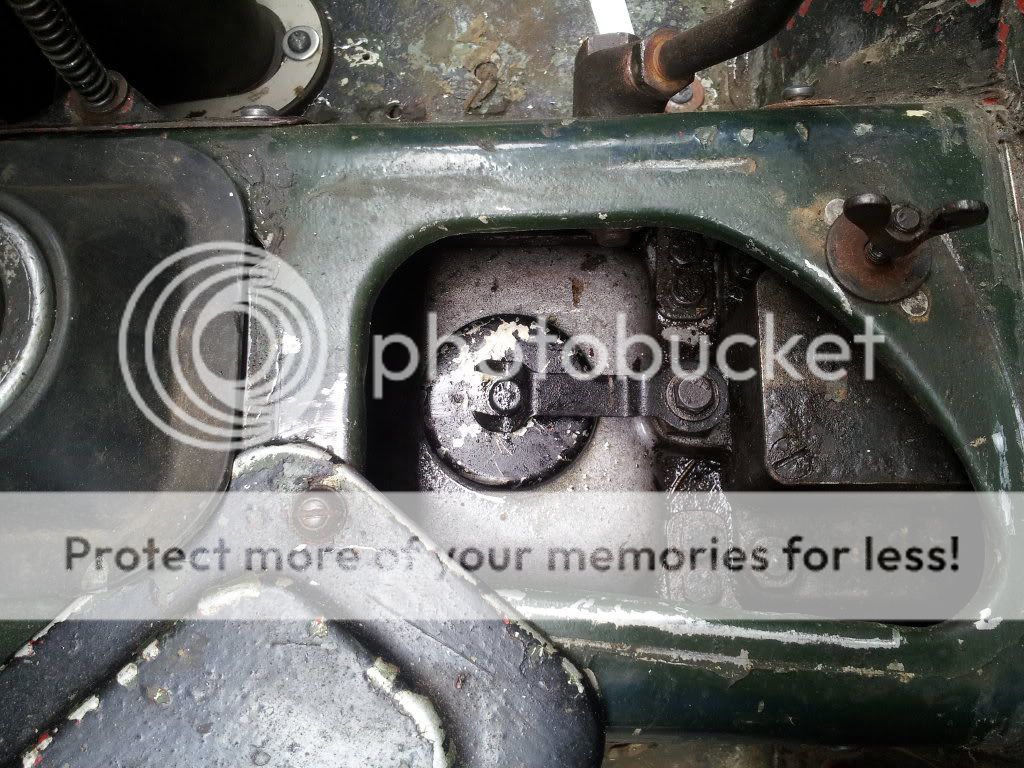
Before (standard top filler type arrangement for this casing):

Gearboxfillerold.jpg


After...it looks a bit weird but it works!

Modifiedfiller.jpg


And with the spark-plug-filler-cap-thing in place. Of course for the spark plug to work, we had to drill out the insides of it and lob off the bits we don't need. This leaves a hole down the middle of the spark plug so got a piece of solid tube, placed in the hole and welded in place. Ta-da - extended-filler-neck-but-keeping-a-sealed-gearbox-top-plate-thing (again, those that prefer a more genuine Land Rover will hate me for doing things like this but I will not apologise!):

fillerwithsparkplugbung.jpg


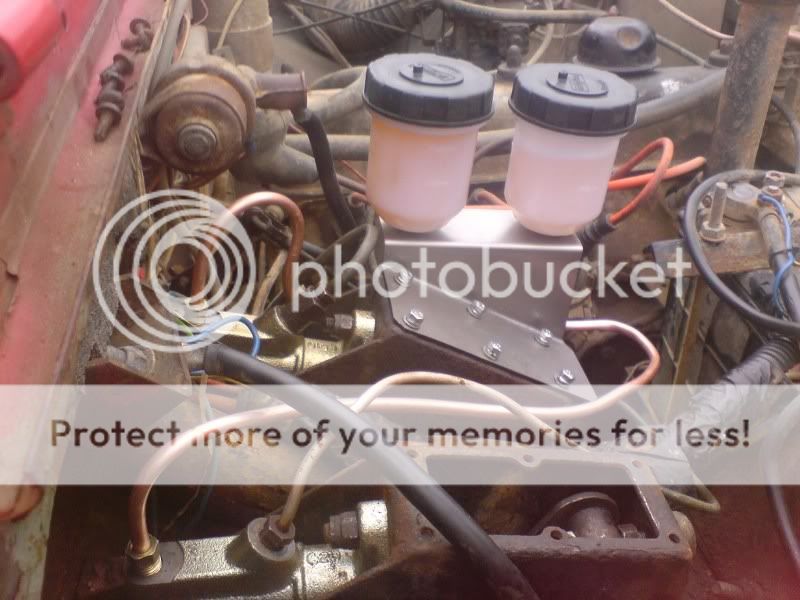
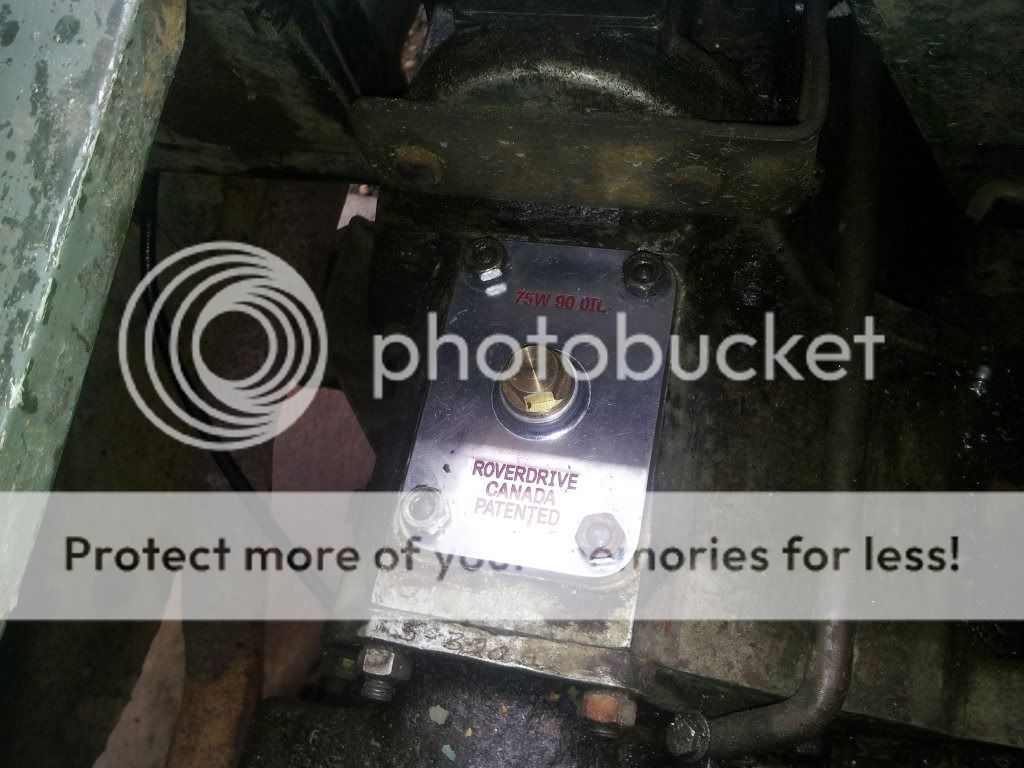
Checking transfer box and gearbox oils in the regular way of taking the plug out and filling it up until it leaks on you is something I have wanted to change - it is not so bad when you are not doing many miles, but when you are doing 6000ish miles in two weeks it is often easy to let the level checks slip now and then. So to make it easier, got hold of a "kit" from Rocky Mountain - which I have to say I am very impressed with on the telephone and by the kit itself. Instead of a blank plate on the top transfer box instead it is replaced with a plate with a filler. We would normally make this sort of thing ourselves but it is a very convinient kit, not very expensive and wanted to fit it before the trip.

So instead of the plug which you have in the transfer box as a level/filler you have the filler in the top of the box but a dipstick where the plug would be - accessible via the cab.

TransferBoxCover.jpg


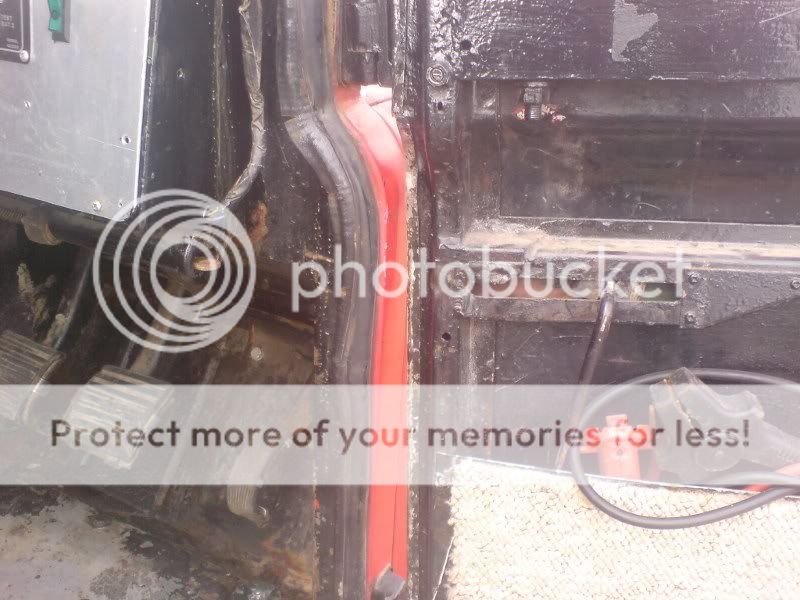
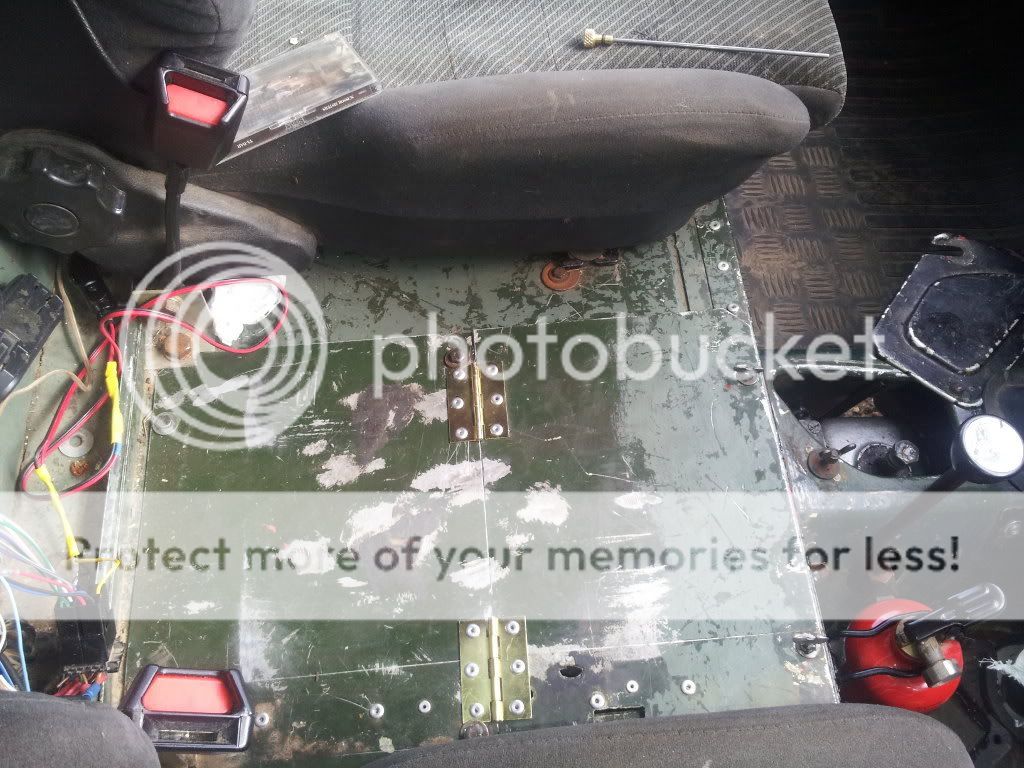
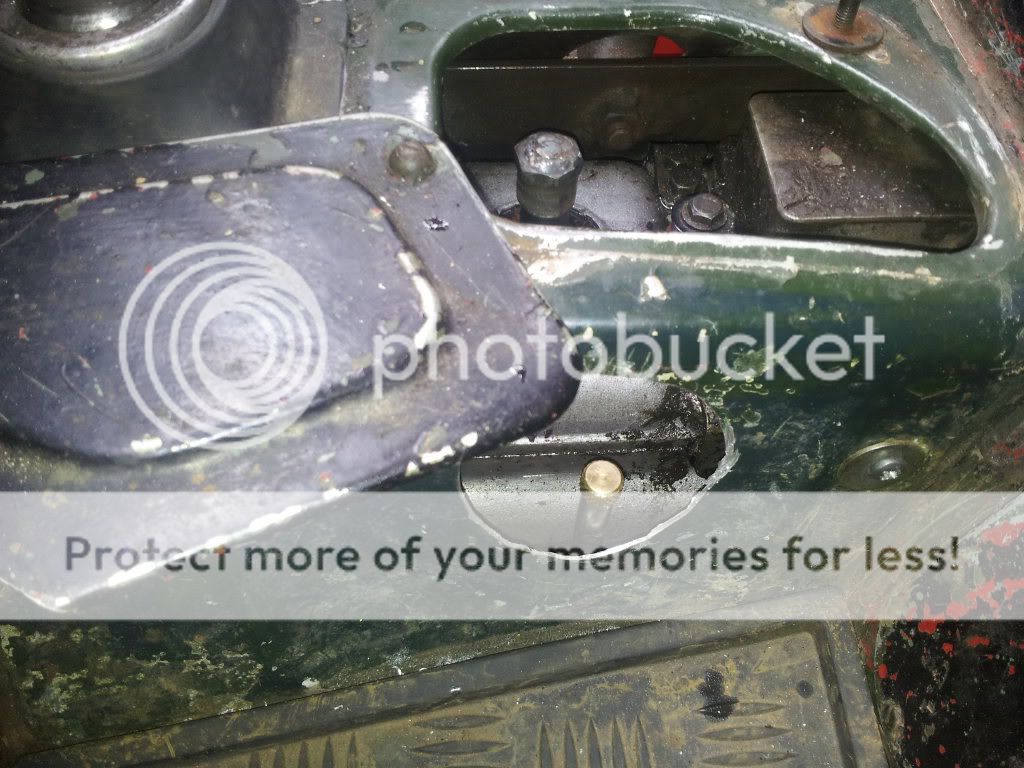
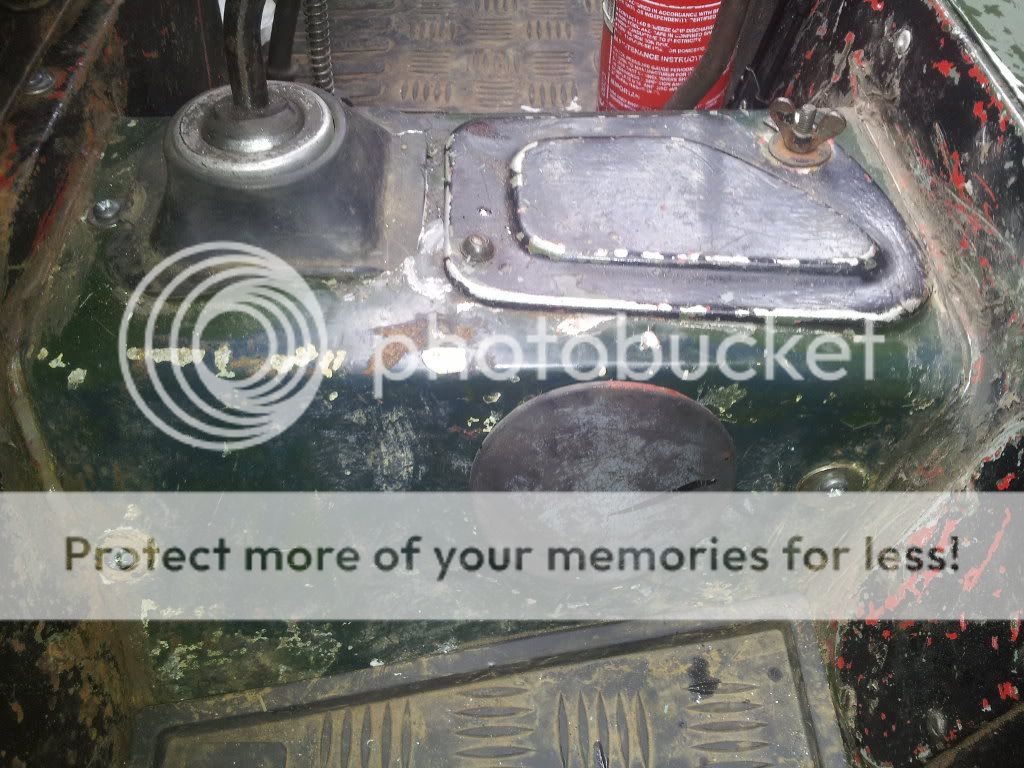
For various reasons our seatbox is not standard so it does not have the access panel in the regular way, so I made a hinge for access (I did not want a full length hinge):

LidClosed.jpg


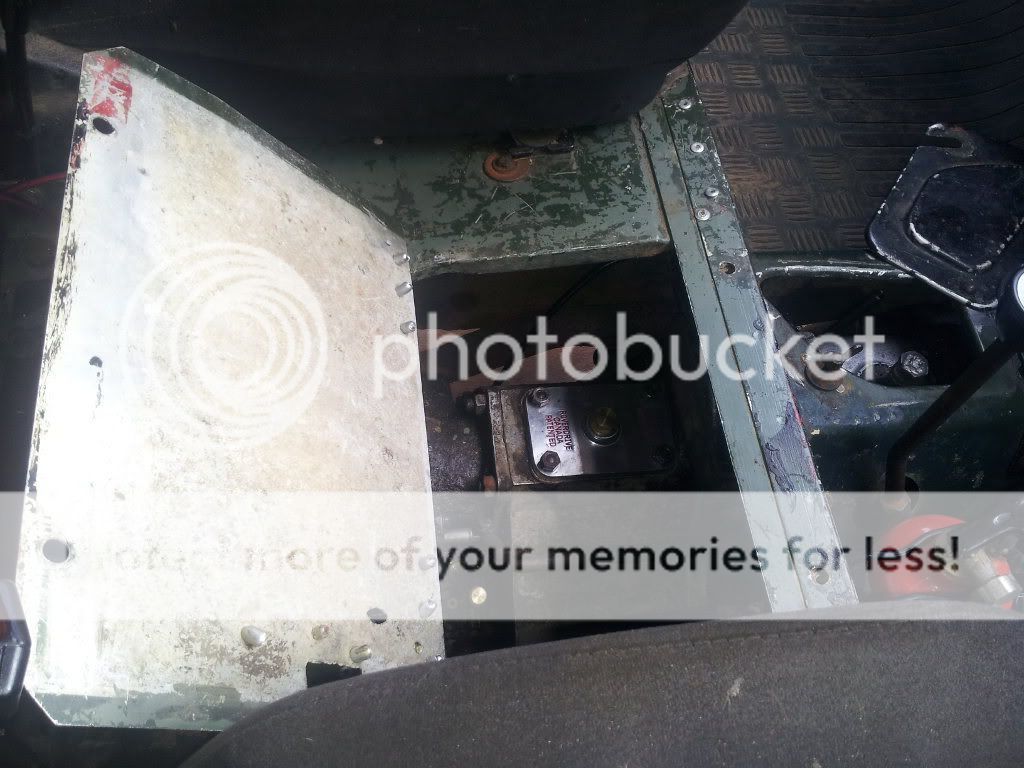
So now it is a case of remove seatbox, open flap and check level - which I much prefer to getting under the car:

LidOpen.jpg


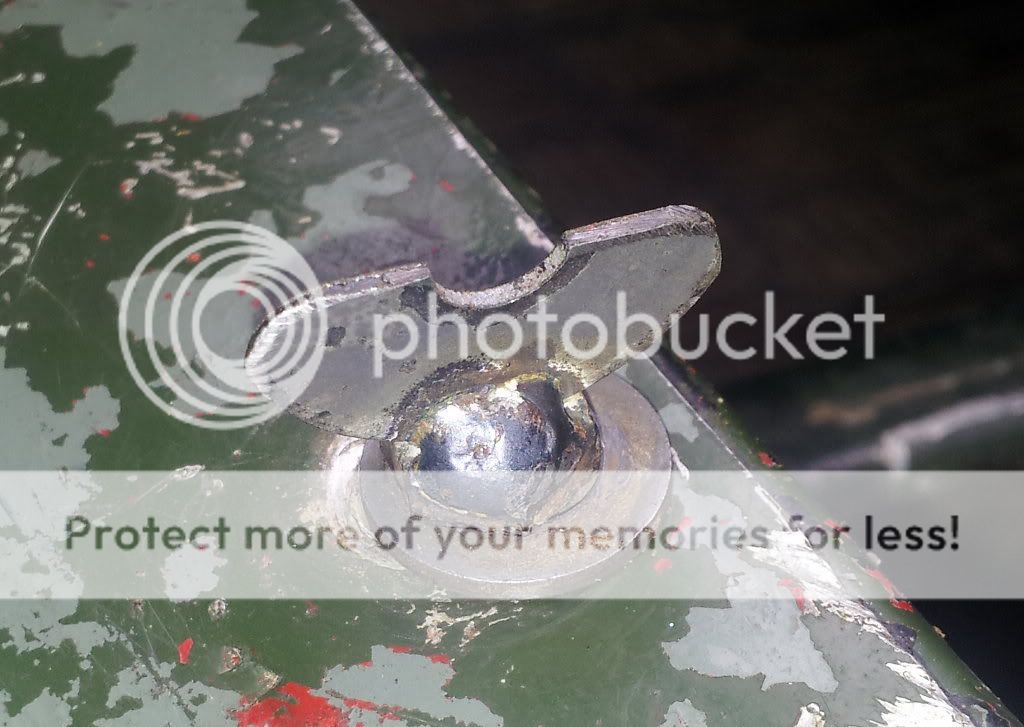
The whole idea of this was to speed things up, so converted the bolts into wing-nut-bolts-made from a washer (patent pending :p):

WingNut.jpg


And now to do similar for the gearbox. The normal way to fill it up and check check levels is via the plug (and top fill, if fitted) but wanted to make it simpler to check levels. Rocky Mountain do not sell the dipsticks on their own and only sell the transfer box "kits" but he sold me two "kits" and kept the transfer plate and sold it at a reduced rate - perfect As I found out, the dipstick is just long enough so that it can be accessed where you could normally fill up the gearbox (if you dont have a top mount fill). My box tunnel is one without the hole and bung, so nipped out and bought a 3" hole saw and made it so. I happened to have an older gearbox tunnel kicking about and therefore a blanking grommet to finish it off. Sorted!

HoleInTunnel.jpg


Grommitintunnel.jpg


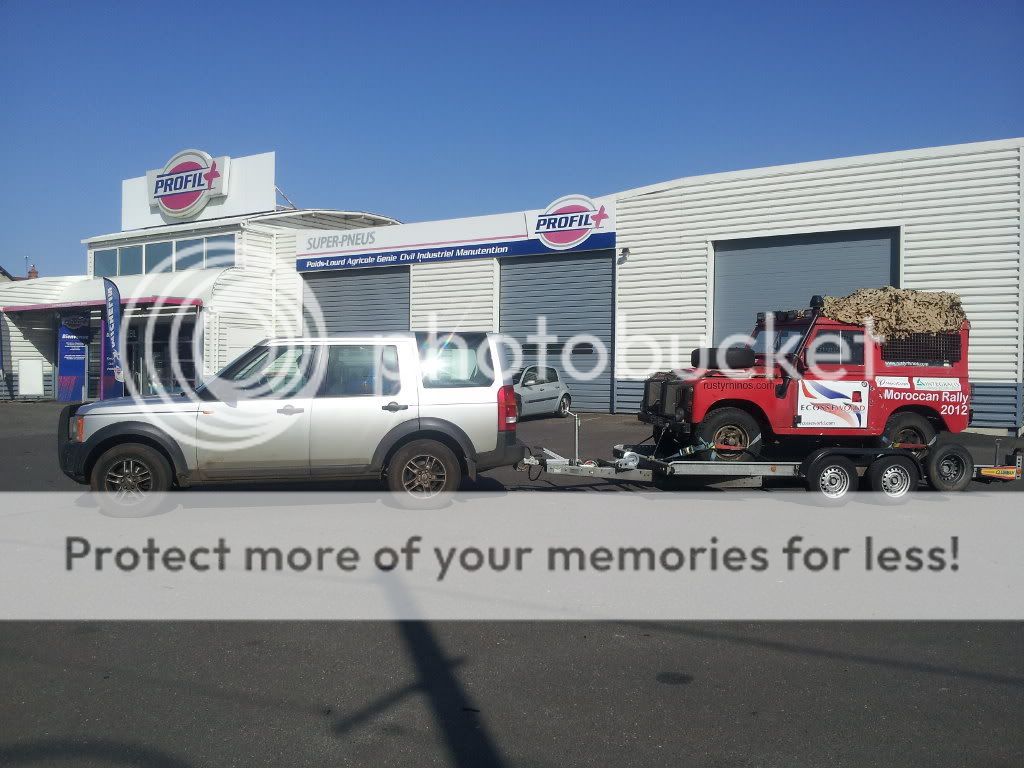
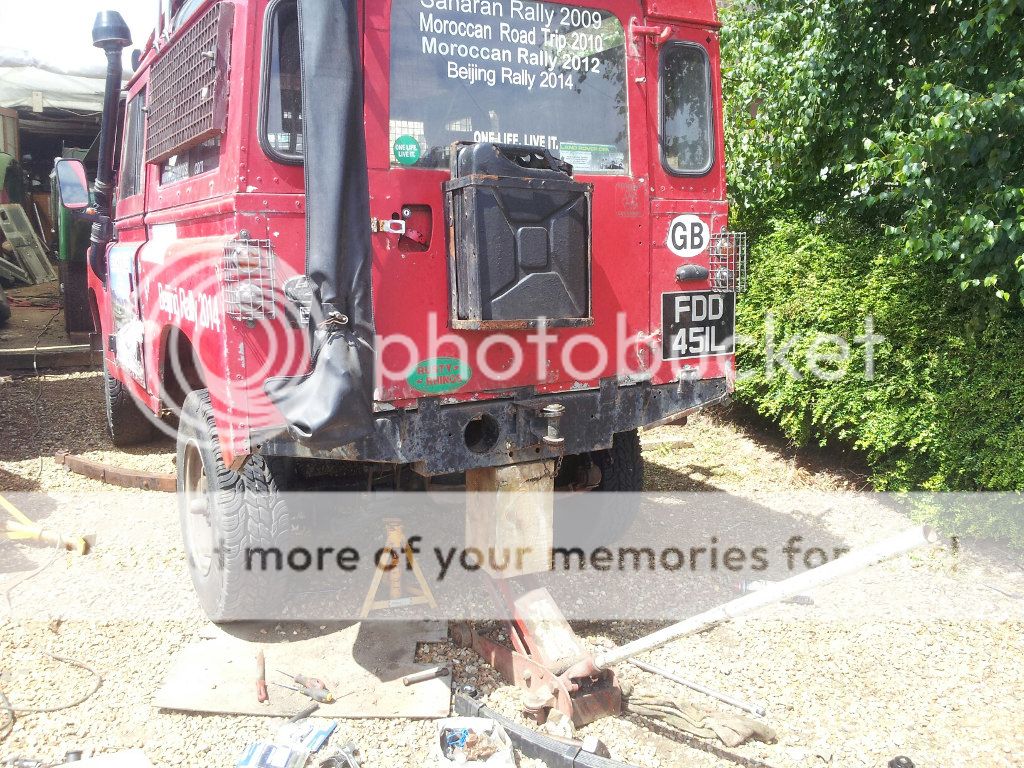
So after the above we took it to Morocco and the Western Sahara and back.

Things to add to the list of repairs:

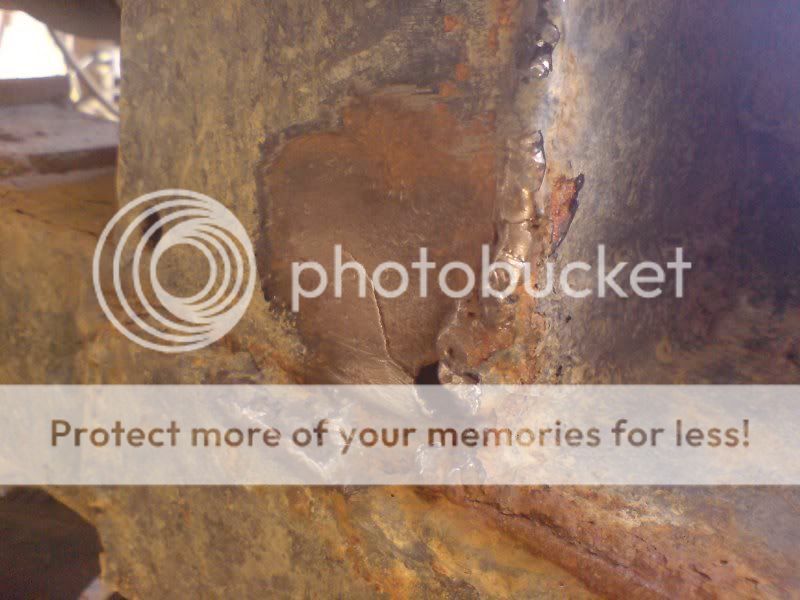
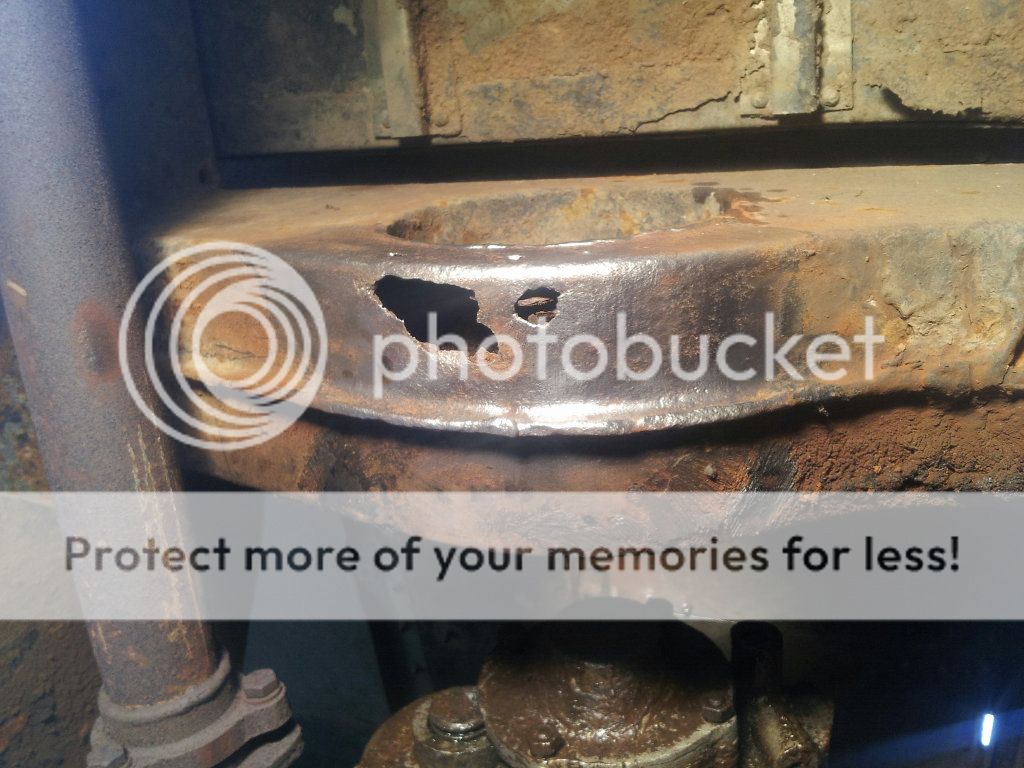
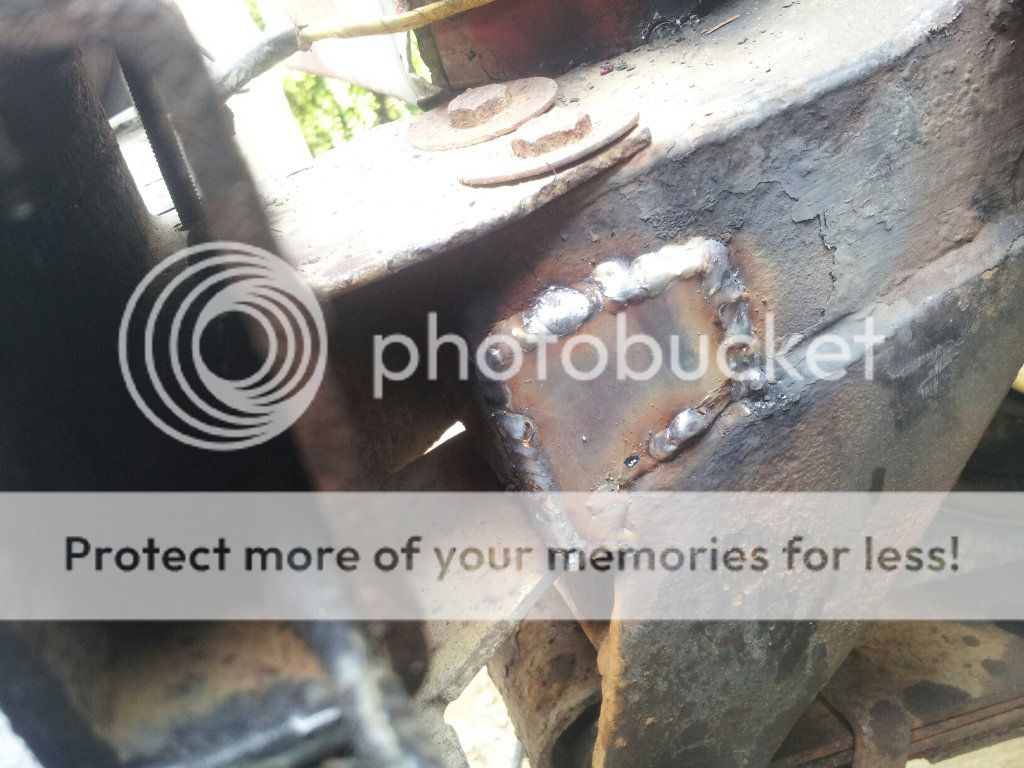
Paint the chassis where it was welded
Repair/replace exhaust manifold and downpipe. Replace mid and rear section as I had to lob it off
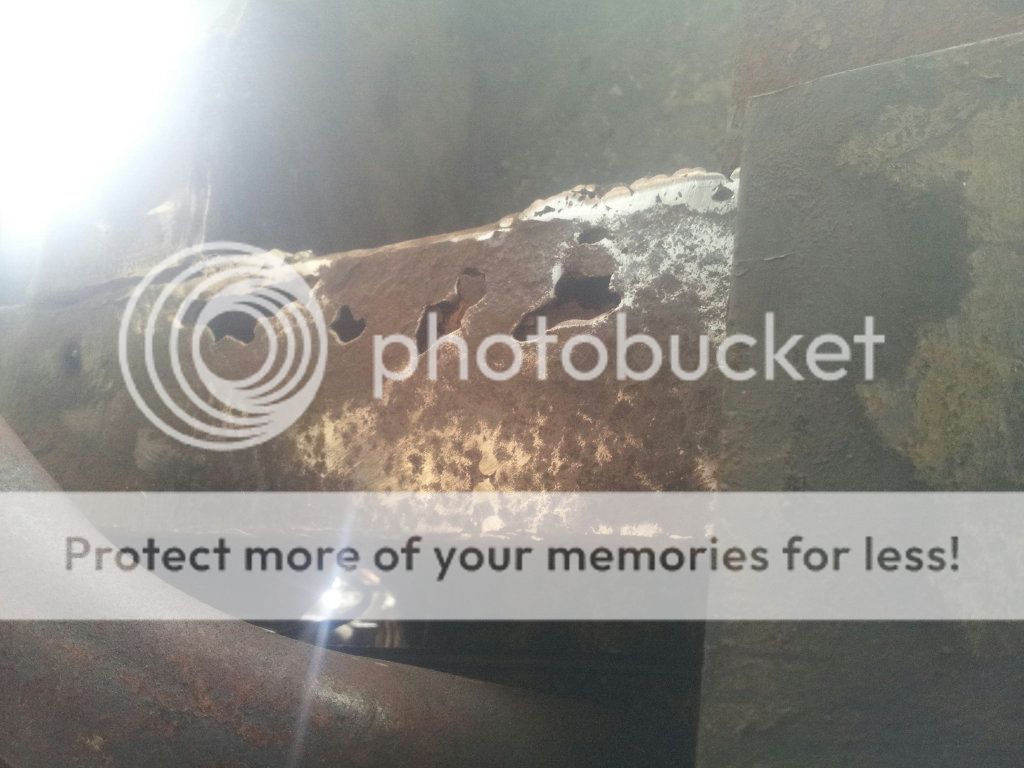
Fix hole in rear tub caused by a rock flicking up
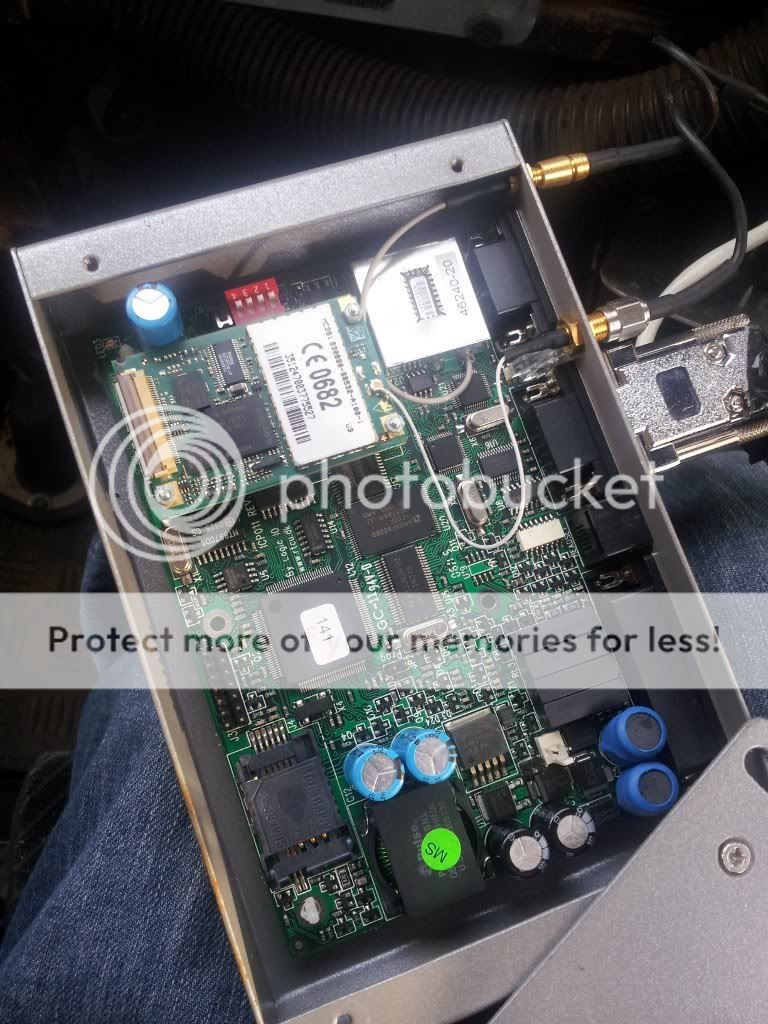
Repair tracker
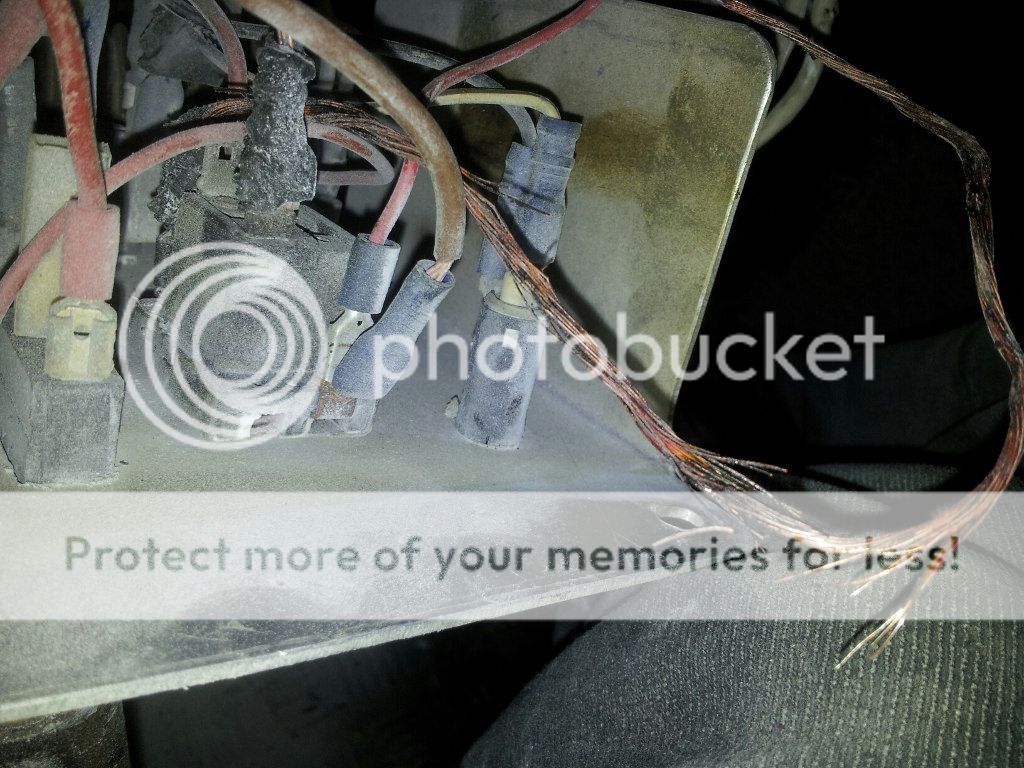
Fix lights as random things are happening (including bulbs falling out on fast paced off road driving)

So all-in-all not a lot considering the hammering it got.

It's now March 2013. We have decided where we are going next and Red needs to be seriously strong to be able to survive it. I have known for a while that the steering box is pretty much at the end of it's life. Of course, I have a spare one of those too and that is in much better nick than mine...have already got it stripped down and is pretty good only needs a few bits doing. At the same time I will replace the steering box relay and arms and the track rods.

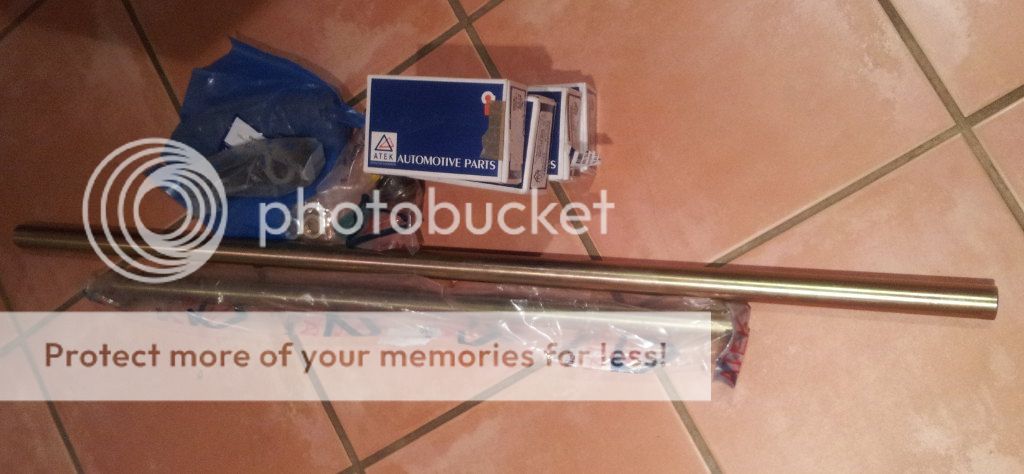
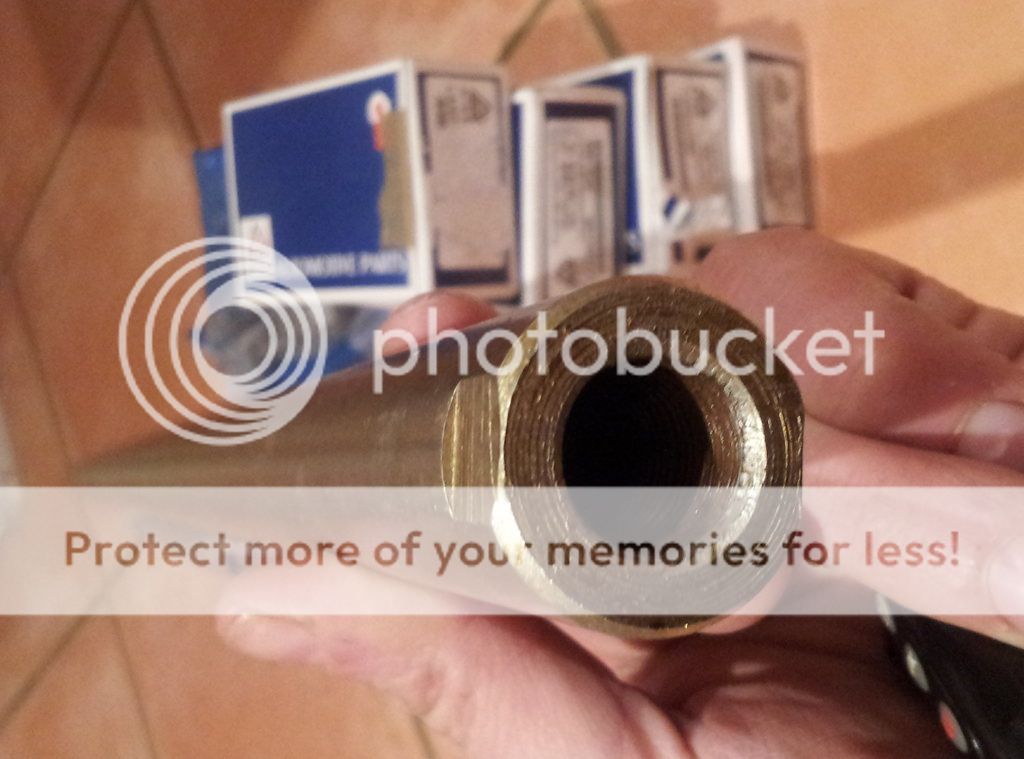
It needs to be able to take a hammering. So I ordered a set of heavy duty steering bars and track rod ends. They should do the job nicely - decent thick wall and shouldn't corrode for a while. Greasable nipples on the track rods of course. Yeah essentially they are are simply bits of rod with a thread made at the end and we could have made them ourselves...but if I am not careful this year I will end up getting nothing done!

trackrods_zps2e8c24a3.jpg


trackrods2_zps1eb685c4.jpg


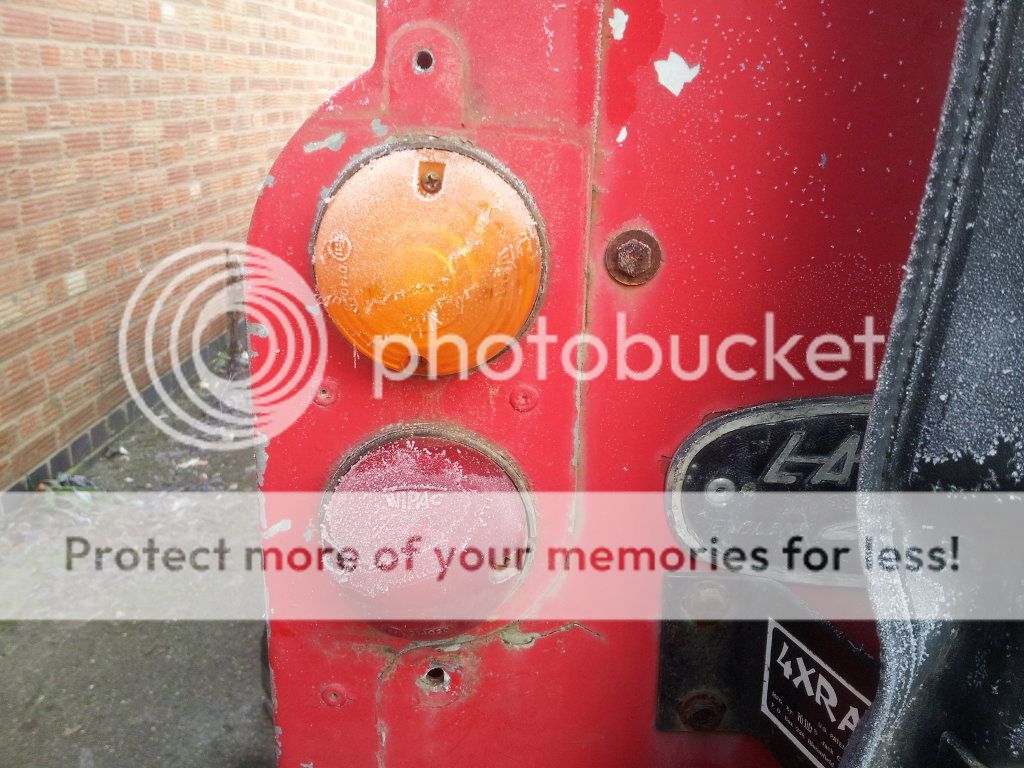
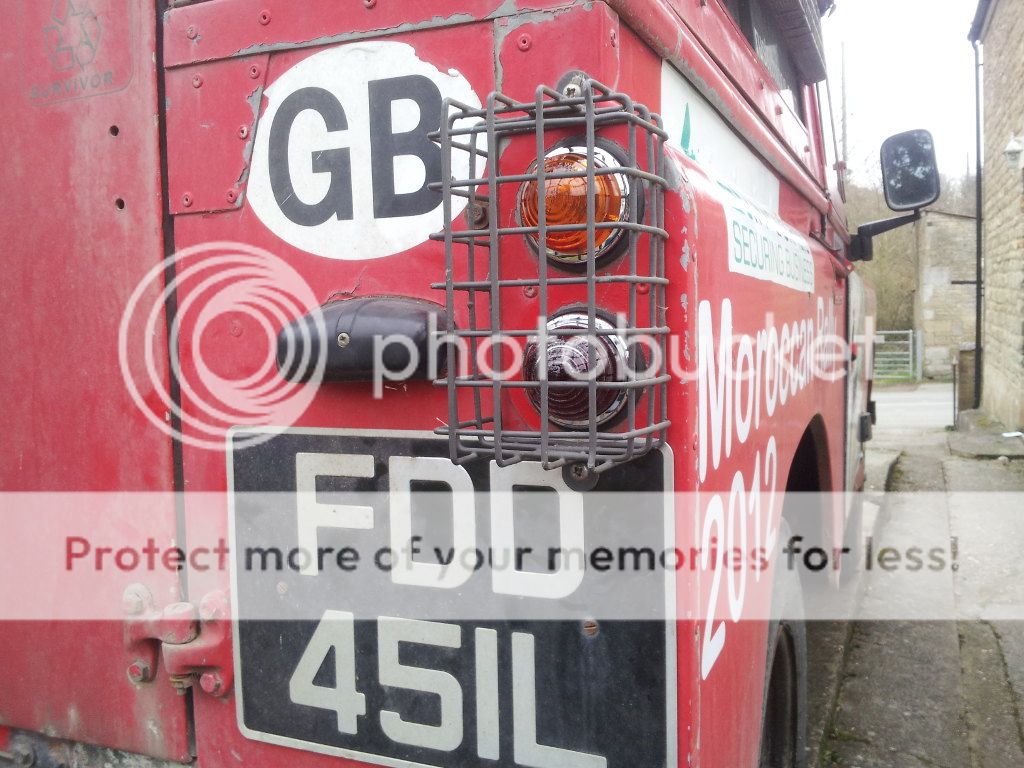
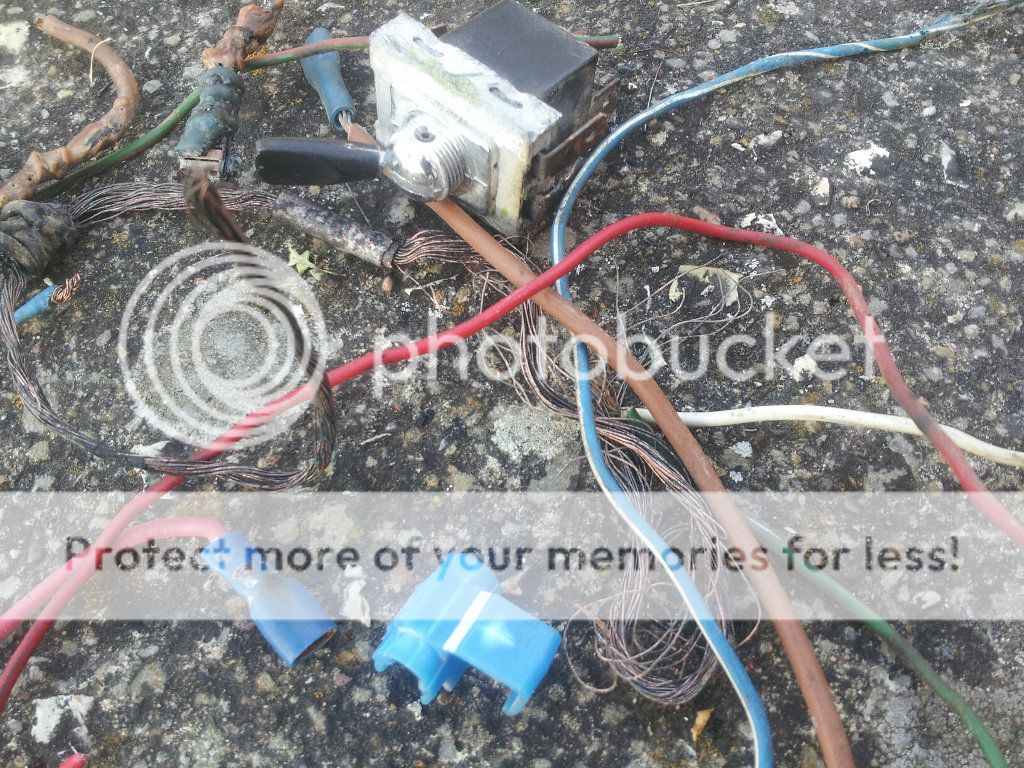
It has been an ongoing joke that in most of our videos we have a side light out or two. This is down to using non-genuine equipment which use plastic bases. Many people don't have a problem with these style of lamps and are widely used...but if you hammer them off-road for a few thousand miles the metal in the bulbs from shaking about wears down the plastic base and the bulbs pop out. Only £20 for a whole set but it gets a bit old after a while. Various techniques on the rally were used such as wedging in bits of cardboard and so on...but it is not ideal. They are 5 times the cost, but the Genuine Lucas lamps have a metal base so they will last much longer. They are a bit of a pain to get the bulbs out to be honest but willing to pay that price.

Quite possibly the only shiny bit on our Landie!

Before:

lightsbefore_zps0fd85aba.jpg


rearlights_zps6a667eb2.jpg


frontlights_zps0f73dcaa.jpg


I mentioned our plans for 2014 to one of our main suppliers of Land Rover bits L. R. Series Ltd - specialists in land rover, land rover series and range rover - gearbox, axle, transmission parts, spares and major units that we were looking for sponsorship and they gave us a very generous donation towards the parts that we need! Excellent stuff! So now we have a big box of most of the bits we need to take with us for spares such as UJs, wheel bearing kits etc as well as some bits that we need to rebuild the steering box and valves, springs etc for when I get round to rebuilding the head which is a must before I go on the next trip. Also got a Polybush set for the springs. So...cheers LR series :D top guys.

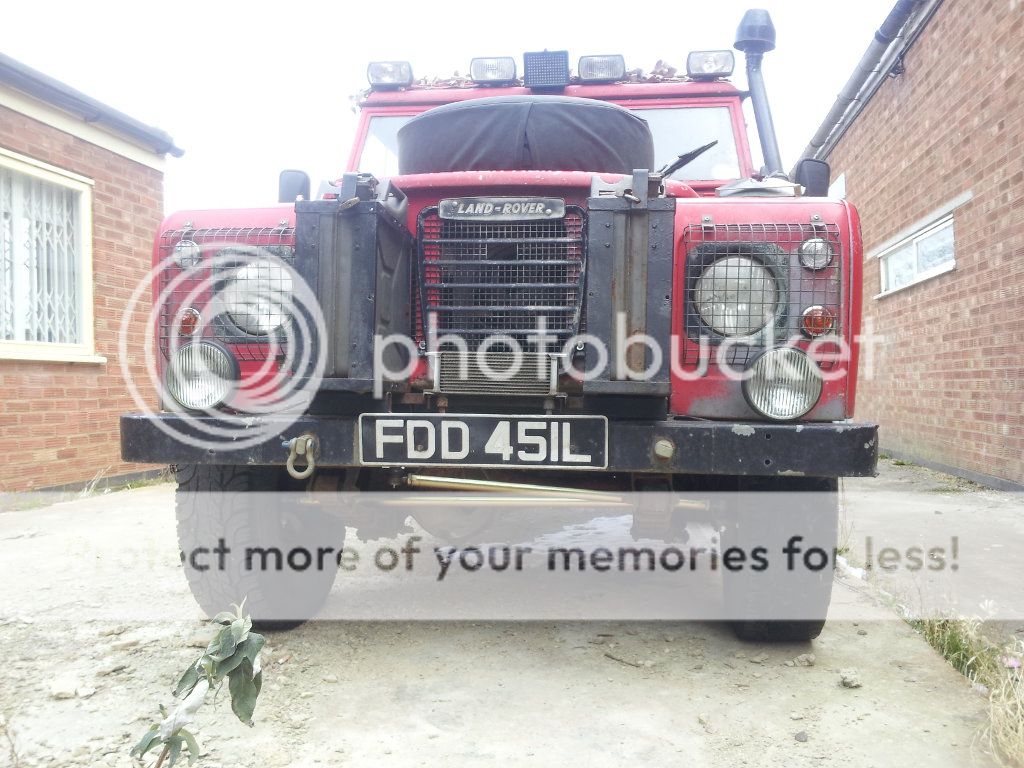
HD Steering bars and new joints fitted. Did the steering box relay at the same time...steering is now transformed :D I *might* get away with not having to do the steering box now...but we will see. Also took it down to the local garage to check the emissions and fuel mix as I have not checked it since I have changed various bits over on the engine. He tells me it is as clean as a whistle and fuelling is spot on - quite happy with that considering I did the timing and carb setup by ear.

New steering arms fitted. They are triple the weight of the originals and they were not light in the first place. Still..means when I bash them they have a better chance of surviving. Many prefer to fit a steering arm guard instead but I prefer not to - if you get stuck in sand/mud the guard acts as a scoop when you try to reverse out plus means routine (daily when we are on the trip) maintenance is hindered by the guard being in the way. This is a better way to do it IMHO.

rods_zps68a65b94.jpg


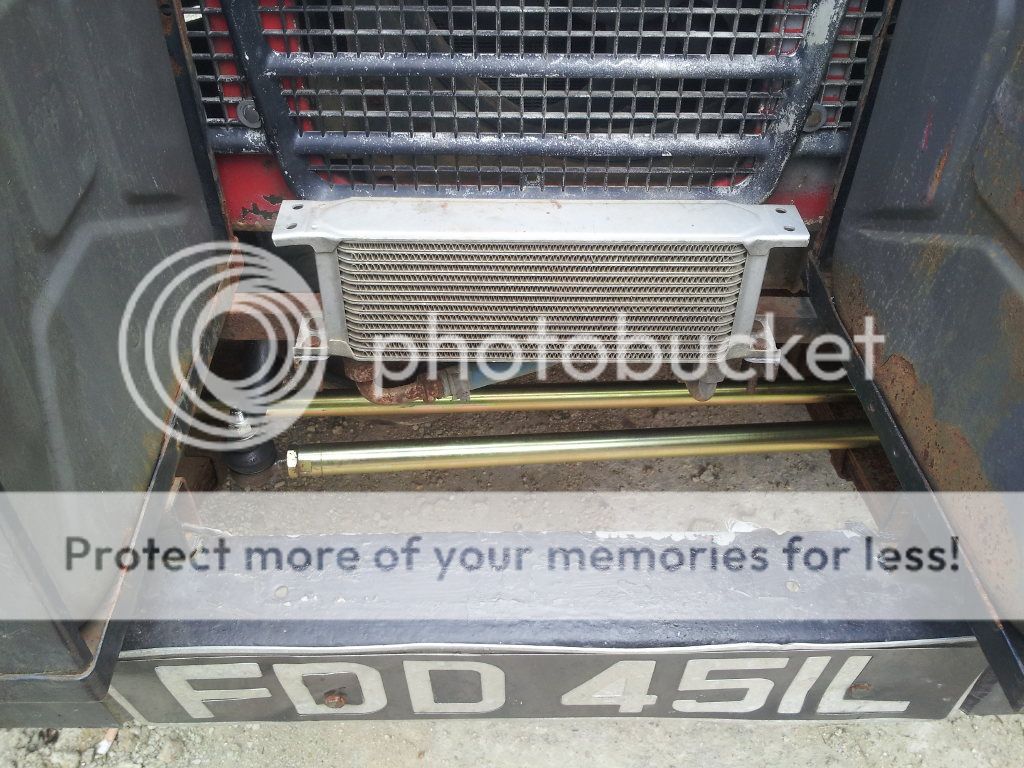
I really must make some sort of guard for the oil cooler. Been saying that for a few years now oops!

rods4_zps1fc049fd.jpg


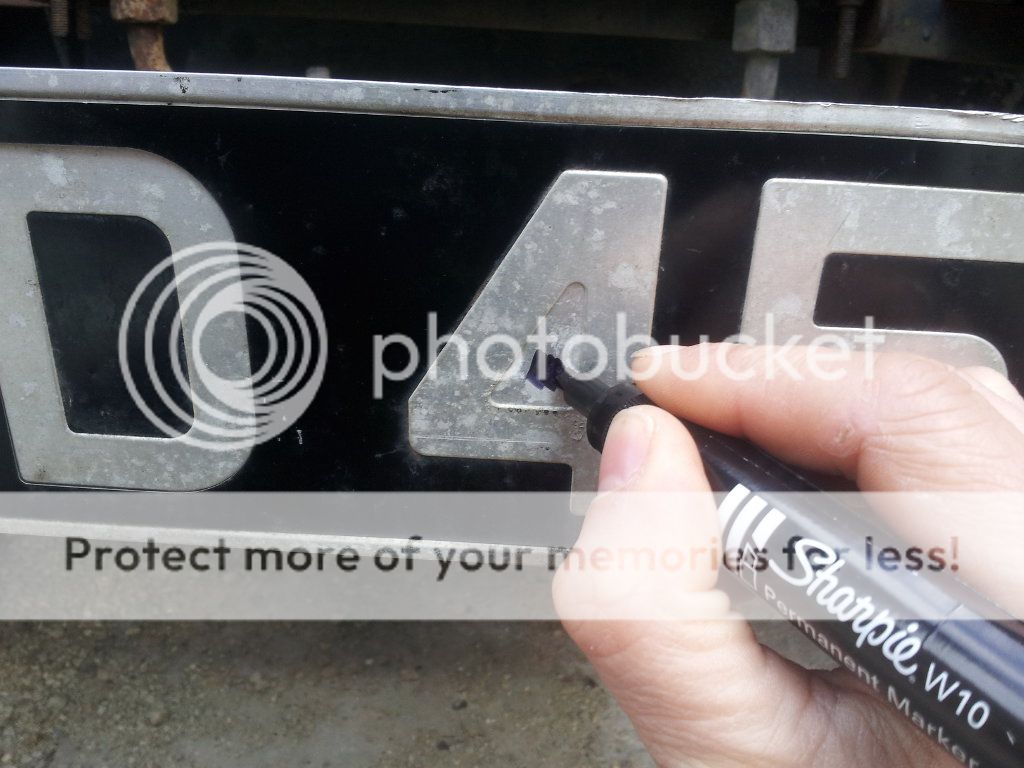
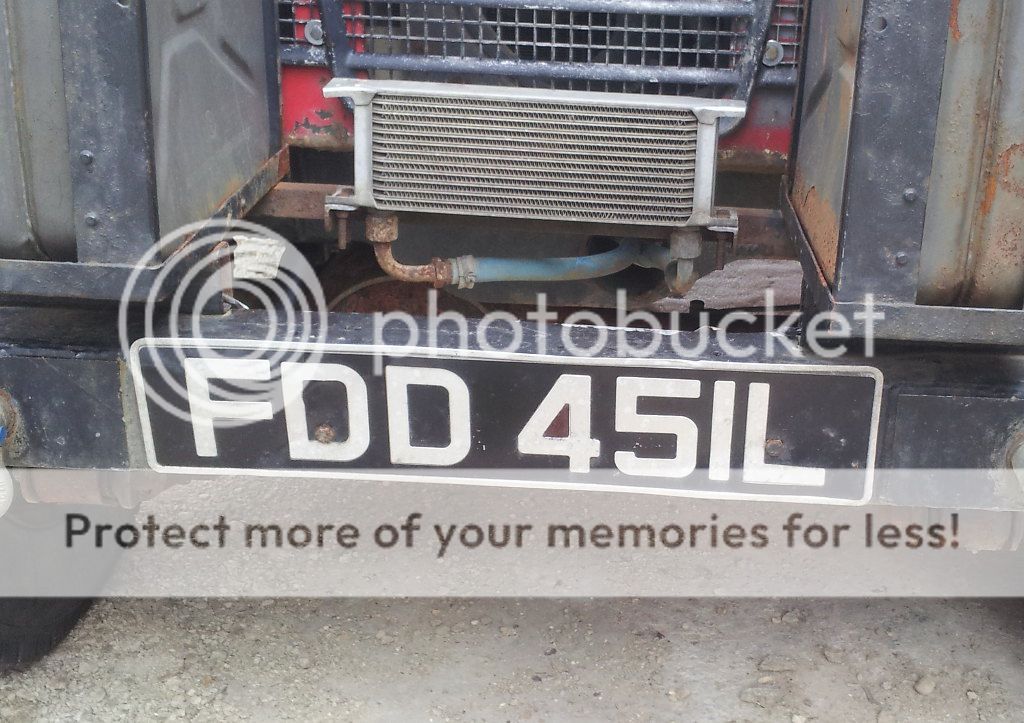
At some point I have bashed the bit of the "4" off the numberplate. I happened to be at the office...so.... :D

plate2_zpsfcad80f7.jpg


plates3_zps20956a62.jpg


Well, it amused me anyway :)

Another year, another MOT. Passed with no issues as far as I am concerned. Pre-prep for MOT always pays off :) Not that I had to do very much.

Two advisories - firstly that the "chassis has had repairs front and rear" and "gearbox and transfer box leaking". Umm... it's a Land Rover and it's 50 years old. Oh well.

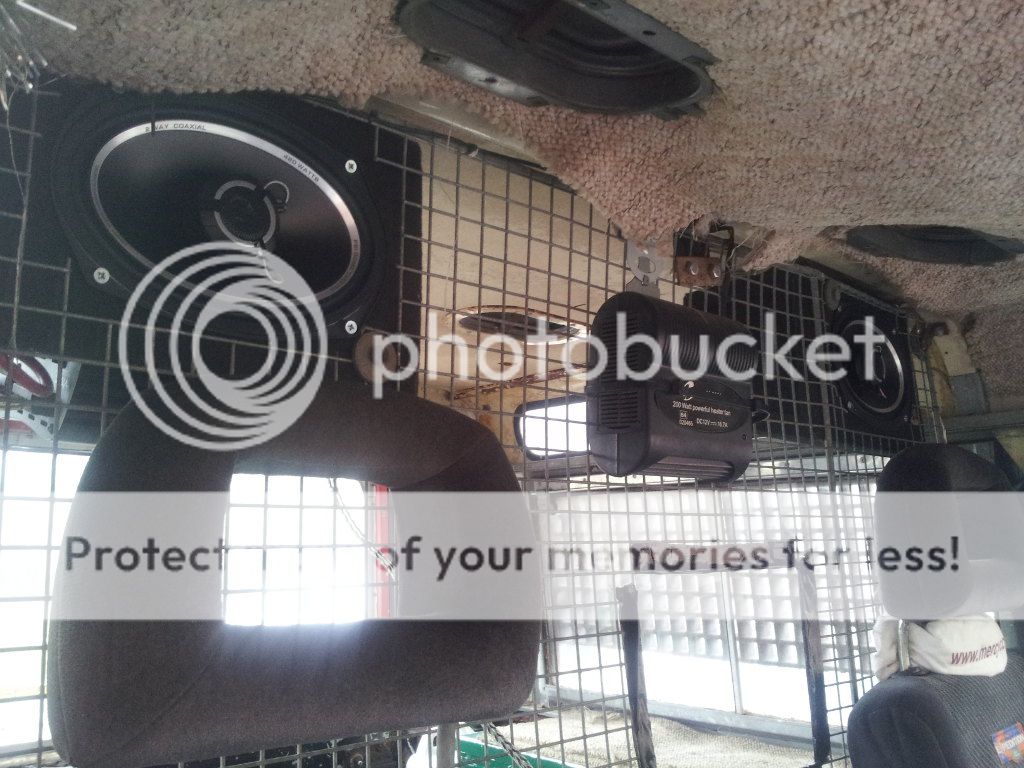
It is widely considered pointless to have speakers in a Series Land Rover because the engine noise, wind noise and everything else around that rattles over powers any efforts to get some tunes. To prove this incorrect I fitted a pair of 6X9s (I either found them or got them at a boot sale, can't remember) into carpeted boxes and mounted them directly next to to listeners head. Clearly it would not be the best in terms of quality with the triangulation point being all out for a start....but it worked and proved the nay-sayers wrong.

Although it was perfectly adequate I decided recently to give it a slight upgrade. Vibe 69.4 420W 6X9s replaced the aged Pioneers

frontview_zpsd2cb18ed.jpg


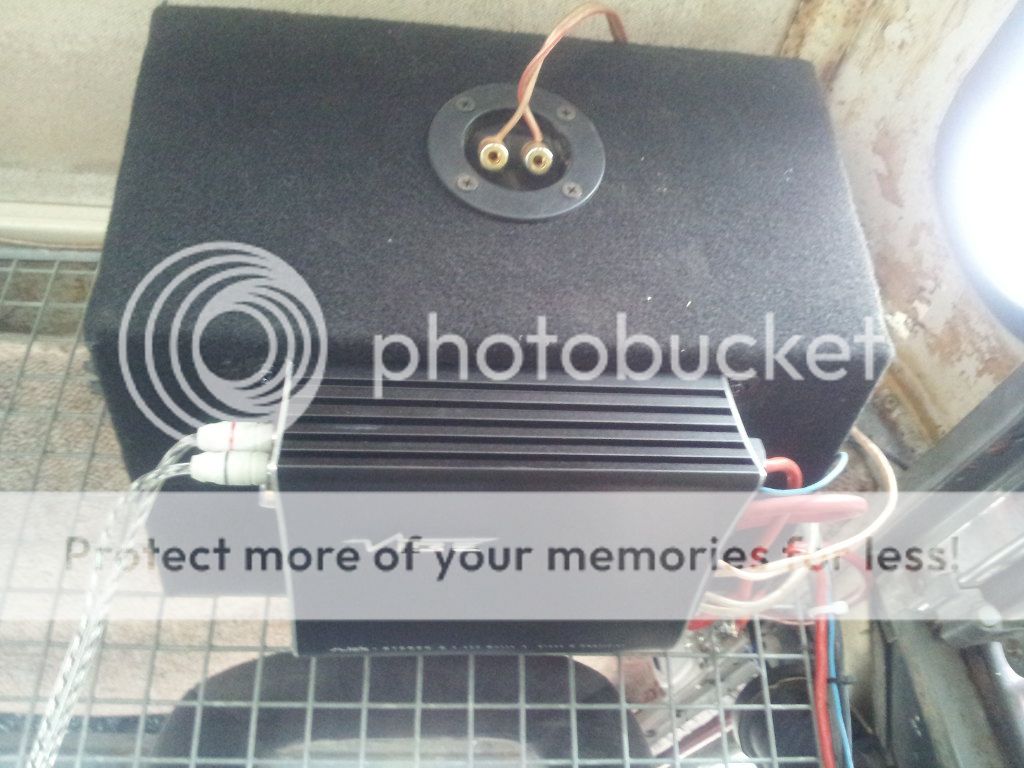
Sounding much better now but the head unit just wasn't beefy enough to give enough power to them - can only get to volume 35 out of 50 until they started peaking. So looked into getting an amplifier as well. Tried to get a second hand one but seems that most people have big ass amps designed for subs rather than smaller ones just for speakers. So I thought sod it, bought a Vibe amplifier as well. Tried various different places to mount the amp...but it's not like I have recesses under the seats or glove boxes to play with! In the end ended up screwing it to one of the speaker boxes. Not visually appealing but who cares and besides, it is out of the way of things flying around in the back and won't get wet up there like most places do.

boxandamp_zpsda3820ab.jpg


Much happier with the volume level and quality of the sound now. Just need to figure out a way of getting speakers to the front for a bit of balance...but again it's a case of no door cards and no dashboard to mount speakers on so on the hunt for speakers I can play with to test out different ideas.

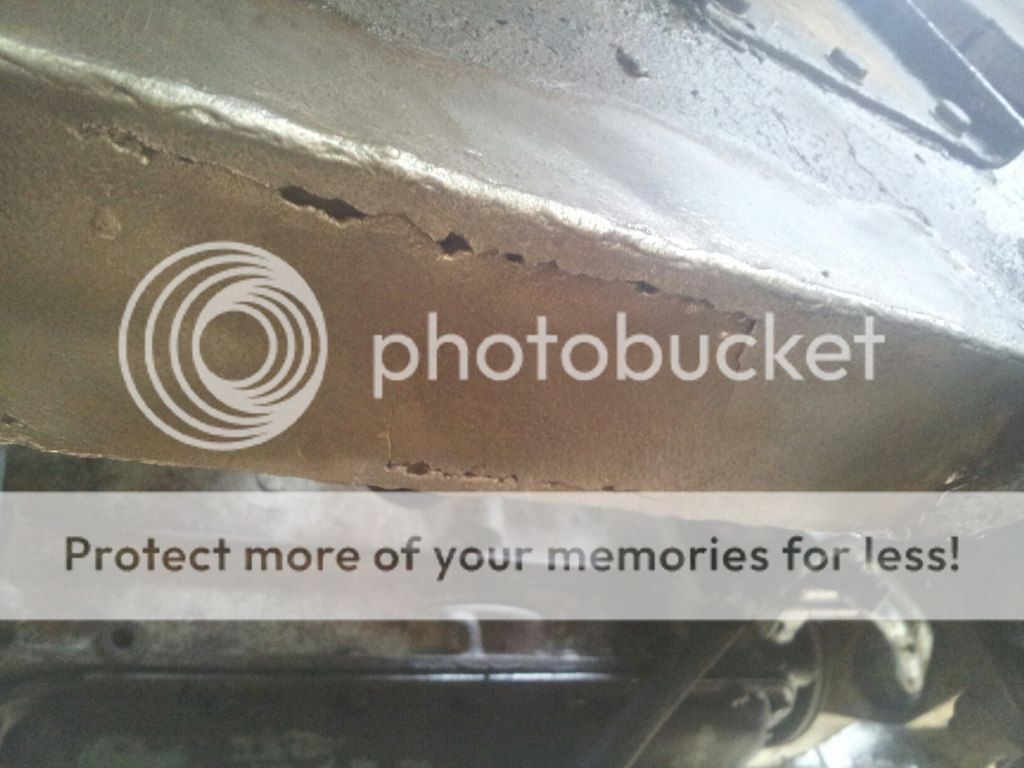
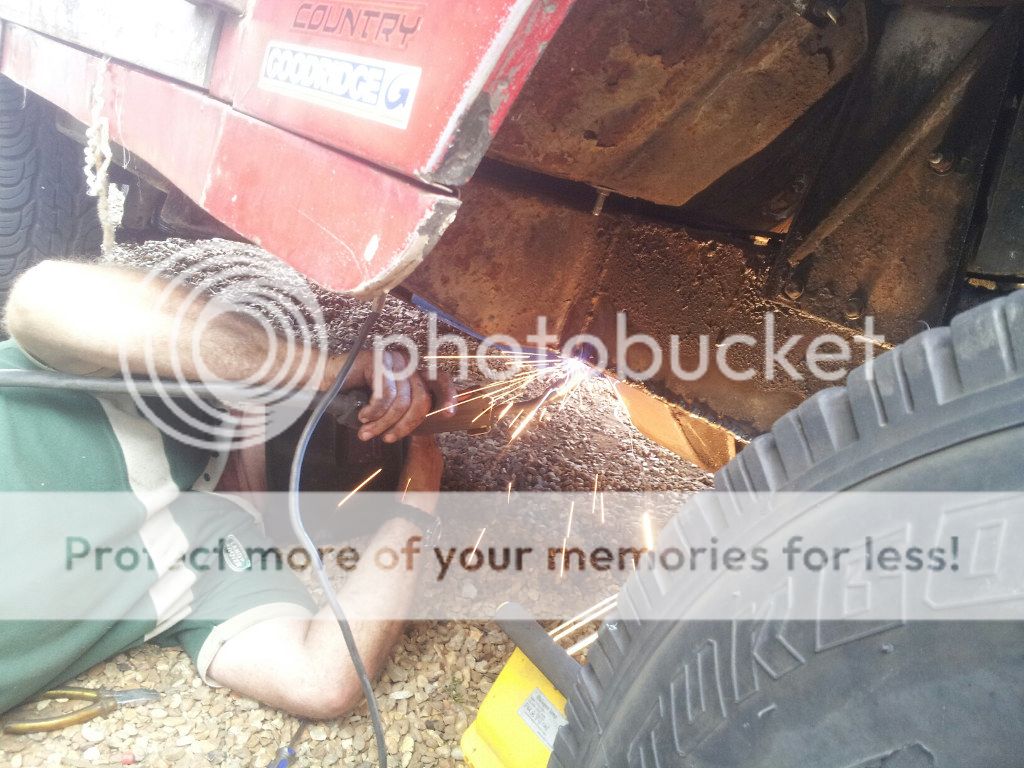
Due to Beijing Rally 2014 coming up had to strongly consider what prep we need to do to Red. The roads (well, lack of) in Kazakhstan in particular we know from experience kill cars. We snapped 7 leaf springs coming here before amongst other issues simply by the car being pounded by the tracks so we bought a new set of leaf springs to fit (going poly bush as well, just to make things easier in the future). Not going to take the body off but going to give it a good going over with the bits I can get to with grinder and wire brush to check the chassis over and re-enforce where appropriate.
 
It's June 2014 and Red is back with the rebuilt engine and it's running spot on. I just need to set the valve clearances and do a few more miles in it before the trip. Red's bonnet has a habit of flapping about a bit on high speed (!) off road so fitted these:

Redbonetcatch2_zps0926551a.jpg


Had a few hours to patch up some holes for the MOT:

Redchassis2_zps2d656ffa.jpg


RedChassis3_zps0b894d81.jpg


Redchassis_zps919ce0af.jpg


And passed with only an advisory on the front tyre. Wahey!

REDMOT_zps6d30cb55.jpg


Was quite happy with that so fitted a new head unit as somehow I managed to lose it. Went out for a drive shortly after to have a listen. The high/low beam is a foot operated switch on the floor and I was switching back from high to low and it got stuck on high. Pressed it a few times and nothing. Then smoke from behind the dash. "hmm" was my immediate thought as more and more smoke came out from behind the flash so I pulled over promptly, ignition off, isolated battery and put it out with the fire extinguisher. Powder gets everywhere:

RedFire_zpsc564e5e4.jpg


This is the wire that comes up from the high/low switch...which appears to have made a nice fuse leading up behind the dash and melting all the wires along it's way:

RedFire2_zps39ffbc6d.jpg


So I've been replacing a load of wires and switches that have melted. It fed back to the engine bay and damaged the fuse box and so on. Sorted now though everything has been replaced and is working. thought I would make a bit more sense of the wires I replaced into the new fuse box so made a diagram so I know what wire does what - thought that would make sense.

RedFire3_zpsc0f7e728.jpg


RedFire4_zps3be5cb3f.jpg


Changed the leaf springs again:

leafs_zps5a9df8e3.jpg


Was changing the alternator and while sliding out from under the car noticed something that looked like a crack just behind the leaf hangars on the chassis. Cleaned up a bit to reveal the below. I guess the metal is so thin that is has cracked at the stress point. Clearly that had to be fixed before hammering it off road:

hole_zps3f786b33.jpg


Cheers Moss :)

mosswelding_zps7873e14c.jpg


14" of patch...oh dear!

patched_zpsa0b4d2dc.jpg


Did not have much time at all and it was all a bit of a rush before the Beijing Rally 2014 where red would successfully take us through Europe, Russia, Kazakhstan, Mongolia and finally China.

Red performed, yet again, spectacularly. One major let down was the leaf springs - they failed within a few days and it seems I am being ignored by the suppliers even though I've been calling and emailing for months. I'd have been better leaving the old springs on. Quite a few thousand miles "boingy" due to those. Ah well. Other than minor things like sand in the carb filter (got to the point where we were having to clean it out every 100 miles or less) overdrive gave up and had to put the regular 4th gear back on). Had to get a replacement battery (it was 6 years old, it has done well for a cheap marine battery) and starter motor was on it's last legs (smoking if turned over for more than a few seconds). I also think I won't get away with patching the front part of the chassis anymore and may have to replace it. Steering relay seems to move about on the chassis. And I must do something about the weather inside the cabin being the same as the weather outside - we spent a lot of time getting wet!

Oh...almost forgot...managed to bash the rear axle quite hard putting a hole in it. It had a "field repair" which consisted of asking around a dead end border town until we found someone with a welder who was willing to patch it to get us to a main town...to then find someone with a bit more skill and bigger bits of metal. Who happened to also make concrete blocks....so the repair was covered in concrete "just in case".

Long live Red. Not sure when or where to go next but needs a little work before I do.
 
Last edited:
Back
Top