wangie46
Active Member
- Posts
- 963
- Location
- Lakeside Essex
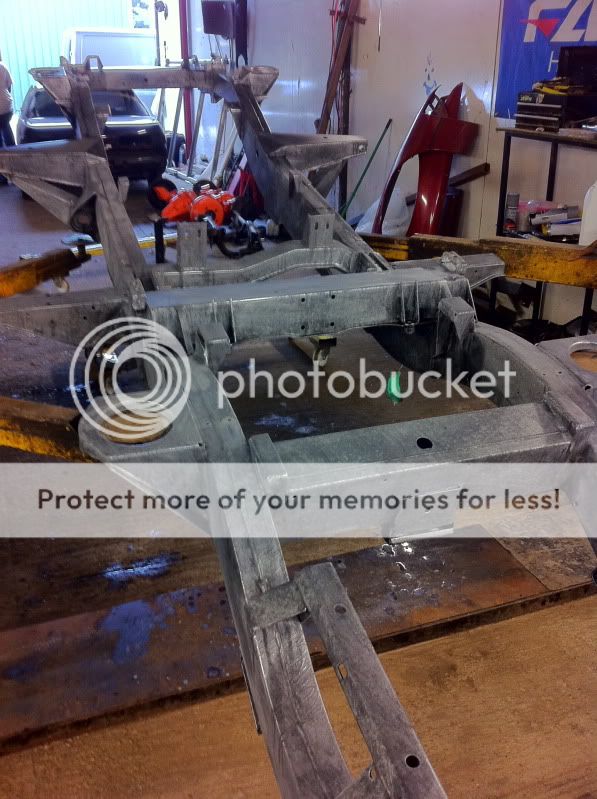
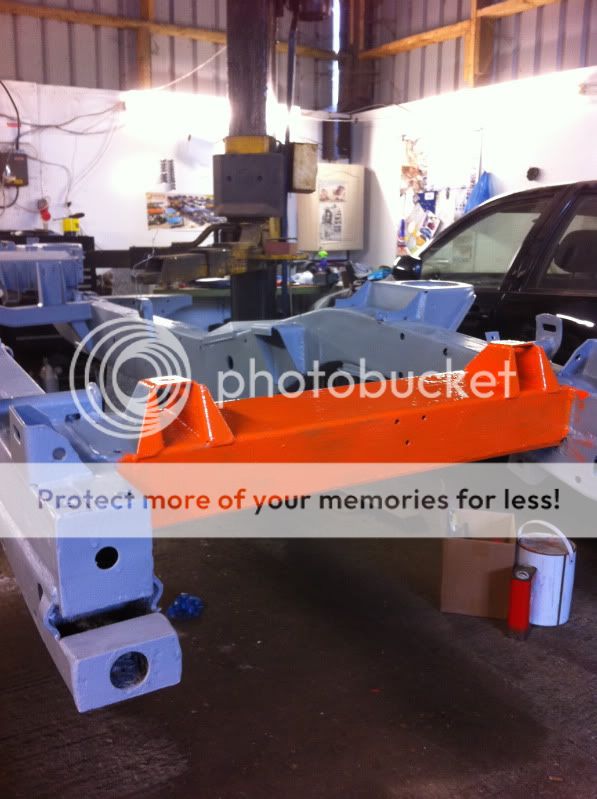
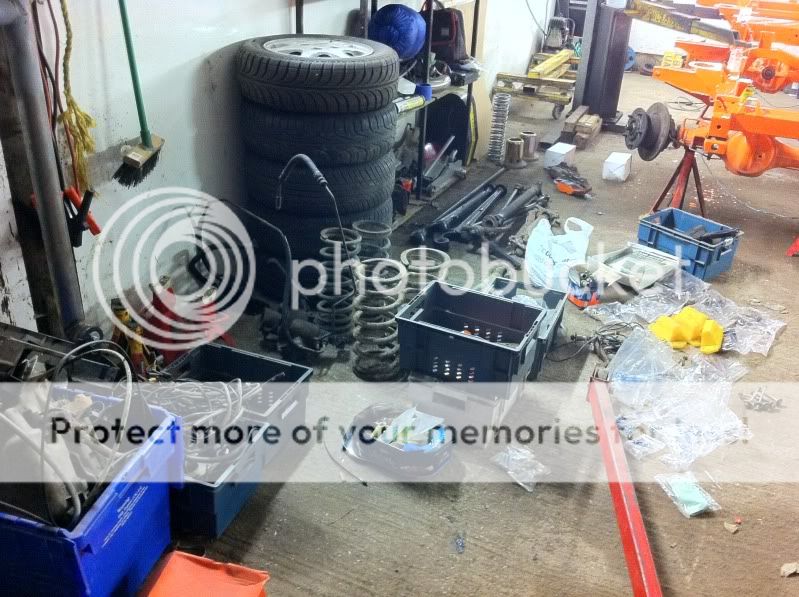
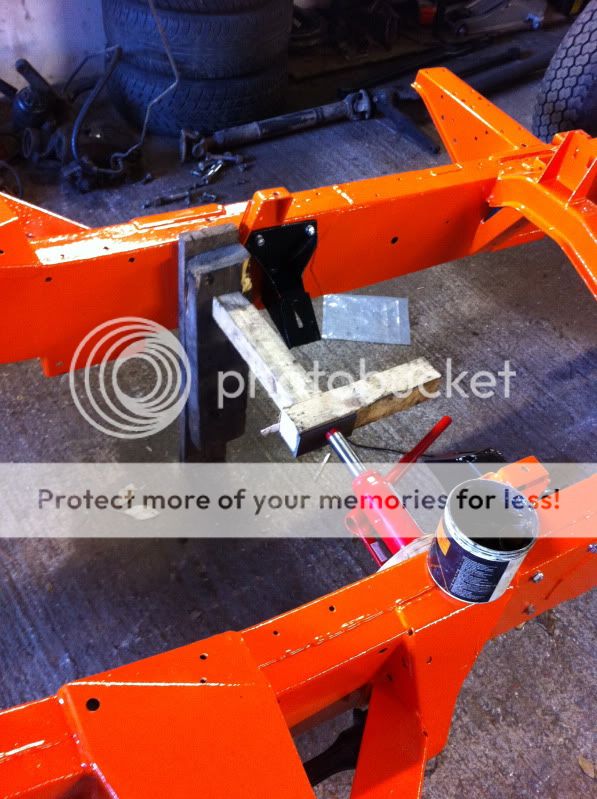
Nice now hurry up and get that thing rebuilt


 )
)
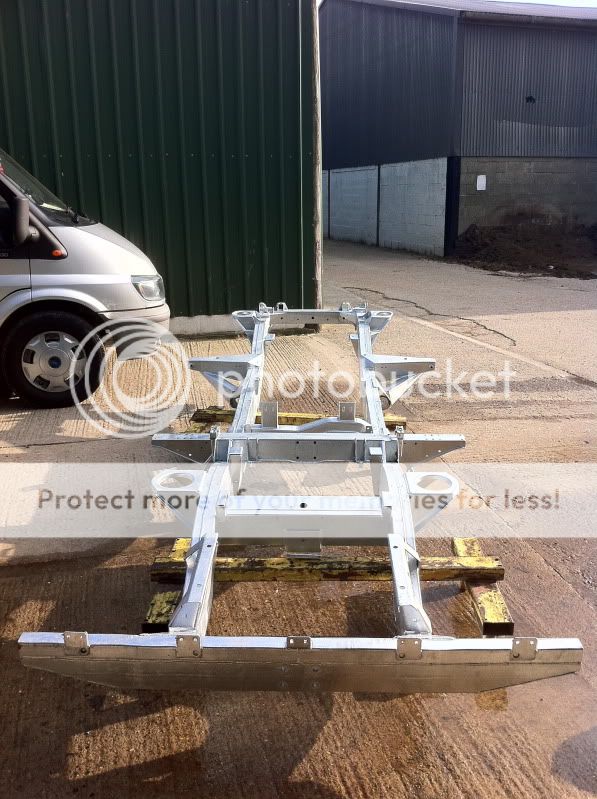
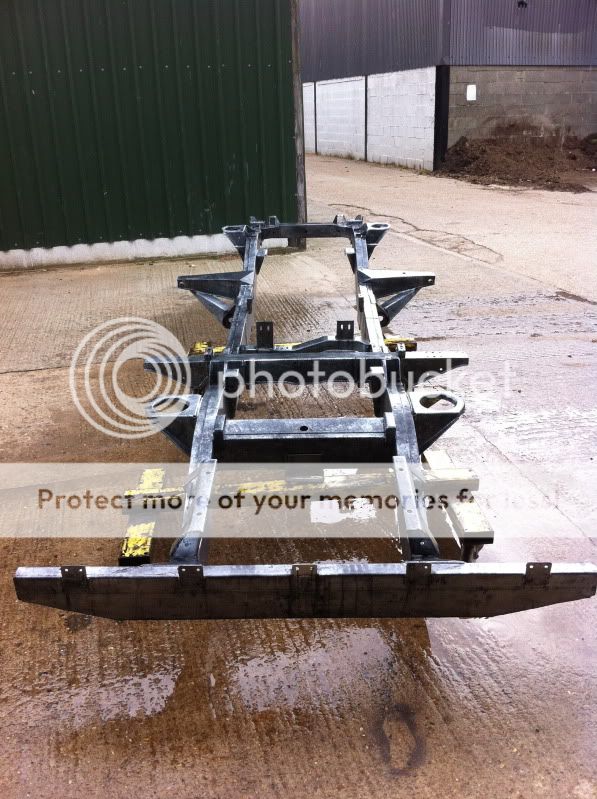
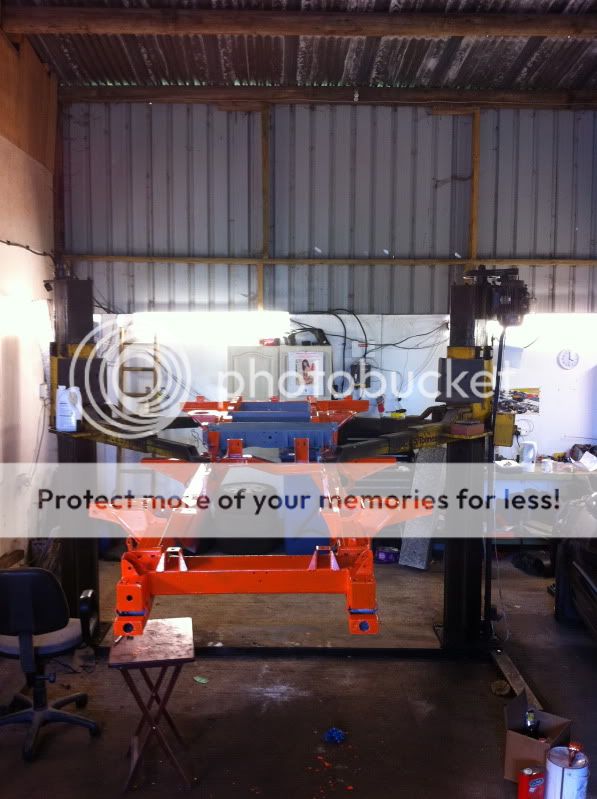
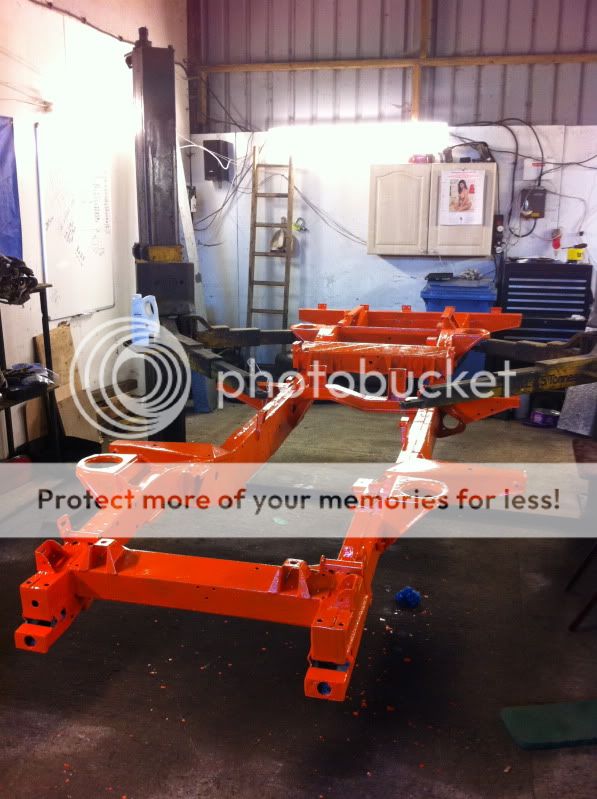
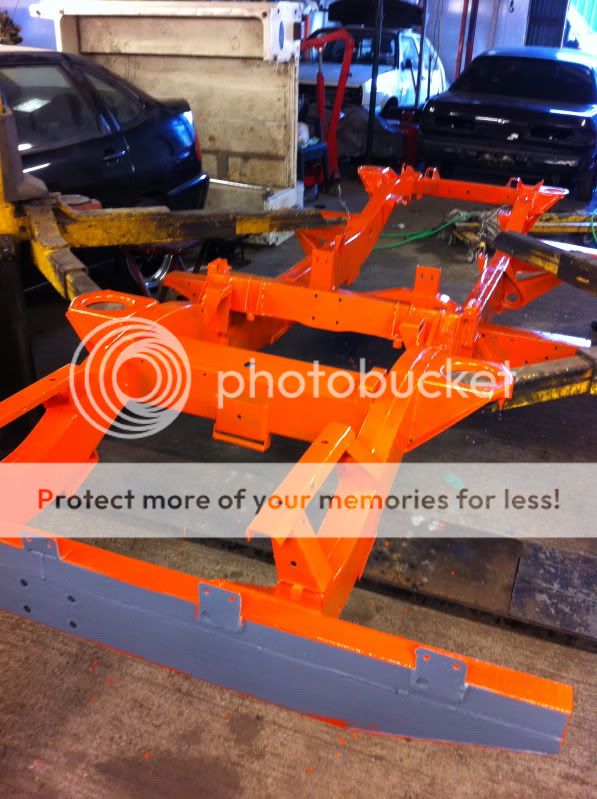
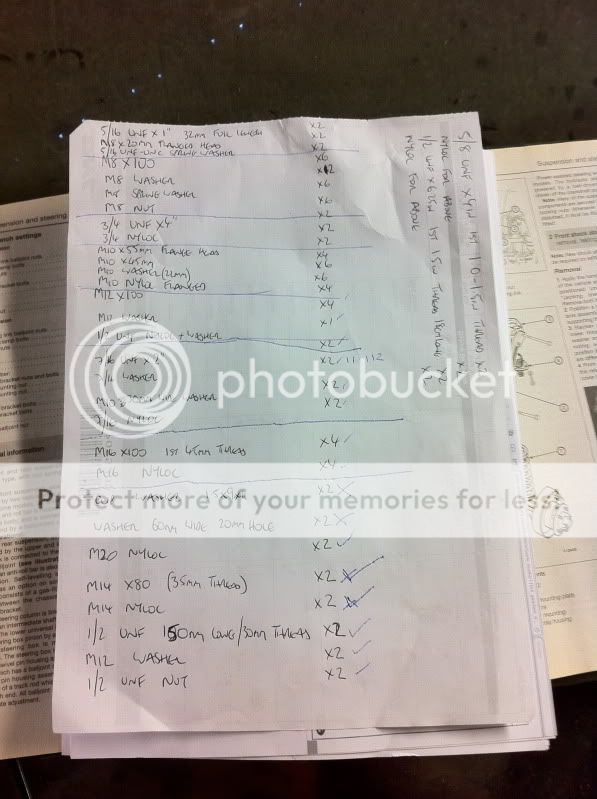
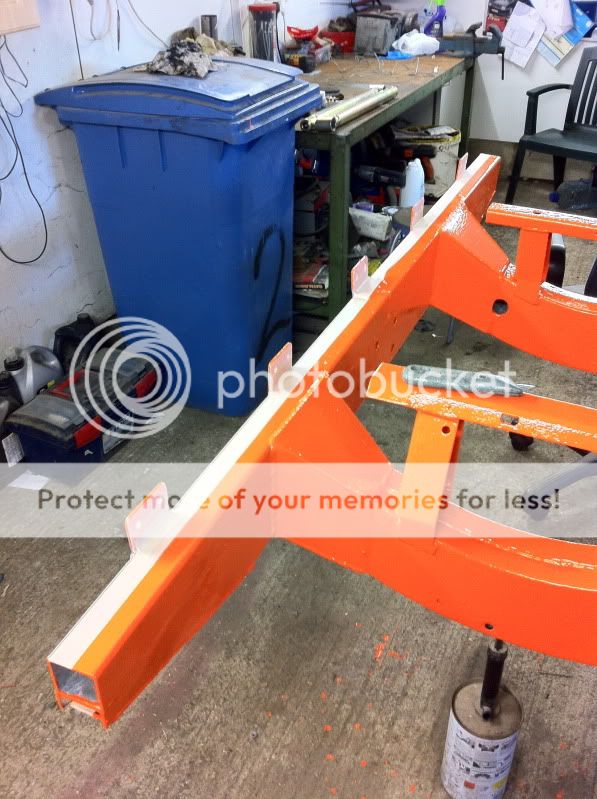
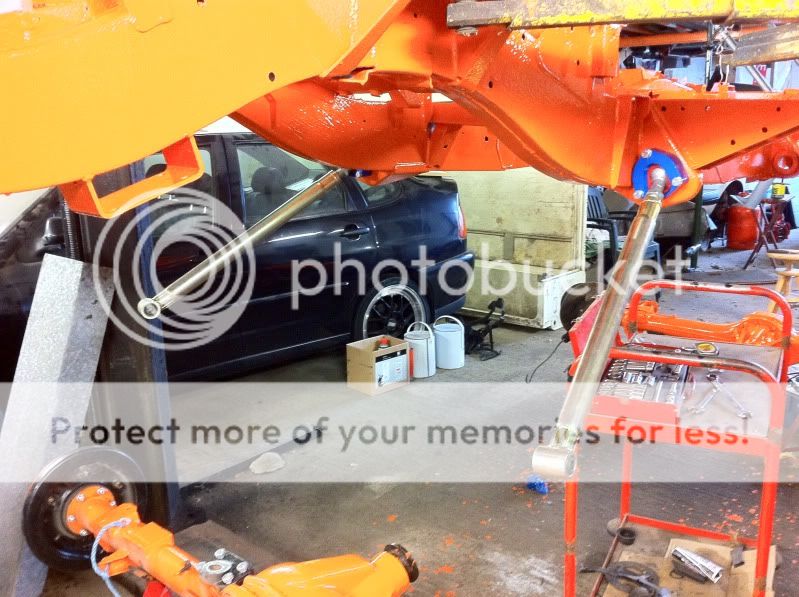
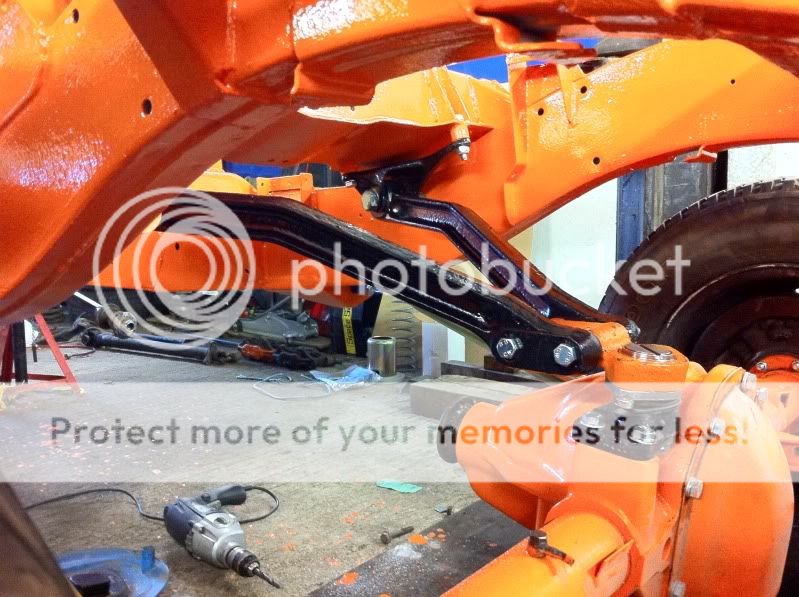
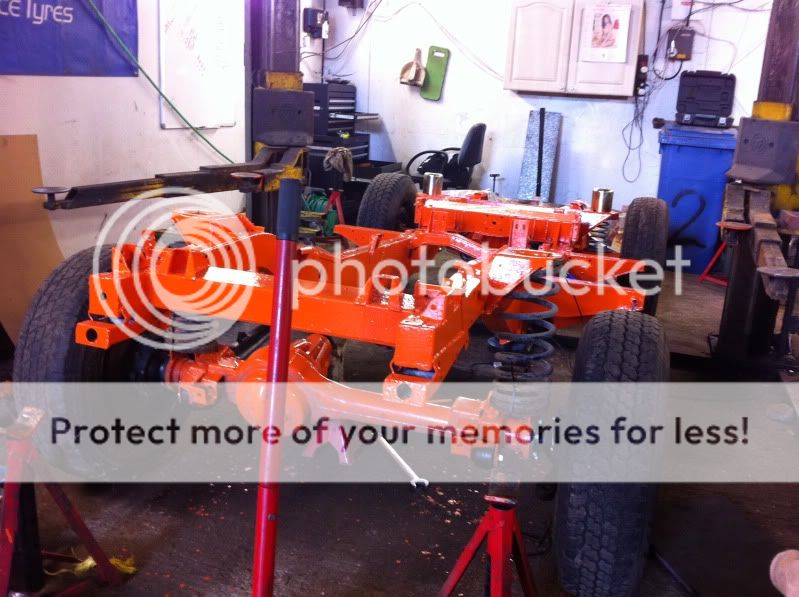
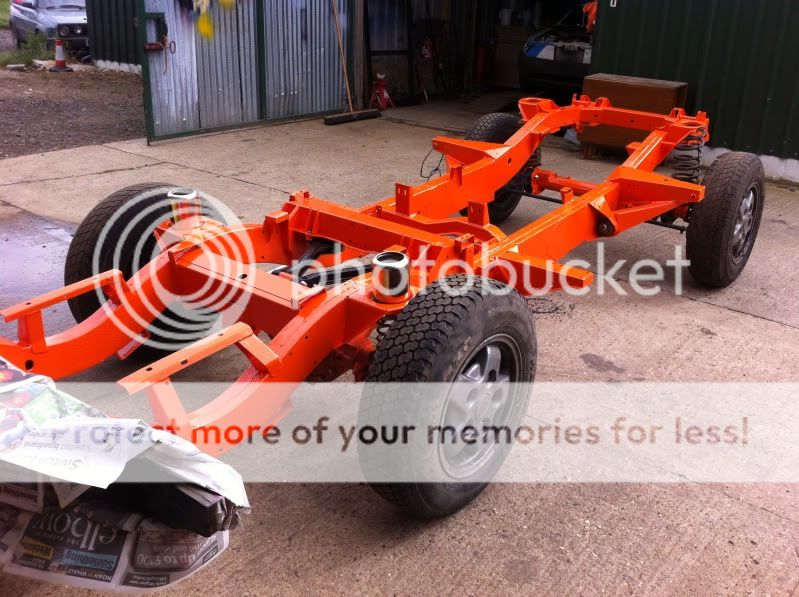
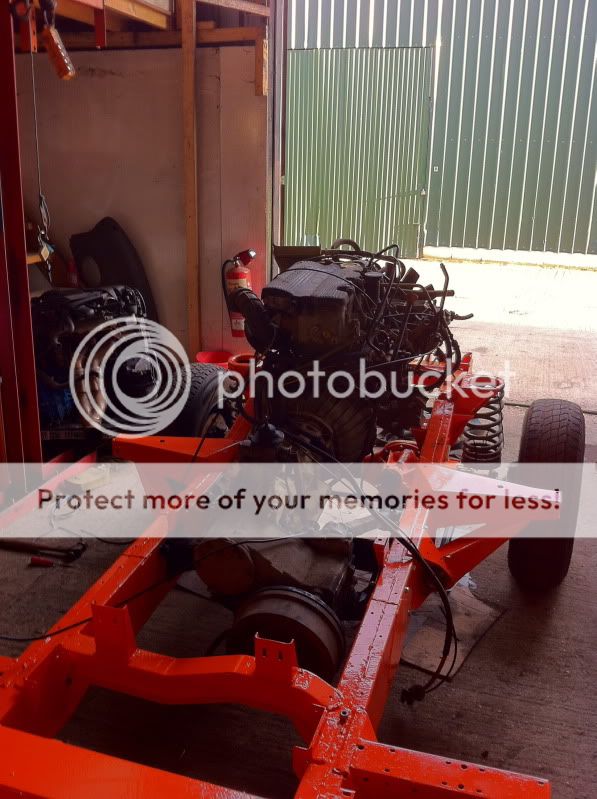
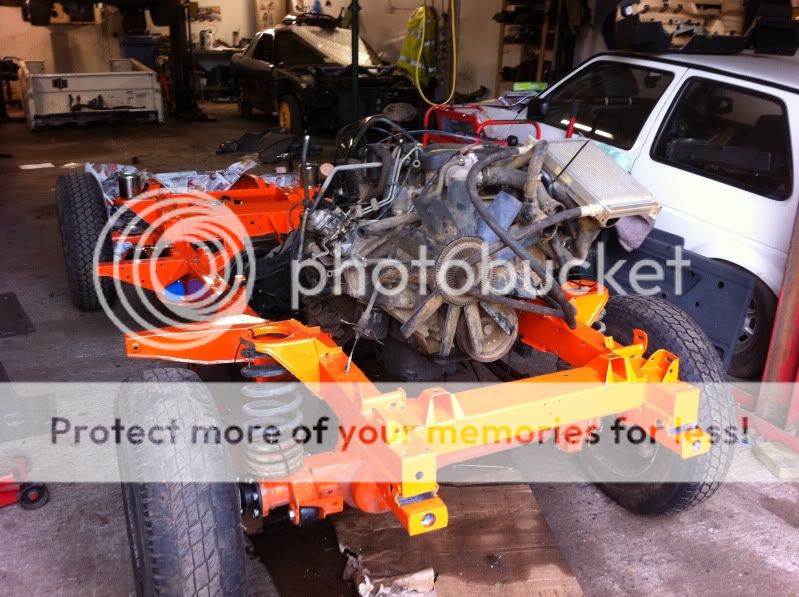
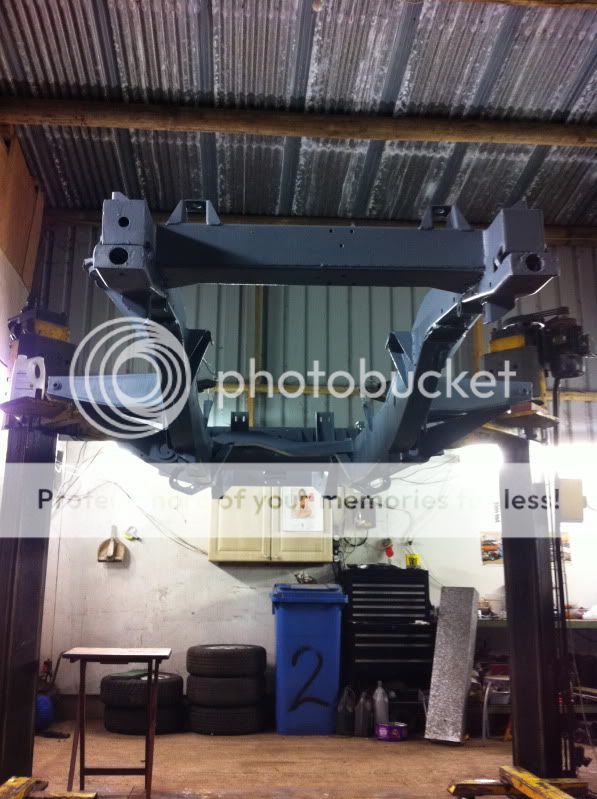 Your chassis seems being like new


 :
:


 :
:


Welcome To LandyZone, the Land Rover Forums!
Here at LandyZone we have plenty of very knowledgable members so if you have any questions about your Land Rover or just want to connect with other Landy owners, you're in the right place.
Registering is free and easy just click here, we hope to see you on the forums soon!