Drizz
Well-Known Member
- Posts
- 1,636
- Location
- Colchester
Cheers lads ")


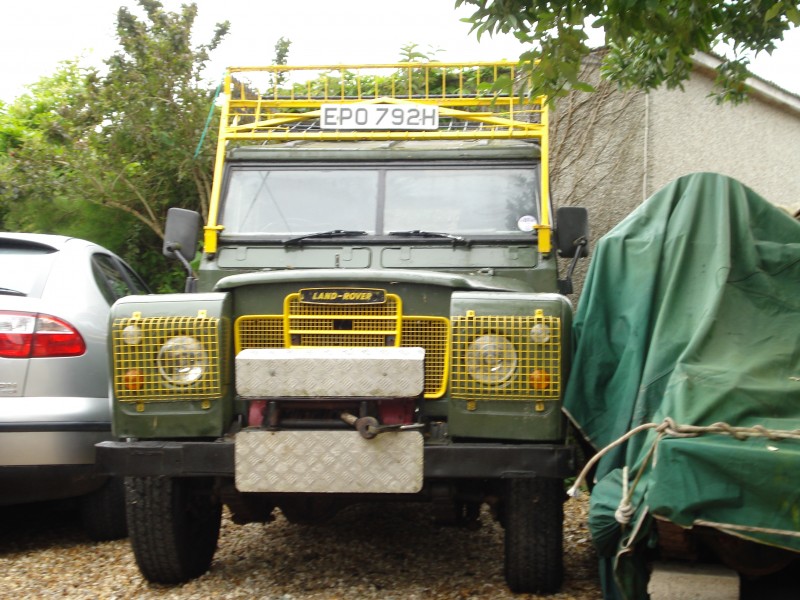
ya aint owned a proper landy till ya had a series...
You've been on this project for nearly 2 years now? Brilliant series of photo's, tells it as it is.
One question to ask, why not start with a new chassis?. Spot in Rotherham makes them for about a grand, fully galvanised.
Regards
Phil*
Ooh very interesting to read


Welcome To LandyZone, the Land Rover Forums!
Here at LandyZone we have plenty of very knowledgable members so if you have any questions about your Land Rover or just want to connect with other Landy owners, you're in the right place.
Registering is free and easy just click here, we hope to see you on the forums soon!