Yes you can swap them over - the wiring all has waterproof clips.
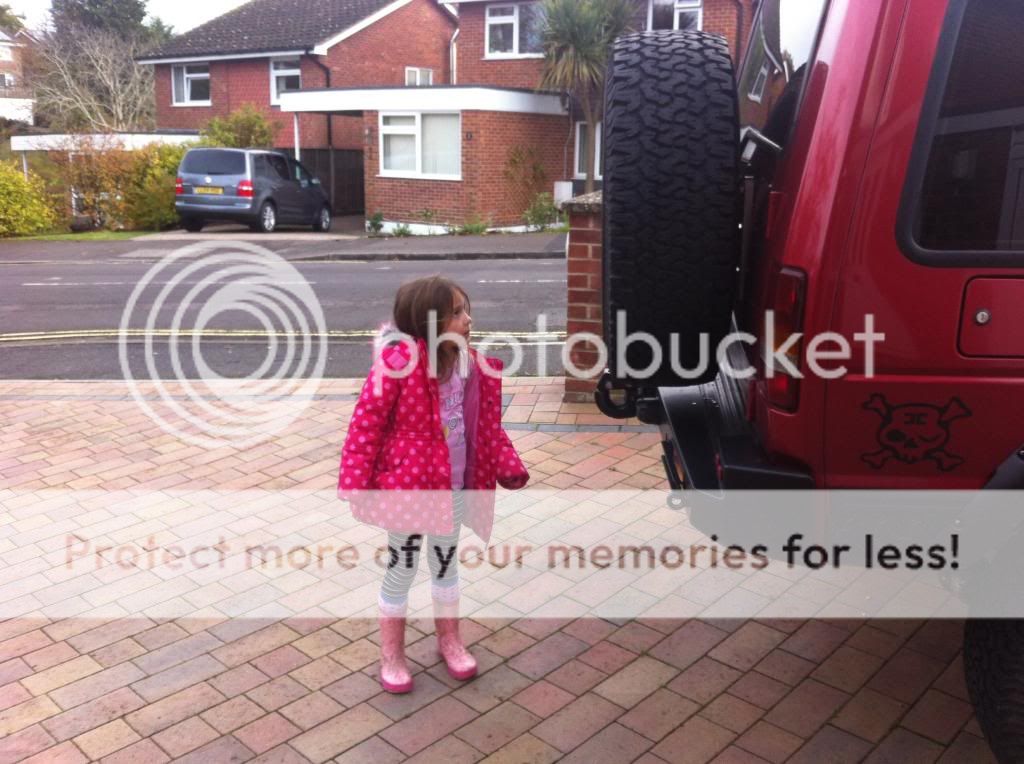
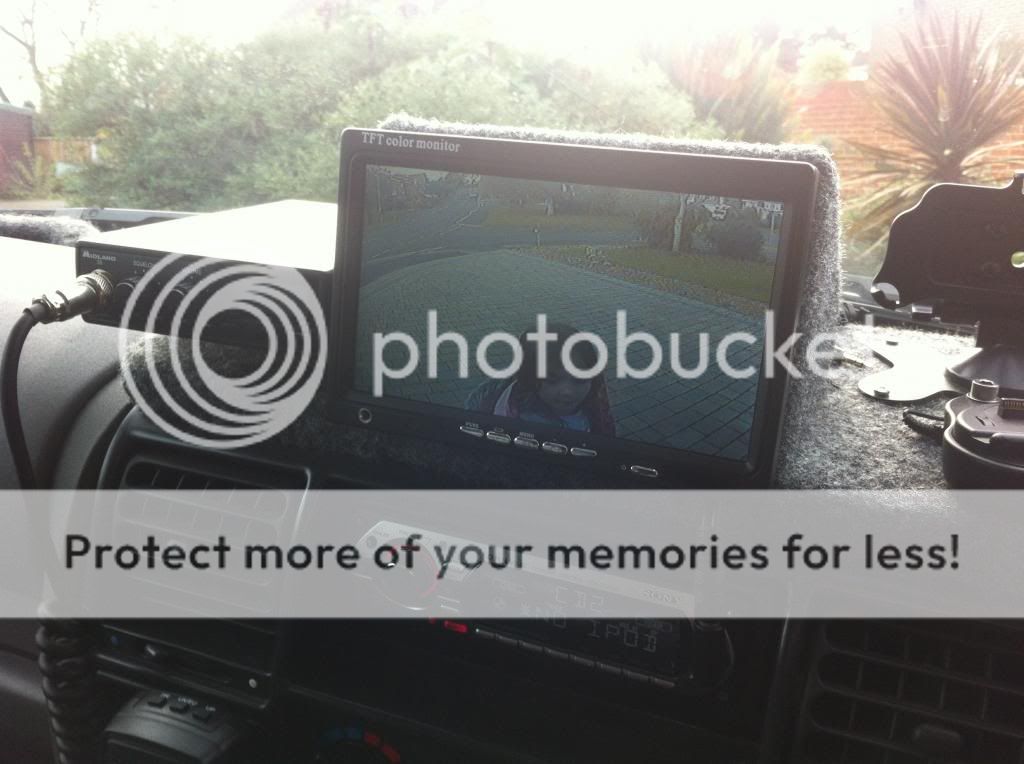
I've lost the wiper since then as I've fitted bigger tyres and lifted the rear wheel holder. There's no need to wipe the window as the camera switches on with the ignition (or reverse or permanent via 3 way switch) so the screen acts as a rear view mirror. So much better than trying to see out of the window of a 4" lifted Disco with a 35" spare, dog rack with high lift and tinted windows. I see if I can grab a photo later.
") auf_wiedersehen_pet's Library | Photobucket
auf_wiedersehen_pet's Library | Photobucket
Thank you. I made it from a standard wheel holder and various bits of plate. The radius of the curved plate at the top matches the inner radius of the wheel so once you've lifted the wheel it will slide into place. Two of the wheel nuts are on fake studs.
The light in the centre (took ages to find one the right width, depth, etc) swaps with the bike rack. Have a look in the link above.