DiscoInBitz
Active Member
- Posts
- 207
- Location
- Birmingham
We noticed it seemed difficult to accurately select the gears, especially when changing up/down from 3rd it was a bit of a lucky dip whether you got 2nd, 4th or reverse.
So I did a search (FFS) on here as well as the web in general and rave manual. I found bits and pieces of info which together gave me enough confidence to have a go.
It worked
So I thought I would do a post from start to finish putting all the info I had found in one place showing how i did it, giving me the opportunity to put something back into Landyzone since I have gained so much from it, in the hope that one day it may help someone.
Safety first, chocked wheels and disconnect battery. (You never know)
Gently prise off gaiters from centre console and unscrew gear and transmission knobs.
Remove rubber mat and remove 4 Philips (ph2) screws securing centre console 2 at front and 2in cubby box.
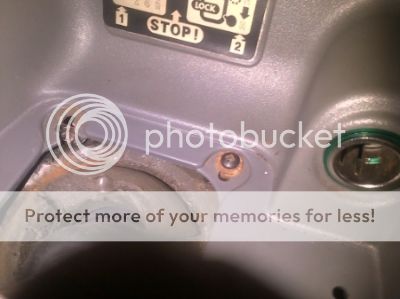

Gently prise off window switch cover then undo 4 small ph1 screws to release switch housing and unclip 5 wiring connectors. Make a note which one goes where to save messing about on refitting
Remove spring clip and cable retaining pin from hand brake lever.
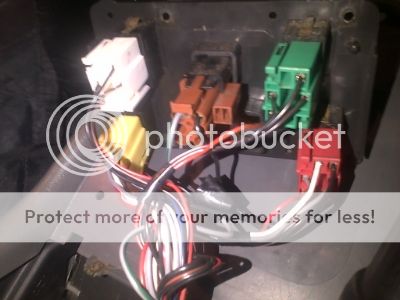
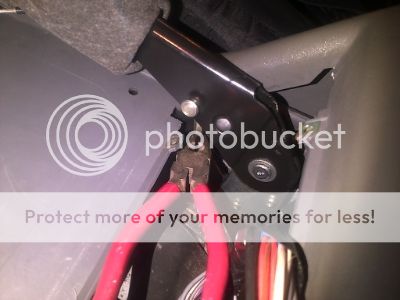
Lift up handbrake lever to allow the removal of the centre console, unclipping cigar lighter connectors.
Unscrew two heater tubes and remove for better access. Same with front console bracket.
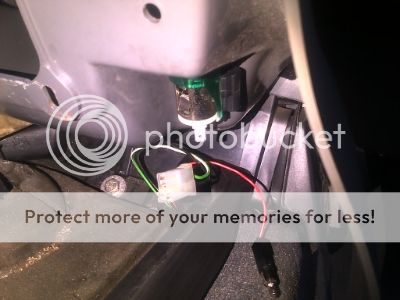
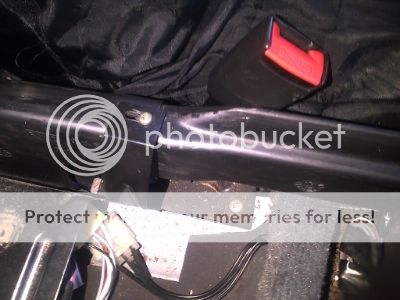
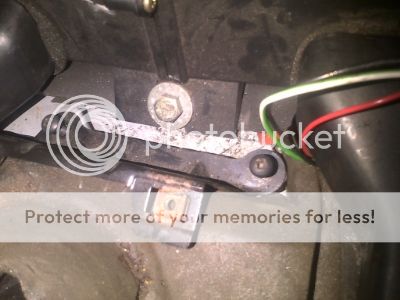
Undo bolt (14mm) and remove upper gear-lever.
Remove sound insulation.
Unscrew 4 ph2 screws and remove gear lever clamp rings.
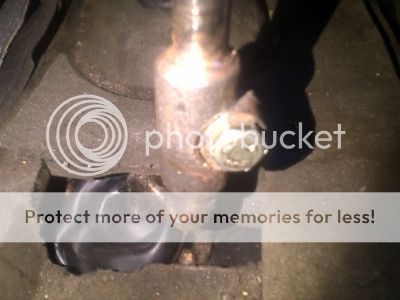
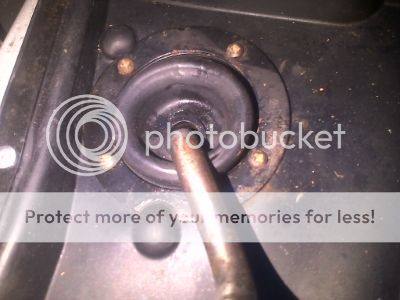
Next job is to drill out the 13 pop rivets securing the rubber cover and steel gasket. (I used a 5mm drill bit) I found it easier to slide some long drills or bits of cane etc. between the carpet and the transmission tunnel just to keep it out of the way whilst drilling I had a good vacuum up at this point as I didnt want any swarf /pop rivet bits anywhere my gearbox not yet knowing what was underneath.
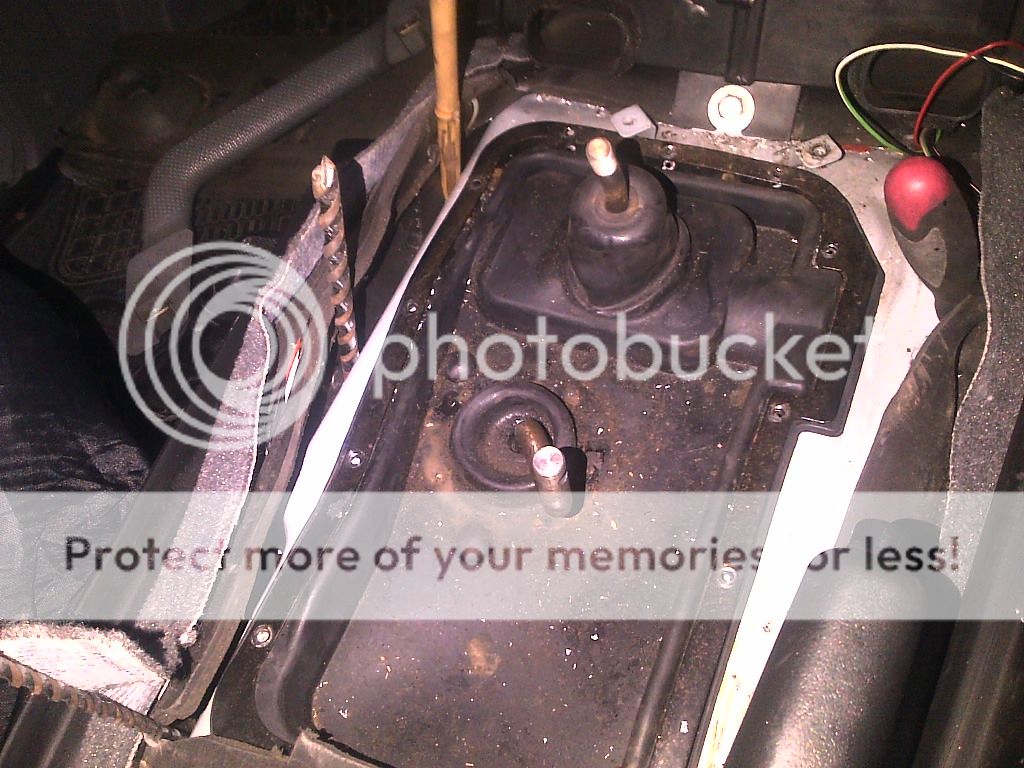
Undo two (ph3) screws to loosen the metal gear lever cover. I undid these each a little at a time as this makes sure the bolts remain attached to the cover via their respective spacers and star lock washers. I saw a post on here where someone found them under the cover loose and asked what they were.
I had to bend up the lip of the left tunnel side to allow this to be removed.
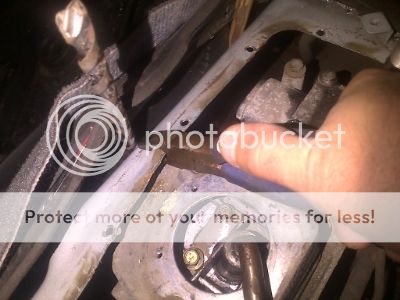
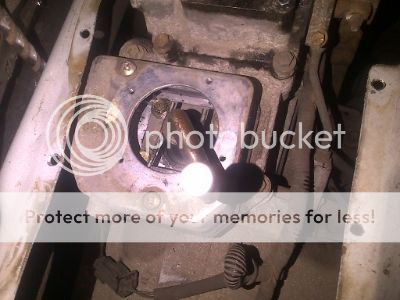
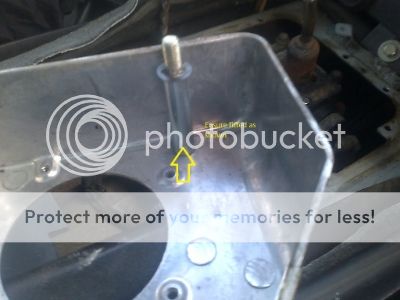
Upon inspection it was obvious the vertical part of the bias plate snapped off, I forgot to take a photo of mine but if you look at post 13 here . http://www.landyzone.co.uk/lz/f8/bias-plate-repair-213719.html?highlight=bias+plate you can see what I mean.
After much debate I welded mine mainly because I didnt want to wait to get hold of a replacement although they are only about £5. (frc9340) I did read in a post somewhere that you can get a heavy duty one which I will definitely be doing in the near future.
To remove the bias plate and springs undo the 4 bolts (13mm IIRC) carefully as the springs are under tension.
Now for the important bit . I did a fair amount of research on setting the bias plate the main objective is to ensure the gear lever is set to slide easily between 3rd and 4th gears without any sideways pressure at all. I did read a post in which James Martin explained which spring to put on first but couldnt find it again when it came to refitting.
So this is how I did it.
First of all check the gear lever for signs of wear. (See yellow arrows in next photo) The springs can wear a groove across the shaft, if so consider either a new ball lever of fill the grooves by welding and grinding. Mine were ok about time I had a bit of luck eh?
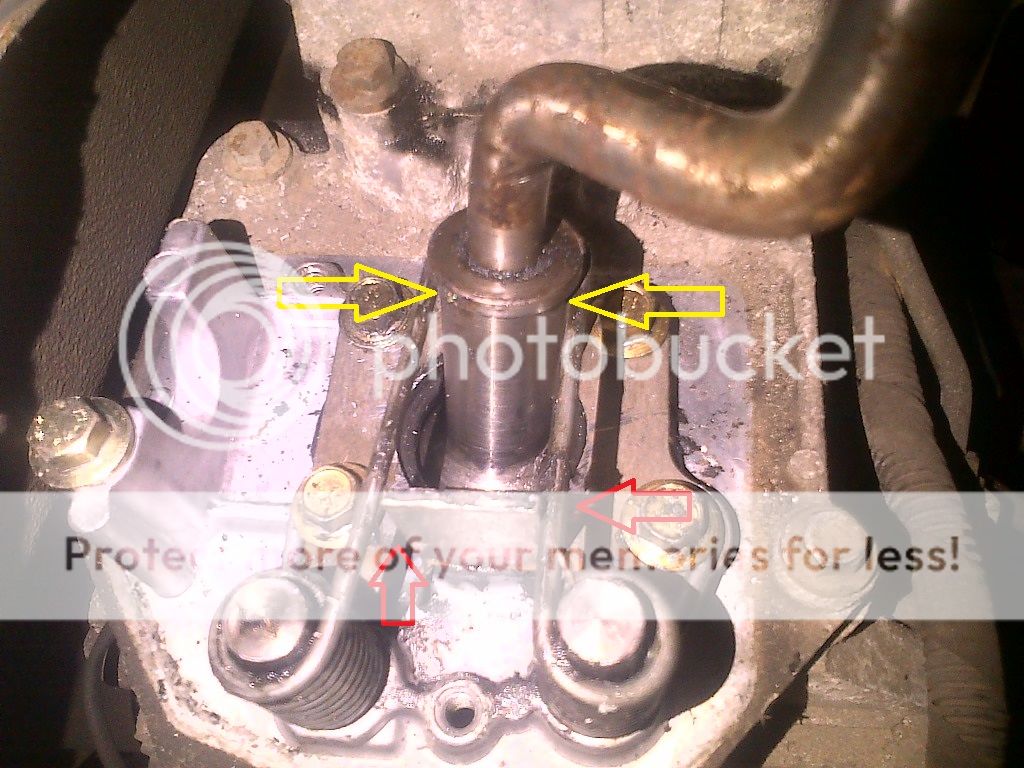
Place the bias plate in position and loosely fit the front two bolts.
Fit the right hand spring loosely in position, select 1st gear, this should enable you to lift the leg end of the spring up and over from the left side of the lever to the right-hand side and down under the lip. Fit the left hand spring and bolt loosely then select fourth gear, this should enable you to lift the leg of this spring from the right to the left.
Whilst in 4th gear apply a little rightwards pressure to the lever whilst tightening up all 4 bolts.(25nm)
The lever should now select 3rd / 4th gears very easily as the bias plate will have moved slightly to the right. The right-hand spring should be touching the right side of the upstand on the bias plate (see righthand red arrow) and there will be a 1 or 2 mm gap on the left between spring and upstand. (left red arrow)
Now check availability of all gears.
Refitting as they say is basically the reversal of removal bearing in mind the following:
Tighten the two lever cover screws down together
I used 4.8mm x 8mm pop rivets on refitting (all I had).
Whilst the console was off I took the opportunity to make any necessary adjustment to the handbrake cable whilst the adjuster was accessible.
When refitting the centre console if you position it almost vertical and wedge it up a couple of inches, reconnecting the cigar lighter is easy.
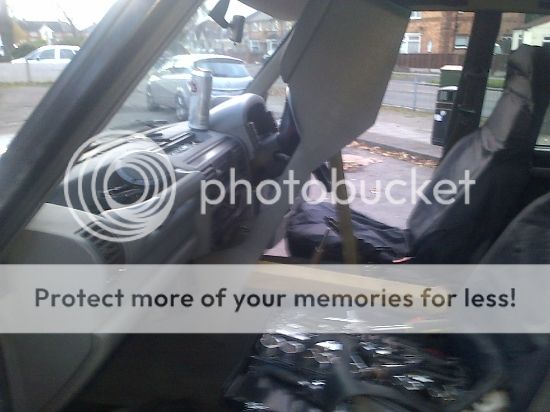
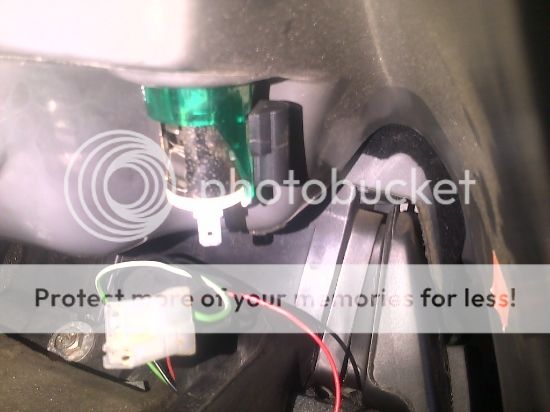
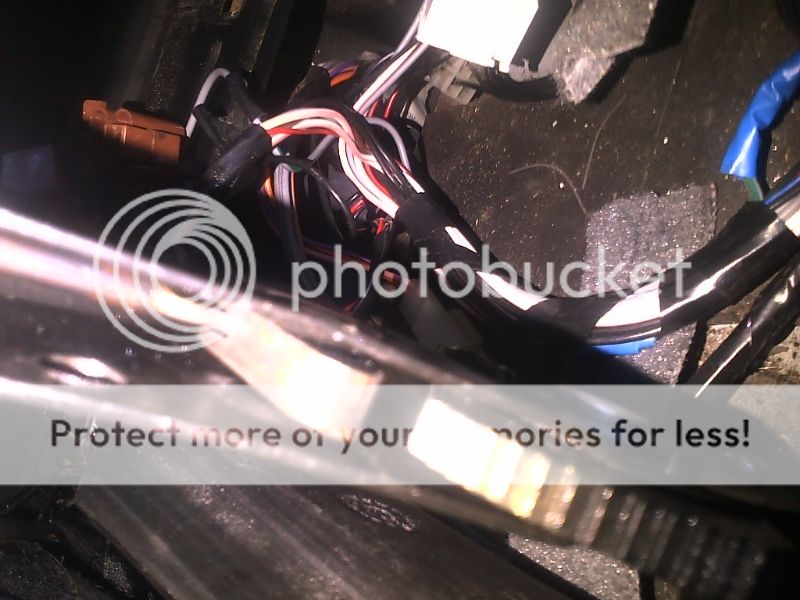
When positioning the handbrake make sure the inner rod serrated thing is the right way round as its a pain if its wrong and you have put the console back:doh:
I am no expert by any means and this is the first time I have been anywhere near a gearbox but found this quite easy after doing the research.
Thanks for reading if I have done anything wrong
Daz
