Saltlick
Well-Known Member
- Posts
- 1,082
- Location
- Taunton, Somerset
Over on my short thread about load carrying capacities of LR axles I asked if anyone was interested in a rebuild thread on the farm trailer I'm doing - Flat said yes, so you've only got him/yourself to blame for reading this! 
I moved to a new house on a farm in feb after buying a project disco off Joe - a member on here (that's another thread to come) and they had/have a knackered trailer/muck cart that sits out in all weathers, stacked up with horse crap and bedding until it can be emptied once or twice a week.
This thing is pretty old - they've had it for at least 14 years, and I think it was probably at least 2nd hand when they aquired it.
Anyway, it was pretty much on its last legs and I (as the new boy round ere..) was asked if I'd like like to rebuild it. I said no initially as fitting it in with other work and family activities (2 kids etc) would be tricky.
Then for some reason I found myself saying yes!
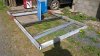
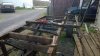
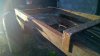
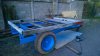
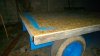
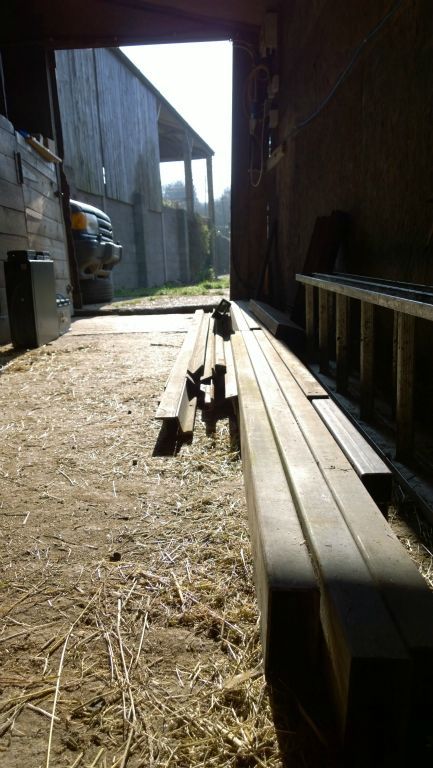
So before work could begin I needed to source some steel. The original framework was C section steel beam for the bottom chassis, then on top of this and hinged at the rear is the middle section which a hydraulic ram locates into to give the muck cart its tipping ability. On top of this mid section is the third and final section of steel frame which is the base for the bed and sides of the trailer (made of wooden planks), into which all the horse muck goes.
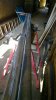
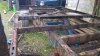
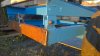
This is a relatively large trailer, so takes a good few days to fill, so in the meantime all the crap that is in it drains through the slats in the base, drips all over the steel and had done a really good job of rotting the metal away.
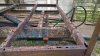
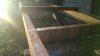
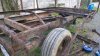
This picture was taken further down the line, but you can see how bad it was - the r/h rear corner wasn't attached, it was only held up by the wood, and the middle cross member in the pic is where I fell through
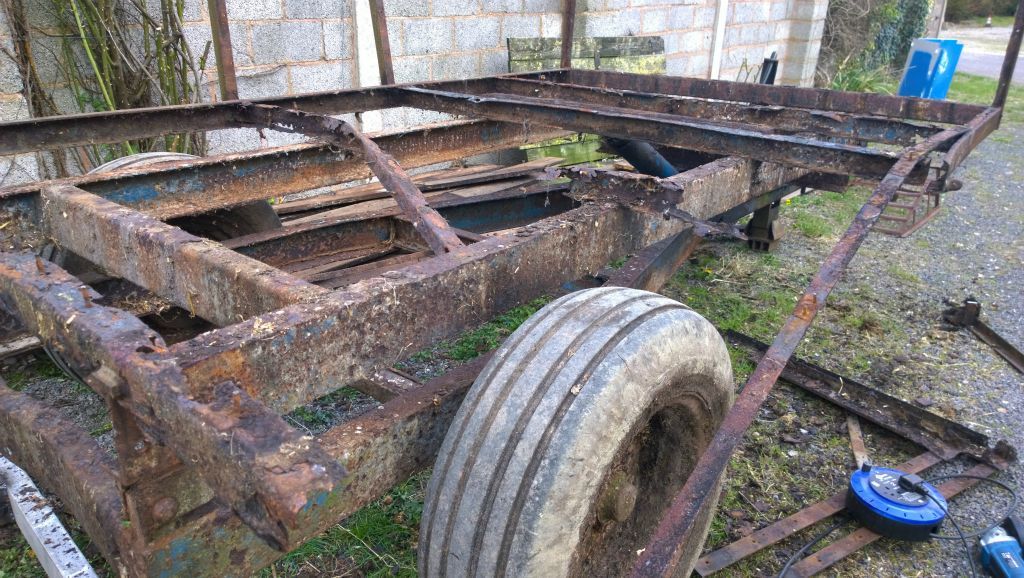
I had seriously underestimated the amount of work this thing required, even from the point of cleaning up the exsisting steel to build upon. That's not a mistake I will make ever again if I can help it.
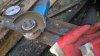
I've gone though about £40 or so worth of cutting and grinding discs, a pant load of flap wheels and about 4 wire grinder wheels, and worst of all is that I have no fecking idea where my grinder side handle has gone, so now have wrists of ...well, crap really. Oh and a set of brushes for my grinder too.
Hey ho - [Horse] **** happens...
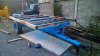
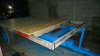
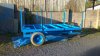
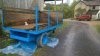
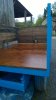
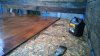
I elected to rebuild this using box section 100x50mm 2.5mm or 3mm wall steel to keep the corrosive effluent out, rather than sitting in the C sections, and then managed to find some weathered galvanised RHS steel at a good price and more or less the right sizes.
I was a little bit short, so made up the shortfall in steel with some 50x50mm mild steel box that I could double up on to give me the 100mm tall dimension, whilst also giving a stronger beam to put directly behind the hydraulic ram.
Before taking the trailer out of action I wanted to start building the top frame, so that the inconvenience was minimised.
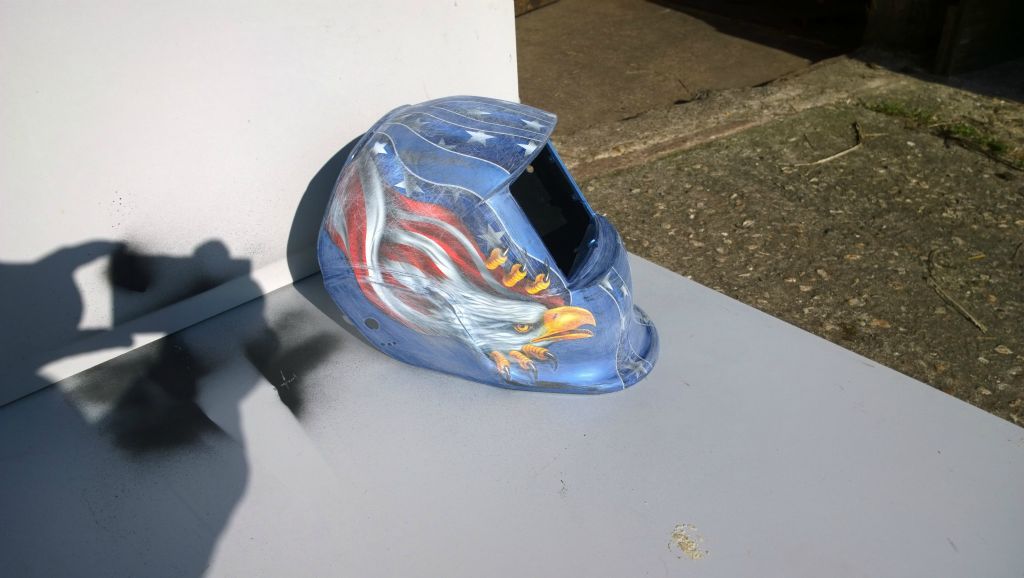
But before I could start any welding I had a very important job to take care of first, as with many visitors milling around the farm I need to make a cosmetic change - if I wanted a cheesy helmet, I'd just leave the same pair of pants on all week:
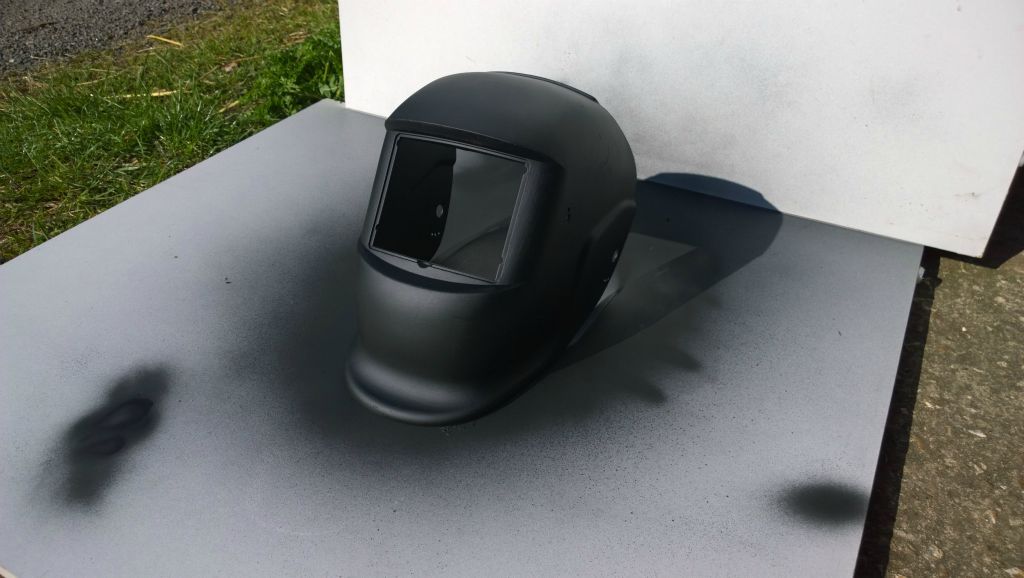
Krylon matte black to the rescue - it's some good cake this stuff, I use it in camo patterns on firearm stocks and metalwork:

Once I'd got meself a nicely blackened helmet, I could begin.
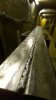
Lots of people tell me 'You can't weld Galv steel!' - bollocks I say, they just haven't cleaned off the zinc properly. I made sure to get right back to bright steel with the grinder, and though a messy job, it's worth it.
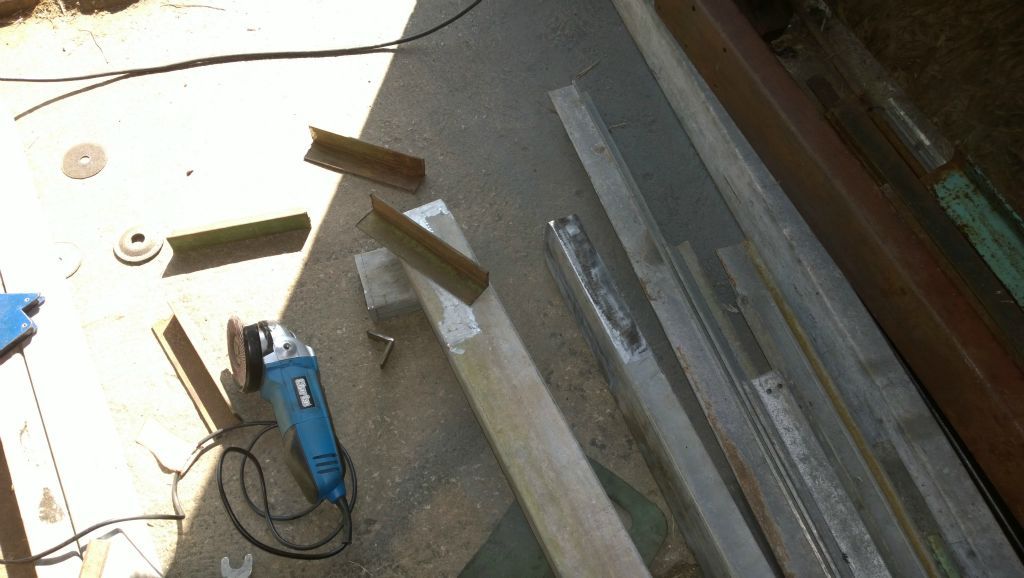
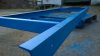
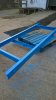
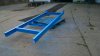
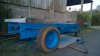
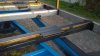
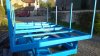
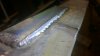
I had to start by lengthening two of the 100x50 beams, to give me the side rails, as the longest I had was 2 metres, when I needed just a tad over 3m for the finished length.
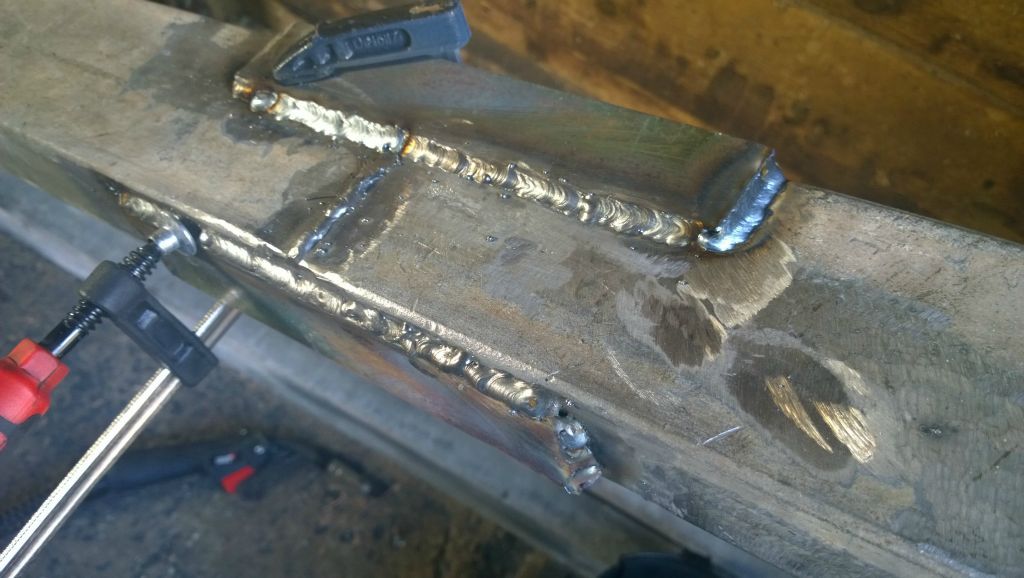
So the beams were cut and joined and the join was braced on either side by 5mm angle iron:
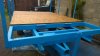
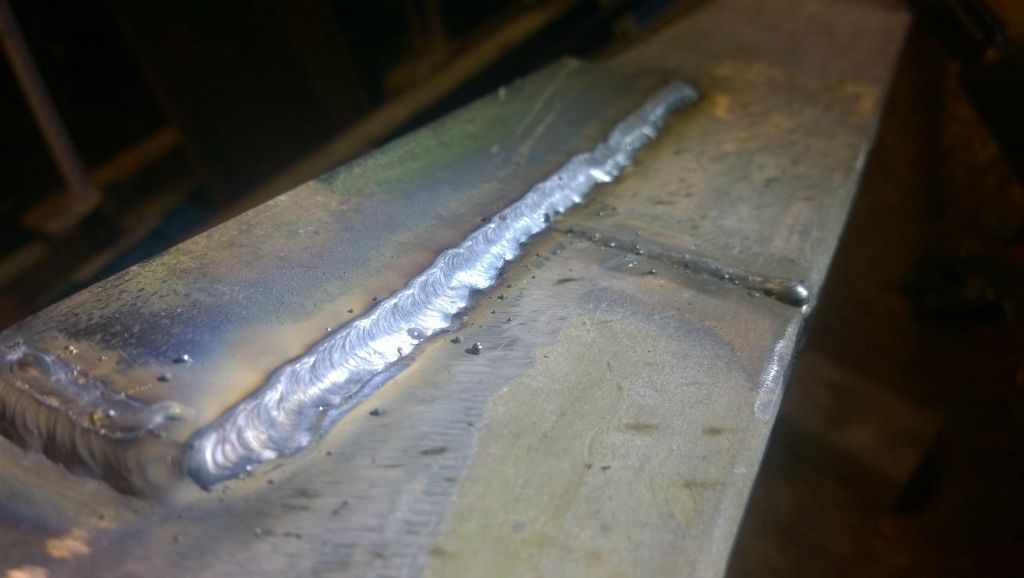
Shortly after doing the first one of these my welder went a bit spaz, and I just couldn't get any decent penetration with it (fnarr fnarr) so took up my neighbours offer of using his welder - a nice little Snap on 185amp mig. Suffice to say it performed a llittle more reliably than my 135a SIP!
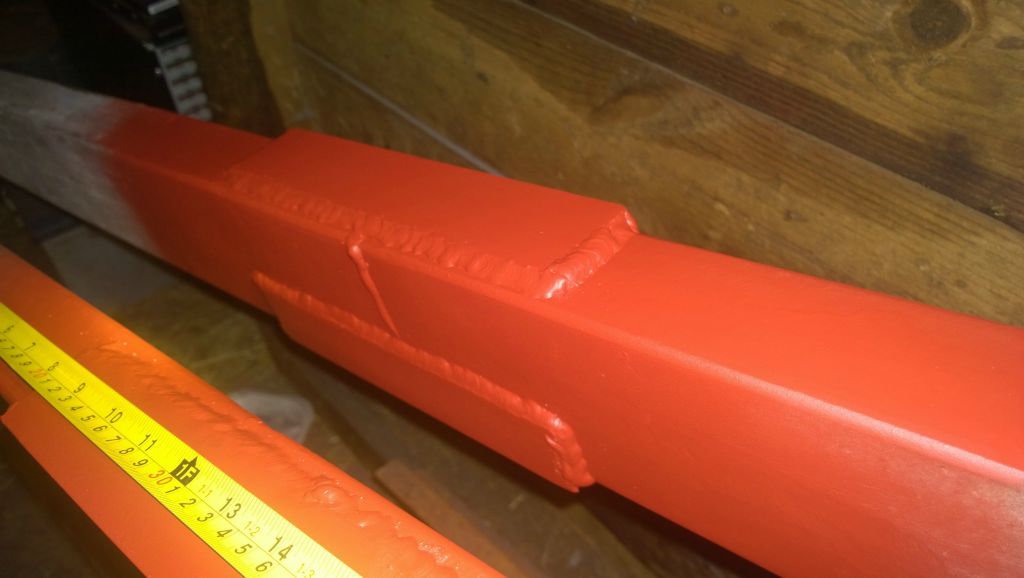
Progress...
How's ma weldin?
I moved to a new house on a farm in feb after buying a project disco off Joe - a member on here (that's another thread to come) and they had/have a knackered trailer/muck cart that sits out in all weathers, stacked up with horse crap and bedding until it can be emptied once or twice a week.
This thing is pretty old - they've had it for at least 14 years, and I think it was probably at least 2nd hand when they aquired it.
Anyway, it was pretty much on its last legs and I (as the new boy round ere..) was asked if I'd like like to rebuild it. I said no initially as fitting it in with other work and family activities (2 kids etc) would be tricky.
Then for some reason I found myself saying yes!
So before work could begin I needed to source some steel. The original framework was C section steel beam for the bottom chassis, then on top of this and hinged at the rear is the middle section which a hydraulic ram locates into to give the muck cart its tipping ability. On top of this mid section is the third and final section of steel frame which is the base for the bed and sides of the trailer (made of wooden planks), into which all the horse muck goes.
This is a relatively large trailer, so takes a good few days to fill, so in the meantime all the crap that is in it drains through the slats in the base, drips all over the steel and had done a really good job of rotting the metal away.
This picture was taken further down the line, but you can see how bad it was - the r/h rear corner wasn't attached, it was only held up by the wood, and the middle cross member in the pic is where I fell through
When I initially looked at this as a potential job, I expected to cut the top off, weld a new frame and uprights on and then shove the wood back on after painting - in my head I thought it would take a pro about 2 or 3 solid, long days of work. That was a month ago!
I had seriously underestimated the amount of work this thing required, even from the point of cleaning up the exsisting steel to build upon. That's not a mistake I will make ever again if I can help it.
I've gone though about £40 or so worth of cutting and grinding discs, a pant load of flap wheels and about 4 wire grinder wheels, and worst of all is that I have no fecking idea where my grinder side handle has gone, so now have wrists of ...well, crap really. Oh and a set of brushes for my grinder too.
Hey ho - [Horse] **** happens...
I elected to rebuild this using box section 100x50mm 2.5mm or 3mm wall steel to keep the corrosive effluent out, rather than sitting in the C sections, and then managed to find some weathered galvanised RHS steel at a good price and more or less the right sizes.
I was a little bit short, so made up the shortfall in steel with some 50x50mm mild steel box that I could double up on to give me the 100mm tall dimension, whilst also giving a stronger beam to put directly behind the hydraulic ram.
Before taking the trailer out of action I wanted to start building the top frame, so that the inconvenience was minimised.
But before I could start any welding I had a very important job to take care of first, as with many visitors milling around the farm I need to make a cosmetic change - if I wanted a cheesy helmet, I'd just leave the same pair of pants on all week:
Krylon matte black to the rescue - it's some good cake this stuff, I use it in camo patterns on firearm stocks and metalwork:
Once I'd got meself a nicely blackened helmet, I could begin.
Lots of people tell me 'You can't weld Galv steel!' - bollocks I say, they just haven't cleaned off the zinc properly. I made sure to get right back to bright steel with the grinder, and though a messy job, it's worth it.
I had to start by lengthening two of the 100x50 beams, to give me the side rails, as the longest I had was 2 metres, when I needed just a tad over 3m for the finished length.
So the beams were cut and joined and the join was braced on either side by 5mm angle iron:
Shortly after doing the first one of these my welder went a bit spaz, and I just couldn't get any decent penetration with it (fnarr fnarr) so took up my neighbours offer of using his welder - a nice little Snap on 185amp mig. Suffice to say it performed a llittle more reliably than my 135a SIP!
Progress...
How's ma weldin?
Attachments
-
 cheesy helmet.jpg65.8 KB · Views: 477
 -
 krylon.jpg49.4 KB · Views: 433
 -
 black helmet.jpg69.3 KB · Views: 422
 -
 steel in sun.jpg73.5 KB · Views: 421
 -
 rotten.jpg168 KB · Views: 479
 -
 braced and paint 2.jpg50.7 KB · Views: 448
 -
 brace2.jpg51.8 KB · Views: 473
 -
 braced.jpg84.3 KB · Views: 449
 -
 angle bracing.jpg77.1 KB · Views: 459