GreenHornet
Well-Known Member
- Posts
- 1,361
- Location
- Fleet, Hampshire
FRONT DIFF REBUILD
Yes today I started the job that I was putting off for a bit however, needs must and last week it became apparent that I needed to replace the pinion bearings in the front diff.
WHAT LEAD ME TO THIS? I hear you cry with excitement ish type cries, well I had noticed that the steering was becoming stiff when just off centre but when I was stationary, it seemed fine.
Also as I had just replaced the rear diff, the really loud noise at the rear had disappeared only to allow me to hear the front hum and whine. Well actually I hear a whine from the front most of the time BUT this time I could still hear it even when the misses wasn't sitting in the front seat
Also, yes there is more, I noticed that as I was coming to a halt, there was a discernible rumbling and vibration at the front.
Finally on drawing underneath I noticed the same amount of play in the front flange as I had noticed before in the rear just before the rear went for a burton.
So it was time to whip it out and once I had jumped the misses I went out to play with the car
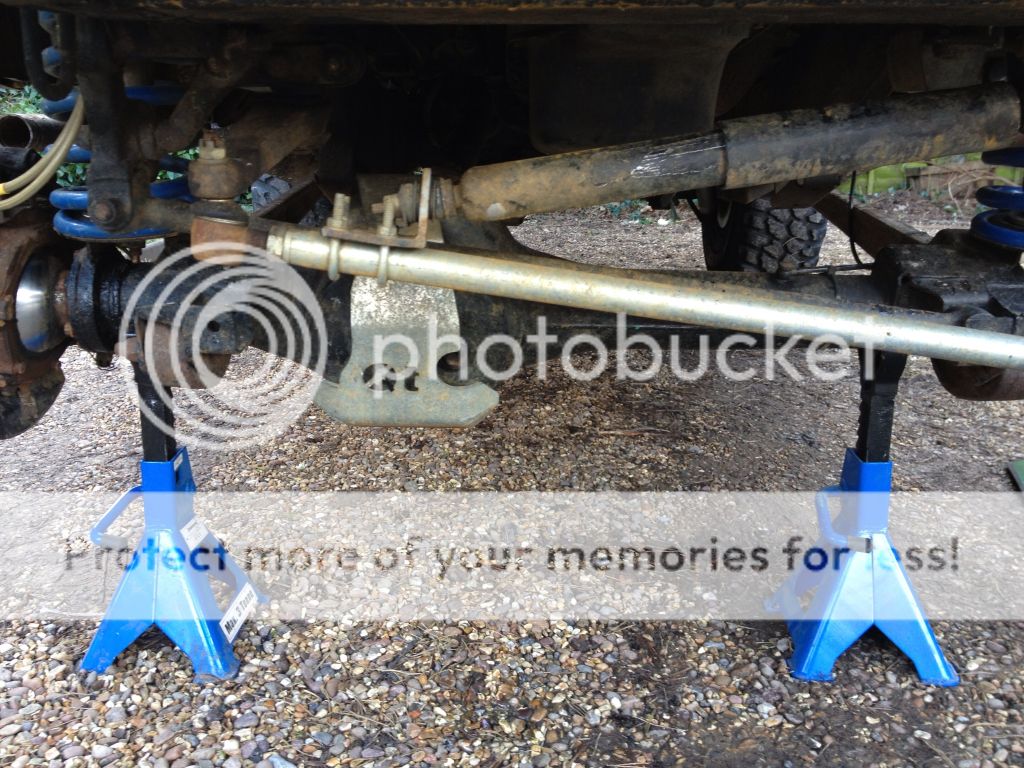
Firstly I cracked the wheel nuts to the front wheels, jacked up the front and placed axles stands under the axle so the front was secure.
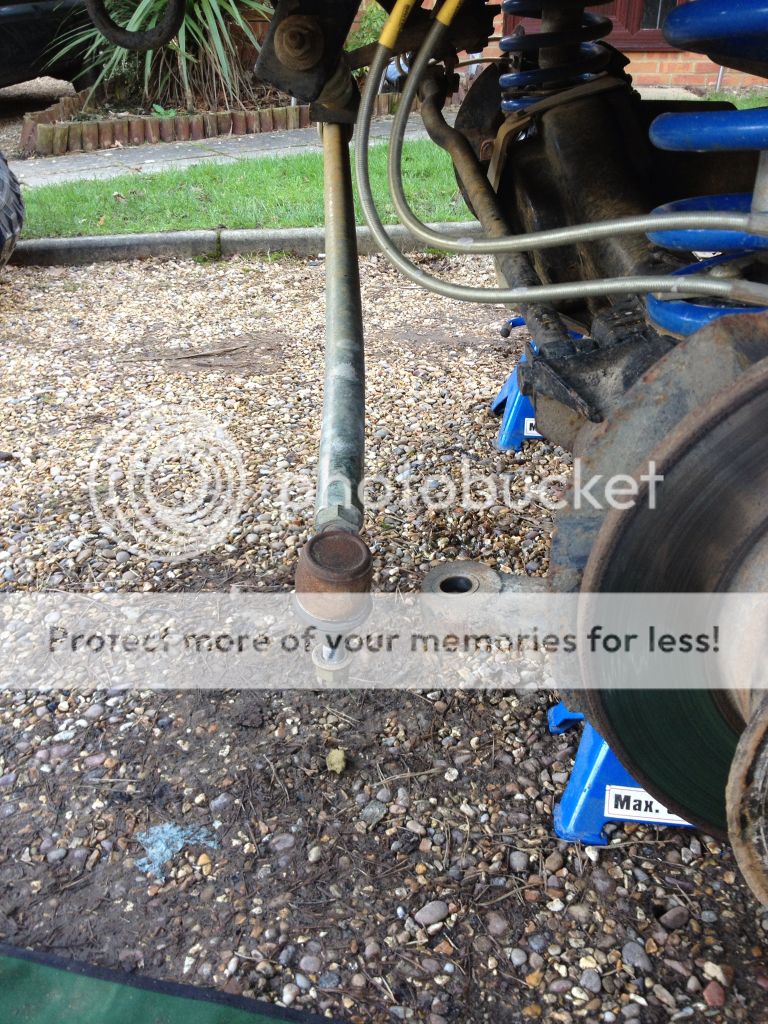
Then I removed the steering bar and the drag link. Both of which are heavy duty but I was surprised to see a bend in the Drag Link.
Wth the steering disconnected and the wheels off and to one side, I set about removing the hubs. If you have more time I would recommend removing the brake calipers and setting them to one side. This way once you have unbolted the swivels from the axle casing you can fully withdraw the half shafts. I on the other hand simply undid the bolts and left the whole assembly in tact.
The six bolts

Nearside removed and secured
Then I went and repeated the process at the offside.
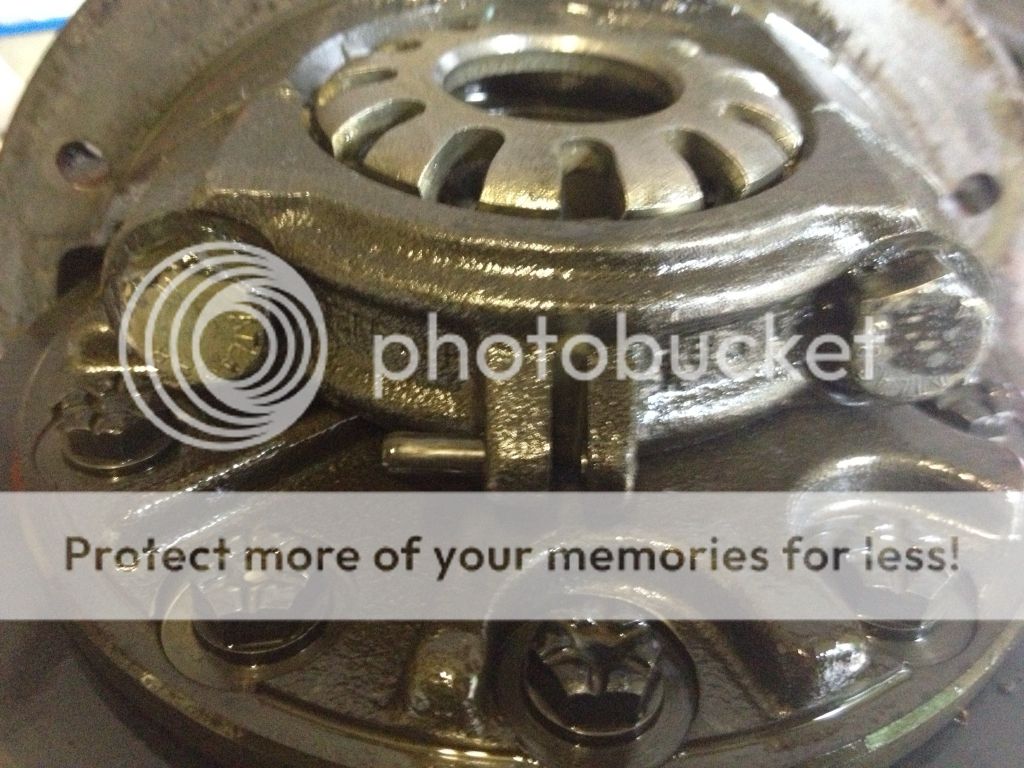
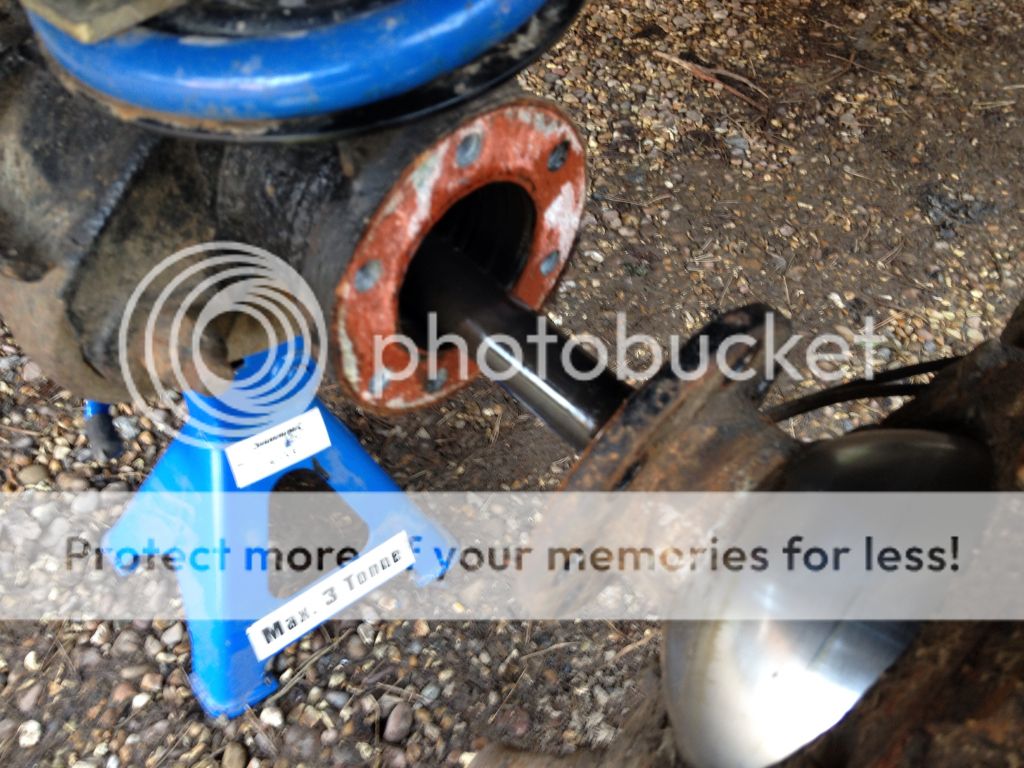
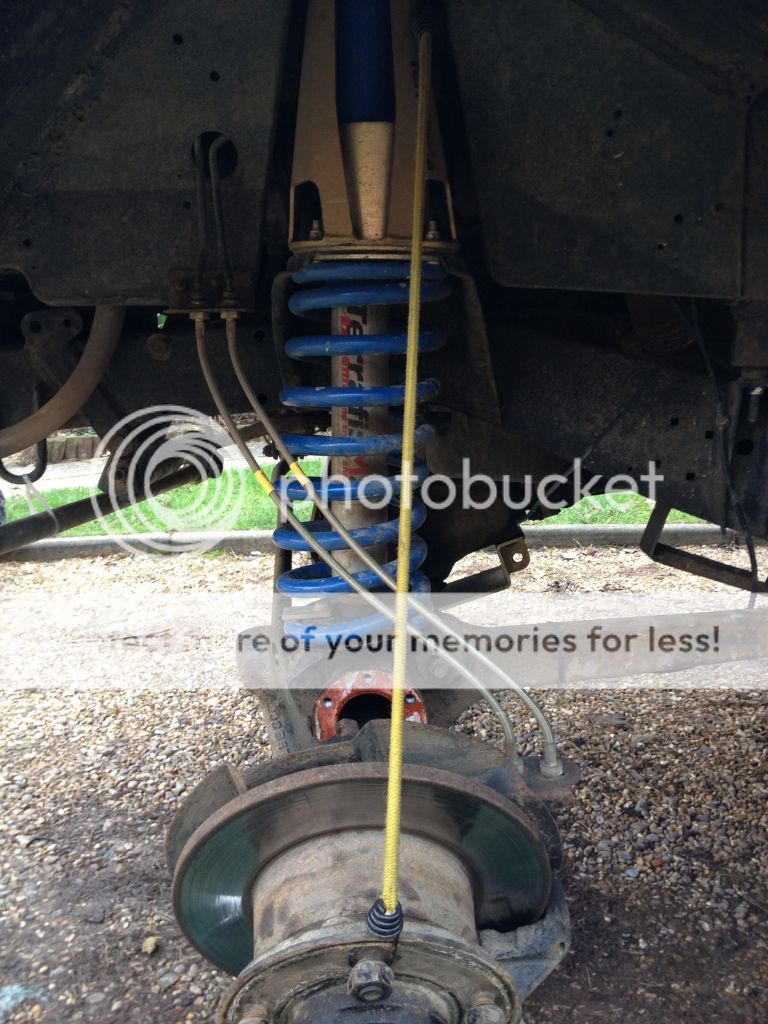
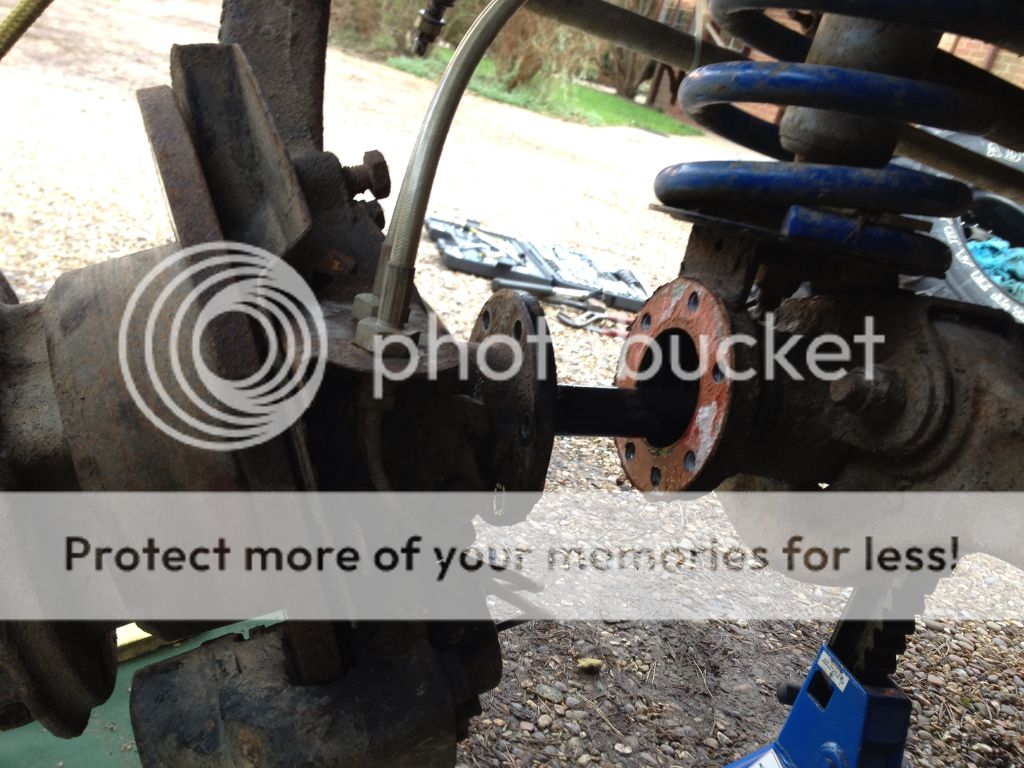
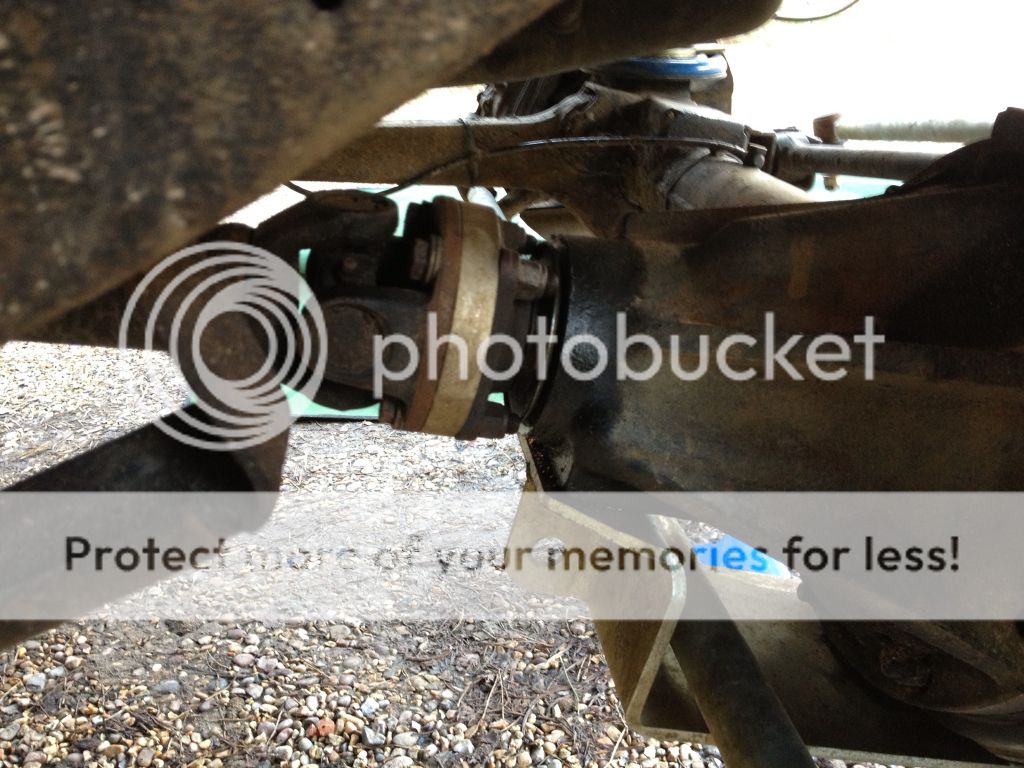
Once both hubs were secured I then removed the diff guard and set about undoing the front propshaft from the drive flange.
He you can see the traces of oil around the flange which has been thrown out and spread about.
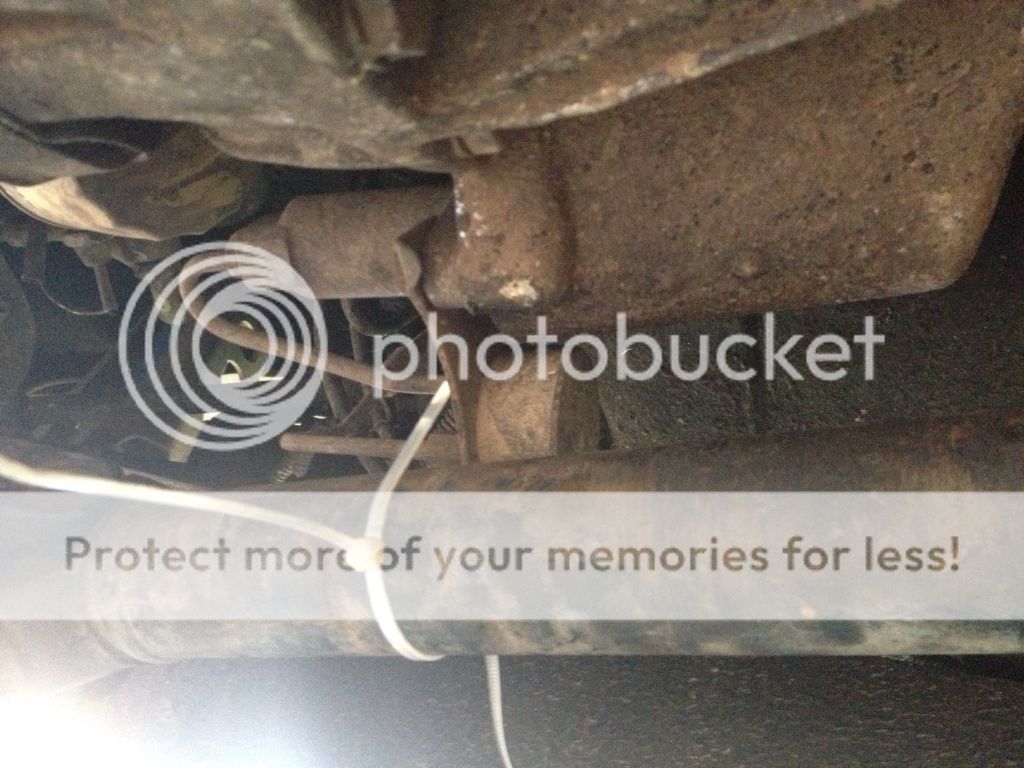
The prop shaft was then secured out of the way by tie wrapping it to the clutch slave cylinder bracket
It was now that I noticed that in the last week not only has the gearbox drain plug started to weep, but the front drive flange on the transfer box has started to also.this seems quite bad so today I ordered another bearing and oil seal along with a drain plug washer for the gearbox. Keep tuned for me replacing the bearing on the drive flange.
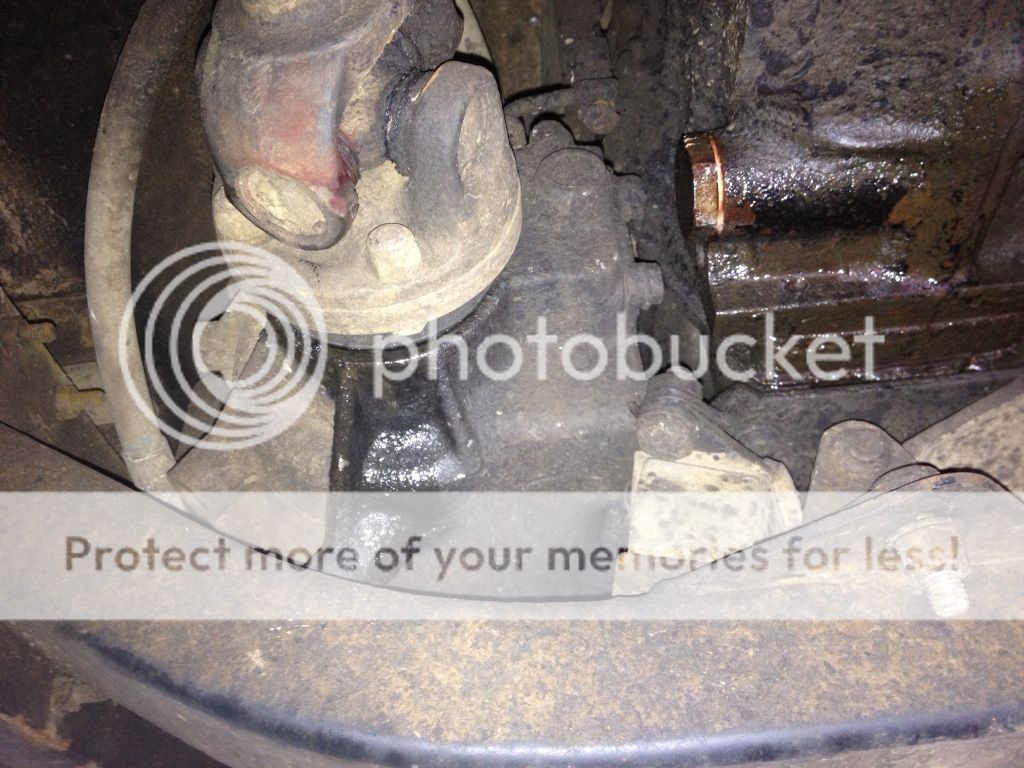
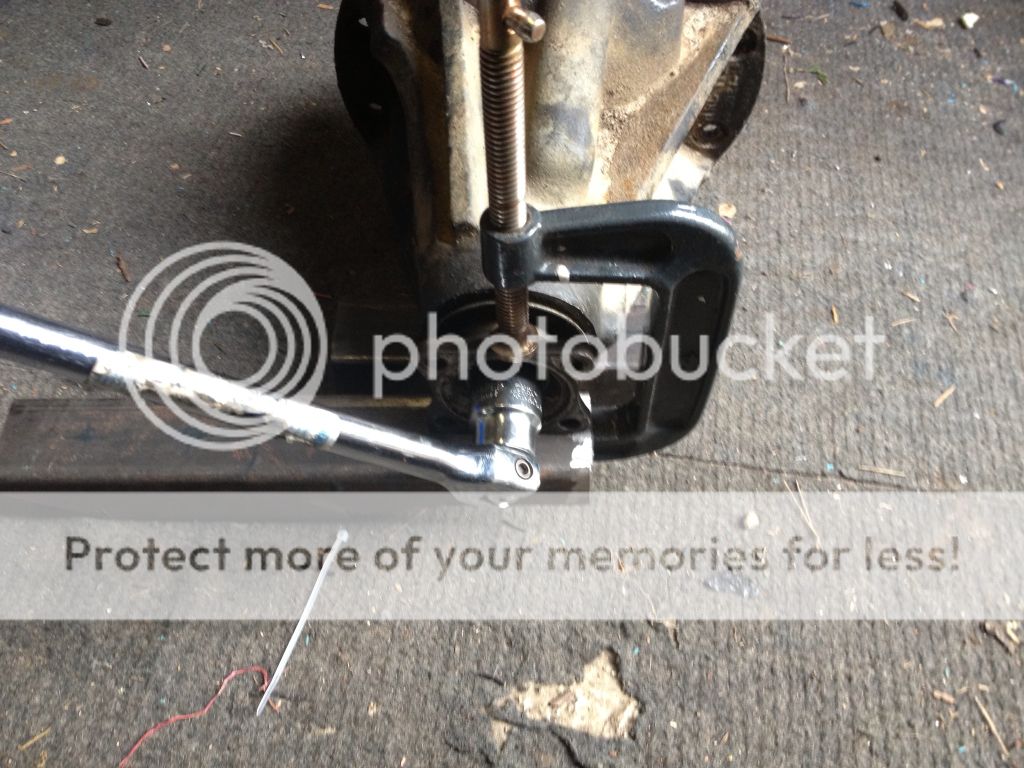
So time to unbolt the diff (or more accurately the Pinion Housing)
Here you can see the nuts around the perimeter.mthese are all 9/16" and were easily undone as the axle isn't that old. Probably replaced just before I got it.

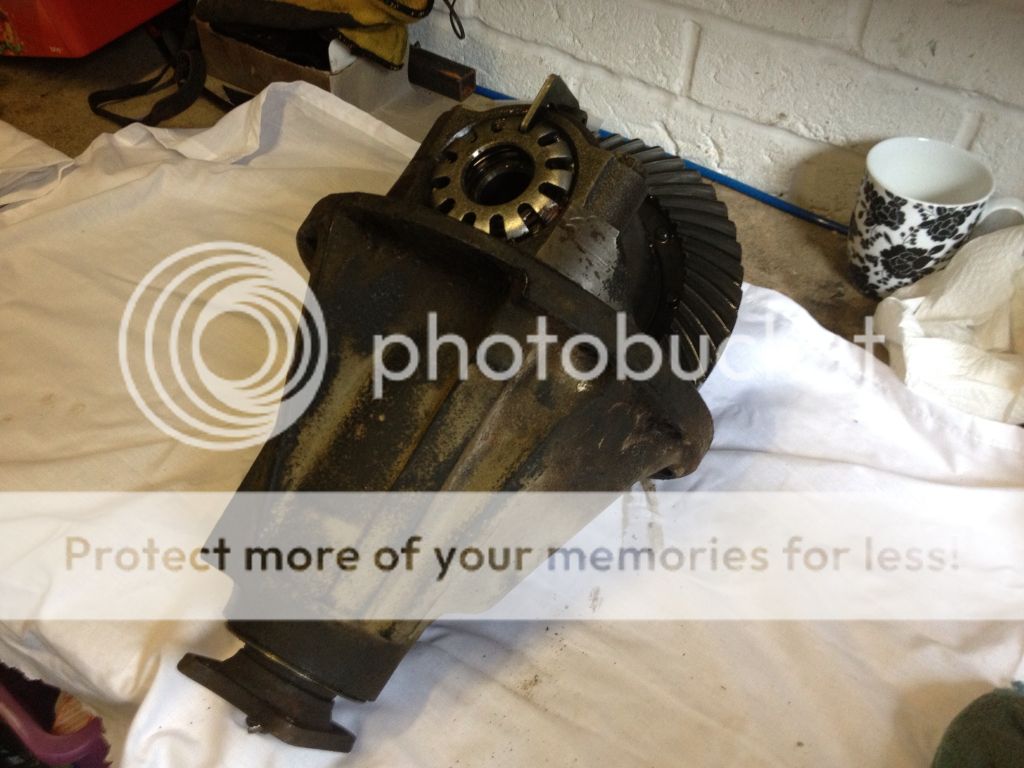
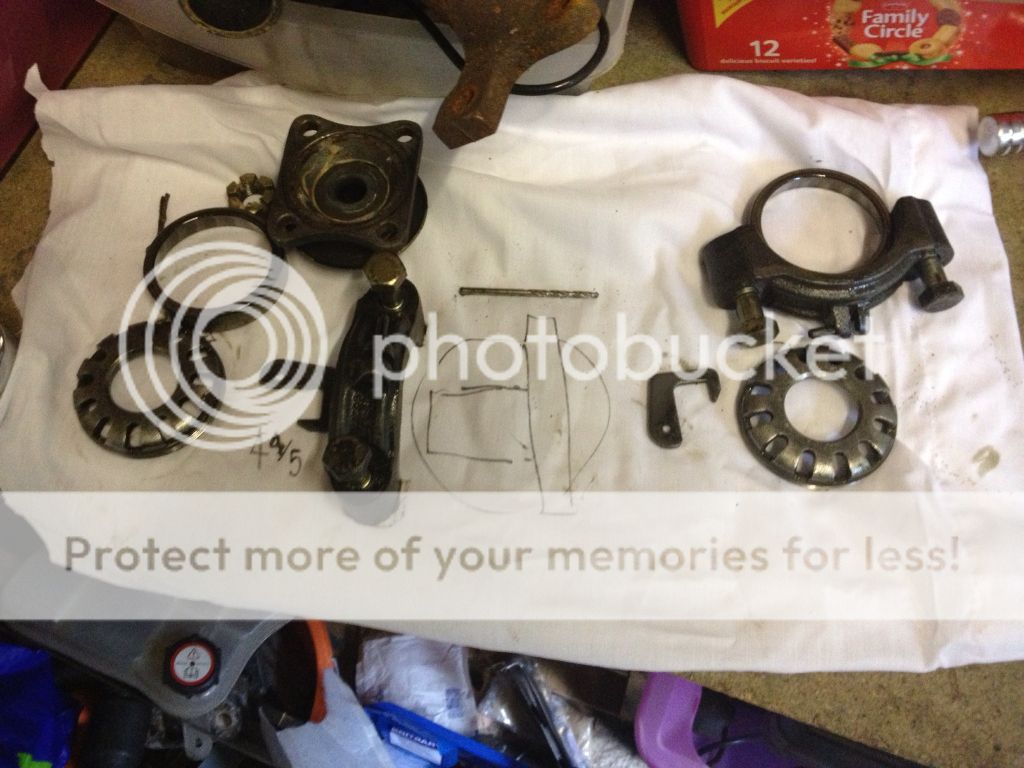
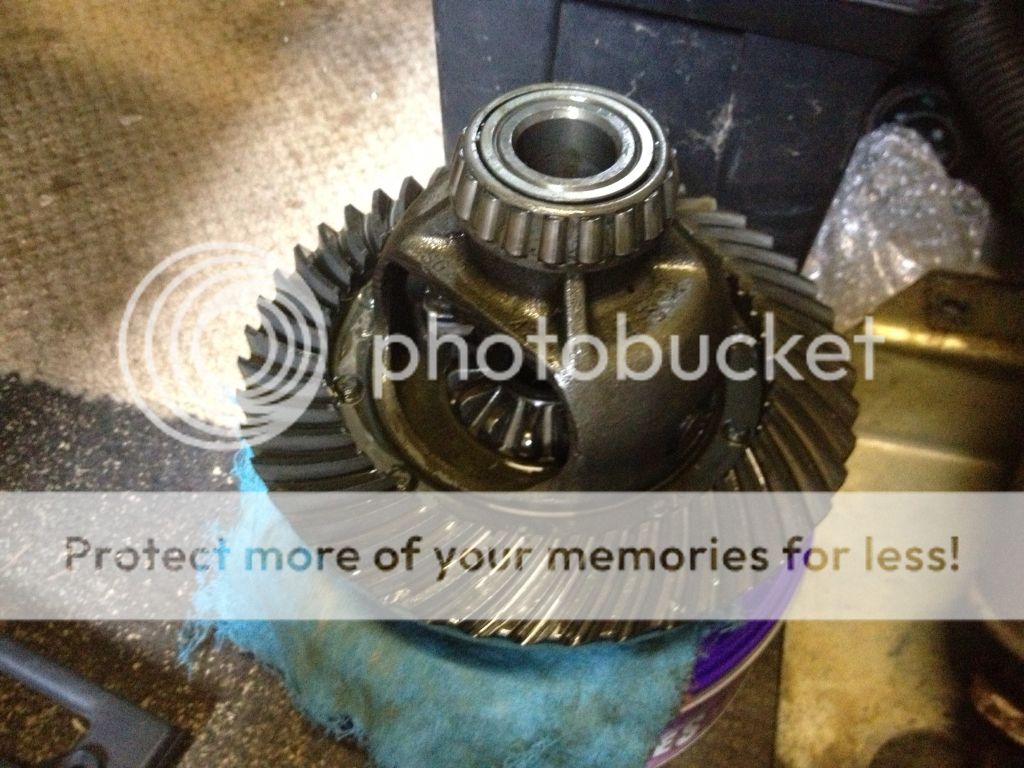
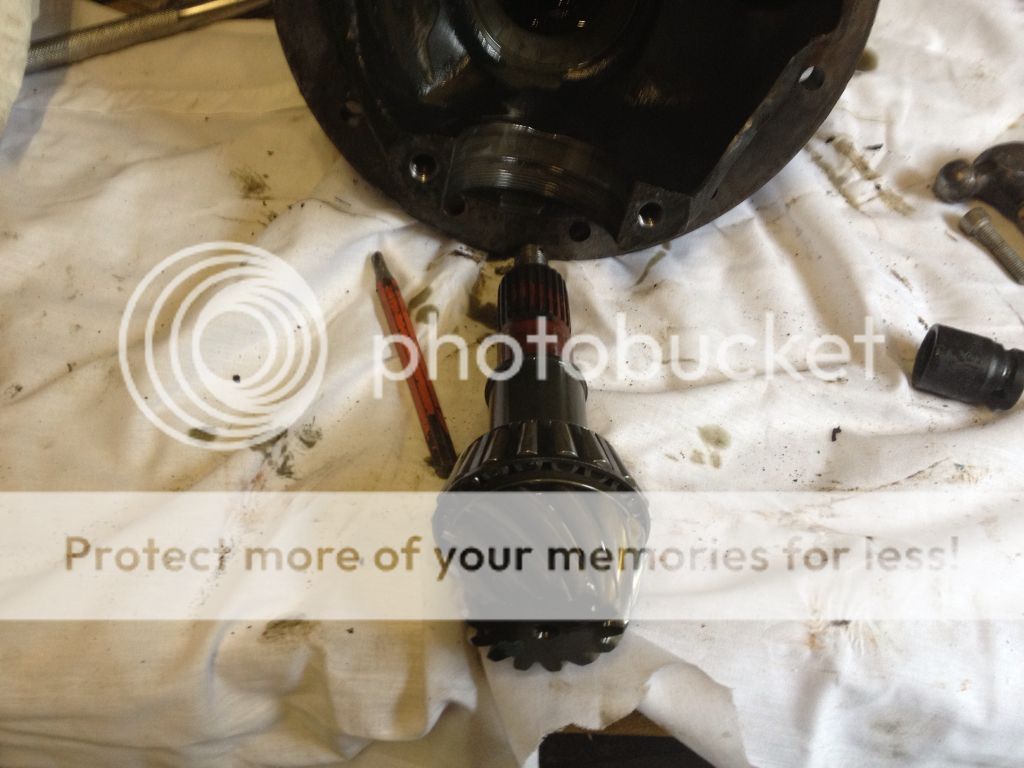
Once all the bolts were removed, a few minutes manipulating the diff out was all it took and tadaa
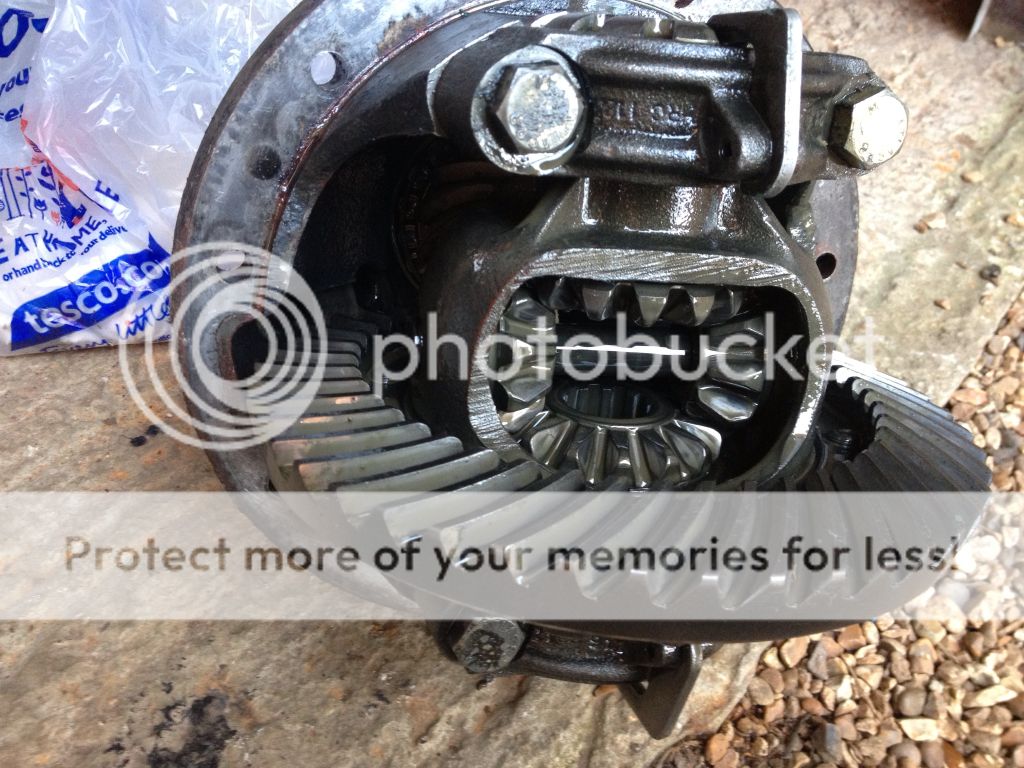
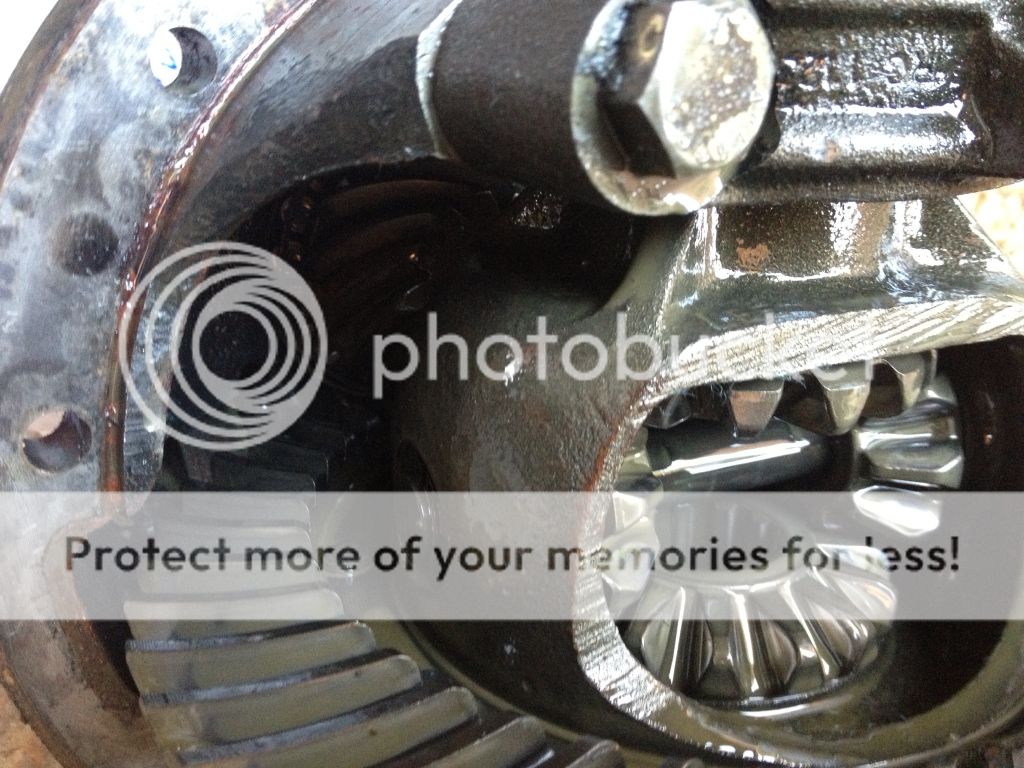
As you can see the diff is in really clean condition and despite a fresh oil change there are signs of muddy ness after just a couple of wading sessions.
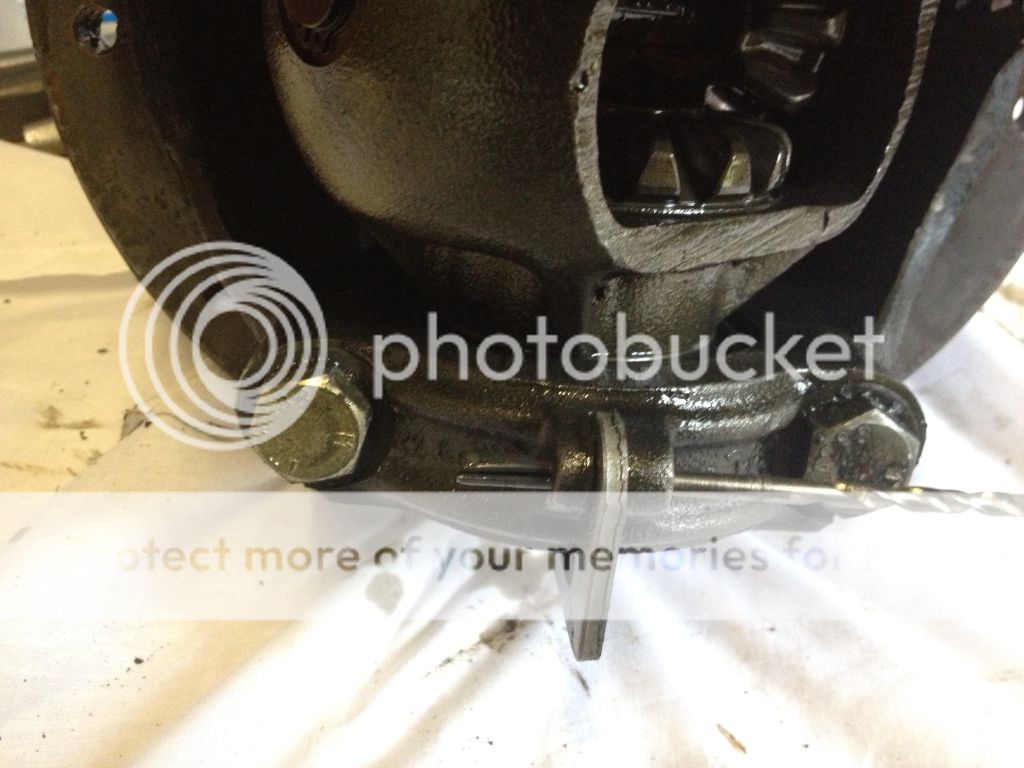
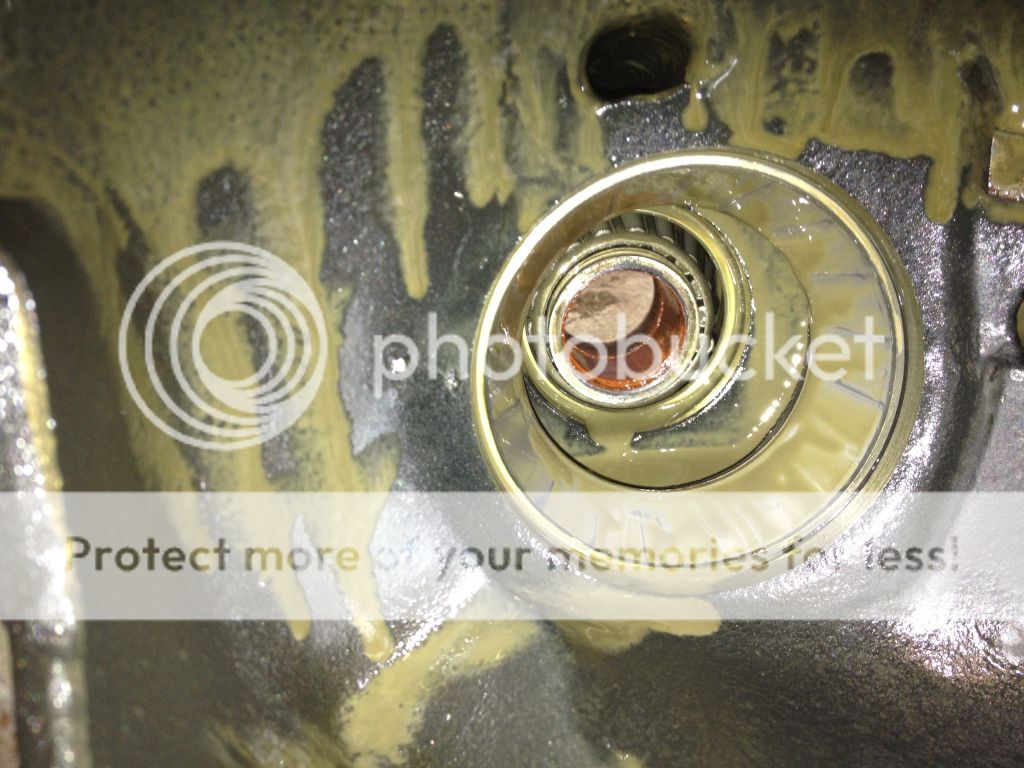
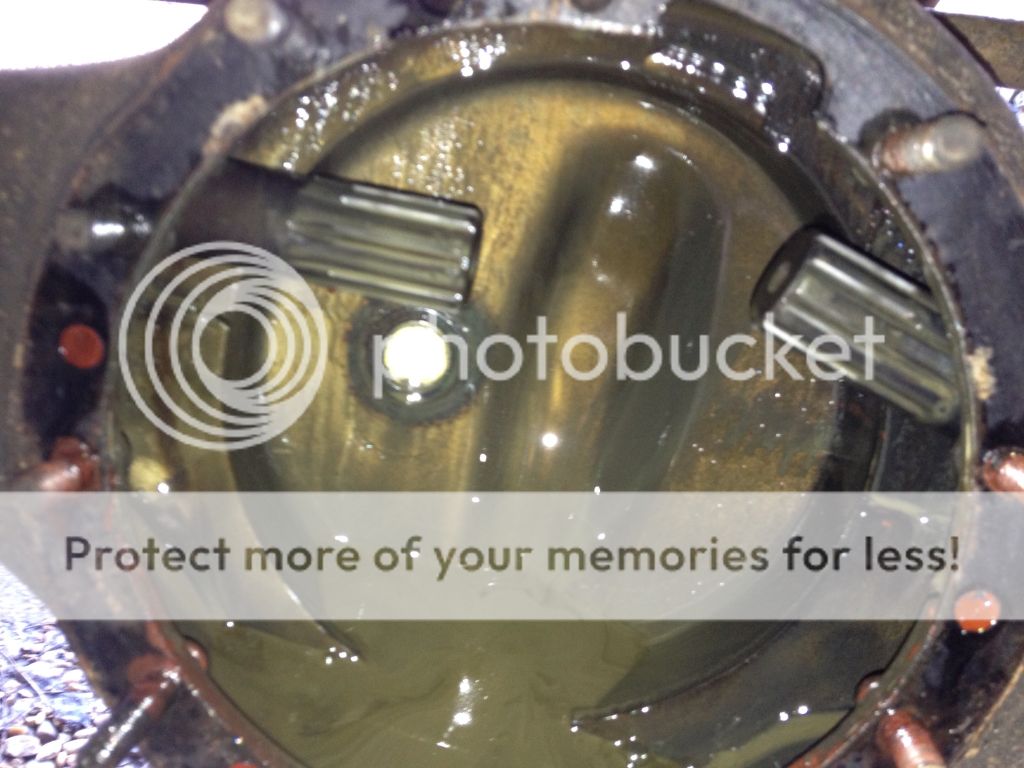
Here's the inside of the axle casing
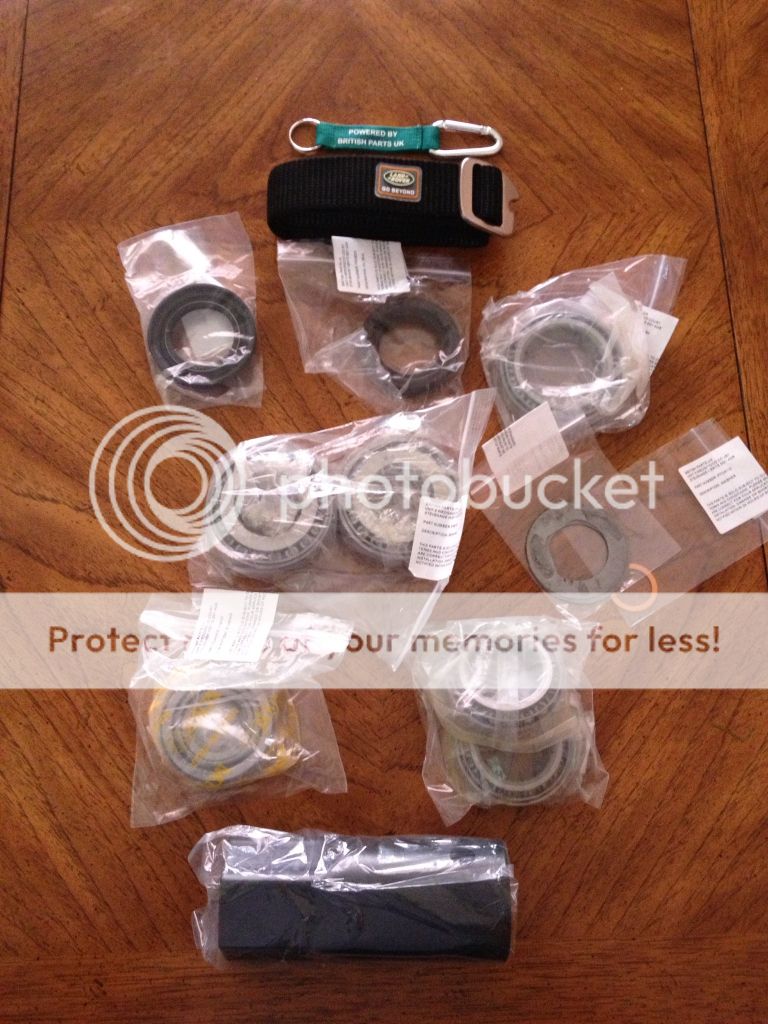
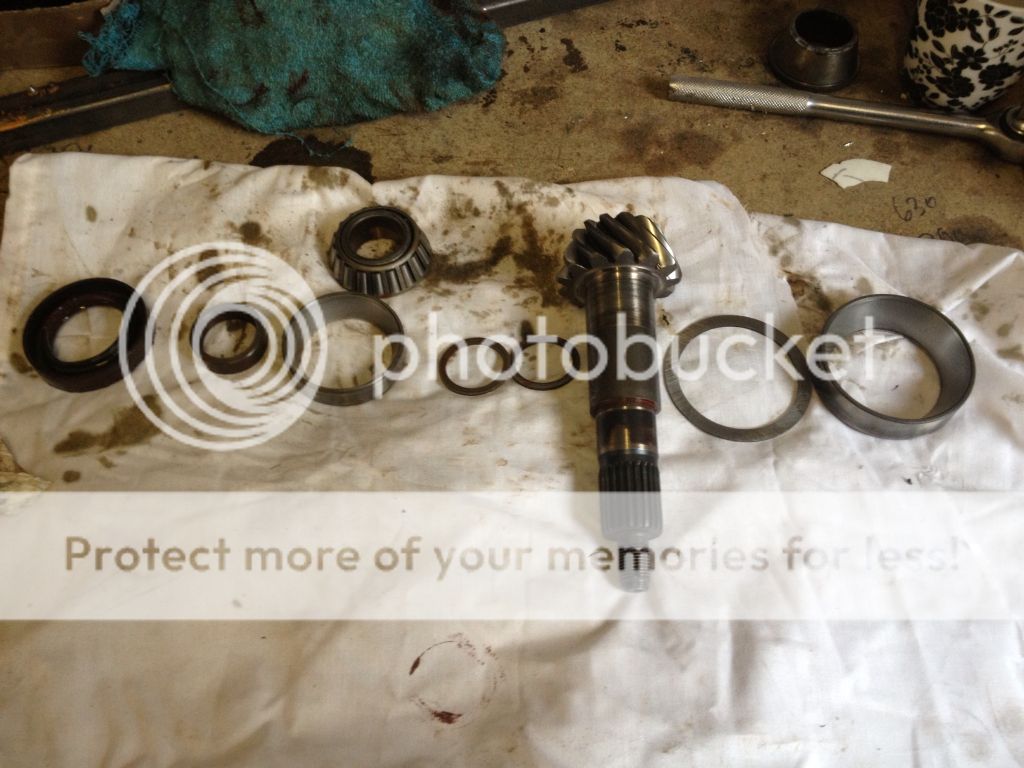
Once the bearings arrive I will replace them, taking photos and then put it back together. Fingers crossed it all works as it should.
Stay tuned.......
Yes today I started the job that I was putting off for a bit however, needs must and last week it became apparent that I needed to replace the pinion bearings in the front diff.
WHAT LEAD ME TO THIS? I hear you cry with excitement ish type cries, well I had noticed that the steering was becoming stiff when just off centre but when I was stationary, it seemed fine.
Also as I had just replaced the rear diff, the really loud noise at the rear had disappeared only to allow me to hear the front hum and whine. Well actually I hear a whine from the front most of the time BUT this time I could still hear it even when the misses wasn't sitting in the front seat
Also, yes there is more, I noticed that as I was coming to a halt, there was a discernible rumbling and vibration at the front.
Finally on drawing underneath I noticed the same amount of play in the front flange as I had noticed before in the rear just before the rear went for a burton.
So it was time to whip it out and once I had jumped the misses I went out to play with the car
Firstly I cracked the wheel nuts to the front wheels, jacked up the front and placed axles stands under the axle so the front was secure.
Then I removed the steering bar and the drag link. Both of which are heavy duty but I was surprised to see a bend in the Drag Link.
Wth the steering disconnected and the wheels off and to one side, I set about removing the hubs. If you have more time I would recommend removing the brake calipers and setting them to one side. This way once you have unbolted the swivels from the axle casing you can fully withdraw the half shafts. I on the other hand simply undid the bolts and left the whole assembly in tact.
The six bolts
Nearside removed and secured
Then I went and repeated the process at the offside.
Once both hubs were secured I then removed the diff guard and set about undoing the front propshaft from the drive flange.
He you can see the traces of oil around the flange which has been thrown out and spread about.
The prop shaft was then secured out of the way by tie wrapping it to the clutch slave cylinder bracket
It was now that I noticed that in the last week not only has the gearbox drain plug started to weep, but the front drive flange on the transfer box has started to also.this seems quite bad so today I ordered another bearing and oil seal along with a drain plug washer for the gearbox. Keep tuned for me replacing the bearing on the drive flange.
So time to unbolt the diff (or more accurately the Pinion Housing)
Here you can see the nuts around the perimeter.mthese are all 9/16" and were easily undone as the axle isn't that old. Probably replaced just before I got it.
Once all the bolts were removed, a few minutes manipulating the diff out was all it took and tadaa
As you can see the diff is in really clean condition and despite a fresh oil change there are signs of muddy ness after just a couple of wading sessions.
Here's the inside of the axle casing
Once the bearings arrive I will replace them, taking photos and then put it back together. Fingers crossed it all works as it should.
Stay tuned.......